Category: Tips

  • 5 Photo Projects You Can Start And Finish In A Weekend

    5 Photo Projects You Can Start And Finish In A Weekend

    Wasim-Muklashy-Photography_Photo-Projects_Robin-Becker_Border

    So this one’s going to be a little different. I recently had the insanely humbling experience of being a guest on the popular Improve Photography podcast with Jim Harmer. We recorded the show with the understanding that it could, or could not be, posted. Well, the team at ImprovePhotography.com were gracious enough to post it this week. The topic we discussed was ‘5 Photo Projects You Can Start And Finish In A Weekend,’ and rather than list them here, I’m going to direct you over to the podcast link so you can listen away! There’re some good ones in that sucker I must say!

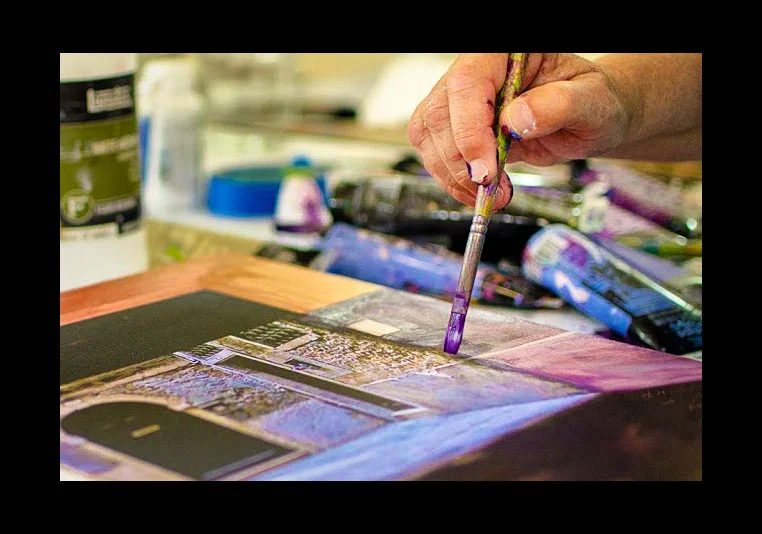
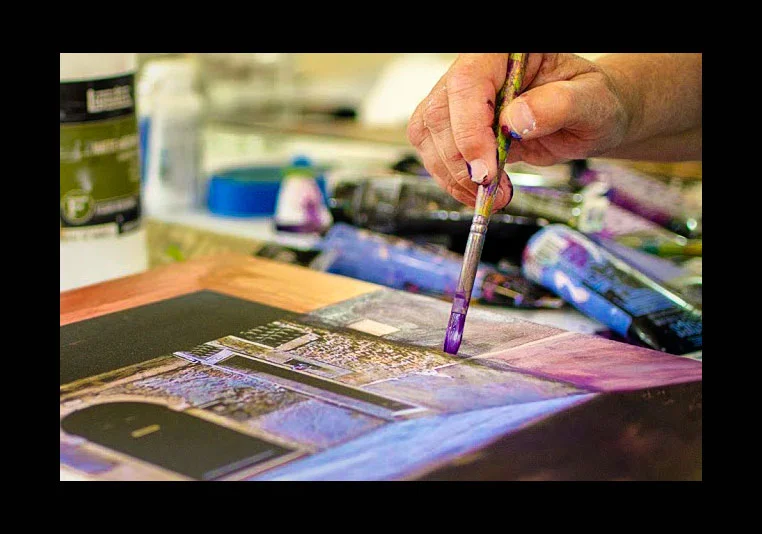
    The image above is of Topanga Canyon artist Robin Becker working. She is a mixed media artist who enhances her photographs with paint. Needless to say, it’s incredibly stunning. Check out her work at www.RobinBeckerArtist.com

    And for more of my madness:
    Instagram: @wasimofnazareth
    Twitter: @wasimofnazareth
    Google+: www.Google.com/+WasimMuklashy
    Facebook: www.Facebook.com/WasimOfNazareth

  • How To Perform A Quick Minor Composite In Photoshop

    How To Perform A Quick Minor Composite In Photoshop

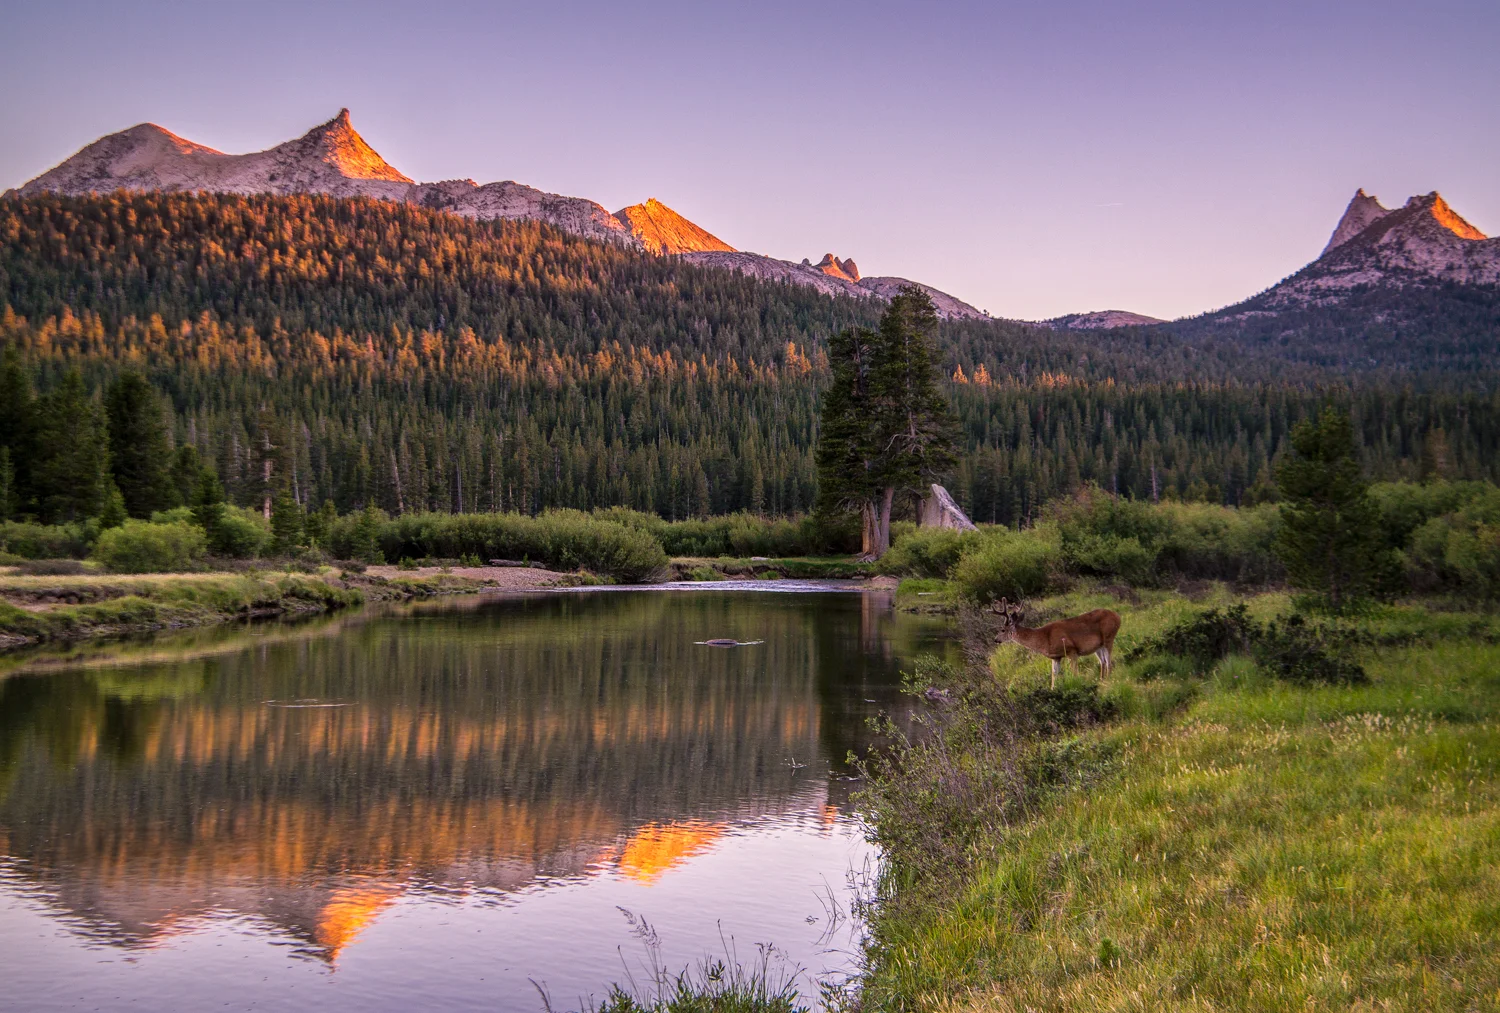
    Wasim Muklashy Photography_Tuolume Meadows_Yosemite National Park_California_Samsung NX30

    As I was standing in Yosemite’s Tuolumne Meadows a few weeks ago, awaiting the sunset, I was on a sandbar off to the north side of the Tuolumne River east of bridge leading towards Soda Springs. As I stood there framing the shot, I got the elements I liked, and the light was just about to be perfect. The focus of this one was the light dancing upon the top of Cathedral Peak and Unicorn Peak and the trees on the ridgline below it. As the light started to bounce off those treetops and the peaks, I began to snap a few frames. I was delighted.

    About 2 minutes in, a lone deer decided to wander up and pose directly in the bare patch of grass in the foreground of my image. I damn near lost my mind. It looked at me, I looked at it. It turned away and just stood there. There was no doubt in my mind this was all about vanity, and it wanted its portrait taken. Who was I to argue? I immediately adjusted the exposure and

    Snap.

    Got the bugger.

    As soon as the shutter fired, he looked back at the water, up at the mountains, and walked away. It was like a gift from the Yosemite gods.

    After the deer left, I was still noticing the light on the top of the ridge line, so went back to my original plan, sans deer, and fired a few more frames.

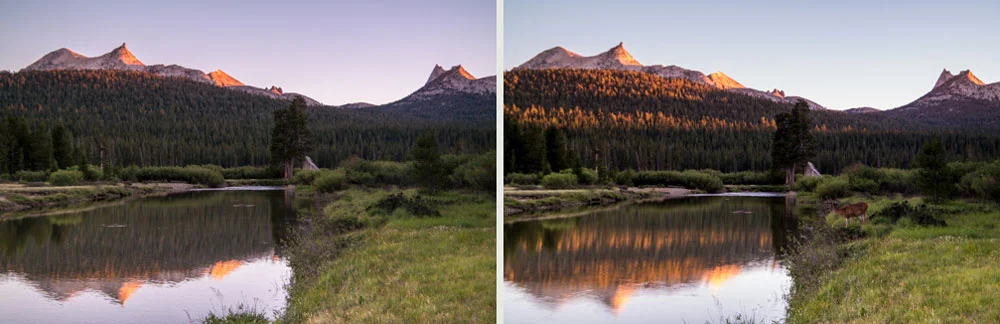
    Wasim-Muklashy-Photography_Tuolumne-Meadows_Yosemite_National-Park_Deer-Composite-Tutorial_Comp

    When I got to the computer to check out the images, I noticed elements from each frame that I loved. In the one with the deer, I loved the light bouncing off the tops of the trees and, well, of course, the star of the show, the deer him/herself. But what I liked in the images I took after were the sharpness of the ridge-line that was lacking in the frame with the deer because I was focused on that element of the composition. Problem is, this frame didn’t have that second row of light on the trees, and well, it didn’t have the deer. This is were I thought to myself, it’s about time. Time to get my feet wet with composites. And this seemed like a relatively easy enough situation to do it. I was going to take that deer and the lights on the treetops from the 2 minutes earlier, and put him in the frame with the sharp mountain tops.

    My first attempt was to try to use the selection tool. Nope. Then I tried the magic wand. Definitely nope! Then I took the two layers, put the deer-less one on top, and tried using the eraser where the deer was. Absolutely nope!!

    At this point, I knew I was going to have to break down and figure out how to use a layer mask, but I had never really done it before. I first checked out a few tutorials on YouTube before I ended up consulting with my brother, who, as an animator and illustrator, has had some considerable experience in Photoshop. He walked me through it, and it seemed to work out perfectly. Here’s a brief video describing the method that I used to get the resulting image you see at the top of this post:

    The image was shot on a Samsung NX30 and a Samsung 18-200mm lens.

    And for more of my madness:
    Instagram: @wasimofnazareth
    Twitter: @wasimofnazareth
    Google+: www.Google.com/+WasimMuklashy
    Facebook: www.Facebook.com/WasimOfNazareth
  • A Monday Motivational Kick In The Yahoo – August 11, 2014

    A Monday Motivational Kick In The Yahoo – August 11, 2014

    Wasim_Muklashy_Monday Motivational_August 11 2014_1800

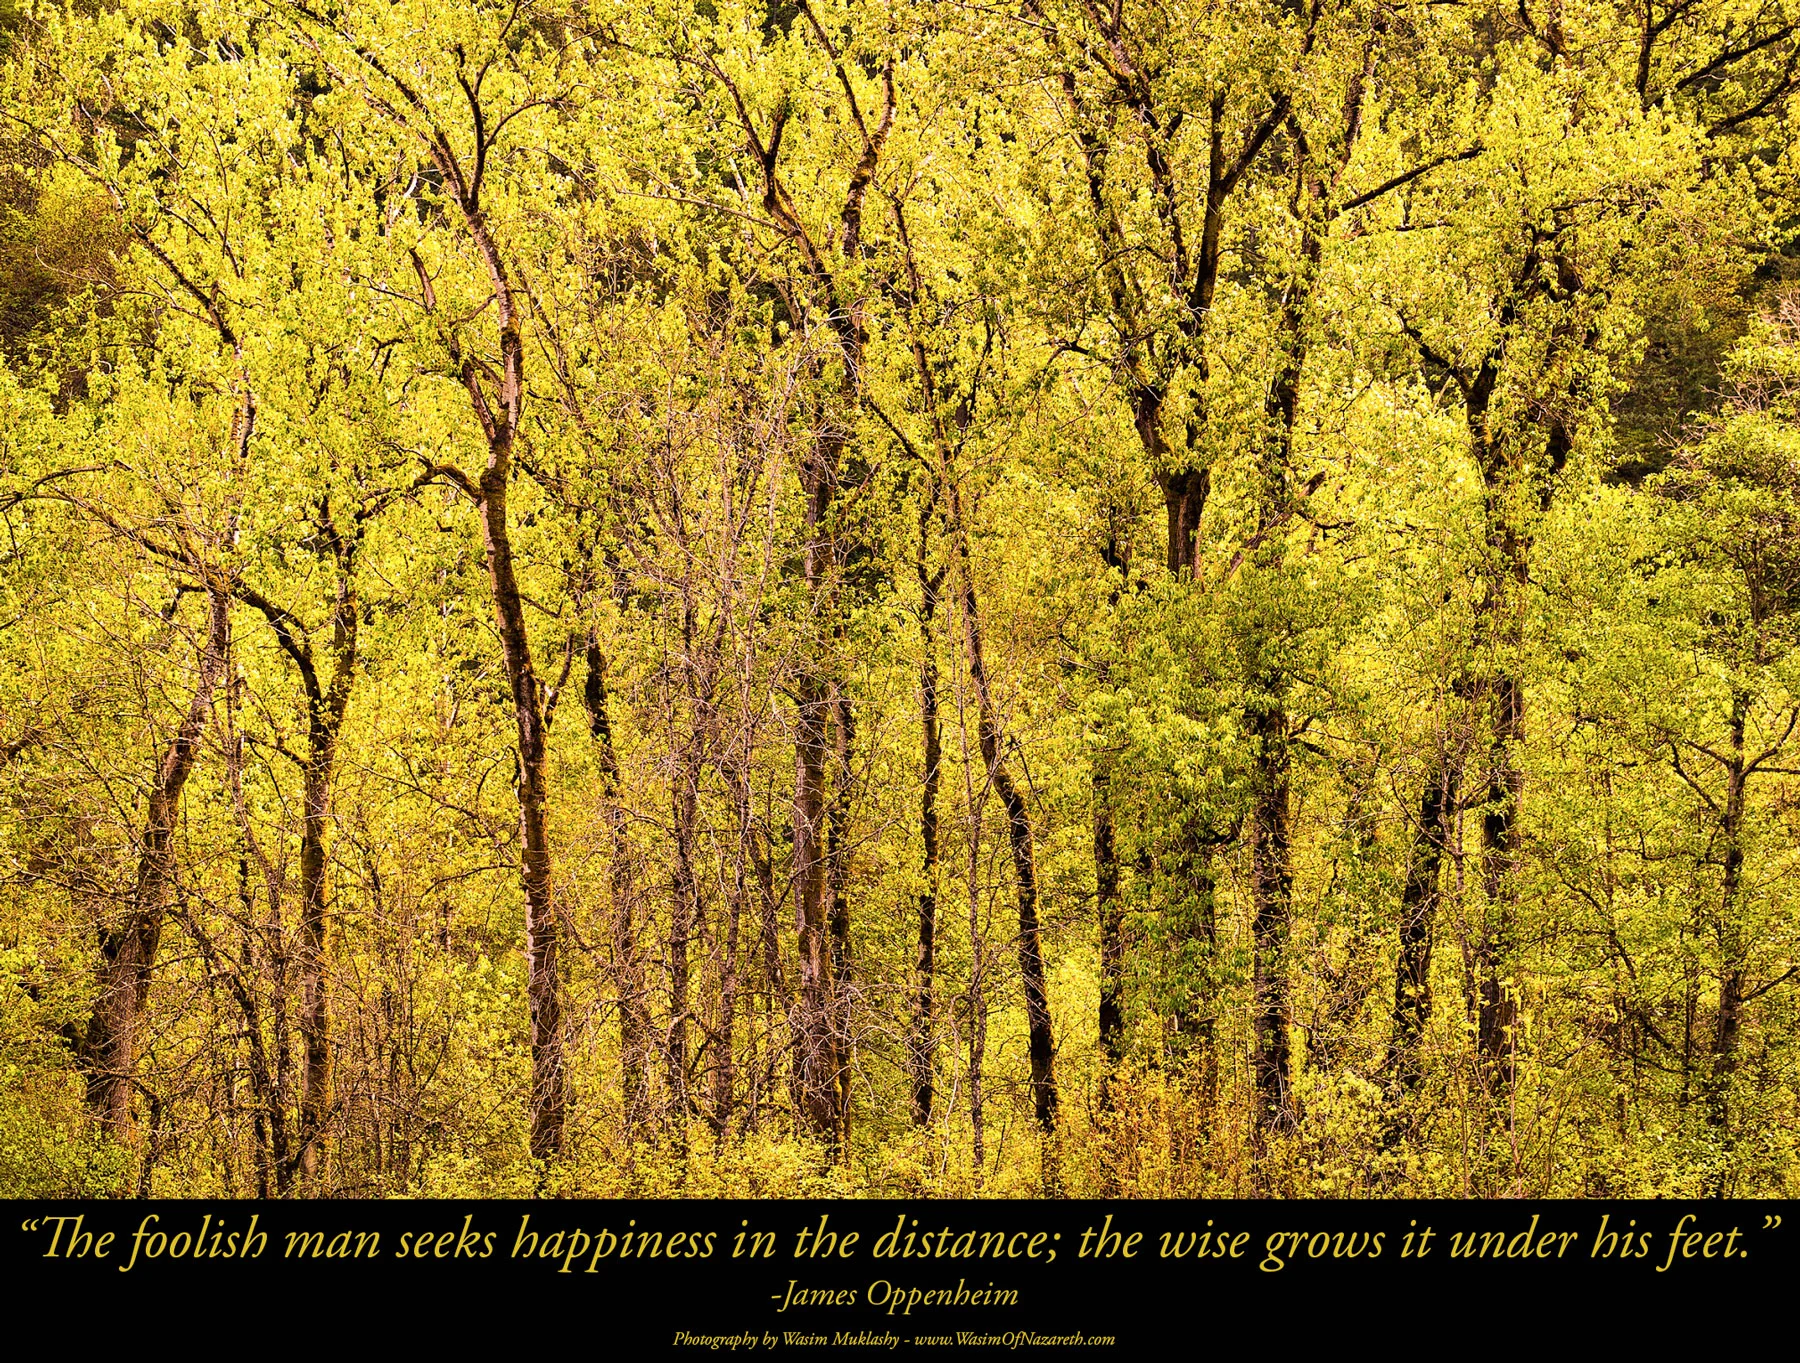
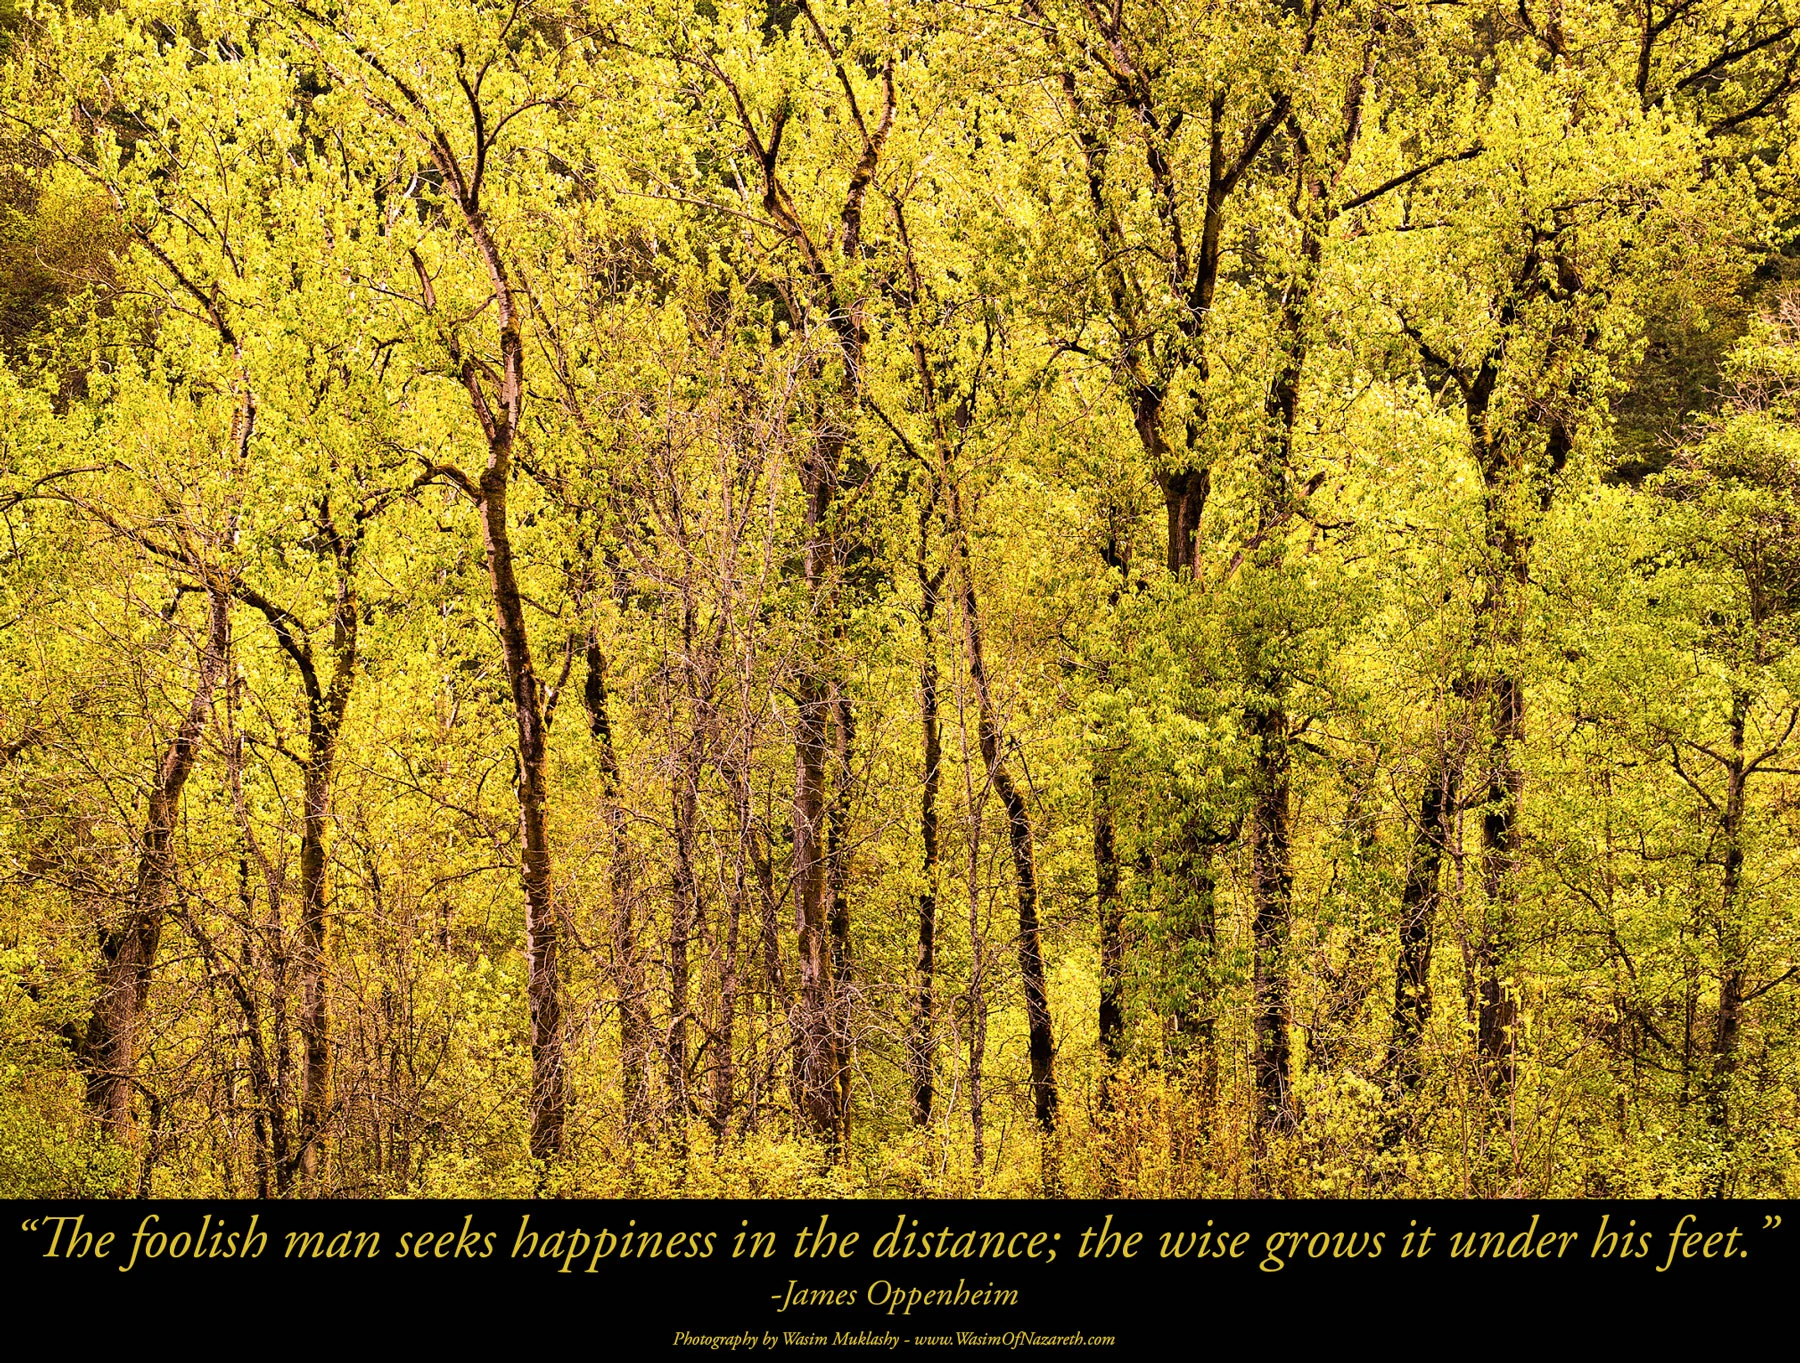
    “The foolish man seeks happiness in the distance; the wises grows it under his feet.” -James Oppenheim
    **
    From me to you, There’s This Week’s Monday Kick In The Yahoo!
    **
    Feel It!

  • How To Photograph The Super Super Moon!

    How To Photograph The Super Super Moon!

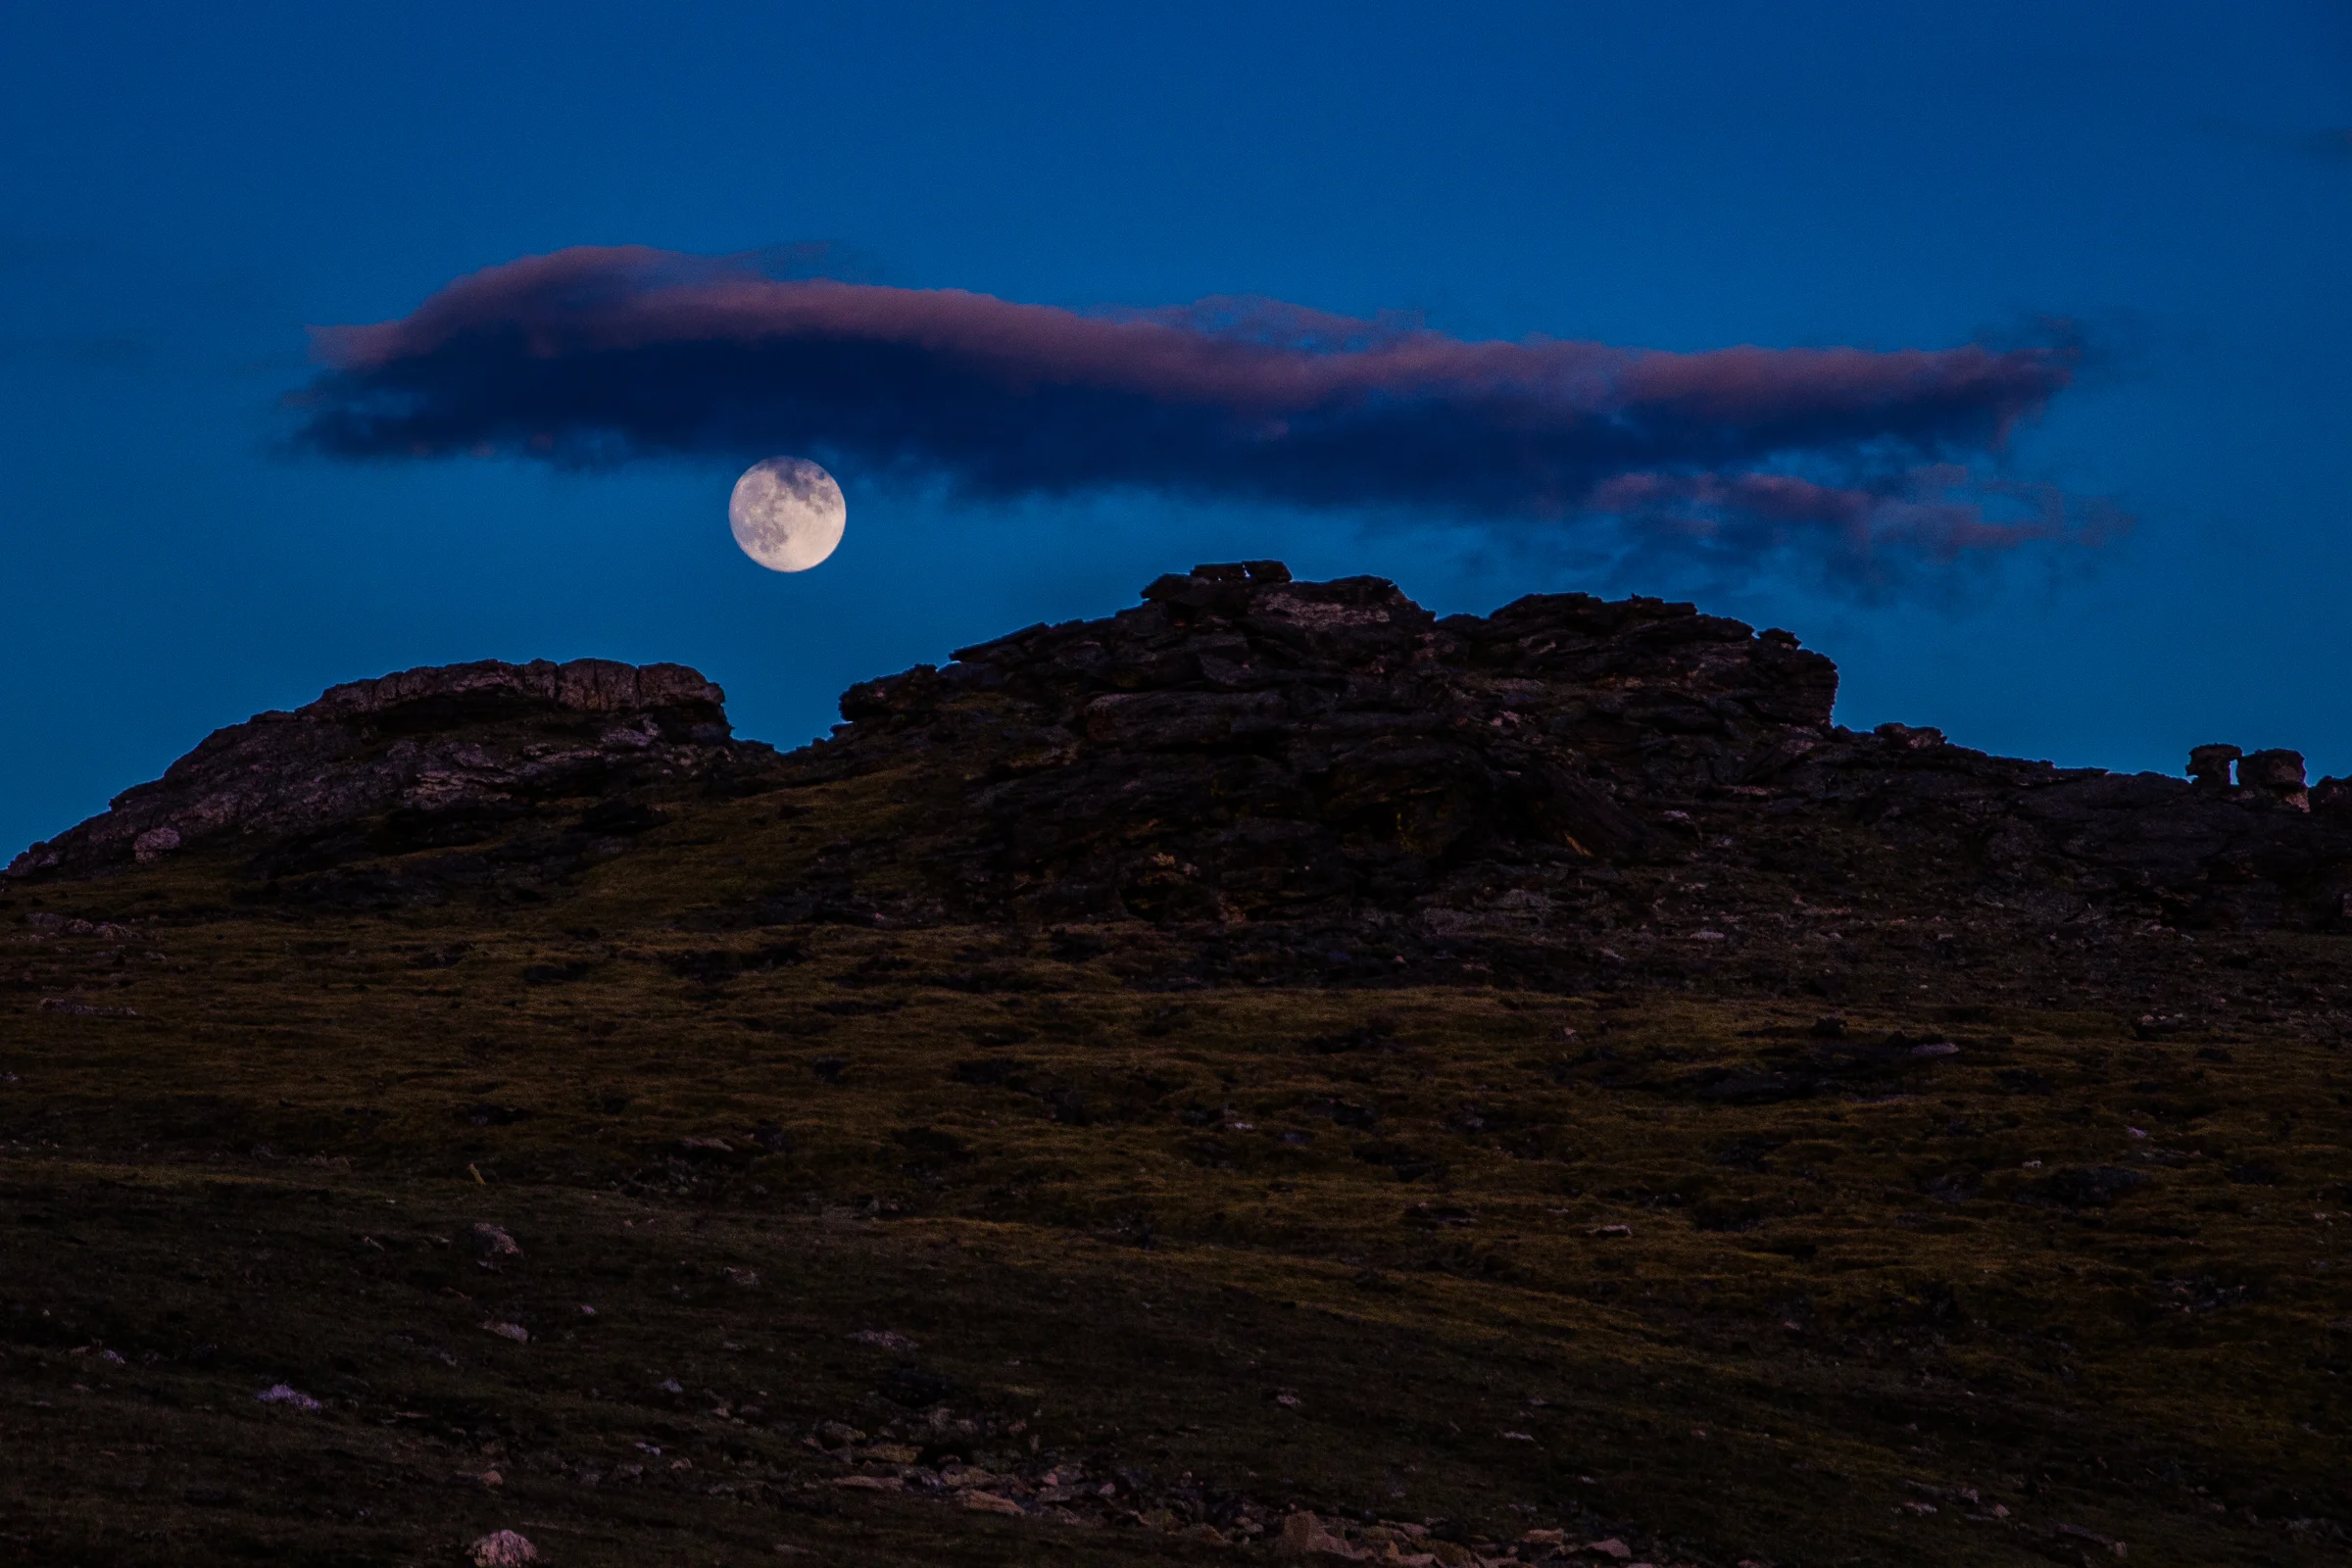
    Wasim Muklashy Photography_Wasim Of Nazareth_Full Moon_Continental Divide_Rocky Mountain National Park_Colorado_-_1WM2334_2400

    So all that hype about the ‘super moon’ that we’ve heard not only this month but last month and sometime back earlier this year as well? Well, this is more of it! Apparently this weekend, on Sunday, August 10, is the superest of all super moons (at least in 2014). Scientists like to get all loose and crazy and call it a ‘perigee full moon,’ basically meaning it’s the closest the moon will be to earth this year. Anyhow, along with all the hype about the super moon itself, for us photographers, comes all the hype about how to photograph the super moon, so here are my obligatory tips on how to photograph the super super moon.

    1. TRIPOD!! USE A TRIPOD!!! This is one you can’t get away from.

    2. Tighten Up! Use as tight a focal length as you have (or can afford). At the very least you’ll want to use a 200mm (remember on a crop sensor, that’s roughly 300mm). If you can get away with it (and your wife /husband or boy/girlfriend won’t kill you, or your creditors aren’t already hot on your tail), get yourself a 400mm or even longer lens.

    3. Spot Meter!!! Only Spot Meter!! The moon is quite the bright bugger, meaning, the camera will have a hard time metering properly as the big bright thing surrounded by darkness will confuse it, making the moon completely washed out, causing your shot to miss out on the details, the contours, the lines, the mountains, the valleys, the moon men curiously pondering the mars rover tracks, wondering if there’s other life ‘out there.’ This is also where you might want to use exposure compensation. Take a few test shots, and if the camera still isn’t metering properly, drop the exposure compensation by a stop or two to -1 or -2 (manually underexposing) to make up for what the camera thinks it’s seeing.

    4. How Low Can You ISO? Use the lowest ISO you can get away with, which, if you refer to tip #3, can be the lowest ISO your camera supports. Shoot using an aperture between f5.6 and f11. That should allow sufficient light to hit the sensor while giving you a crisp image of the moon’s surface, as the middle apertures tend to give you the sharpest images.

    5. Augment Your Reality! Grab an app like PhotoPills or Sun Seeker or Rick Sammon’s Photo Sundial or for Android, there is Sun Surveyor. These are essentially augmented reality apps that you can point at the sky and know exactly where the moon is going to be at exactly what time on exactly what date. Kind of handy eh?

    6. Size Matters! Try to find a foreground, like a hill or a tree or a structure for a sense of scale. Even if it’s just a silhouette of that foreground object. Otherwise it can look just like any other full moon, and when the super moon is essentially called that because of the considerable size difference in comparison to other full moons, it would be pointless. This is easiest achieved with timing, as you’ll want to capture the moon just as it begins to rise above the horizon. If you wait until it’s directly overhead and there are no other elements in the image, it’s just another moon…

    7. Look Up! Don’t forget to look away from the camera. As a photographer, it’s easy to get caught up with what’s inside that little frame of yours, easily forgetting everything surrounding that frame. Stop for a few minutes. Just breathe. Soak it in. At the very least, it’s a nice reminder of you why you do what you do.

    When you’re all done, moon me! Post links to them suckers here, would love to see ’em!

    And for more of my madness:
    Instagram: @wasimofnazareth
    Twitter: @wasimofnazareth
    Google+: www.Google.com/+WasimMuklashy
    Facebook: www.Facebook.com/WasimOfNazareth
  • Lenstag – A Free Extra Layer Of Protection For Your Camera Gear

    Lenstag – A Free Extra Layer Of Protection For Your Camera Gear

    Lenstag_Screenshot

    There is nothing scarier for a photographer than the prospect of losing or having their gear stolen. Just typing that sentence brought on the beginnings of a panic attack. Between the bodies and lenses, it’s not out of the ordinary to be carrying 5, 6, tens of thousands of dollars or more of equipment in that bag strapped across your back. And it’s not the money that’s the important part, it’s the fact that for many of us, it’s our livelihood. We lose our gear, we lose our jobs. Granted we now have great outlets like BorrowLenses.com and LensRentals.com to help tide us over until we can replace our gear, and there are great insurance options geared towards photographers, but Lenstag proves to be the ultimate free extra layer of security.

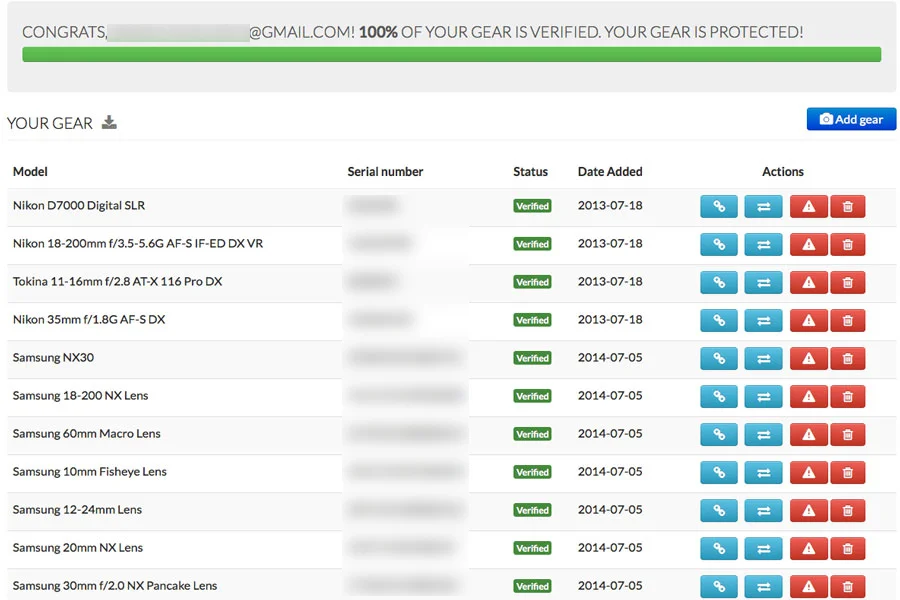
    The idea is this. You create an account, you log in, you register your cameras and lenses and gear by entering the serial numbers and then uploading pictures of the gear with the serial number visible. They verify the gear and from here on out, if your gear gets stolen, you can immediately notify Lenstag through the app or through the site, and any images that show up anywhere in the world that were taken using that gear, will show up. Additionally, they’ll help get the word out about your stolen gear through their well-connected channels in the photography world.

    Lenstag Verification Screen

    I signed up for this thing about 2 years ago, and quite honestly forgot all about it. Then recently, I received an email from them informing me of their new mobile app, and along with that, it had a list of notifications of some of my images. That caught my attention. As I looked closely at the images, the EXIF data from the cameras I had registered with them have the serial number of the camera embedded, so there was literally a list of links to pages where people were posting my images after grabbing them from somewhere else. I was impressed.

    Lenstag’s service is an absolute must for any photographer, and considering that it’s free, there’s really no reason not to. It might not be the cure-all, but it is a nice extra security blanket that’ll help you sleep a bit easier every night.

    Check ‘em out. www.Lenstag.com

    And for a breakdown of options for insurance designed specifically with photographers in mind, check out my post Cover Your Bases – Here Are Some Of The Best Photographers Insurance Options.

    For more of my madness:
    Instagram: @wasimofnazareth
    Twitter: @wasimofnazareth
    Google+: www.Google.com/+WasimMuklashy
    Facebook: www.Facebook.com/WasimOfNazareth
  • A Monday Motivational Kick In The Yahoo – August 3, 2014

    A Monday Motivational Kick In The Yahoo – August 3, 2014

    Wasim-Muklashy-Photography_Wasim-Of-Nazareth_Tuolomne-Meadows_Yosemite_CA_Samsung-NX30_-SAM_1466_1500

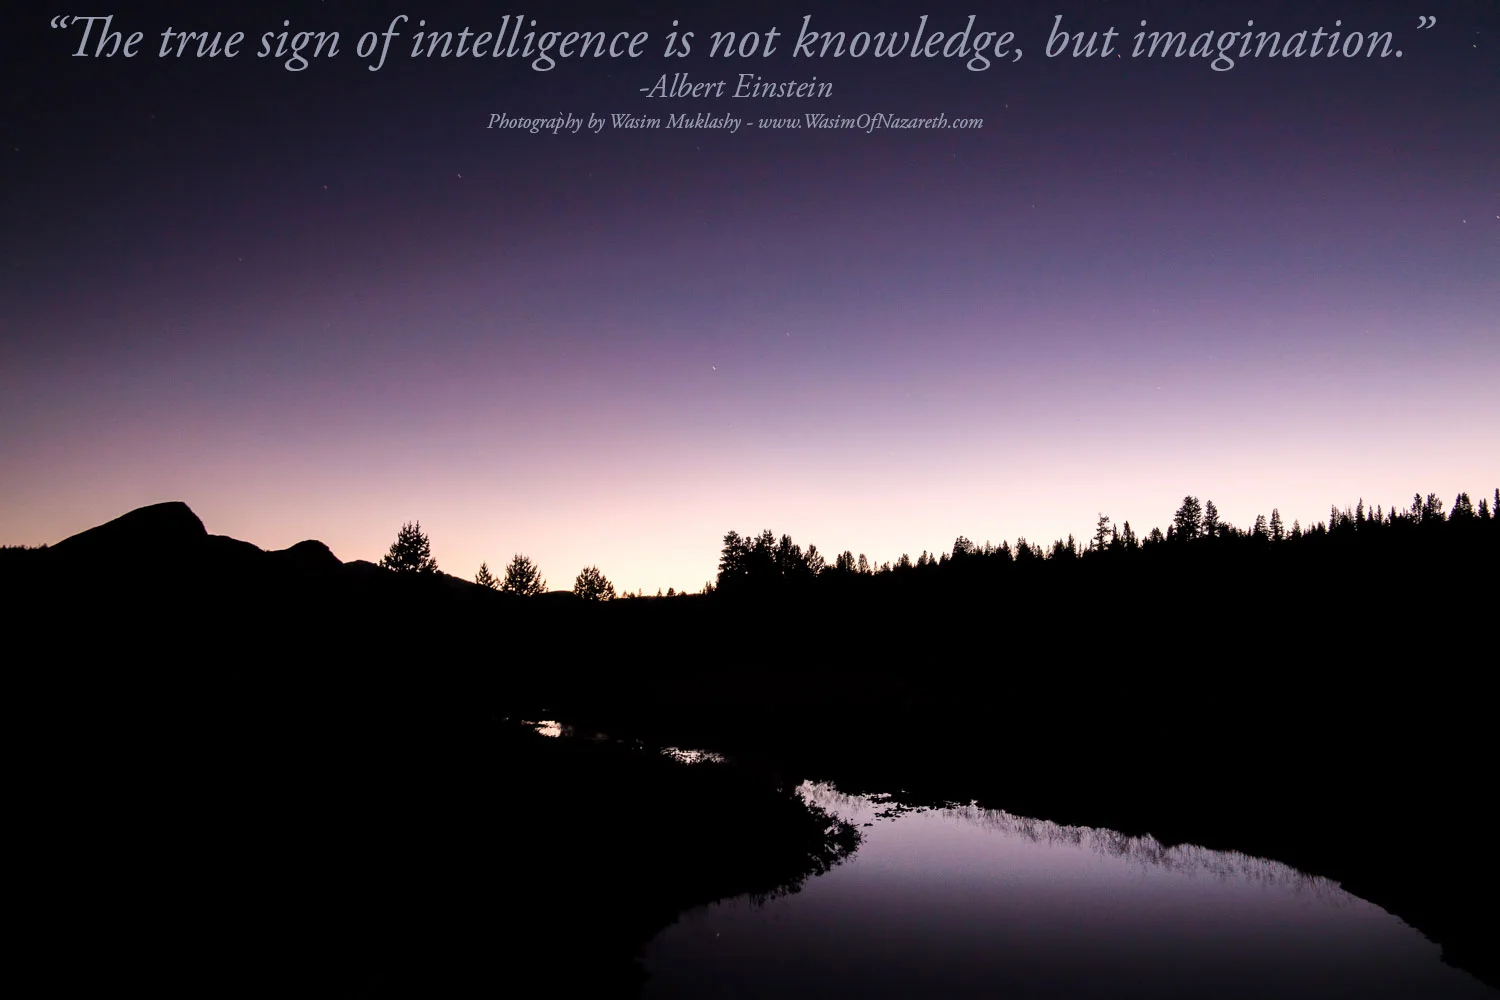
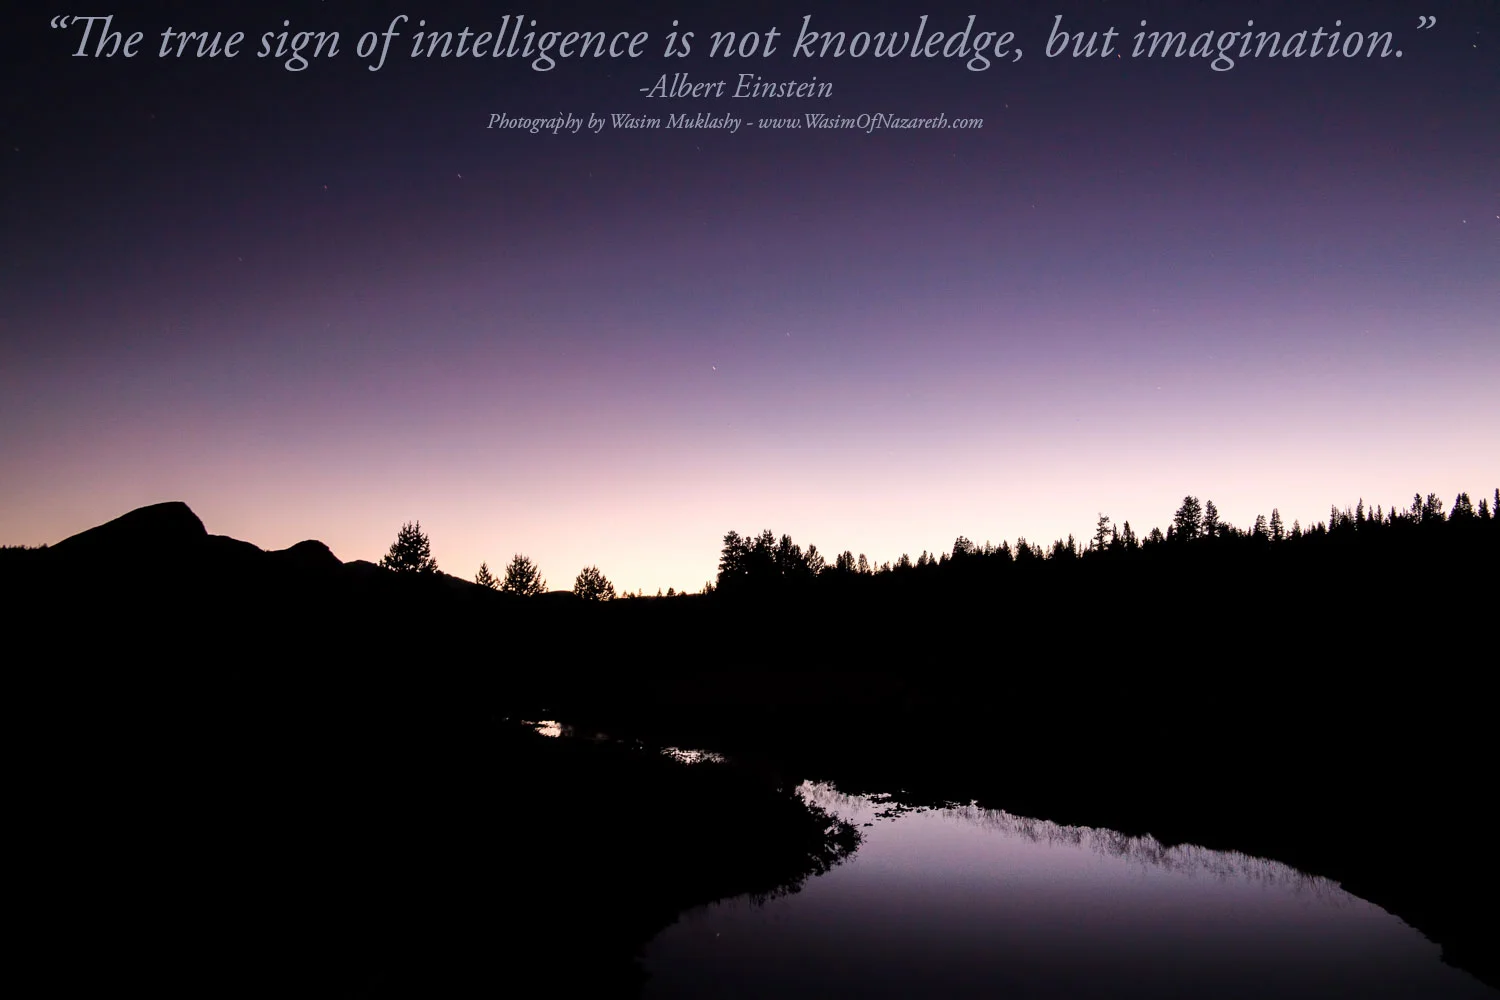
    “The true sign of intelligence is not knowledge, but imagination.” -Albert Einstein**
    From me to you, There’s This Week’s Monday Kick In The Yahoo!
    **
    Feel It!

  • How And Why I Finally Made The Switch To The Adobe Creative Cloud

    How And Why I Finally Made The Switch To The Adobe Creative Cloud

    Wasim Muklashy Photography_Wasim of Nazareth_Adobe Creative Cloud_Lightroom Mobile

    So I fought it for a year. And I fought it hard. I didn’t want to rent it. I wanted to rightfully own it. The way I have for years. The way we all have for years. Why should I have to ‘rent’ the software I need for my work? Why can’t I buy it anymore? It made no sense. And it didn’t seem right. And it didn’t seem fair. So there was only one thing left to do. Rent the software.
    Yeah, that’s right, I did it. I made the switch to the Adobe Creative Cloud. And here’s why it finally just had to happen.

    A big part of my decision was Adobe’s recent commitment to photographers to keep the price at 9.99/month for the two tools that photographers need most, Photoshop and Lightroom. Which, once you crunch the numbers, one you sit down, and really crunch the numbers, you realize that at 120 dollars a year, it would still take about 5 years to cover roughly what a full version of Photoshop used to cost for purchase. Considering the fact that a new version normally came out every 2-3 years, in essence, and in the long run, you’re actually saving money.

    On top of that, getting the updates for free on the fly is quite the welcomed gotcha! Well, sort of. While you lose some of the big-box anticipation of all these new features at once, which was always a fun reveal and sense of discovery, the way it is now actually allows you time to adapt and use and test and play without being overwhelmed by new features all at once. By easing you into the usage of these new features, you are able to actually focus on them rather than try to fish through an onslaught of madness, only to forget half of them existed 2 weeks later. Basically, I’ve begun to get even more use out of each new set of features that has been released since subscribing to the Creative Cloud 2 months ago.

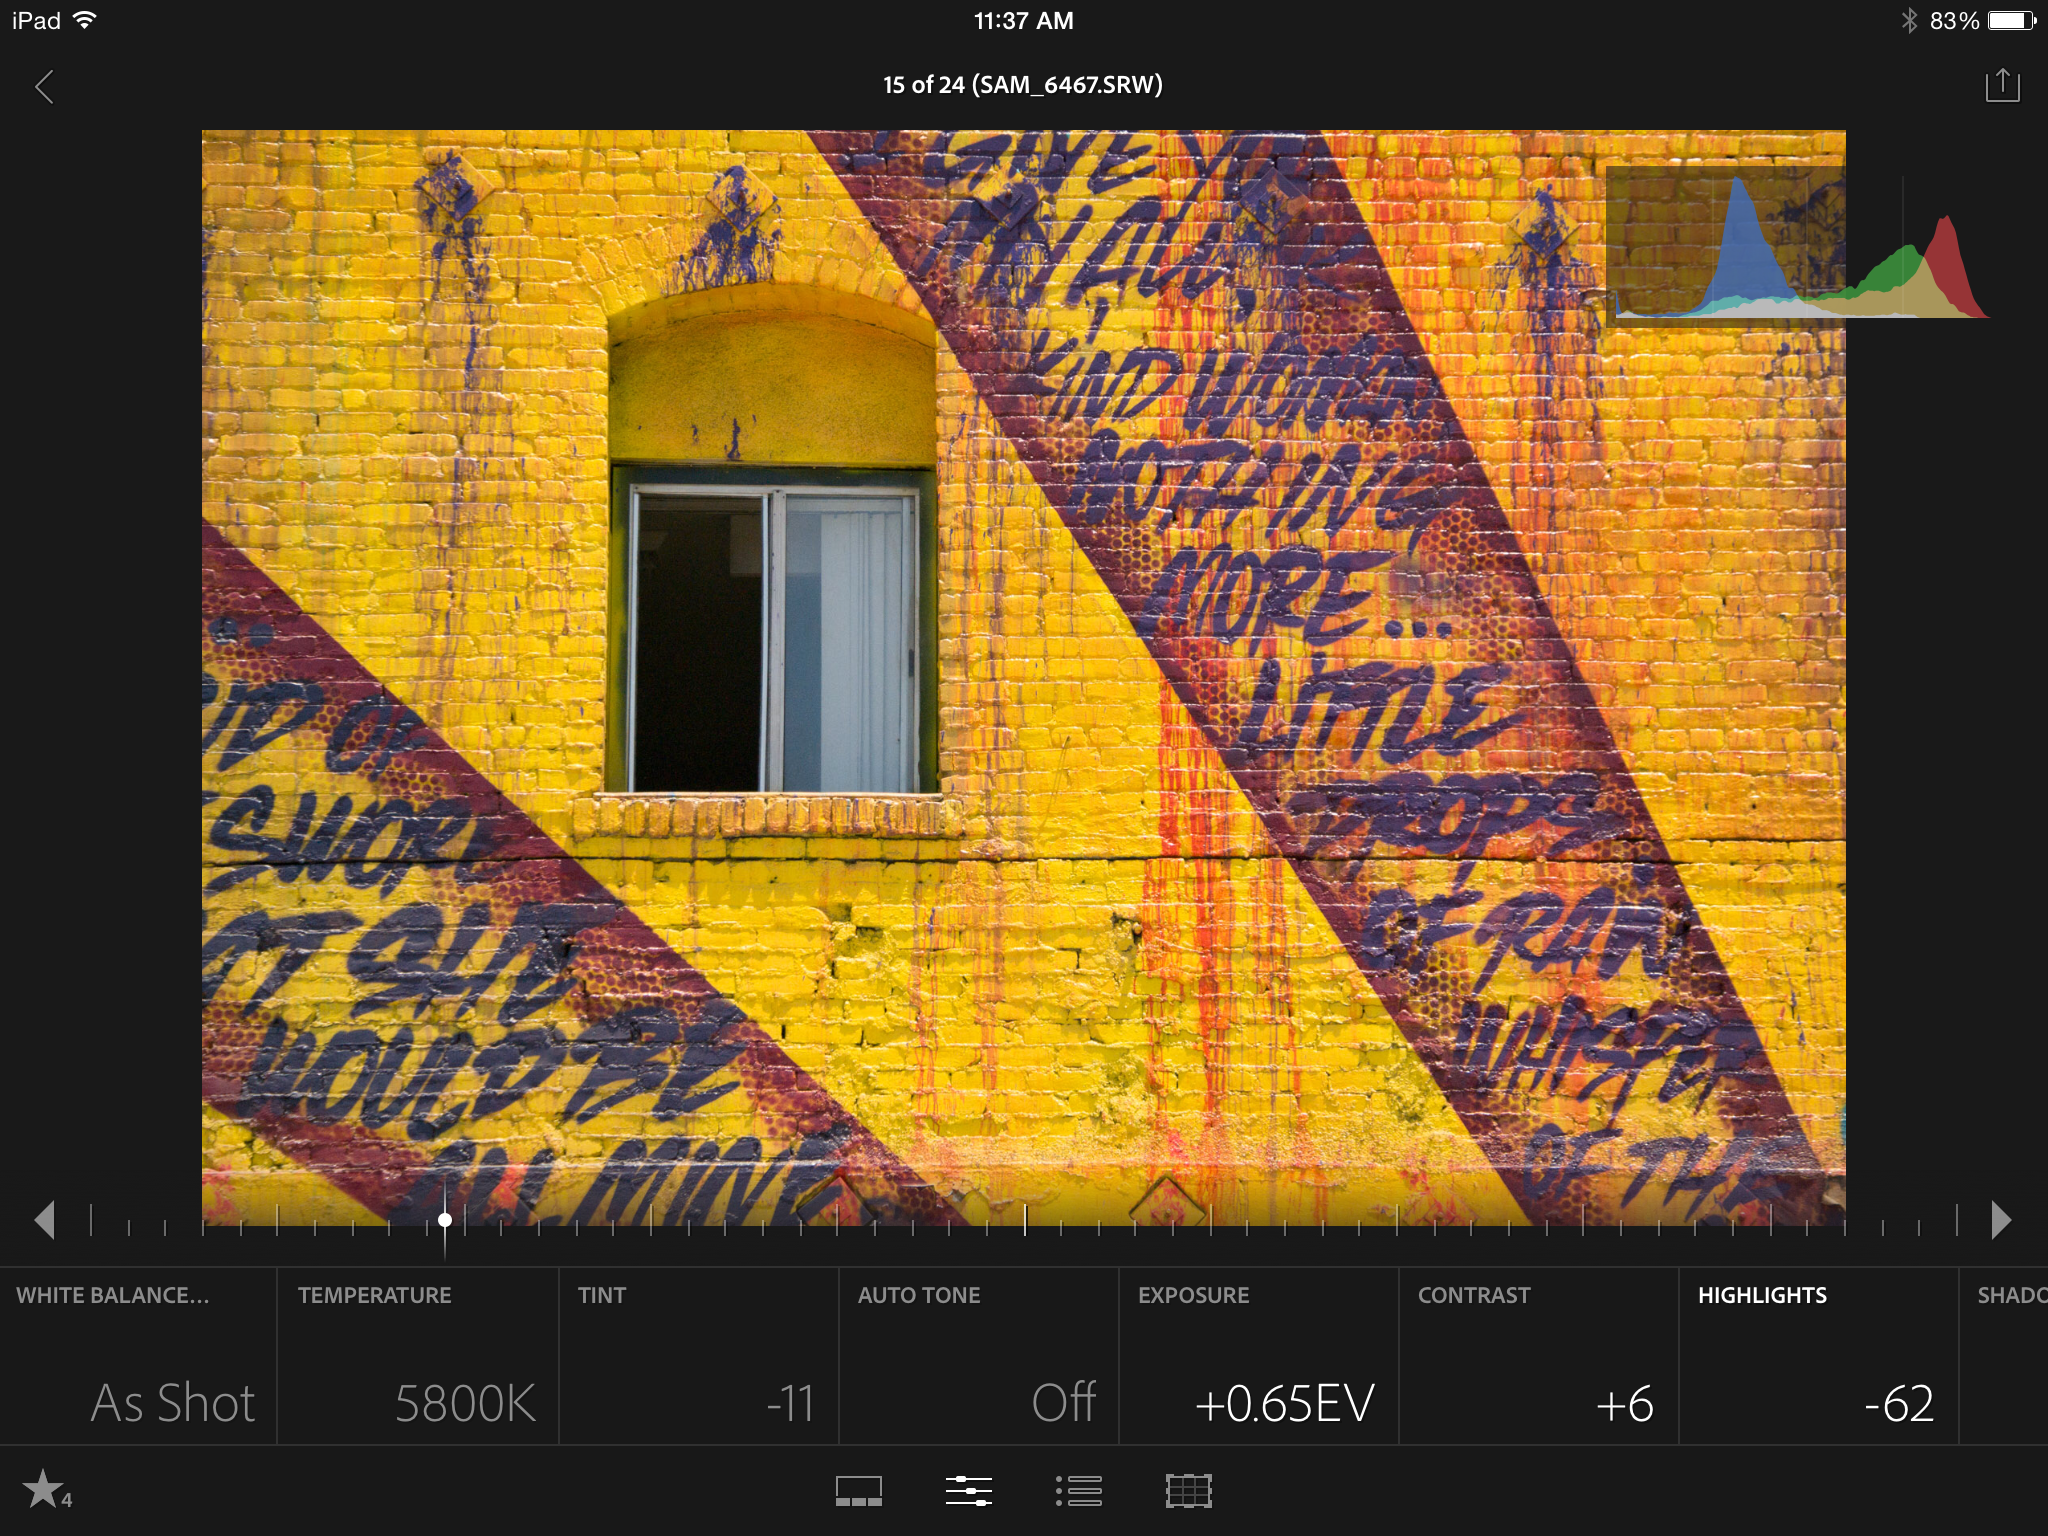
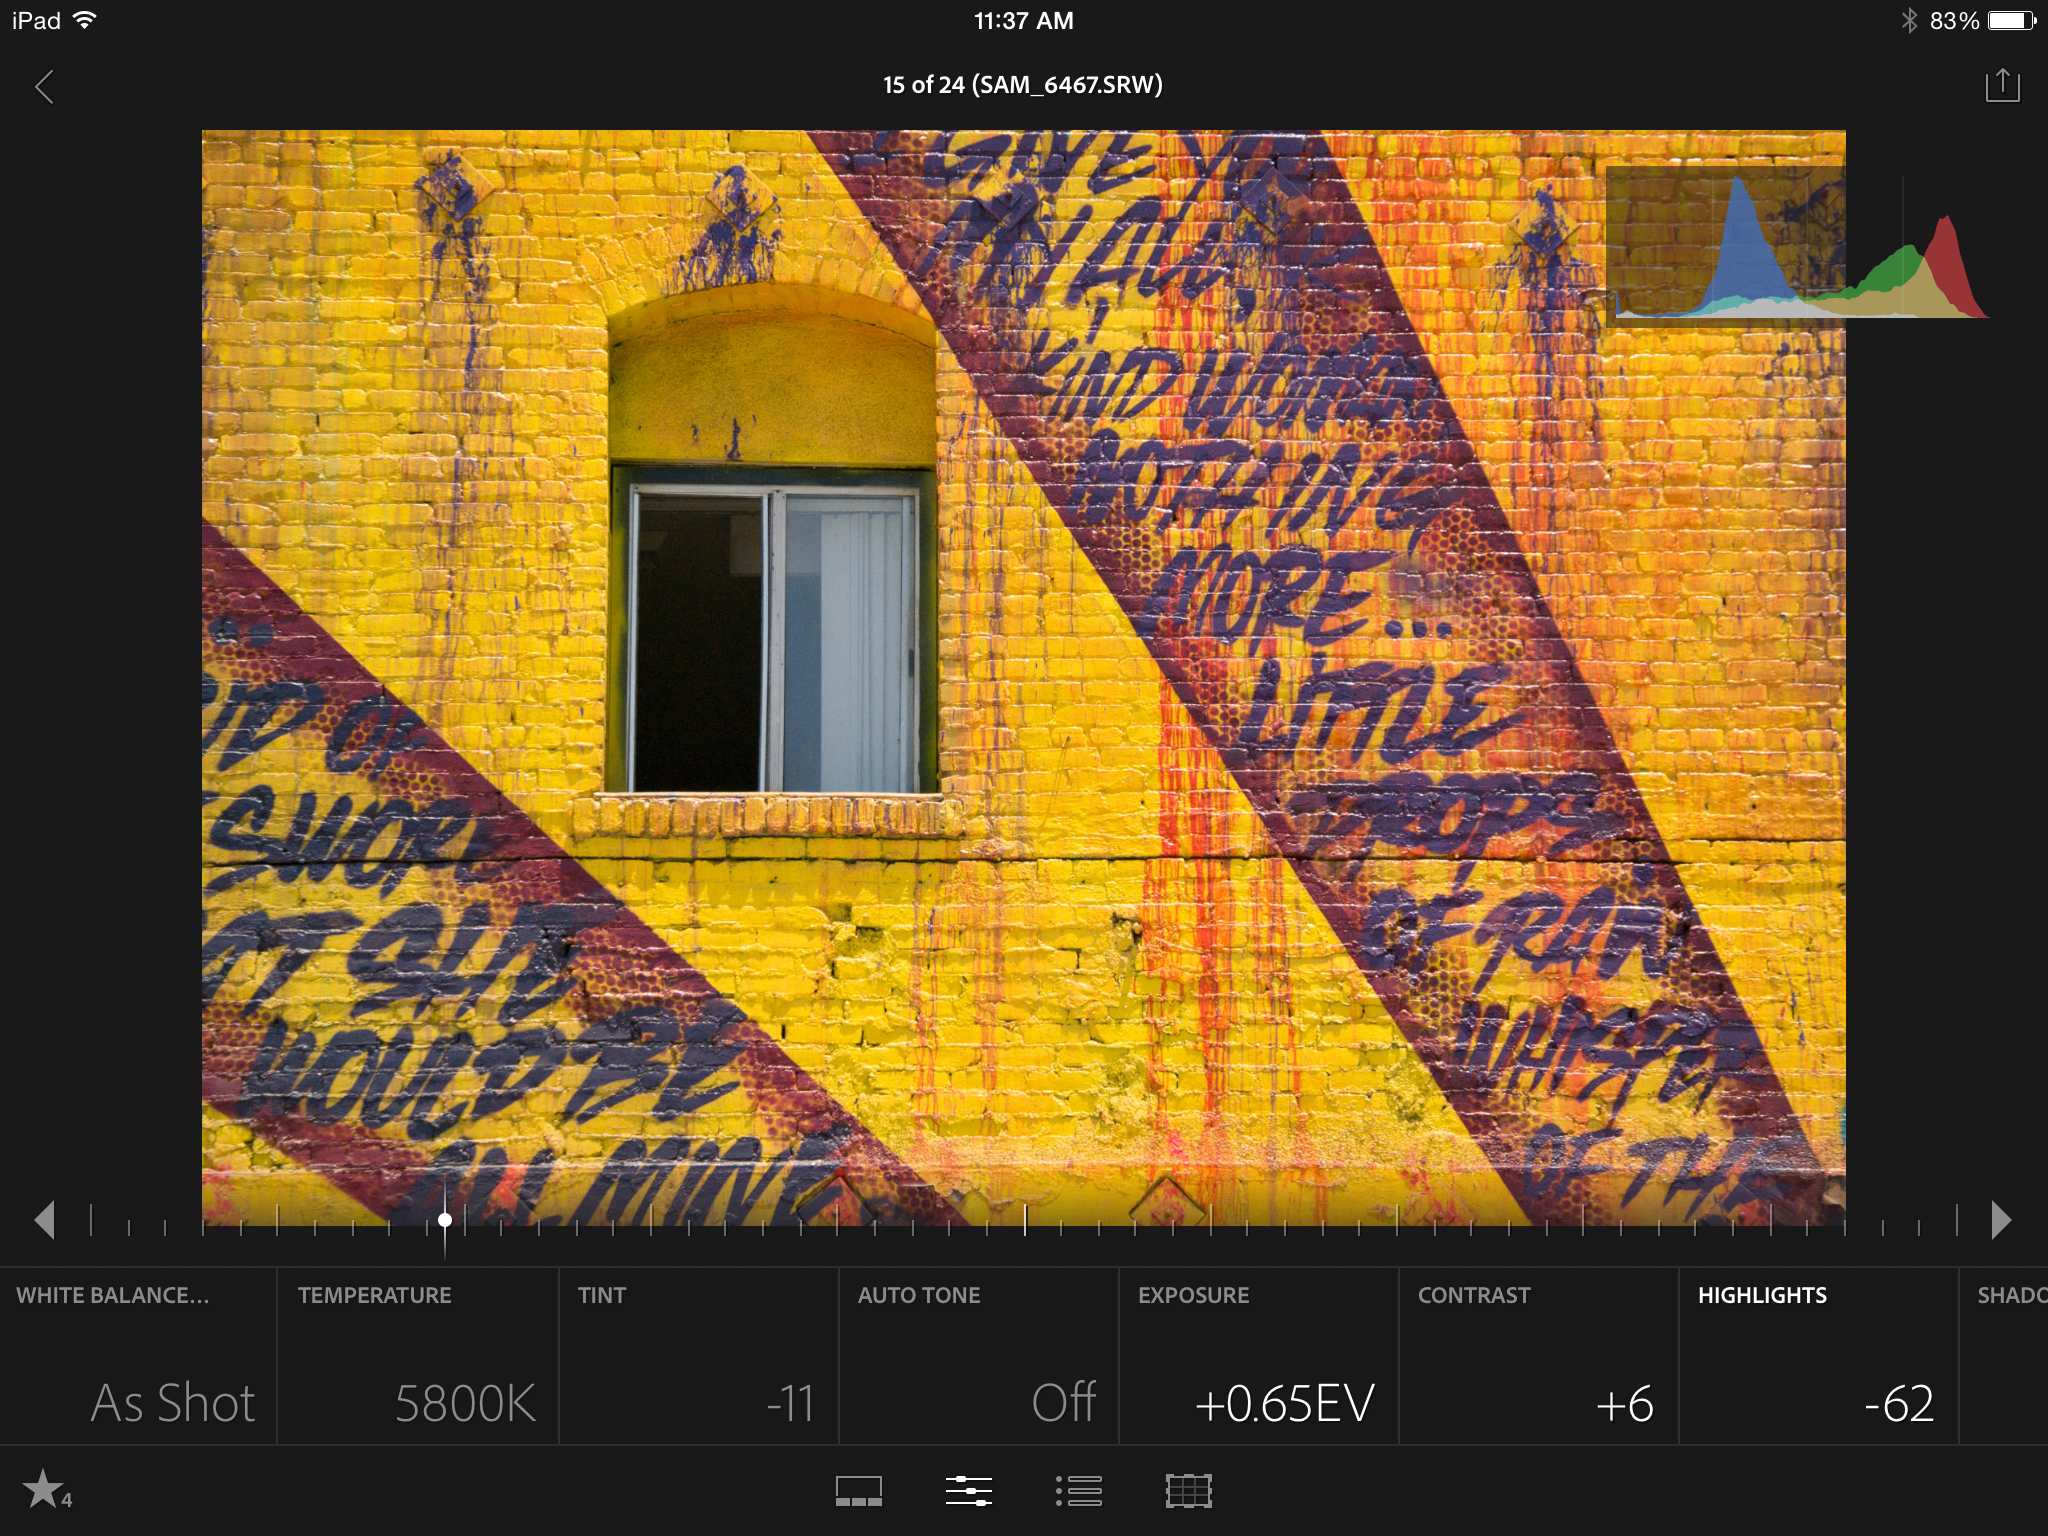
    So I’m 2 months in, and once I got over the whole ’subscription’ thing, the process has actually made my workflow easier, and that’s due in large part to the feature set that they offer in the Creative Cloud, most notably, the syncing with the new Lightroom mobile. This workflow, Lightroom mobile, on an iPad mini? It’s simply divine. Instead of laying on the couch feeling lazy and proscrastinaty, now I’m actually getting work done. I’m able to star, flag, and pre-edit my images, and when I do finally decide to act like a ’true professional’ and get up off the couch, and walk to the computer, or head into to the office or studio the next day, what a treat to see that all the edits have automatically synced with Lightroom on the desktop…I mean…c’mon! That alone might be worth the 10 bucks a month.

    So yes, needless to say, so far, I’m happy I made the switch. Adapt or die right? I’ve still got some gotcha in me hot damnit!

    Anyhow, click here to get in on the action!

    For more of my madness:
    Instagram: @wasimofnazareth
    Twitter: @wasimofnazareth
    Google+: www.Google.com/+WasimMuklashy
    Facebook: www.Facebook.com/WasimOfNazareth
  • Cover Your Bases – Here Are Some Of The Best Photographers Insurance Options

    Cover Your Bases – Here Are Some Of The Best Photographers Insurance Options

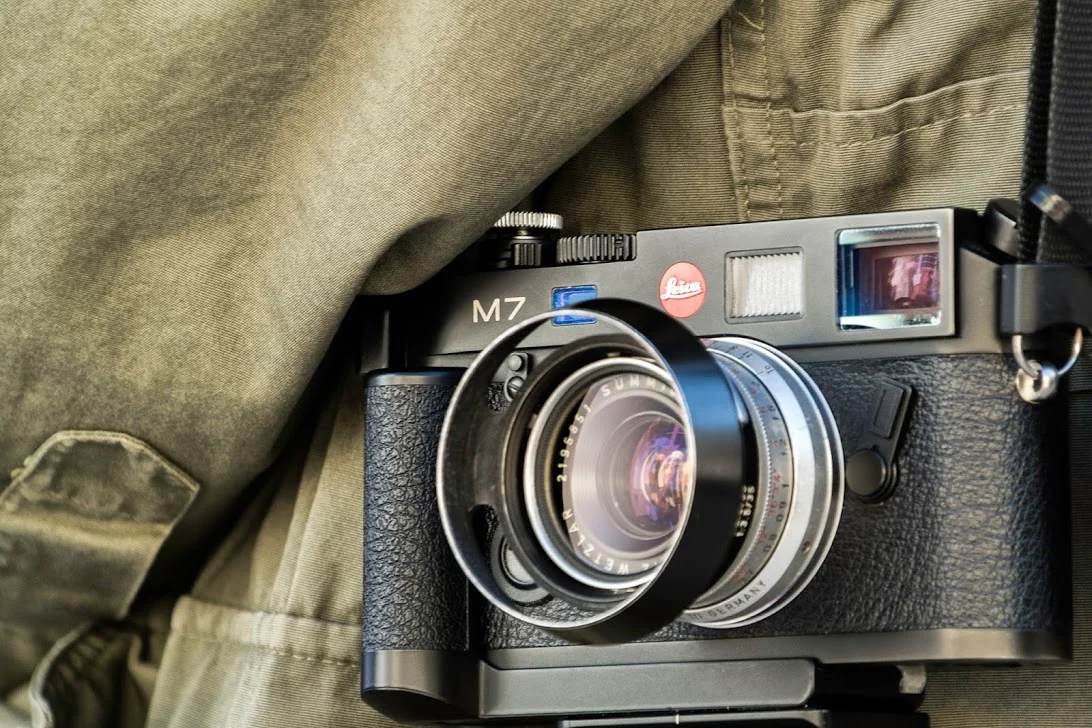
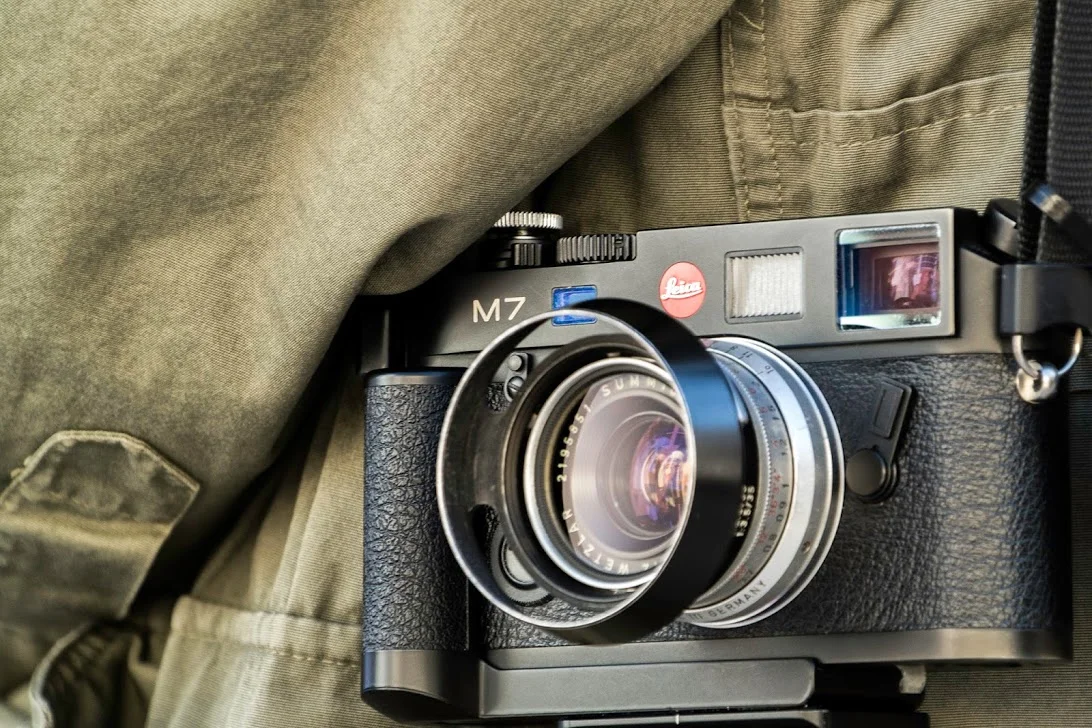
    Wasim of Nazareth_Wasim Muklashy Photography_Leica_M7_SAM_4044-Edit

    Photographers bread and butter depends 100% on their camera and their camera gear, and the simple fact that this gear must be on our backs at all times, very often in sketchy situations and locations, lends to the necessity of insurance for their gear. There are many options for insurance tailored to photographers and creatives, so here are a few of those to check out:

    Professional Photographers of America (PPA). Well known and well-established, the PPA is a great choice for photographers seeking insurance. They’ve been around since 1880. Yes, you read that right EIGHTEEN EIGHTY, and that puts them in a unique position to know and cater to photographers needs since, well, photography existed. The one catch here is that you need to be a PPA member to reap the benefits of PPA photographers insurance. However, with membership dues running between 273-323 per year, that includes a host of additional benefits, it’s a small price to pay to cover up to $15,000 of your equipment. Click here to check em out.

    Hill & Usher – This 20 year old company started off as just a construction-insurance company, and has since expanded to all sorts of industries and niches, including photography with their specialized Insurance for Media Professionals Package Choice. They have options for everything from personal gear to full studio insurance. Premiums range between 4-500 dollars depending on location and other factors including how much coverage you need. Click here for more information.

    Tom Pickard Insurance (TCP Insurance) – Tom Pickard Insurance specialized in Photographer Insurance, with both long term and short term policies available. Long term insurance is about $500 for the year, which includes portfolio and computer equipment coverage, which is very competitive and reasonable. Check them by clicking here.

    Homeowners/ Renters Insurance – Another option is to look into your homeowners or renter’s insurance policies. Oftentimes they cover a good portion of your gear, with some restrictions, and if it’s not on your policy, it’s worth asking, because chances are good they’ll have an offering or be able to refer you. I mean, after all, have you ever heard of an insurance company that would turn down business?

    Additionally, if you’re a member of the American Society of Media Professionals (ASMP), or American Photographic Artists (APA), they also have access to resources to lead you in trusted directions for photographer insurance, so it’s worth asking them before you choose one of the above options.

    And finally, make sure to also register your equipment with Lenstag as an additional useful (and free) precautionary measure. Click here for a bit about that!

    Hopefully this information will help you rest assured that no matter what photography psychotica situation you might find yourself in, someone’s got your back!

    For more of my madness:
    Instagram: @wasimofnazareth
    Twitter: @wasimofnazareth
    Google+: www.Google.com/+WasimMuklashy
    Facebook: www.Facebook.com/WasimOfNazareth
  • A Monday Motivational Kick In The Yahoo – July 28, 2014

    A Monday Motivational Kick In The Yahoo – July 28, 2014

    Wasim Muklashy Photography_California_Samsung NX30_-SAM_1595_1500

    “If you see the illusion you are enlightened,

    but if you think that you are enlightened,

    you are in the illusion!”

    -Papaji

    **

    From me to you,
    There’s This Week’s

    Monday Kick In The Yahoo!

    **

    Do It!

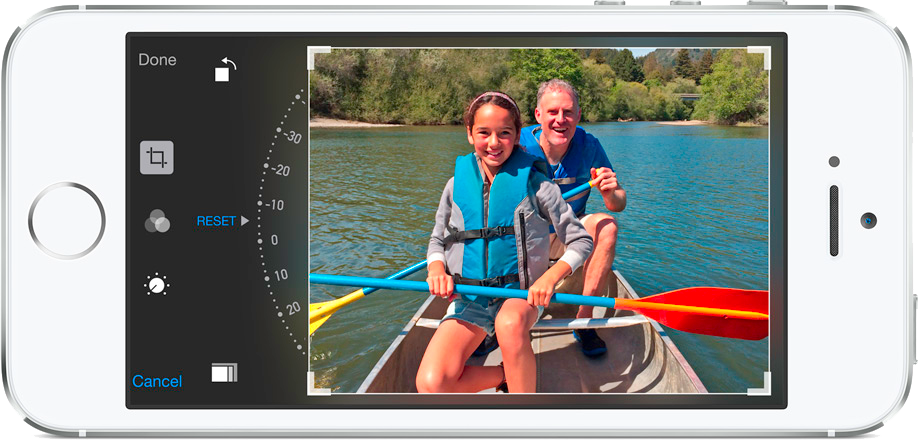
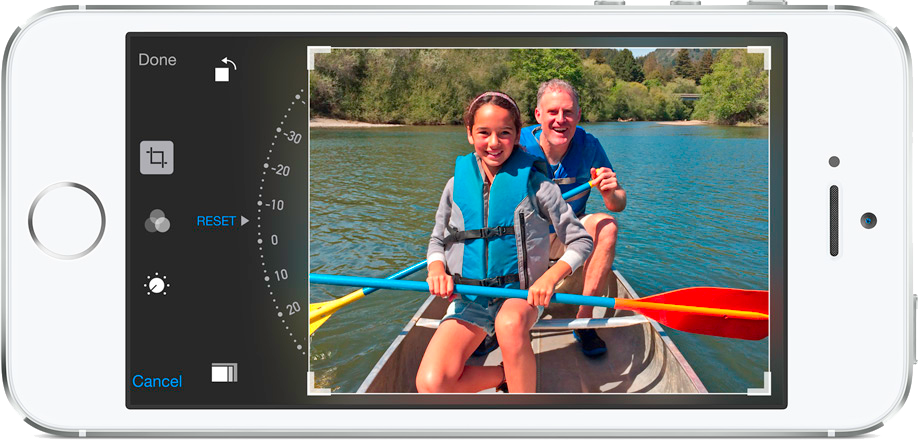
  • Why Apple iOS 8 Will Create Better Photographers

    Why Apple iOS 8 Will Create Better Photographers

    Apple_iOS 8_Manual Camera Controls_Capture_Composition

    With Apple opening up controls to iPhone’s native camera in the soon-to-be-released iOS 8, allowing access to manual photo controls, and the fact that the iPhone camera is already the most popular camera phone, we might just see a significant uptick in the quality of all those selfies and your coworkers lunches, cats, and margaritas (well that depends on how many margaritas I suppose).
    Most people that use their iPhones as cameras use the native app, and with that comes no controls other than aspect ratio and front or rear facing camera, and most third party apps that offer some version of manual controls proving either clunky or digitally over-ambitious at best. But now, with iOS 8, they’re going to see a lot of options that they may have never even heard of before.

    “To be clear, iOS 8 will expose just about every manual camera control possible,” a recent AnandTech report states. “This means that ISO, shutter speed, focus, white balance, and exposure bias can be manually set within a custom camera application. Outside of these manual controls, Apple has also added gray card functionality to bypass the auto white balance mechanism and both EV bracketing and shutter speed/ISO bracketing.”

    As the uninitiated shutter-flies begin messing with these controls out of curiosity, or even perhaps simple boredom, they’ll notice two things:

    1. Some of their pictures are getting better.

    2. Some of their pictures are getting worse.

    And if you really stop to think about it, that’s the same thing that happens when an aspiring professional photographer begins using manual controls, leading him/her to really discern what the differences are in those settings in order to get a higher percentage of images to their liking. If all goes well, this can inevitably lead to a higher percentage of better images being shared! A good thing for Apple, a good thing for their compeition, and most importantly, a good thing for photography.

    For more of my madness:
    Instagram: @wasimofnazareth
    Twitter: @wasimofnazareth
    Google+: www.Google.com/+WasimMuklashy
    Facebook: www.Facebook.com/WasimOfNazareth