
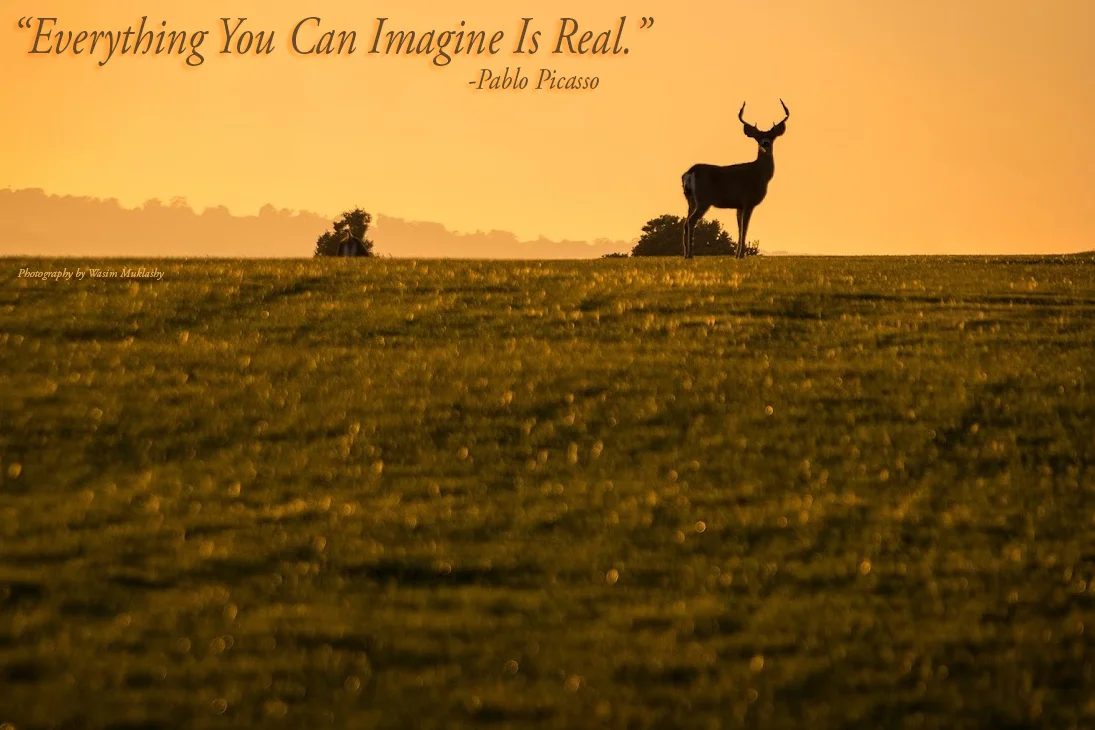
“Everything You Can Imagine Is Real.” -Pablo Picasso
*
Mmmhmm – This Week’s Motivational Kick In The Yahoo!
*
Design!
“Everything You Can Imagine Is Real.” -Pablo Picasso
*
Mmmhmm – This Week’s Motivational Kick In The Yahoo!
*
Design!
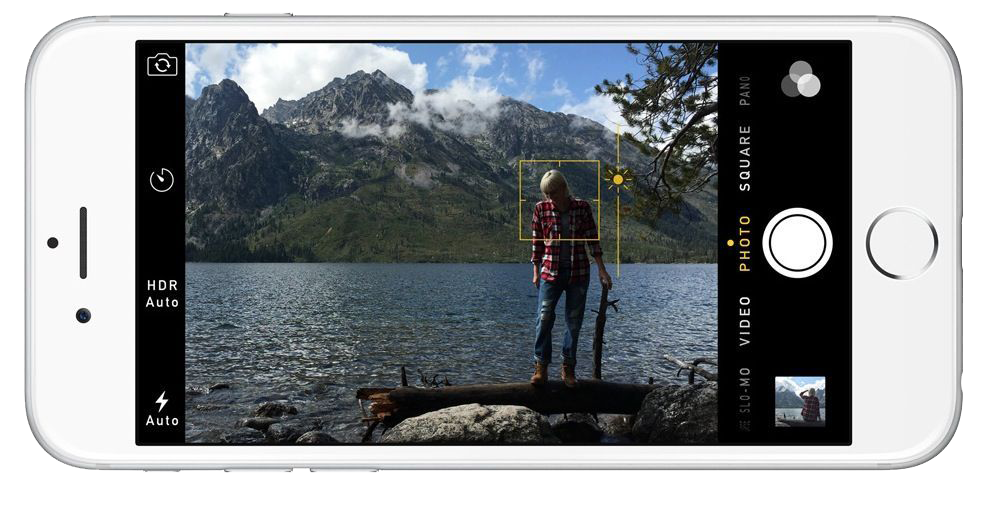
So as we already know, Apple has opened up it’s manual camera controls for developers and users in it’s new iOS 8. What this means for pro photographers is that they can finally take charge of their images similar to the way that they’re used to with their professional gear. What this means for amateur photographers and those who use their iPhone to snap their lives’ memories, is that they’re going to be insanely confused at first and wonder what the hell it all means and why can’t they just point and click like they were used to. But then, as they start to play with it all, they’ll realize they’re getting better images, and start to wonder why. So, to minimize that time between ‘wtf’ and ‘oh wow,’ here is a quick breakdown of the Apple iOS 8 manual camera controls that developers will have access to – what it all means and what it all does:
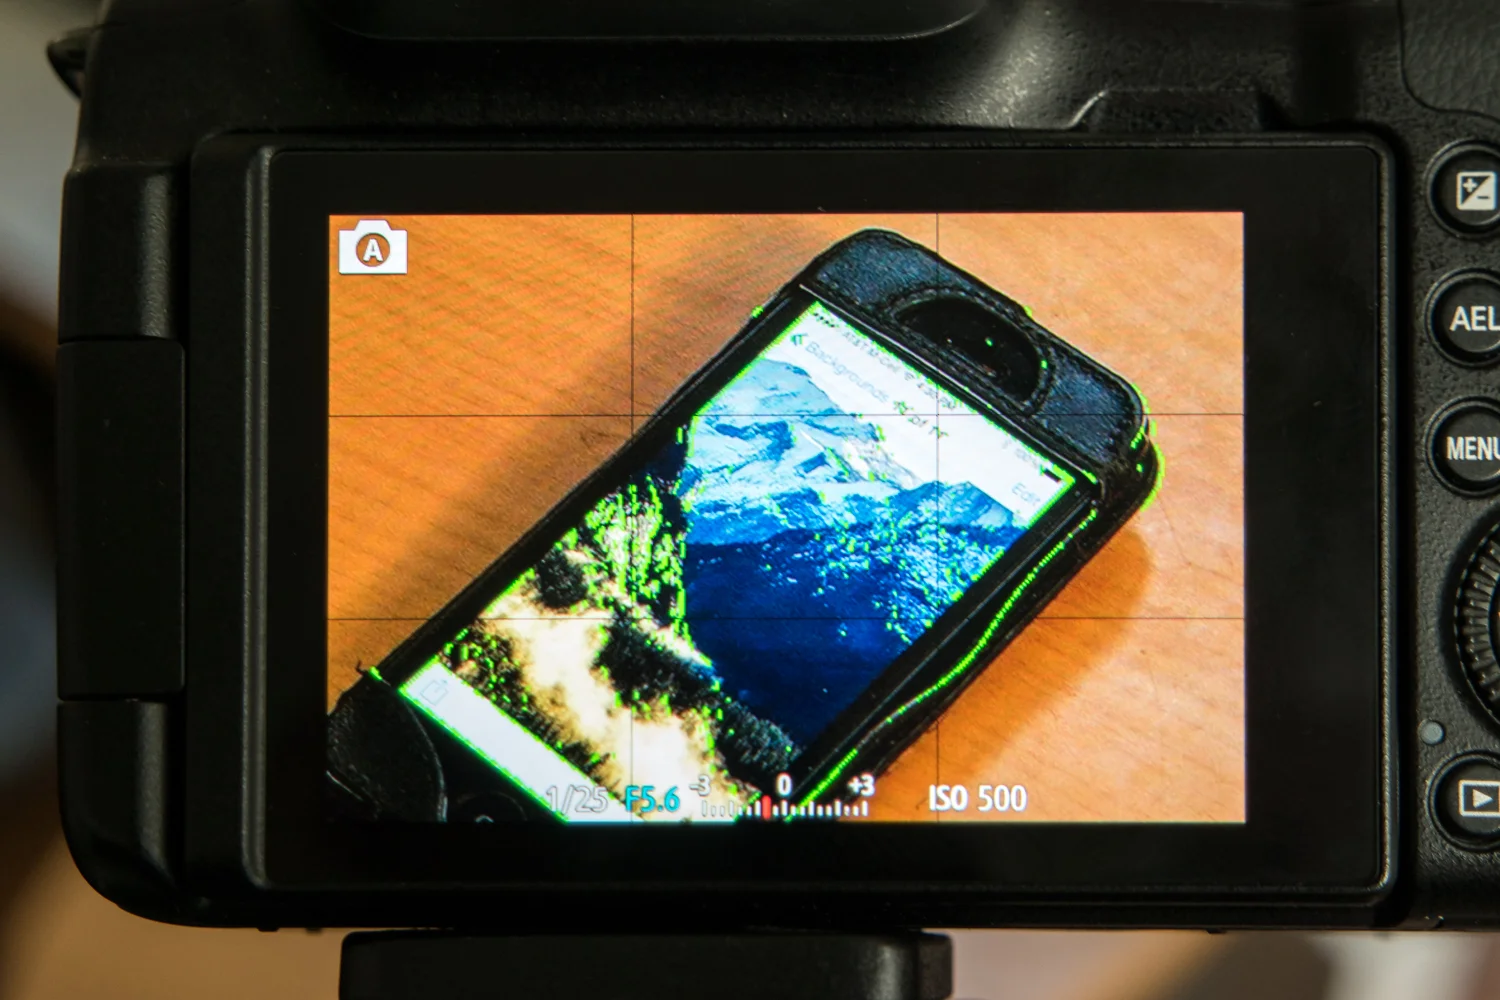
1 Manual Focus – As anyone that has used one knows, iPhones already provide a great and mostly accurate focusing system. Chances are, your shot will focus where you want it to and it’ll look great. But sometimes, having that extra control over focus is what can add that extra punch to an image. For example, if you want to have the entire photo blurry for artsy purposes, you’ll need manual focus. If you want to focus on a detail that’s too small for the camera to pick up on, you’ll need manual focus. Apple finally provides that control with iOS 8. The fact that focus peaking is part of it is a HUGE plus. Basically, the screen will show colored pixels on the part that is in focus so you know you’re getting exactly what you want in focus.
2 Manual Exposure – So as you compose your shot, you can now manually expose by sliding your finger up or down to increase or decrease exposure/brightness. Again, the camera does a great job already, but sometimes you want things brighter or darker, or you want to expose for a certain part of the scene while focusing on another. With iOS 8, you now have that control as well, putting you in charge of exactly what your image will look like, not what Apple thinks your image should look like.
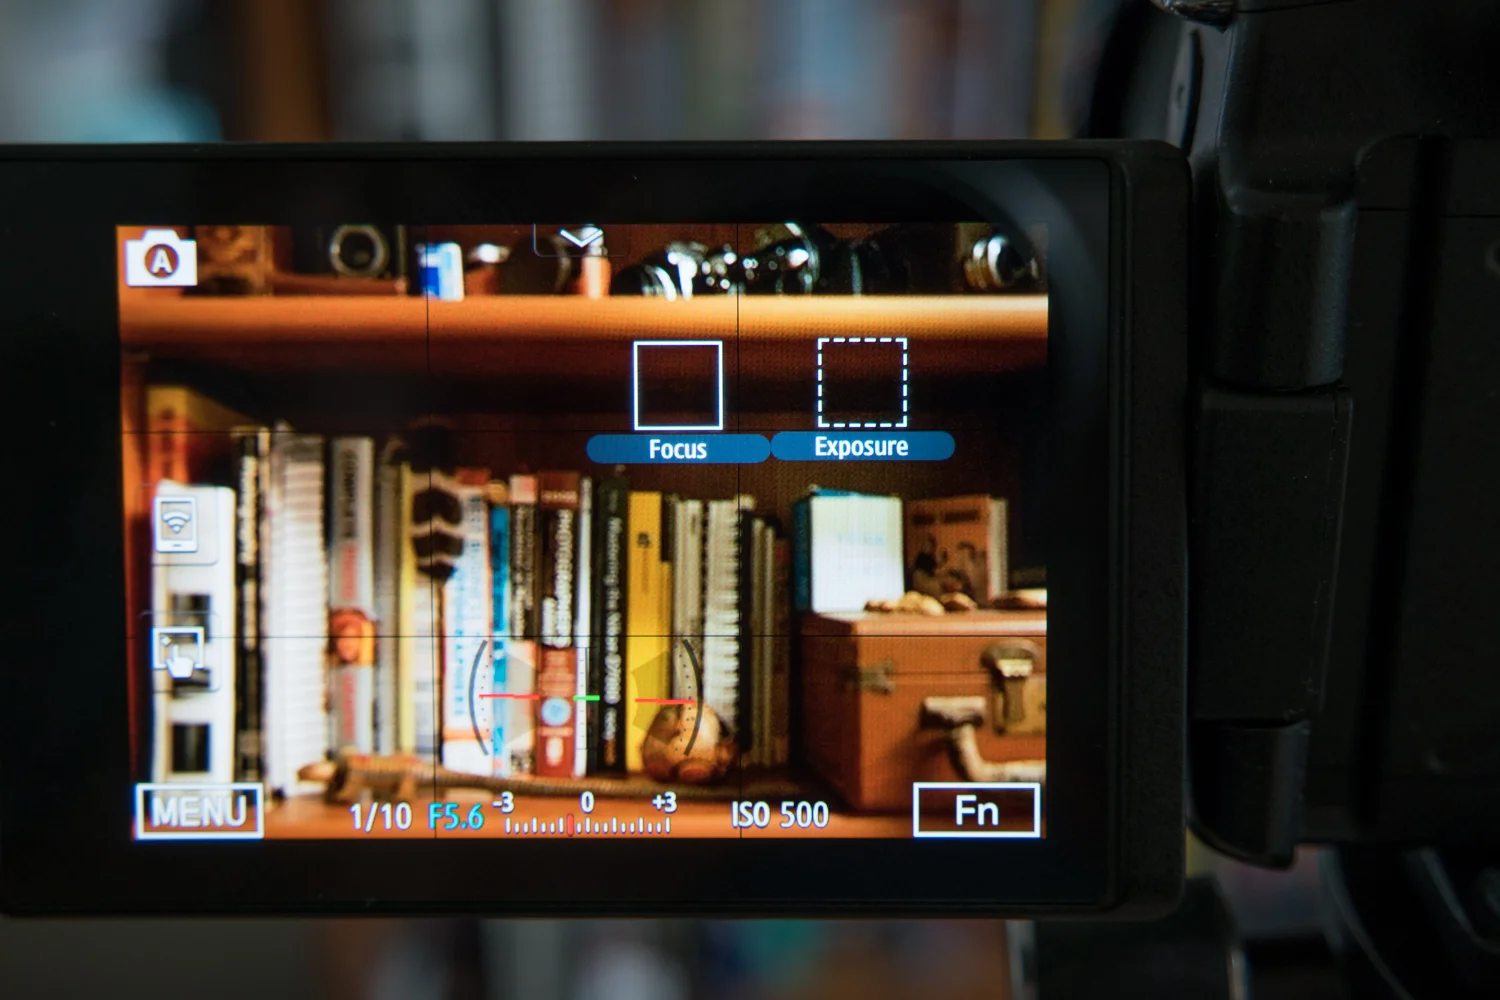
3 Exposure Compensation – Most professional photographers live by Exposure Compensation. It’s why that little button lies so close to the top of the camera body for easy access on just about every single SLR or DSLR model available. Basically, instead of having to get too deep in the manual settings, if you need the scene just a bit brighter or darker, you can use exposure compensation to slightly make up for how you’d like the image to turn out by nudging it brighter or darker. It’s measured in ‘f-stops’, so basically, if you go up +1, it’ll double the brightness, if you go -1, it’ll halve the brightness.
4 ISO – This stands for International Standards Organization. You don’t need to know that. All you need to know is that when you increase the ISO, it increases the light sensitivity on the sensor, meaning, the higher the ISO number, the more light will be exposed to the sensor. Essentially, you can take pictures in lower light using a higher ISO. This also means that the shutter will fire faster, meaning, less time for a moving subject to be blurry, increasing the chance of capturing a sharp image. The trade-off is that, the higher the ISO, the more noise will show up in your images, basically, making them more grainy. However, by having this control manually, you’ll get the option to choose whether or not getting that shot in the bar is truly worth a bit of grain, versus not getting that shot at all.
5 Shutter Speed – Plainly put, shutter speed is exactly that…how fast the shutter fires, or, how much time it stays open to let light onto the sensor (take a picture). Some of those applications could range from long-shutter exposures to get that milky water or car-light-stream effects. Up until now, you had to rely on the camera deciding what is the best shutter speed to get a proper exposure for the image you’re capturing, allowing little to creativity and experimentation with slow or fast shutter speeds. With Apple extending the API to include control over shutter speed, third party apps will have an easier task in allowing you to control this critical element of a photographic exposure. Provided you have a tripod, or some method to stabilize the iPhone (since anything slower that 1/60 of a second shutter speed will likely introduce some blur if handheld), you’ll soon be able to get those milky water and car streamy lighty shots on your phone.
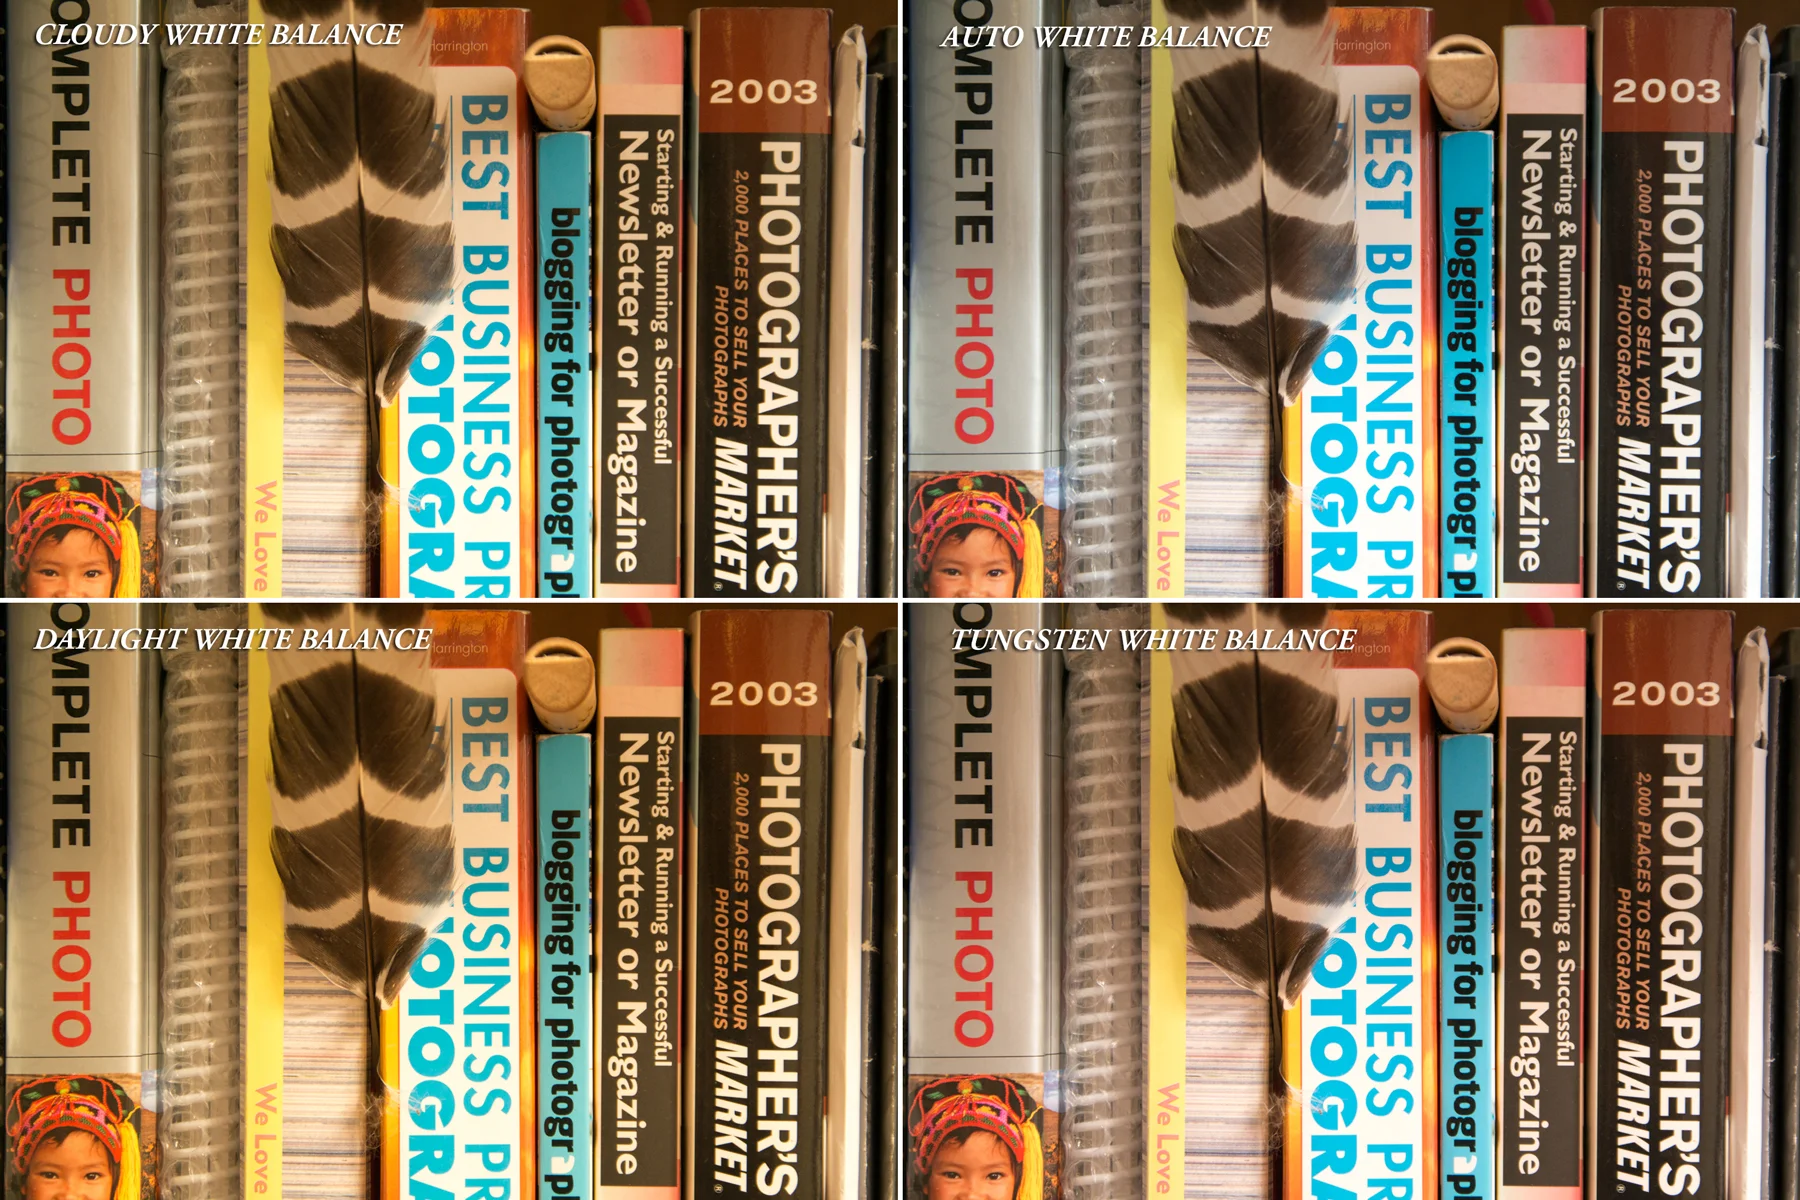
6 White Balance – Professional photographers have been fussing over white balance for as long as photography has existed. And now, iOS 8 users who aren’t familiar with the professional world, will find out why for themselves. While cameras have been becoming increasingly better at determining what true white point in an image is in order to give proper color to the rest of the image, they’re still not perfect. And with manual control over white balance, you can determine what sort of setting you’re shooting in, and modify and adjust white balance to make sure the whites are white and the other colors in the image follow suit.
The best part of all this is that Apple has left the camera open to 3rd party developers as well, so we’re going to start seeing some features that have existed in high-end DSLRs and mirror less cameras, show up on our iPhones. As a matter of fact, as of the writing of this post, ProCam has become the first app to already release a version, ProCam 2, taking advantage of much of these features.
And to find out why all this matters, check out my take on Why Apple iOS 8 Will Create Better Photographers.
For more of my madness: Instagram: @wasimofnazareth Twitter: @wasimofnazareth Google+: www.Google.com/+WasimMuklashy Facebook: www.Facebook.com/WasimOfNazareth
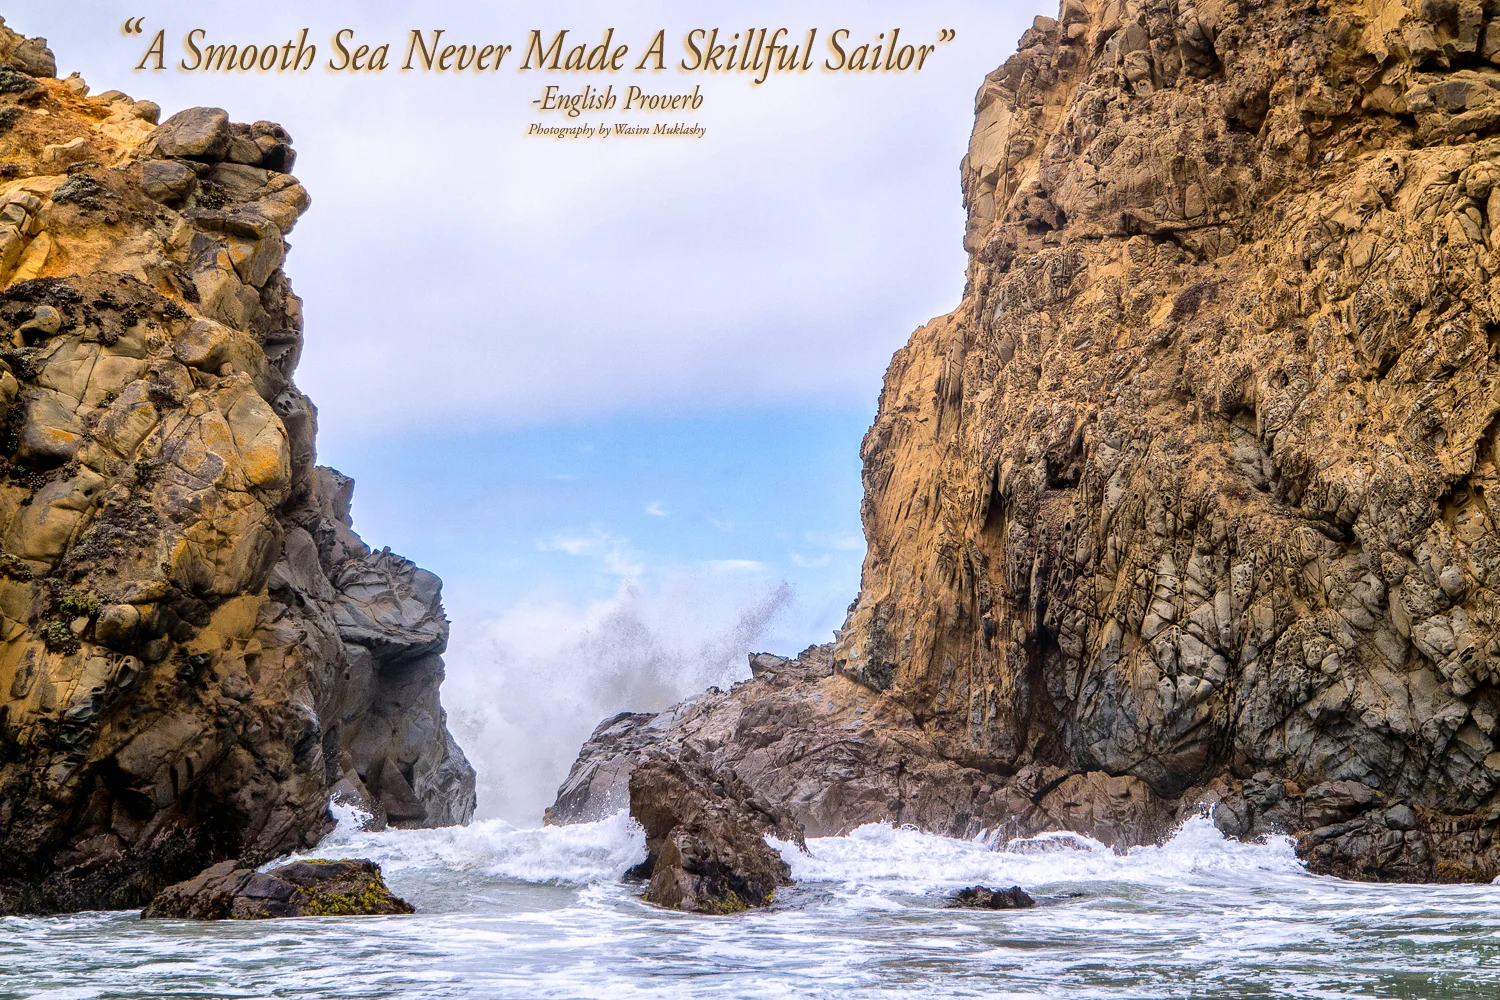
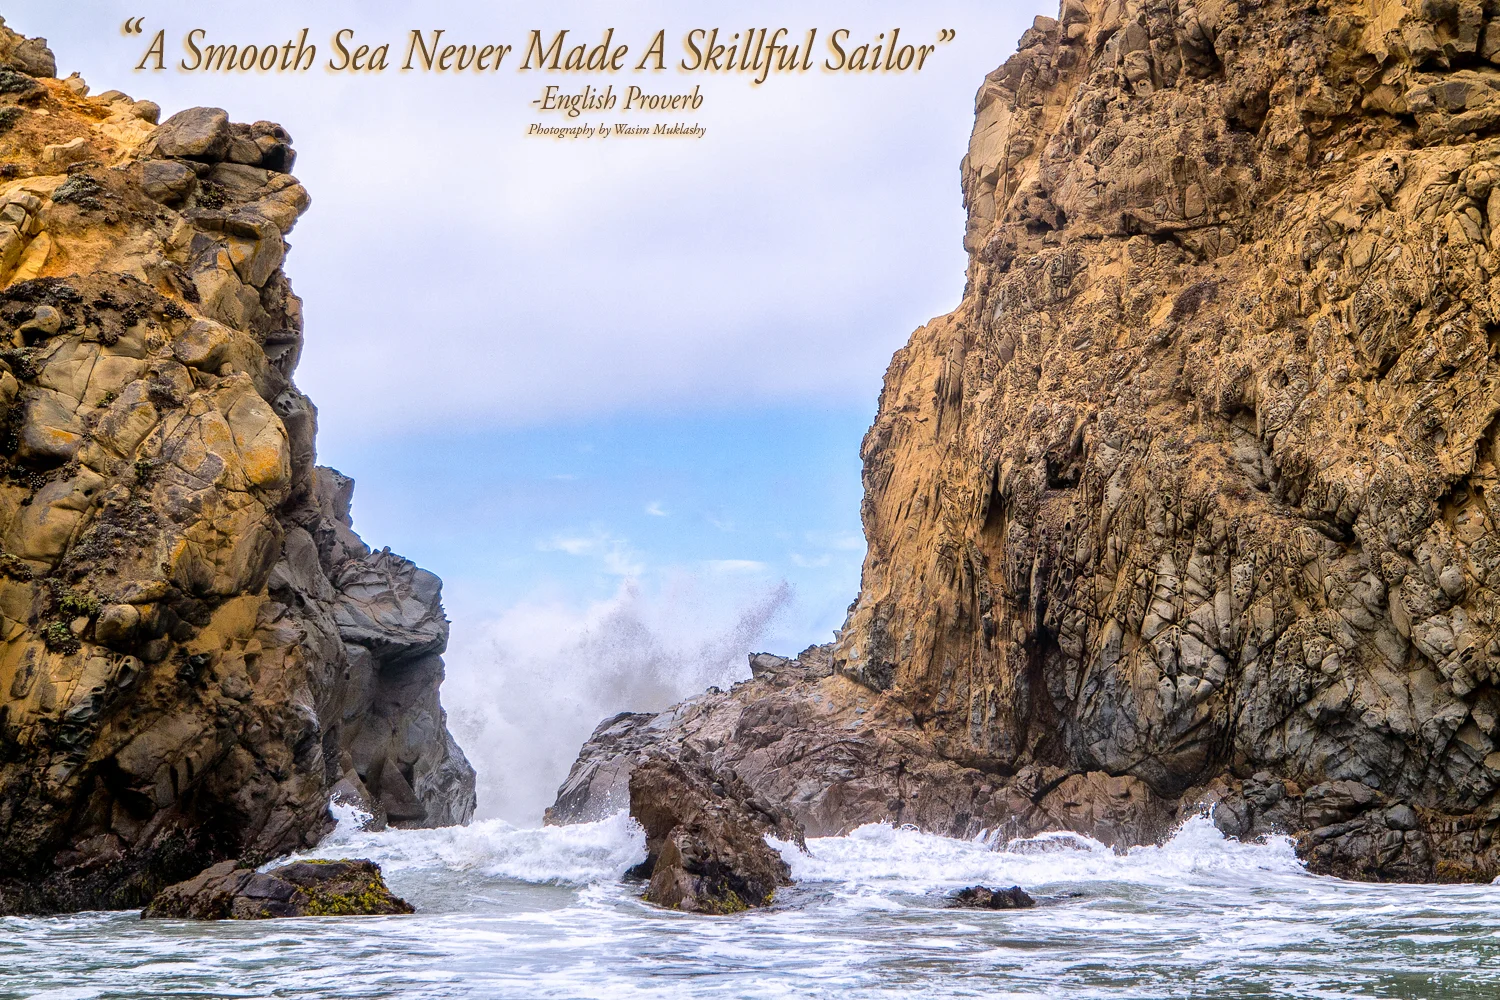
“A Smooth Sea Never Made A Skillful Sailor.” -English Proverb
**
There it is – This Week’s Motivational Kick In The Yahoo!
**
Ahoy!
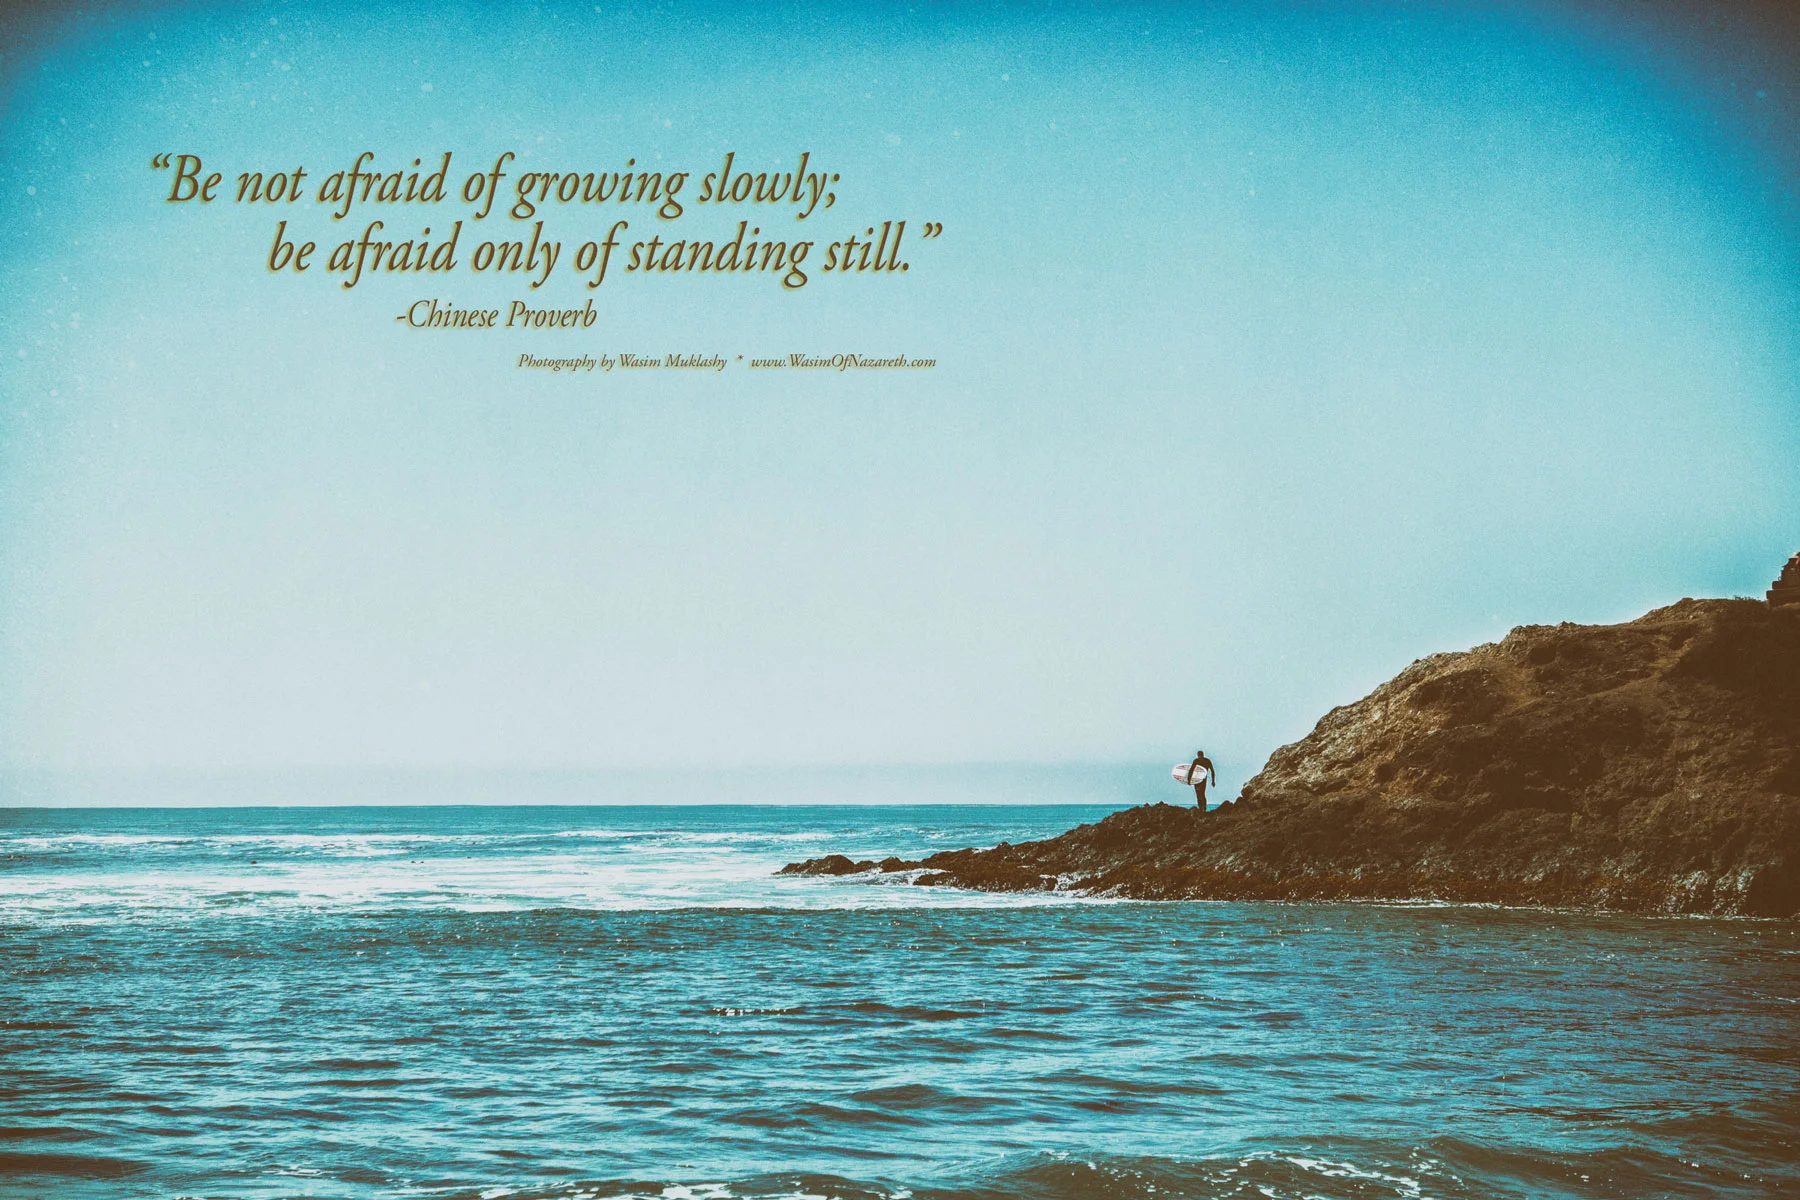

“Be not afraid of growing slowly; be afraid only of standing still.” -Chinese Proverb
**
There it is – This Week’s Motivational Kick In The Yahoo!
**
Move!
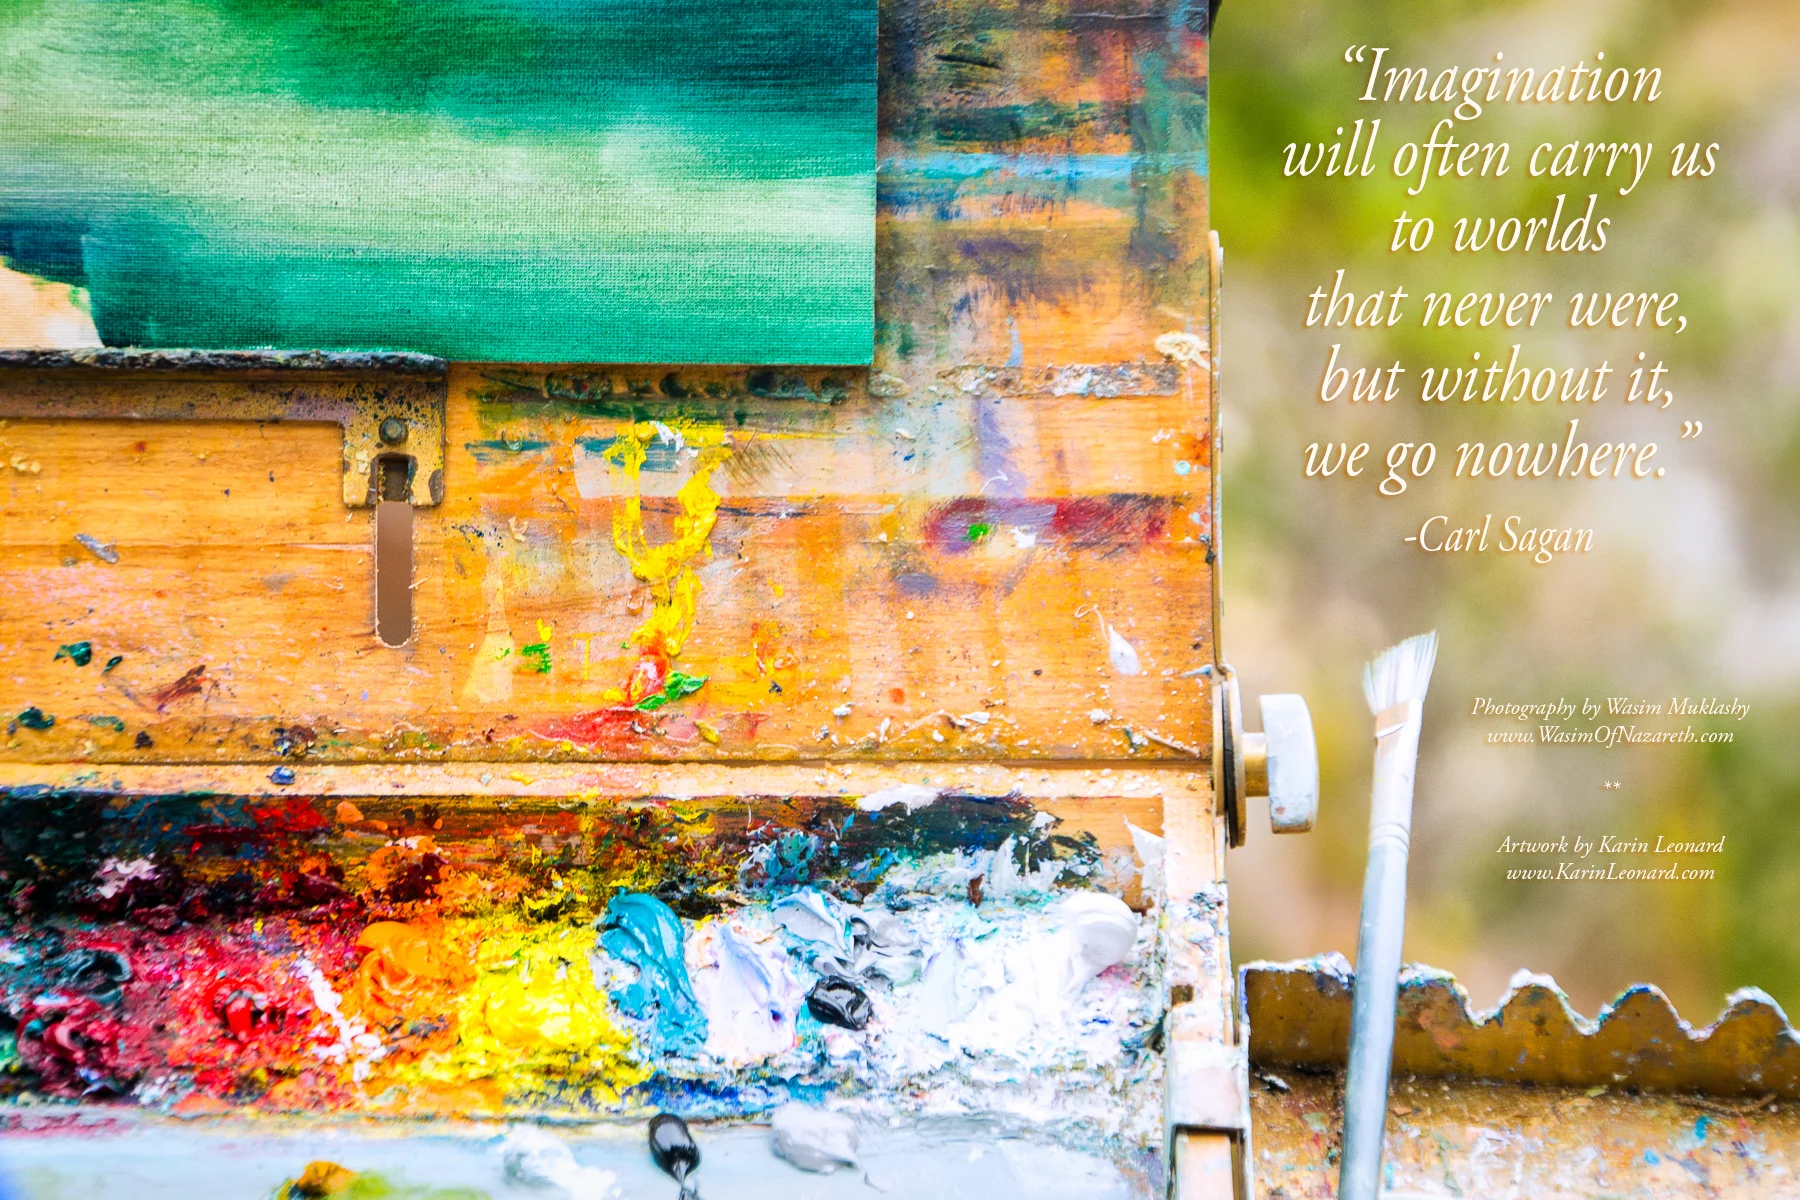

“Imagination will often carry us to worlds that never were, but without it, we go nowhere.” -Carl Sagan
**
There it is – This Week’s Motivational Kick In The Yahoo!
**
Dream!
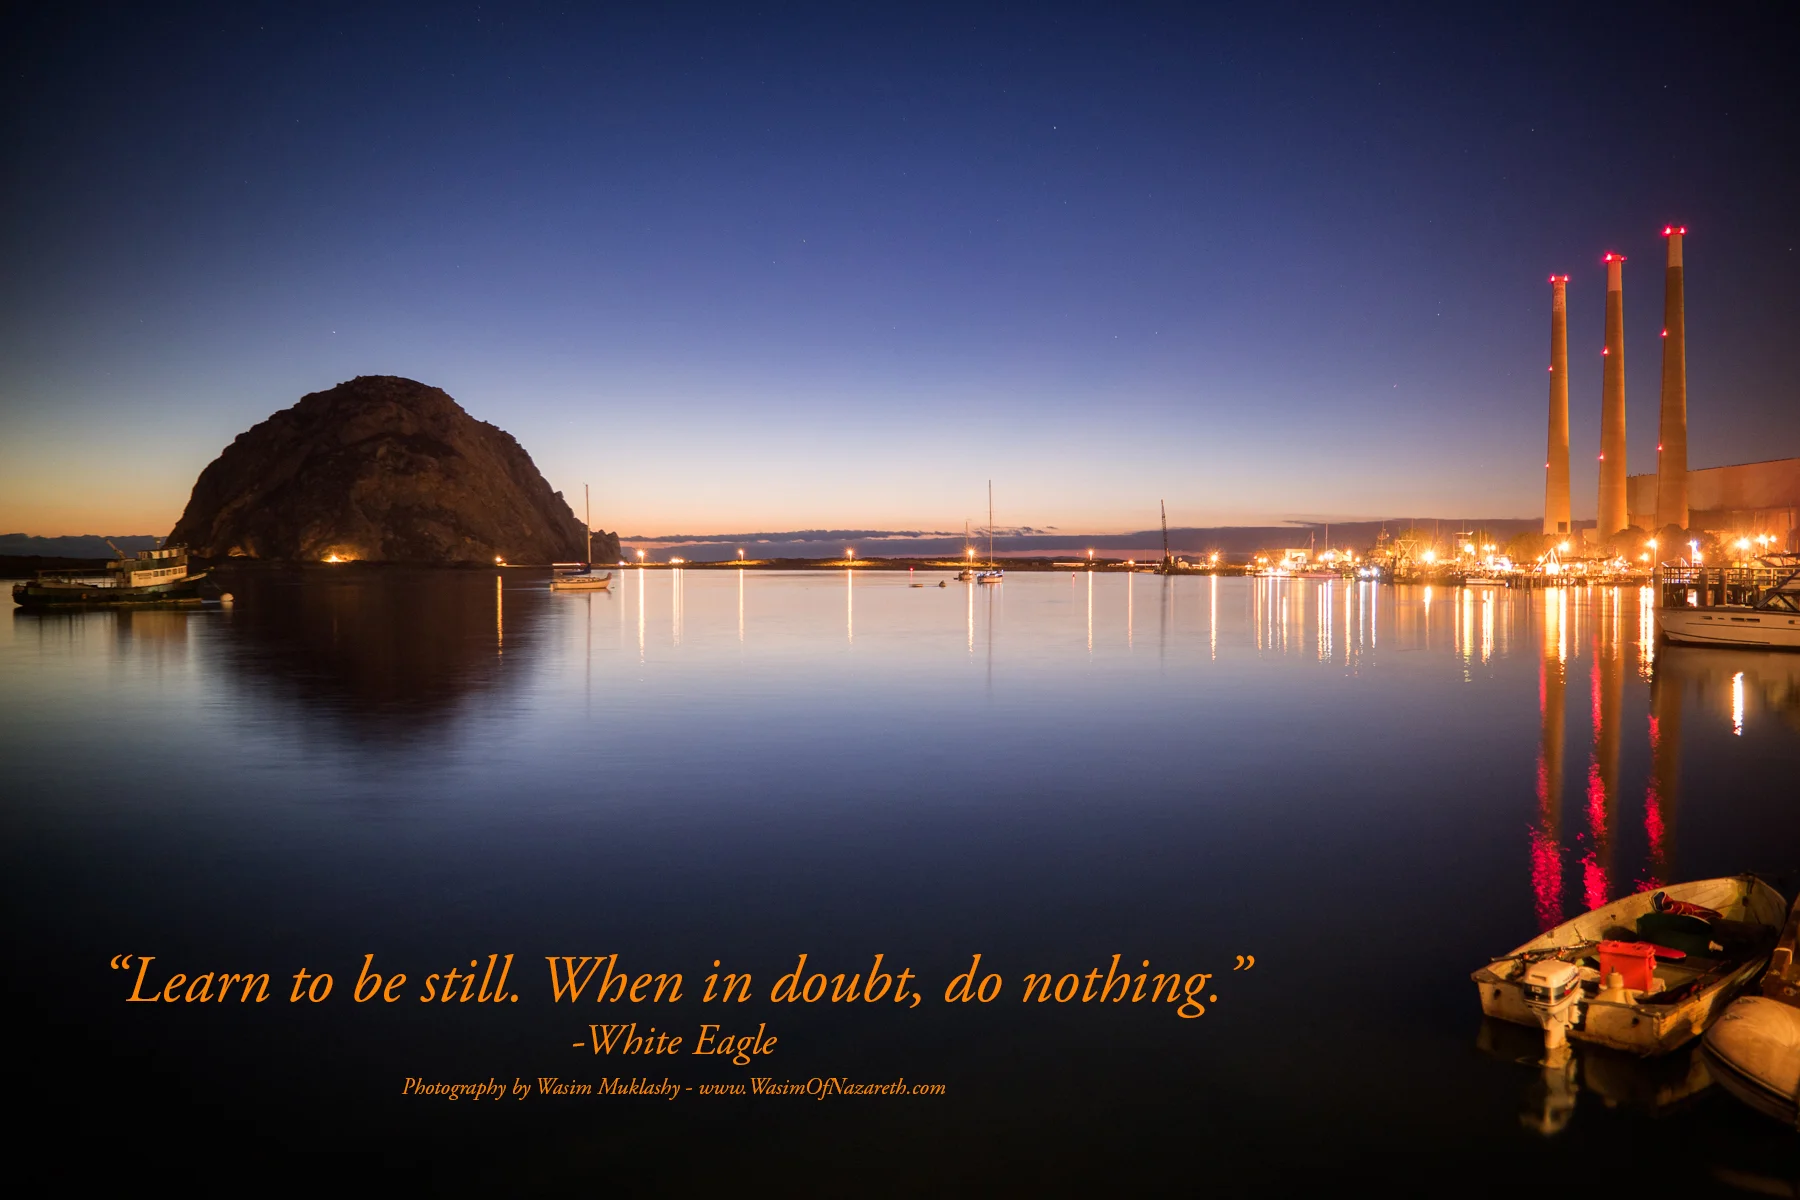
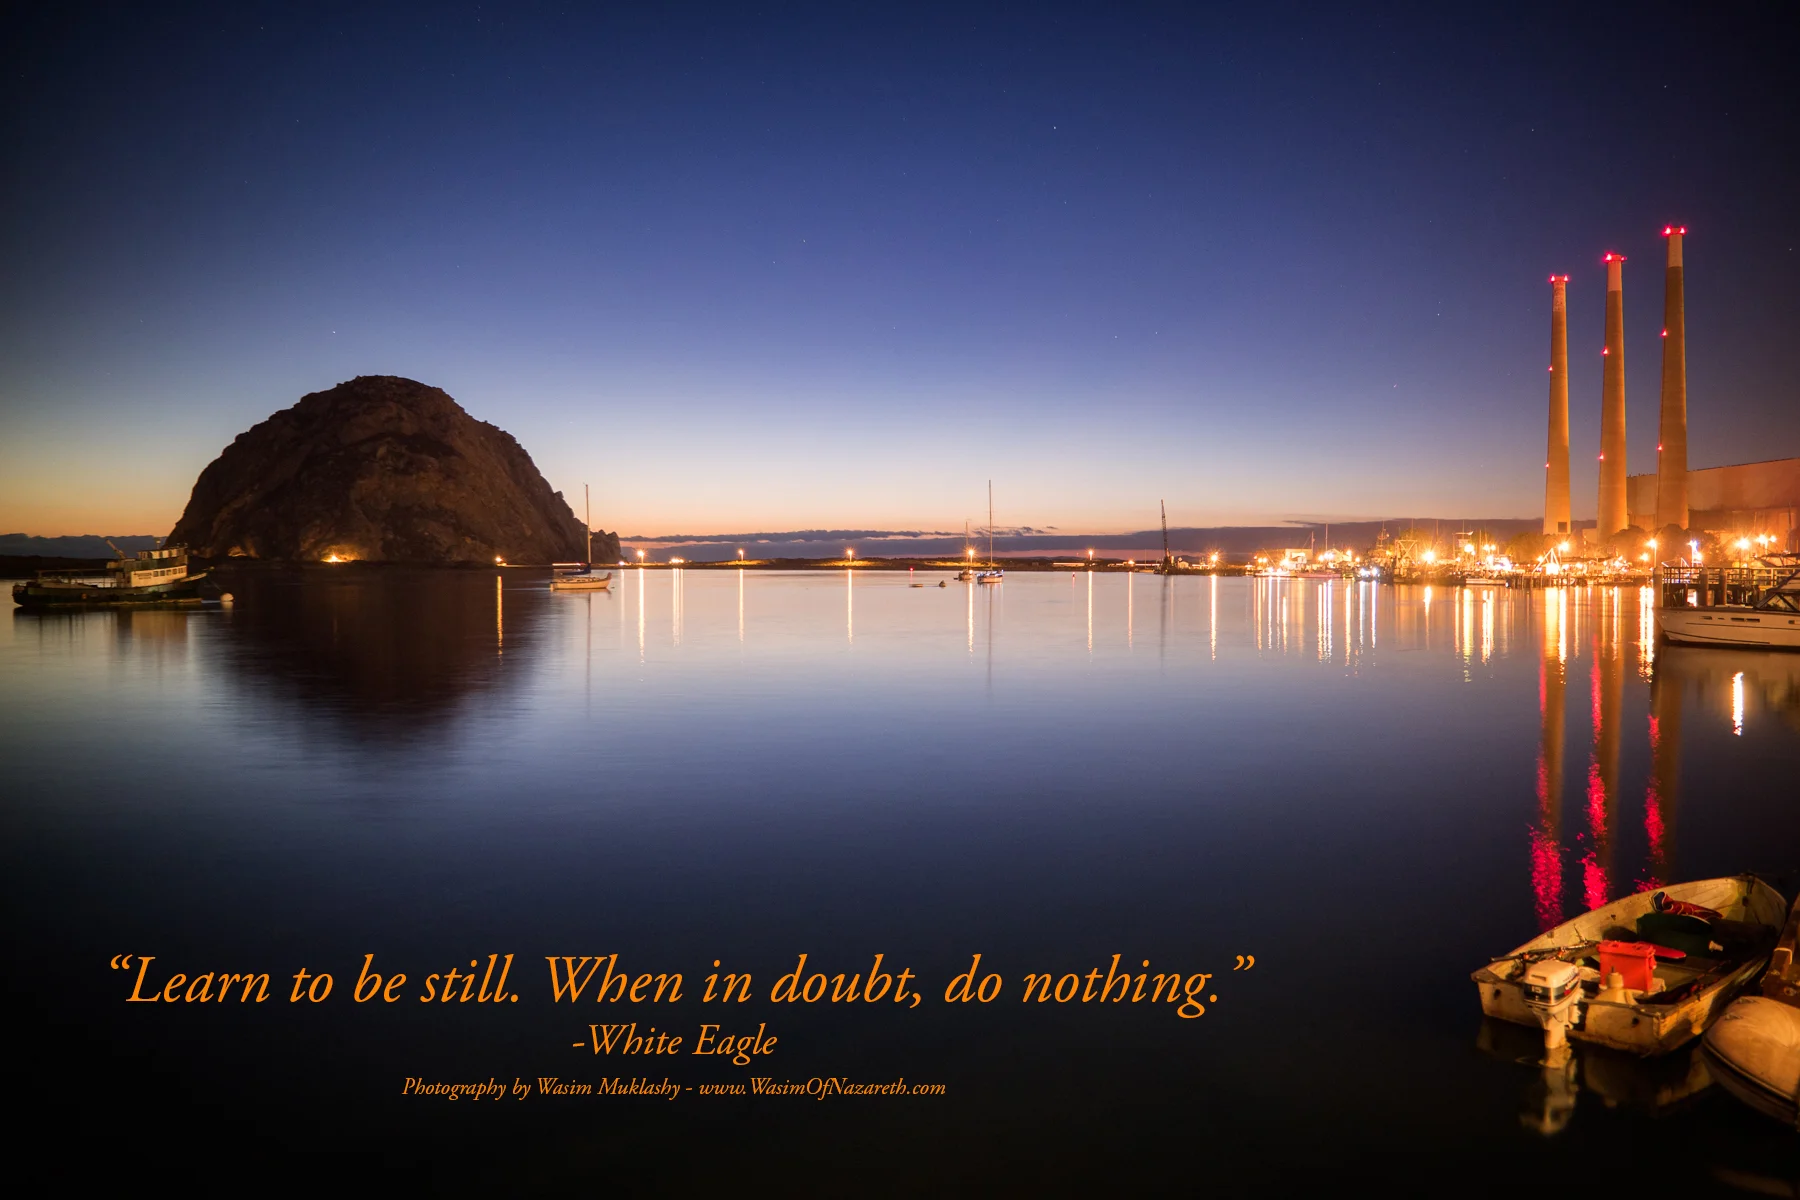
“Learn to be still. When in doubt, do nothing.” -White Eagle
**
There It Is – This Week’s Monday Kick In The Yahoo!
**
Marinate!
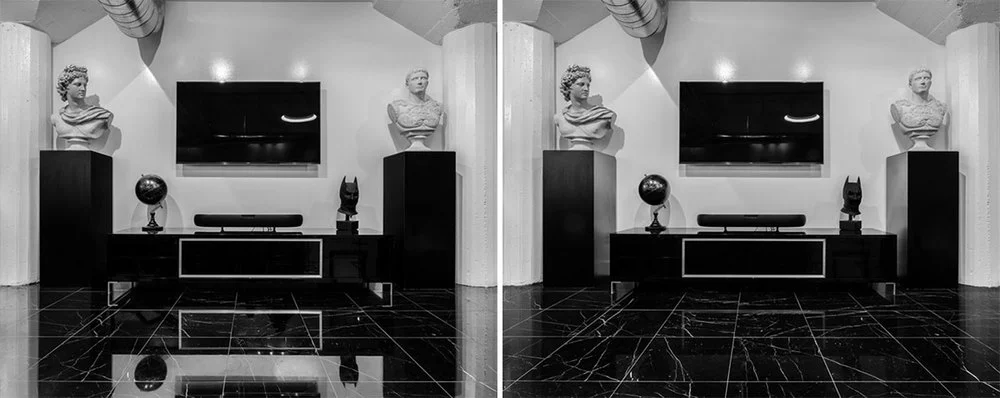
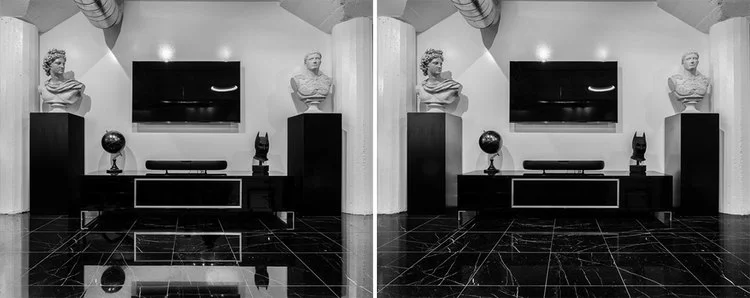
I was recently commissioned to photograph a live/work space in Downtown LA for insanely talented tattoo artist Jun Cha. It was set up as a loft, with the living quarters upstairs, and his tattoo studio in the commercial space downstairs. The space was absolutely beautiful, and I’ve never quite seen a tattoo studio or parlor as elegant as this was – a gorgeously clean monochromatic space adorned with Greek mythological statues and replica busts of everyone from David to the Virgin Mary, classy leather-bound art books, Roman columns. It was stunning.
Cha’s articulate attention to detail in his artwork transferred over to his borderline obsessive attention to every detail in this space. Hell, he even lay the tile down himself, a feat he made sure to remind me was NO small task. And this tile, this gorgeous black tile adorned with extremely contrasting white veins leading from one side of the room to the other, provided me with the biggest challenge of the space. The issue was that it was so highly reflective, and the overhead lights that were in the studio were so predominant, that if you looked at the floor, it was impossible not to see the reflections of these necessary lights.
Since the main point he understandably continued to hammer home was to ‘make sure to focus on and bring out the detail in the tiles, specifically the white veins,’ I had to figure out how I was going to do this. One thought was to shoot an exposure with the lights off, and one with the lights on, and then paint in the floor in a composite, but that seemed like much more work than it was worth, and the last thing I wanted to do was make it seem unnatural. There had to be a more organic way to do it. Then I thought maybe we’d dim the lights, so at least it would minimize the reflections, but that would still be distracting enough to take away from the focus of what he wanted the images to be…the white veins.
Immediately following the day that I scouted the location, I found myself on an impromptu trip to the eastern Sierra Nevada mountains, specifically in Mammoth Lakes, Yosemite’s Tuolumne Meadows, and Mono Lake. I know, strange segway right? But this is where it hit me. Yes, Cha’s studio was in the concrete jungle of Downtown Los Angeles, and yes, where I found myself 24 hours later was the complete opposite of that, but I have a set of filters that I use in almost all landscape and outdoor shots, and one of the filters that gets the most action, which I happened to pull out for a sunset on a lake shot, is the circular polarizing filter. Why? well, it’s designed to minimize reflections, especially in water.
Duh!
I had found my solution. For the first time in my photographic life, I was going to use the polarizing filter indoors for an architectural interior shoot. And I must say, it worked brilliantly. There were a few instances in which I had to clone out some particularly strong ceiling lights in post, but it was a mere fraction of the retouching job that would have lay ahead without those polarizers. The reflections were 90% gone, the tile was the star of the show, and, most importantly, the client was happy.
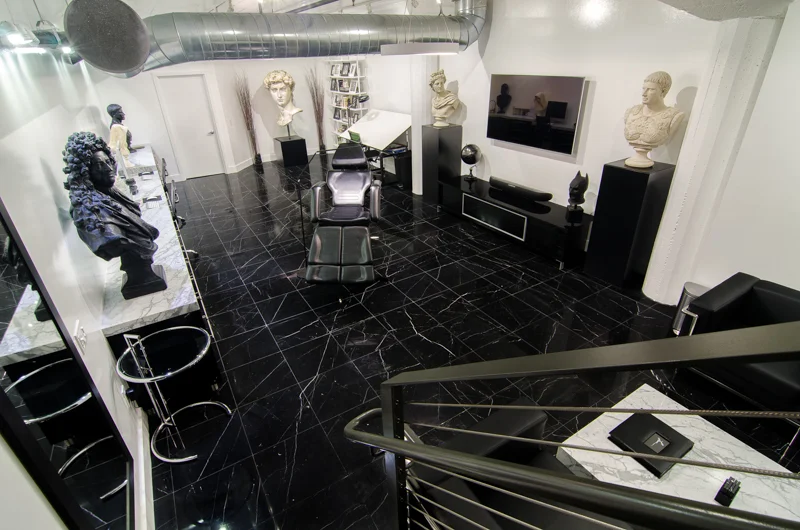
So yes, if you happen to be shooting real estate or architectural interiors, and the reflections get to be too much, taking away from the detail of the texture or design, whether it be in tile, or glass, or distressed concrete, or waxy hardwood floors or shiny metal surfaces, don’t be afraid to reach for that polarizer. It can save the day (and the shoot).
If you want more, click here for 7 Tips For Shooting Real Estate Photography, and click here to learn How To Expose For Interiors And Exteriors.
And if you’re in need of real estate photography services, whether commercial or residential, please feel free to contact me or check out my Property Photography website.
And, finally, for more of my madness: Instagram: @wasimofnazareth Twitter: @wasimofnazareth Google+: www.Google.com/+WasimMuklashy Facebook: www.Facebook.com/WasimOfNazareth
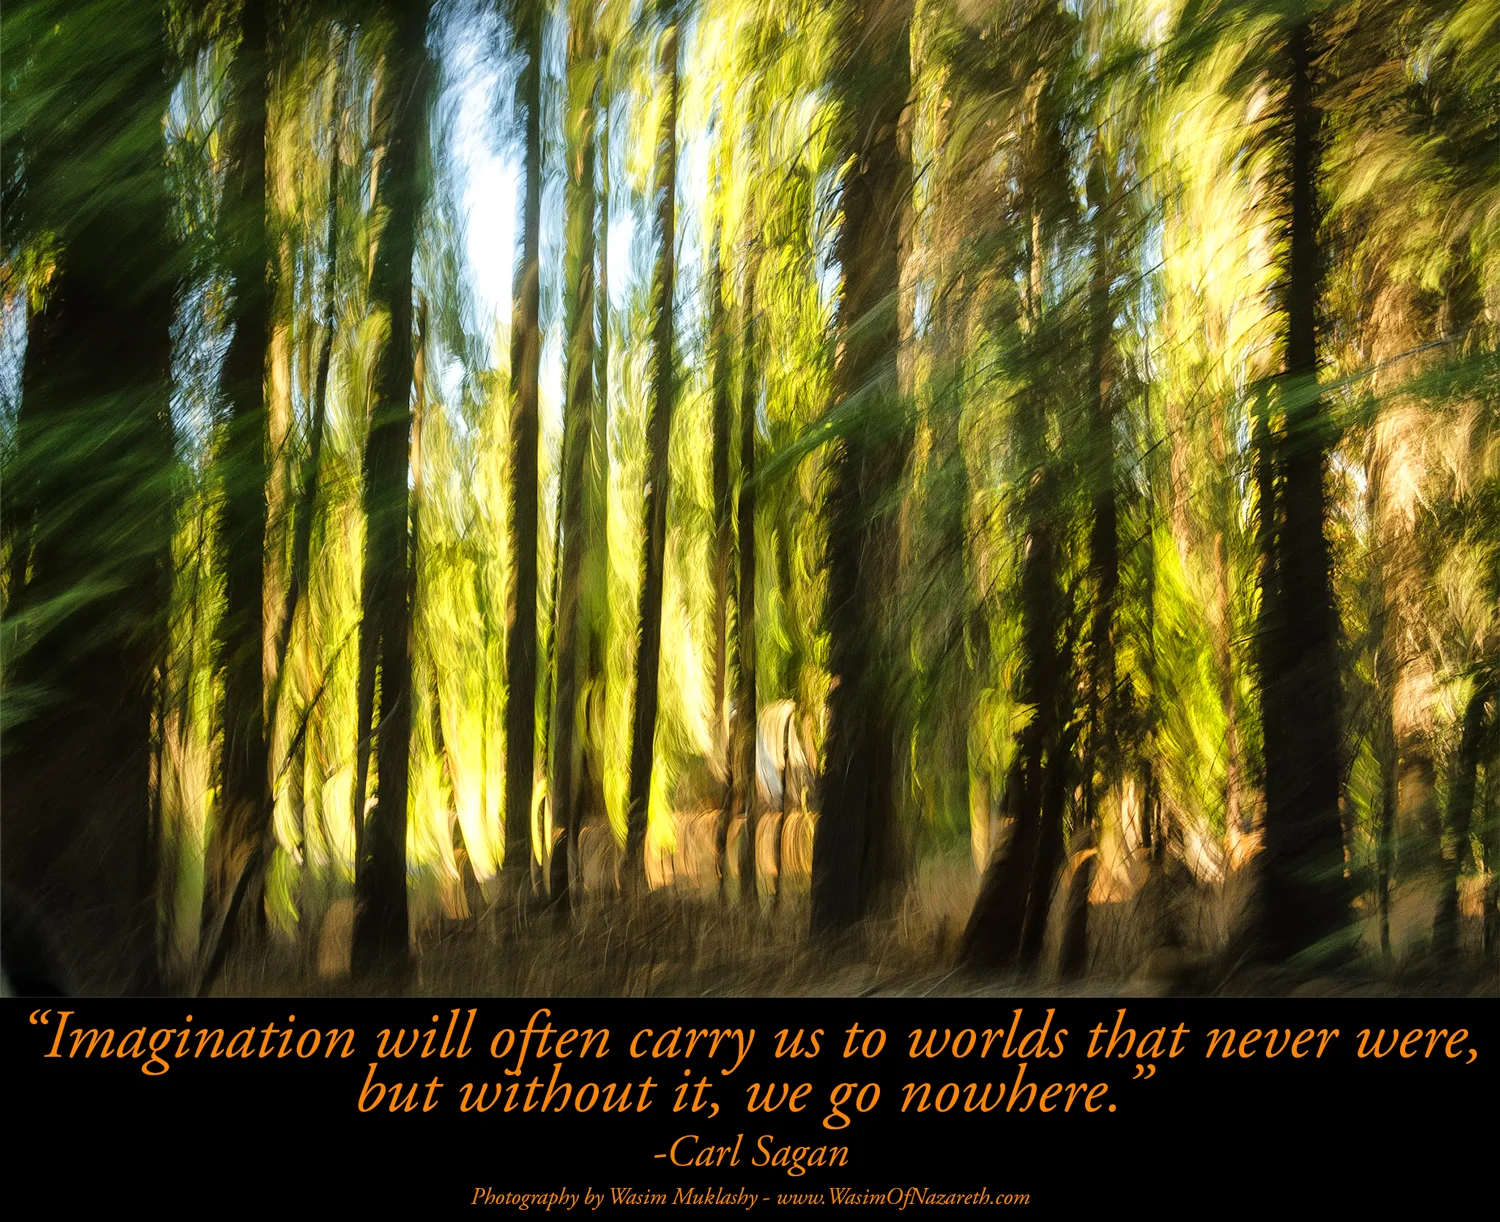
“Imagination will often carry us to worlds that never were, but without it, we go nowhere.” -Carl Sagan
**
From me to you, There’s This Week’s Monday Kick In The Yahoo!
**
Think it!
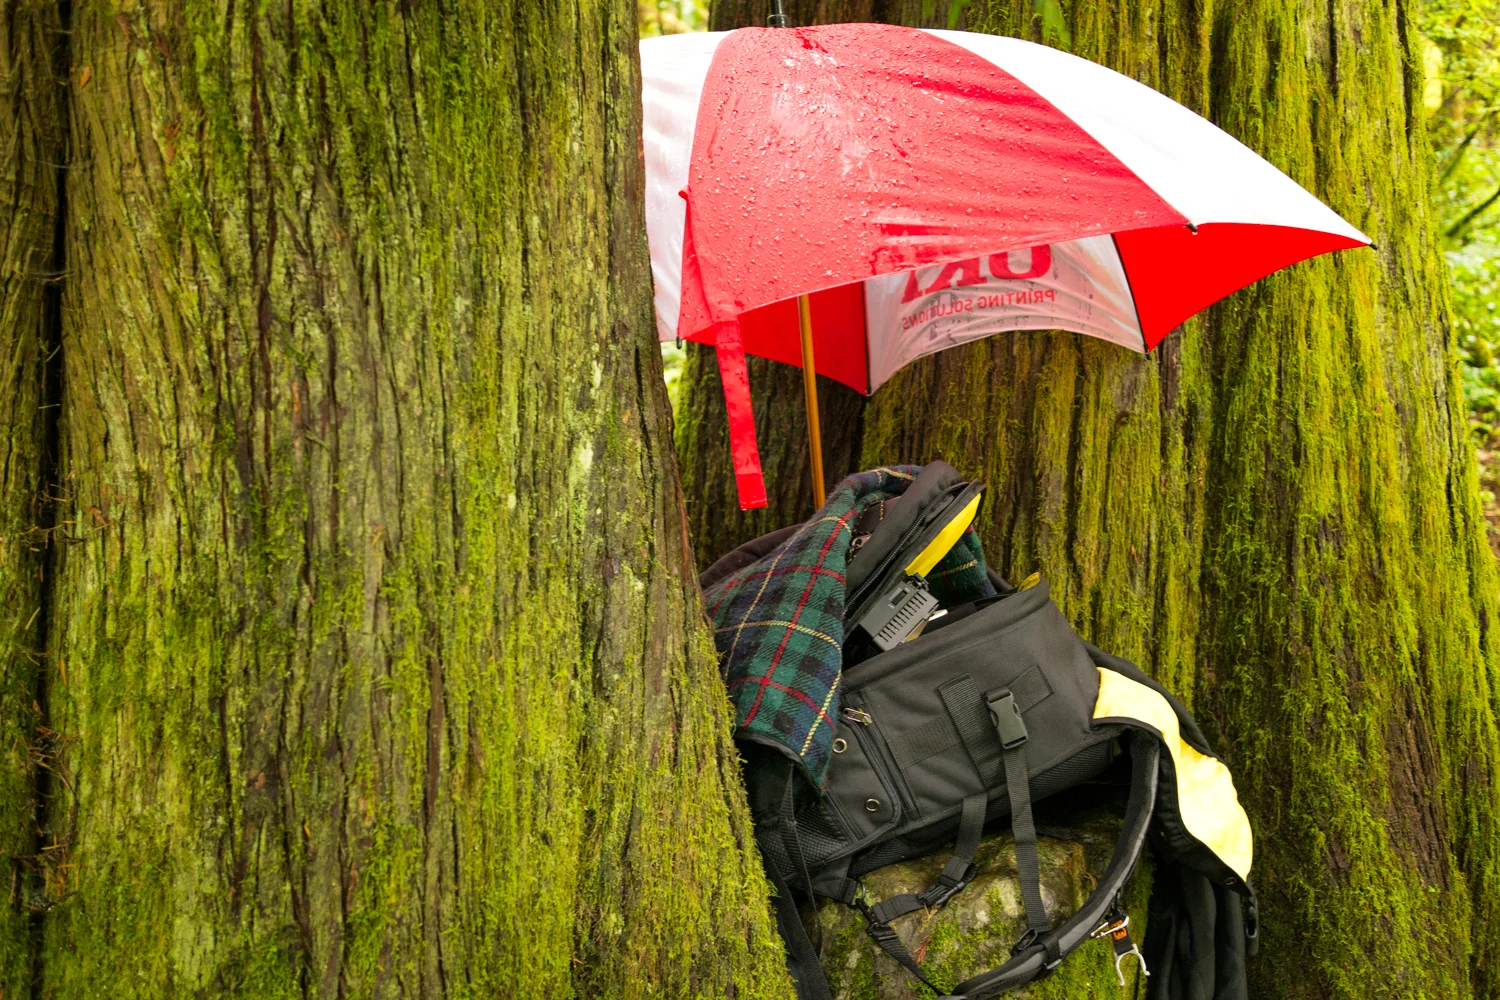
If you’ve ever gone on an extended hike or backpacking trip, you know that every single ounce of weight counts. An extra strip of beef jerky may not seem like a lot sitting in your pocket at home, but you WILL notice and feel every single gram of it as the sun-scorched miles move beneath your boots. So when you’re packing for such a trip, weight and consideration and bare essentials are a constantly compromised necessity, and, obviously, for photographers, food and clean socks come in a distant second to camera gear. Lucky for us photographers, the new breed of mirrorless systems has changed EVERYTHING. Gone are the days of having to trudge 10-15 pounds of DSLR gear and lenses to get solid professional high-quality images. Now you can make top-shelf images AND pack an entire bag of beef jerky.
As I prepared to pack for a 5-day, 45-mile backpacking excursion into the Sierras, I was absolutely thrilled at how much lighter my pack already was since last year’s adventures through 3 National Parks, and especially the year before that, when I lugged around that same full Nikon D7000 kit through 22, 104-degree Grand Canyon miles on the way into Havasupai, Arizona. Ouch. Ouch. OUCH! While, unfortunately, this month’s Sierra backpacking trip got cancelled due to unforeseen circumstances in the group, I still thought it’d be valuable to share what I had already packed and was prepared to take.
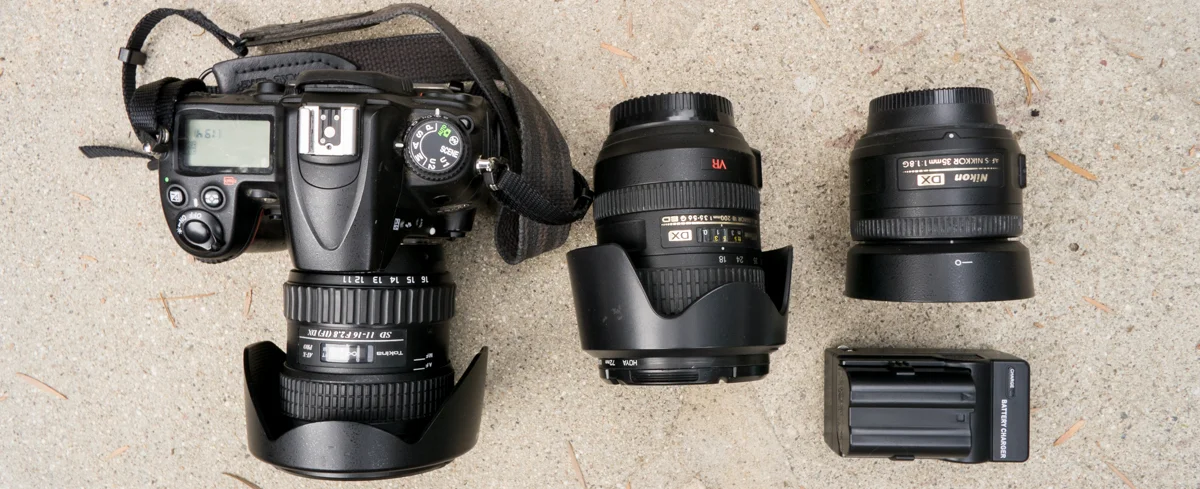
First, here’s the bulk of the Nikon D7000 kit that I had with me both for the Havasupai trip and for the National Park trip. Basically, the kit I’ve been used to traveling with:
Nikon D7000 Body (APSC CMOS Sensor): 1 lb, 8 oz.
Nikkor 18-200 Lens: 1 lb, 4 oz.
Nikkor 35mm Lens: 7 oz.
Tokina 11-16mm Lens: 1.2 lbs
Manfrotto 190xb Tripod with Manfrotto 486RC2 Ballhead: 5 pounds
Filters, Filter Holders, Extra batteries, USB charging brick: 1 pound
TOTAL: 10.5 LBS.
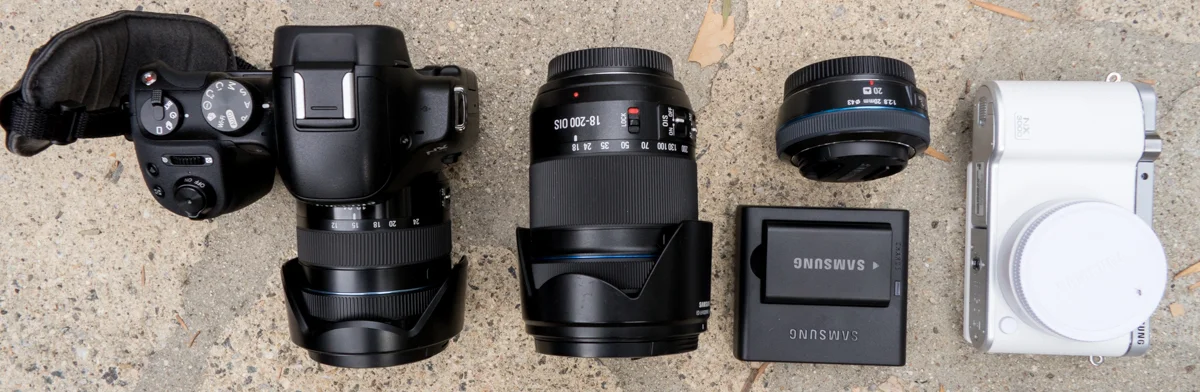
Now, for comparison’s sakes, here’s what I had packed this time:
Samsung NX30 Body (APSC CMOS Sensor): .8 pound
Samsung NX3000 Body (APSC CMOS Sensor): .5 pound
Samsung 18-200mm lens: 1.27 pounds
Samsung 12-24mm lens: 7.3 oz
Dolica TX570B150SL Travel Tripod: 2.5 pounds
Filters, filter holders, extra batteries, USB charging brick: 10 oz.
TOTAL: 6.1 LBS.
And here they are side by side, with the respective lenses mirroring each other. Look at the size differences alone in the Samsung kit on the bottom row versus the Nikon kit on the top row, especially in the lenses and the bodies:
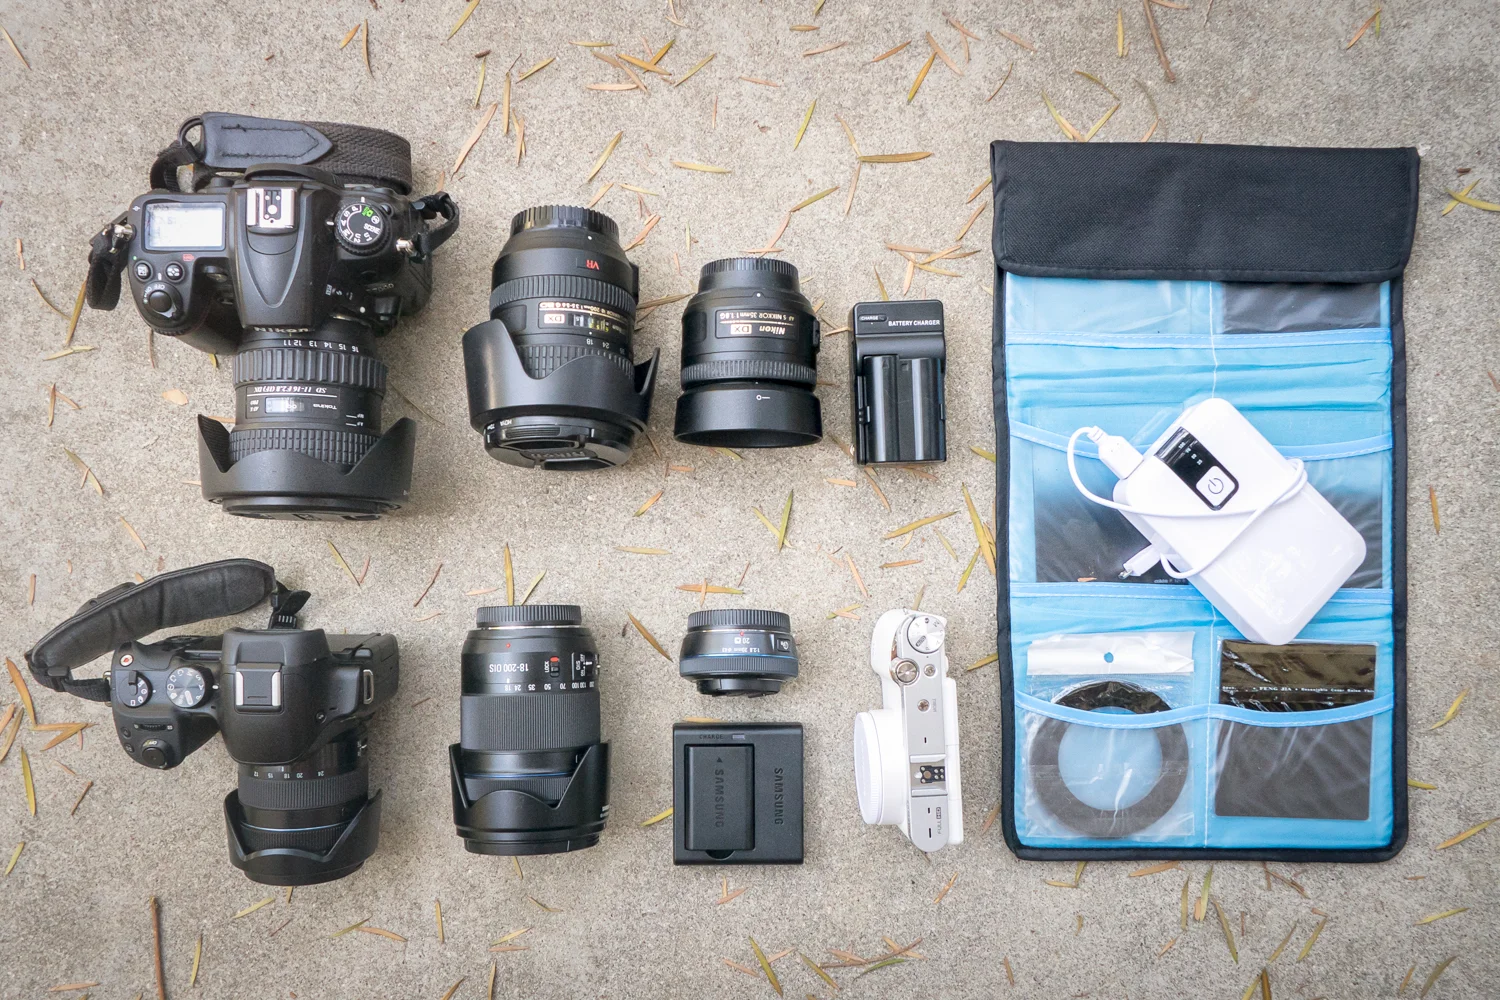
So as you can see, that is not only literally a savings of almost half the weight, but it also includes AN EXTRA CAMERA BODY. Heck, both camera bodies together weighed less than the single DSLR. Granted, the tripod alone also saved me 2.5 pounds on it’s own. So yeah, needless to say, between this revelation, and my recent mirrorless-only trip to the Pacific Northwest, my DSLR traveling days are well behind me. Add the benefit of bright OLED displays and Wifi capabilities on the Samsung NX30 and Samsung NX300, allowing me to use my phone as a trigger or high res monitor as well, and there’s really no reason left to go back.
Adapt or die…or, at the very best, adapt or suffer through a bad back…orrrrr better yet…suffer through that bad back by packing an extra 4 pounds of jerky!
Mmmm…jerky…
For more of my madness:
Instagram: @wasimofnazareth
Twitter: @wasimofnazareth
Google+: www.Google.com/+WasimMuklashy
Facebook: www.Facebook.com/WasimOfNazareth
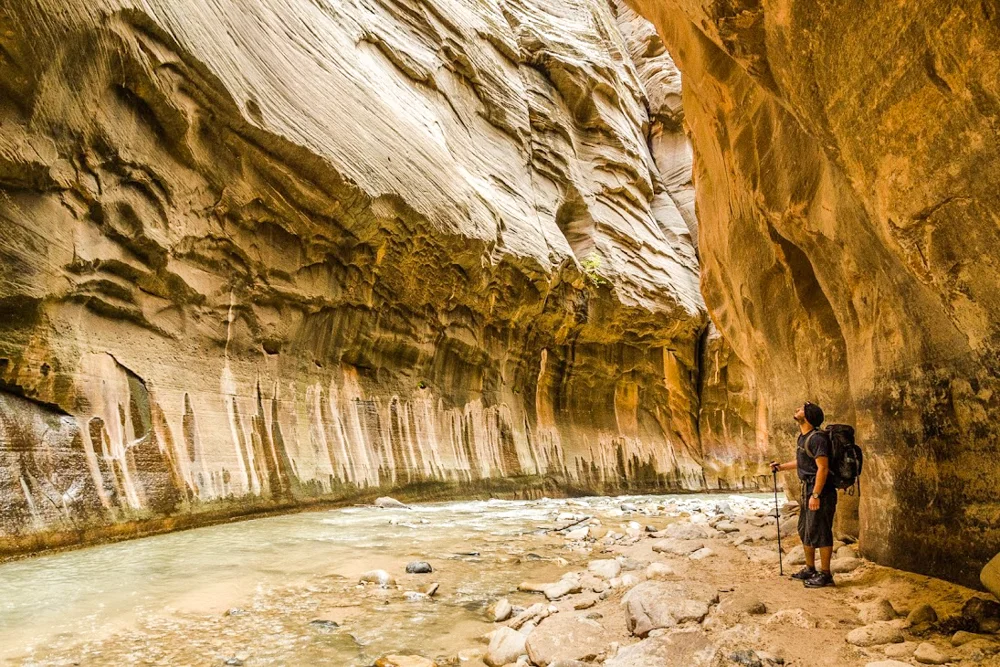
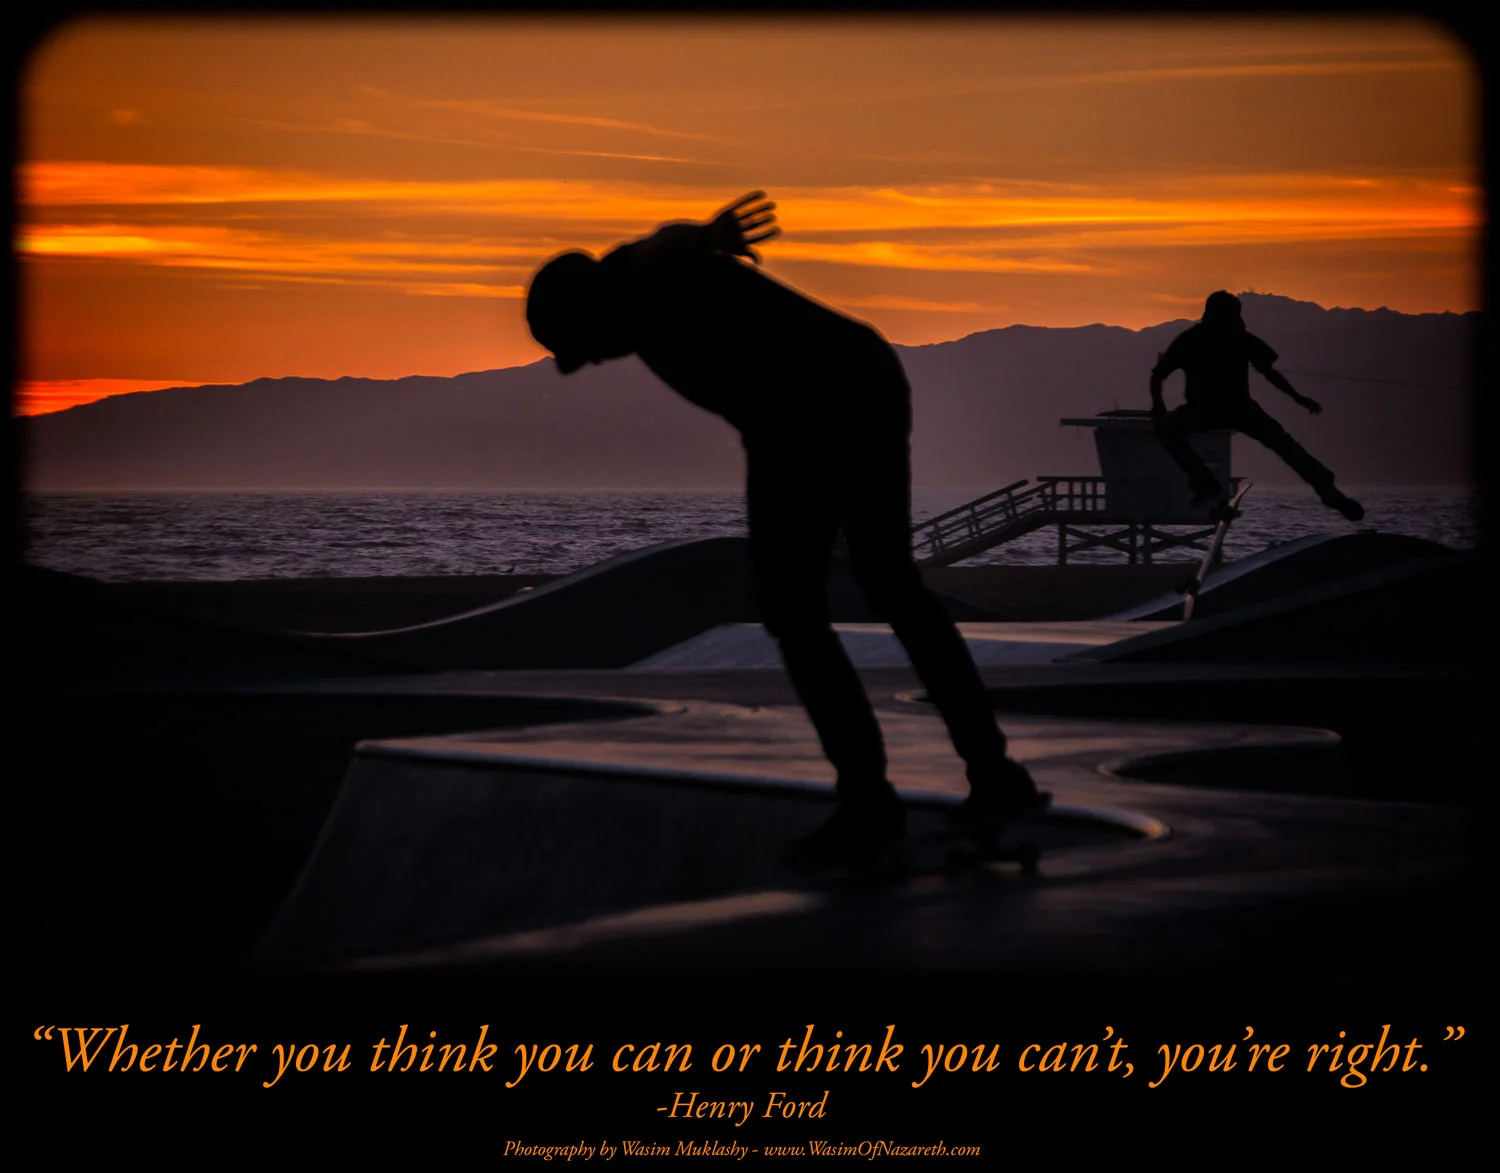
“Whether you think you can or think you can’t, you’re right.” -Henry Ford
**
From me to you, There’s This Week’s Monday Kick In The Yahoo!
**
Move Mountains!