Tag: tips

  • 5 Tips For Shooting Commercial Real Estate Photography

    5 Tips For Shooting Commercial Real Estate Photography

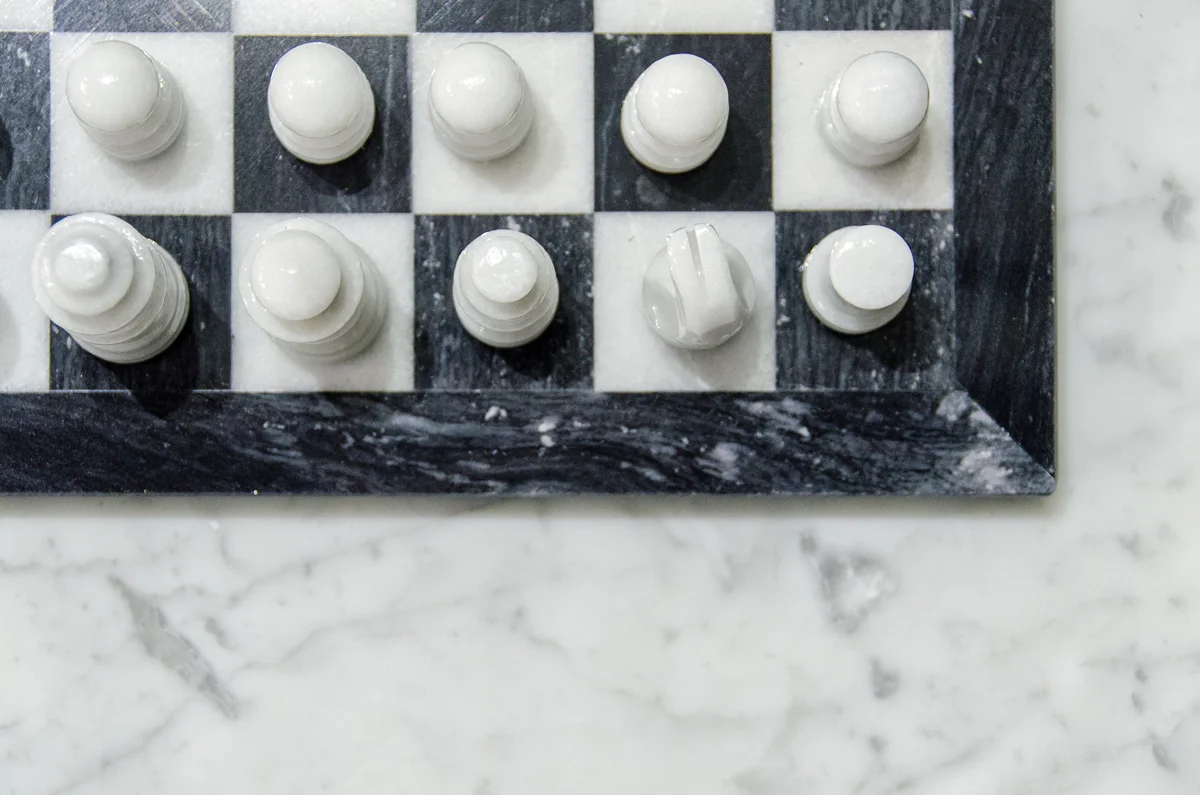
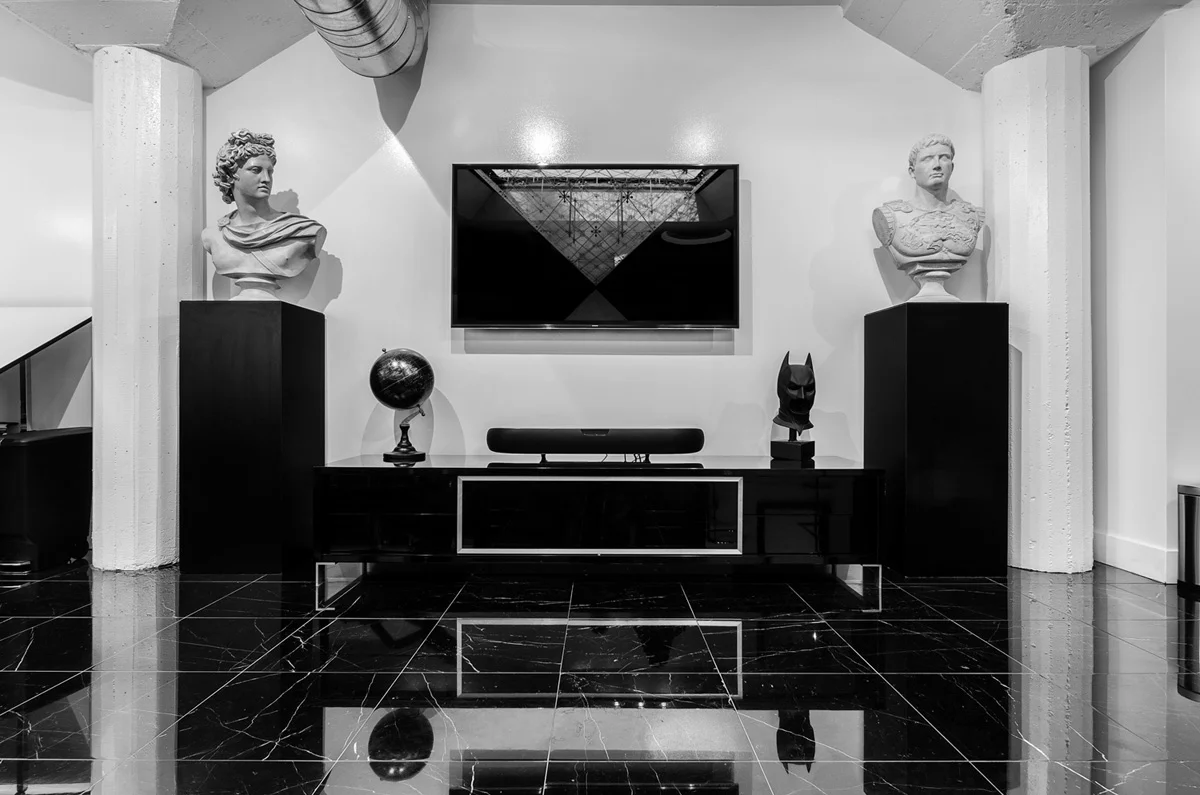
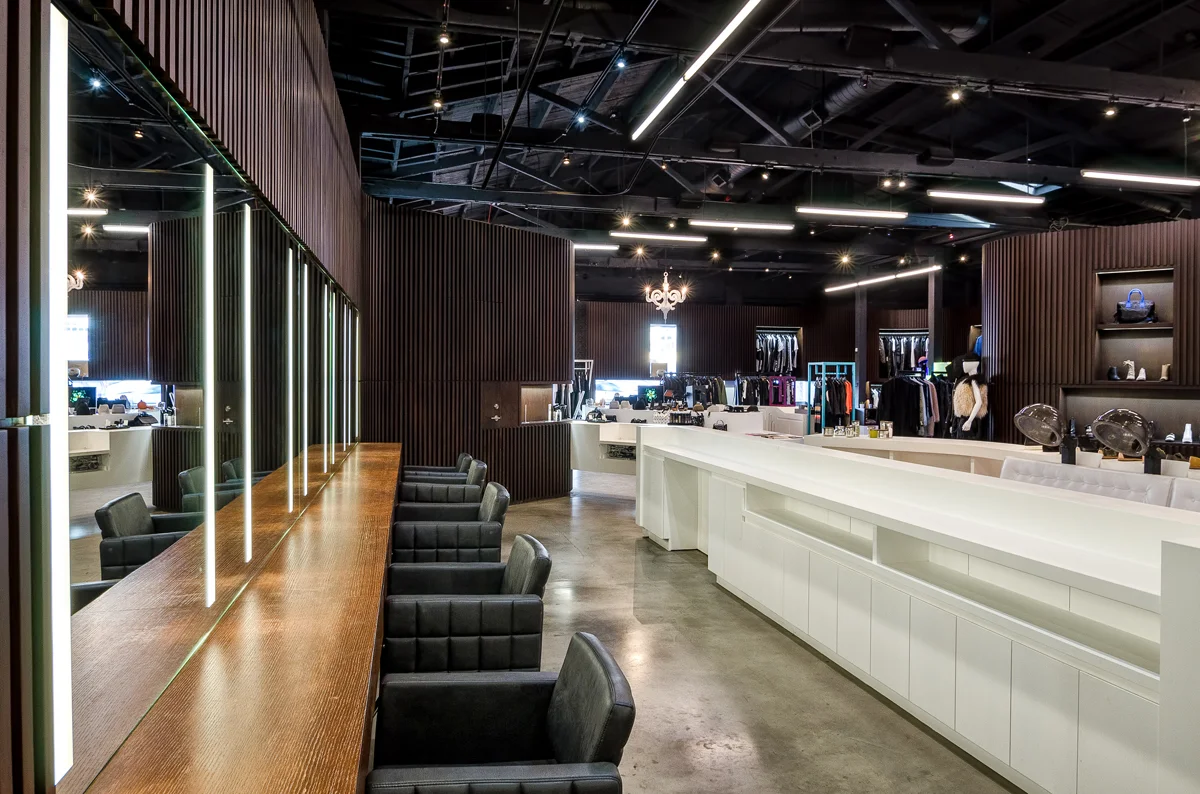
    Wasim-Muklashy-Real-Estate-Photography_San-Diego-Los-Angeles-Ventura_Pro-Property-Photos_011

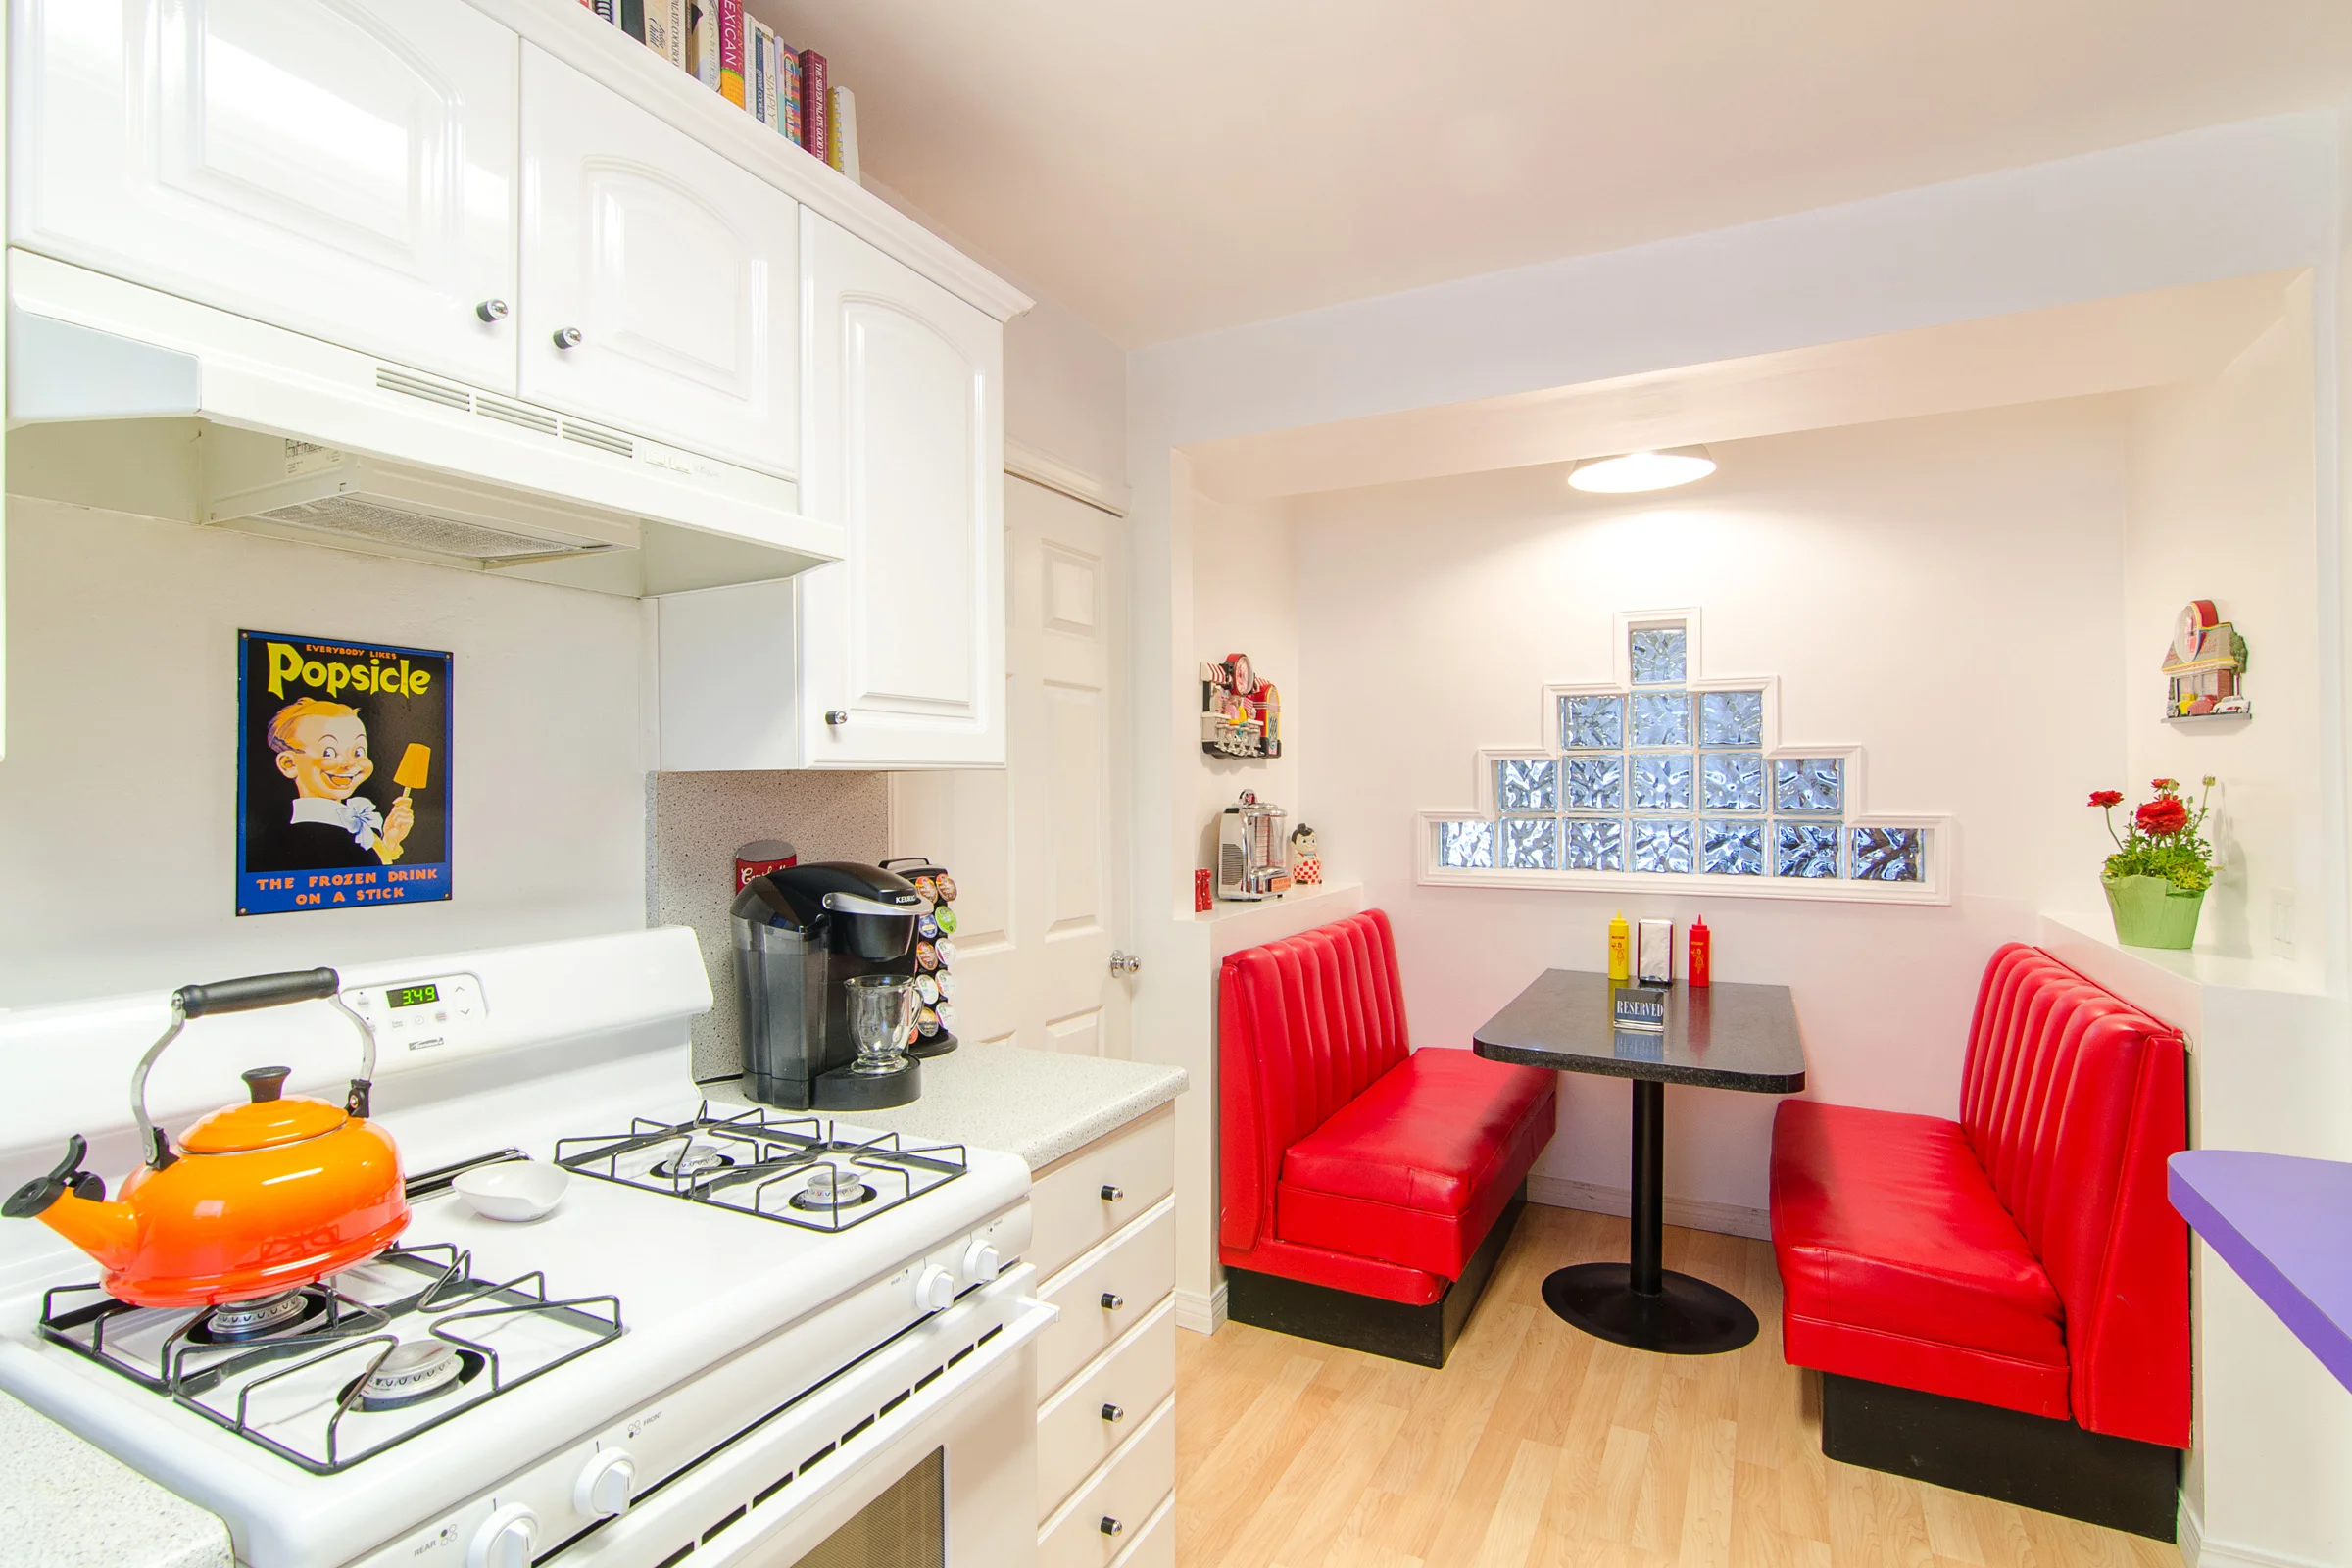
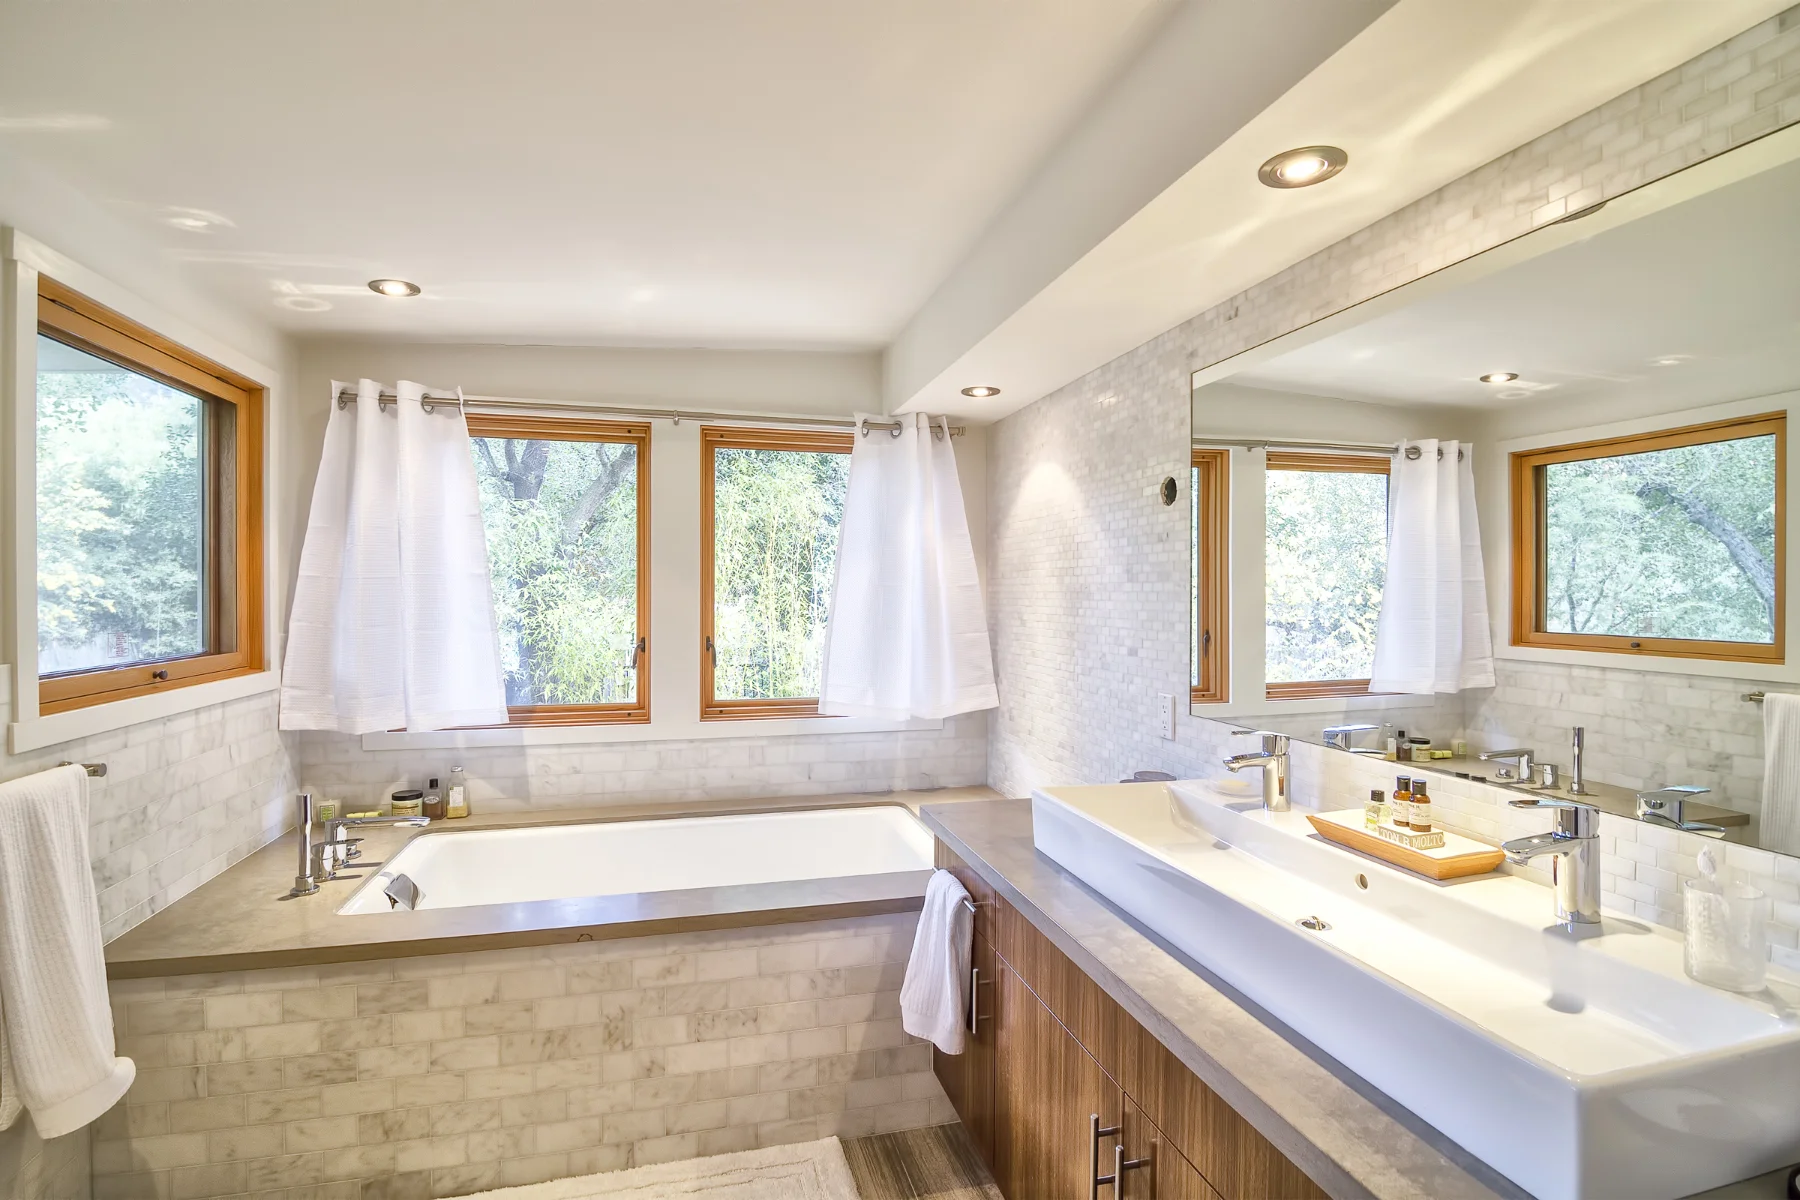
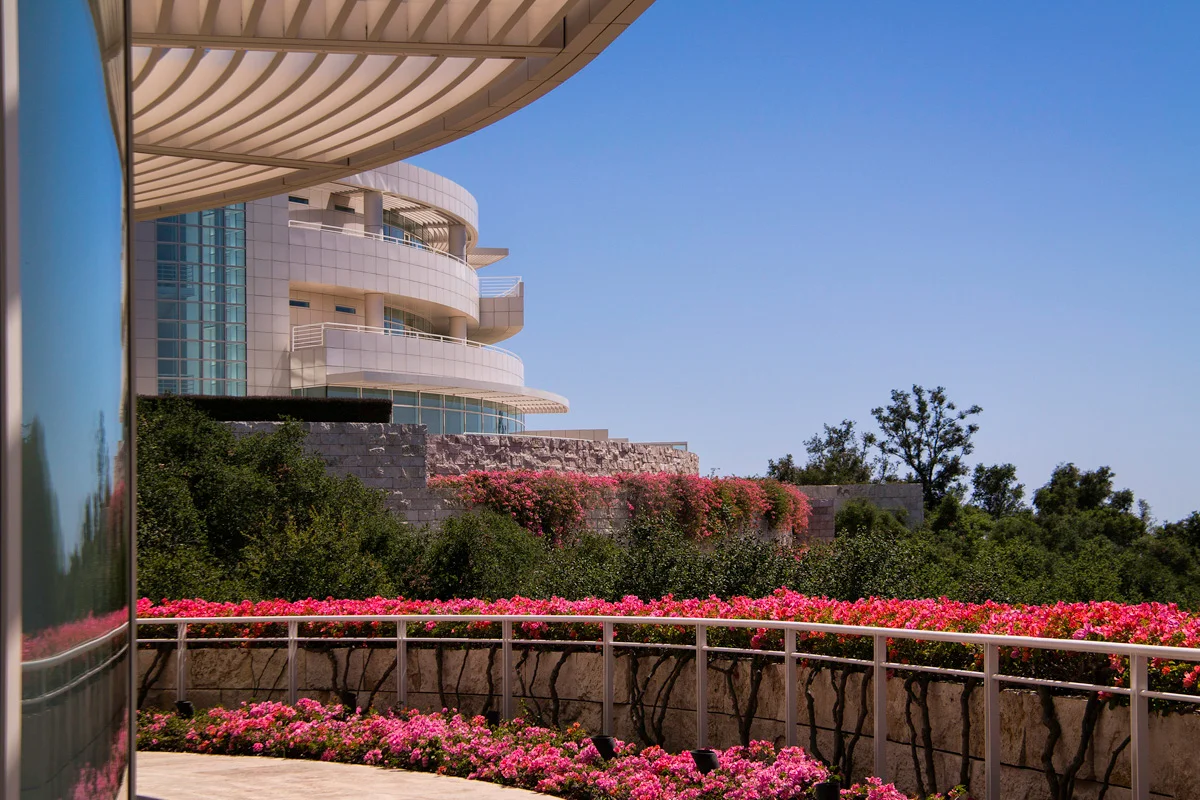
    While there are definite similarities in regards to methods and approach when photographing any sort of real estate, there are also important differences to keep in mind, especially when photographing commercial real estate and properties. In the residential real estate realm, they tend to use the images for a few weeks or maybe months until the space is sold, but in commercial real estate, these images are used to sell the business for perhaps years and years, and they might live on a website for just as long, offering the potential client or customer a visual representation of the space.

    While that’s a huge responsibility for the photographer to capture that in a way that the business owner is proud of, that doesn’t necessarily mean it needs to be any more difficult. Like anything else, if you spend adequate time getting a feel for the space and the business and do your homework, you’ll naturally start to gravitate towards the best ways to represent them in photographs that’ll make both you and the business owner proud. Here are a few tips for commercial real estate photography that I’ve learned on a few recent commercial shoots:

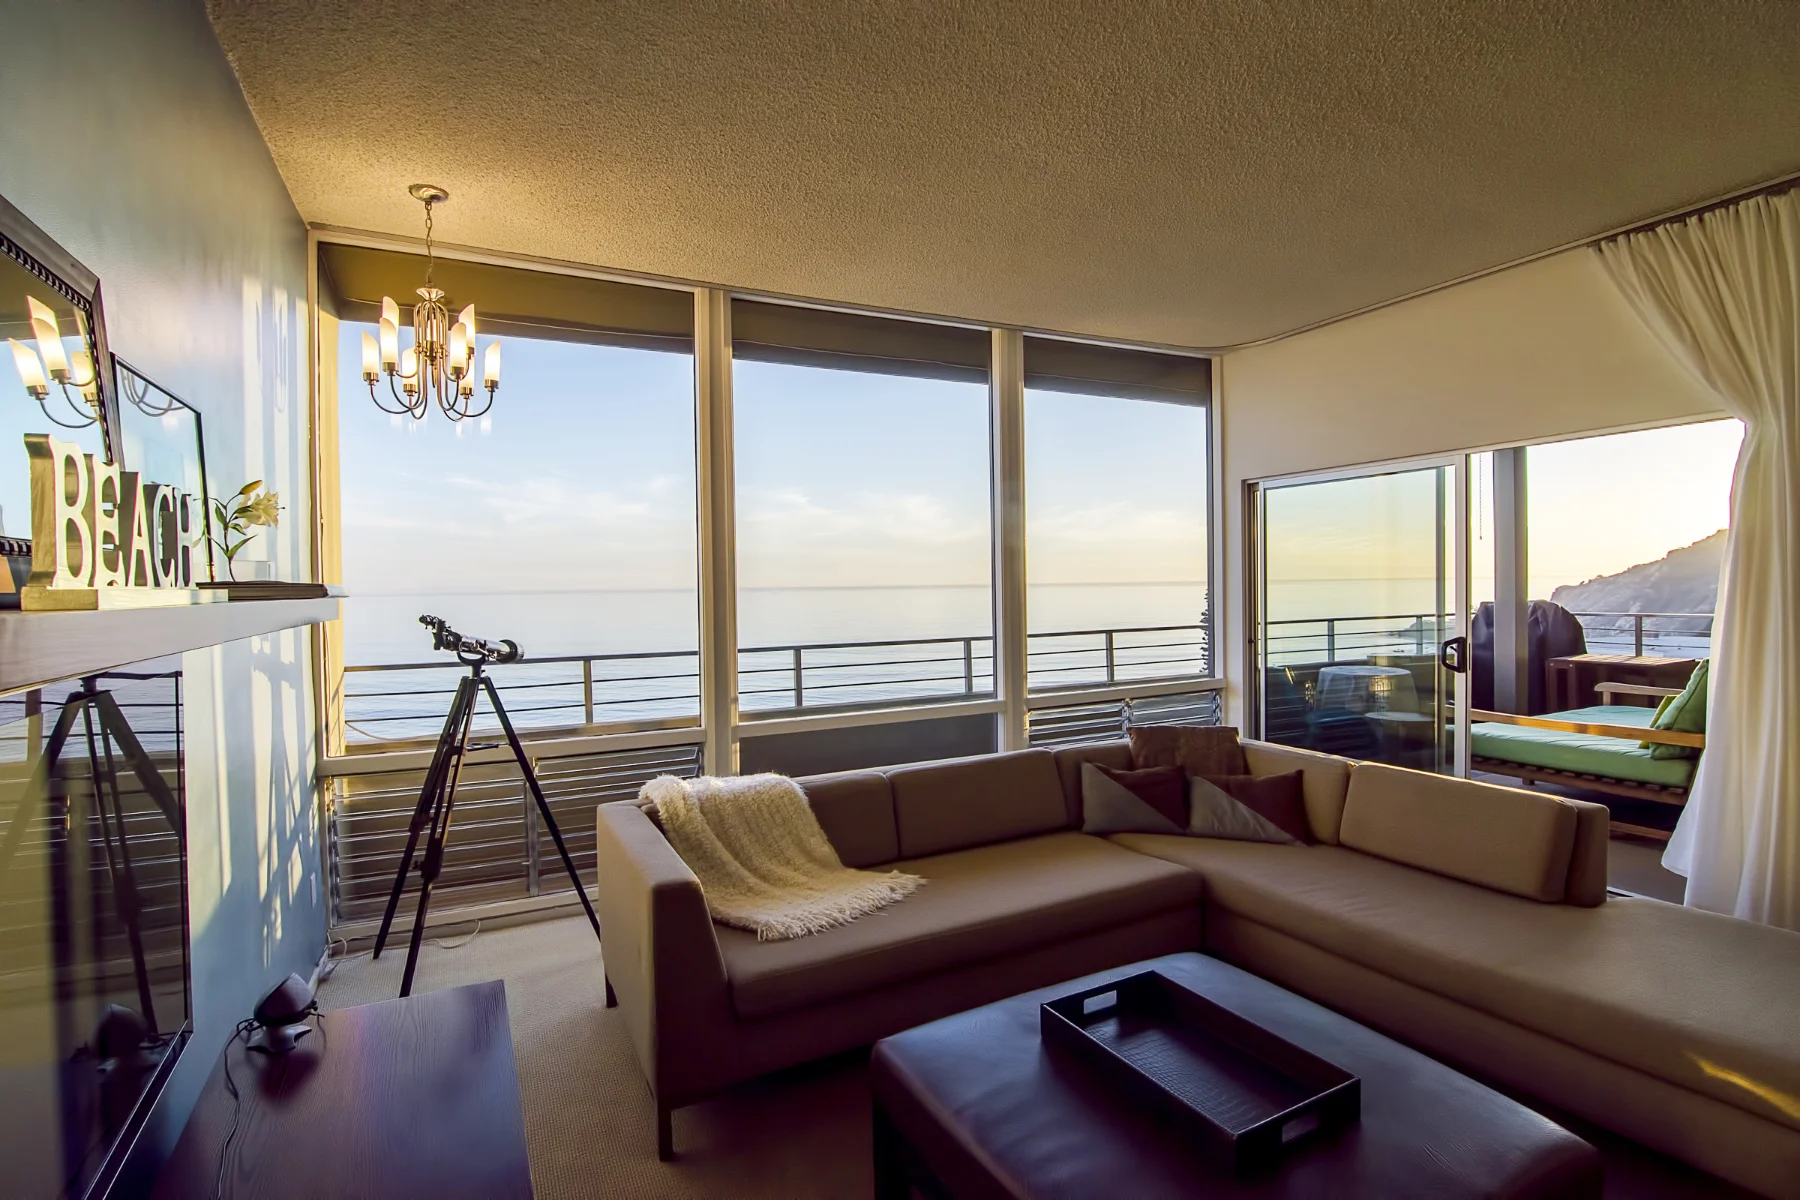
    1. Scout – Make sure to scout the space at least a few days prior to shooting, or if you’re unable to make it yourself due to location (there should be no other excuse really), have someone take simple shots from different corners into the space so you get a sense of the space and get an orientation of the space, which direction are the windows facing, when will the sun be where, are there obstructions to natural light, are there reflective surfaces (if so, check out my post How To Minimize Reflections In Interior Photography). If you can make it to scout the location yourself, which is preferable, shoot a few shots from different angles. Typically the corners of the room, even just on your phone, that you can take with you and marinate on for a few days. This time will give you a chance to formulate a mental shot list and idea of how to and what you’ll need to execute a successful shoot without the day-of stresses of getting all the shots you need and figuring it all out on the fly. This will also give you some time to play with ideas with the client, helping to build a rapport and a trust between you.
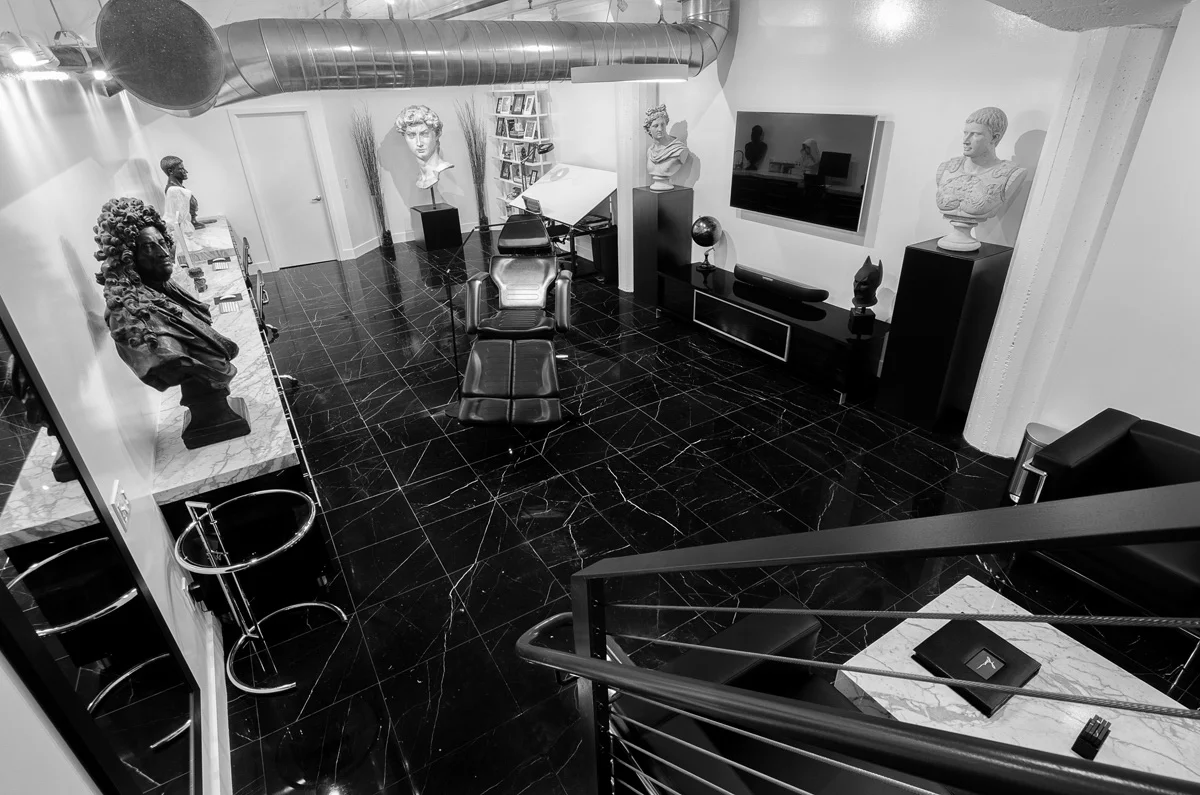
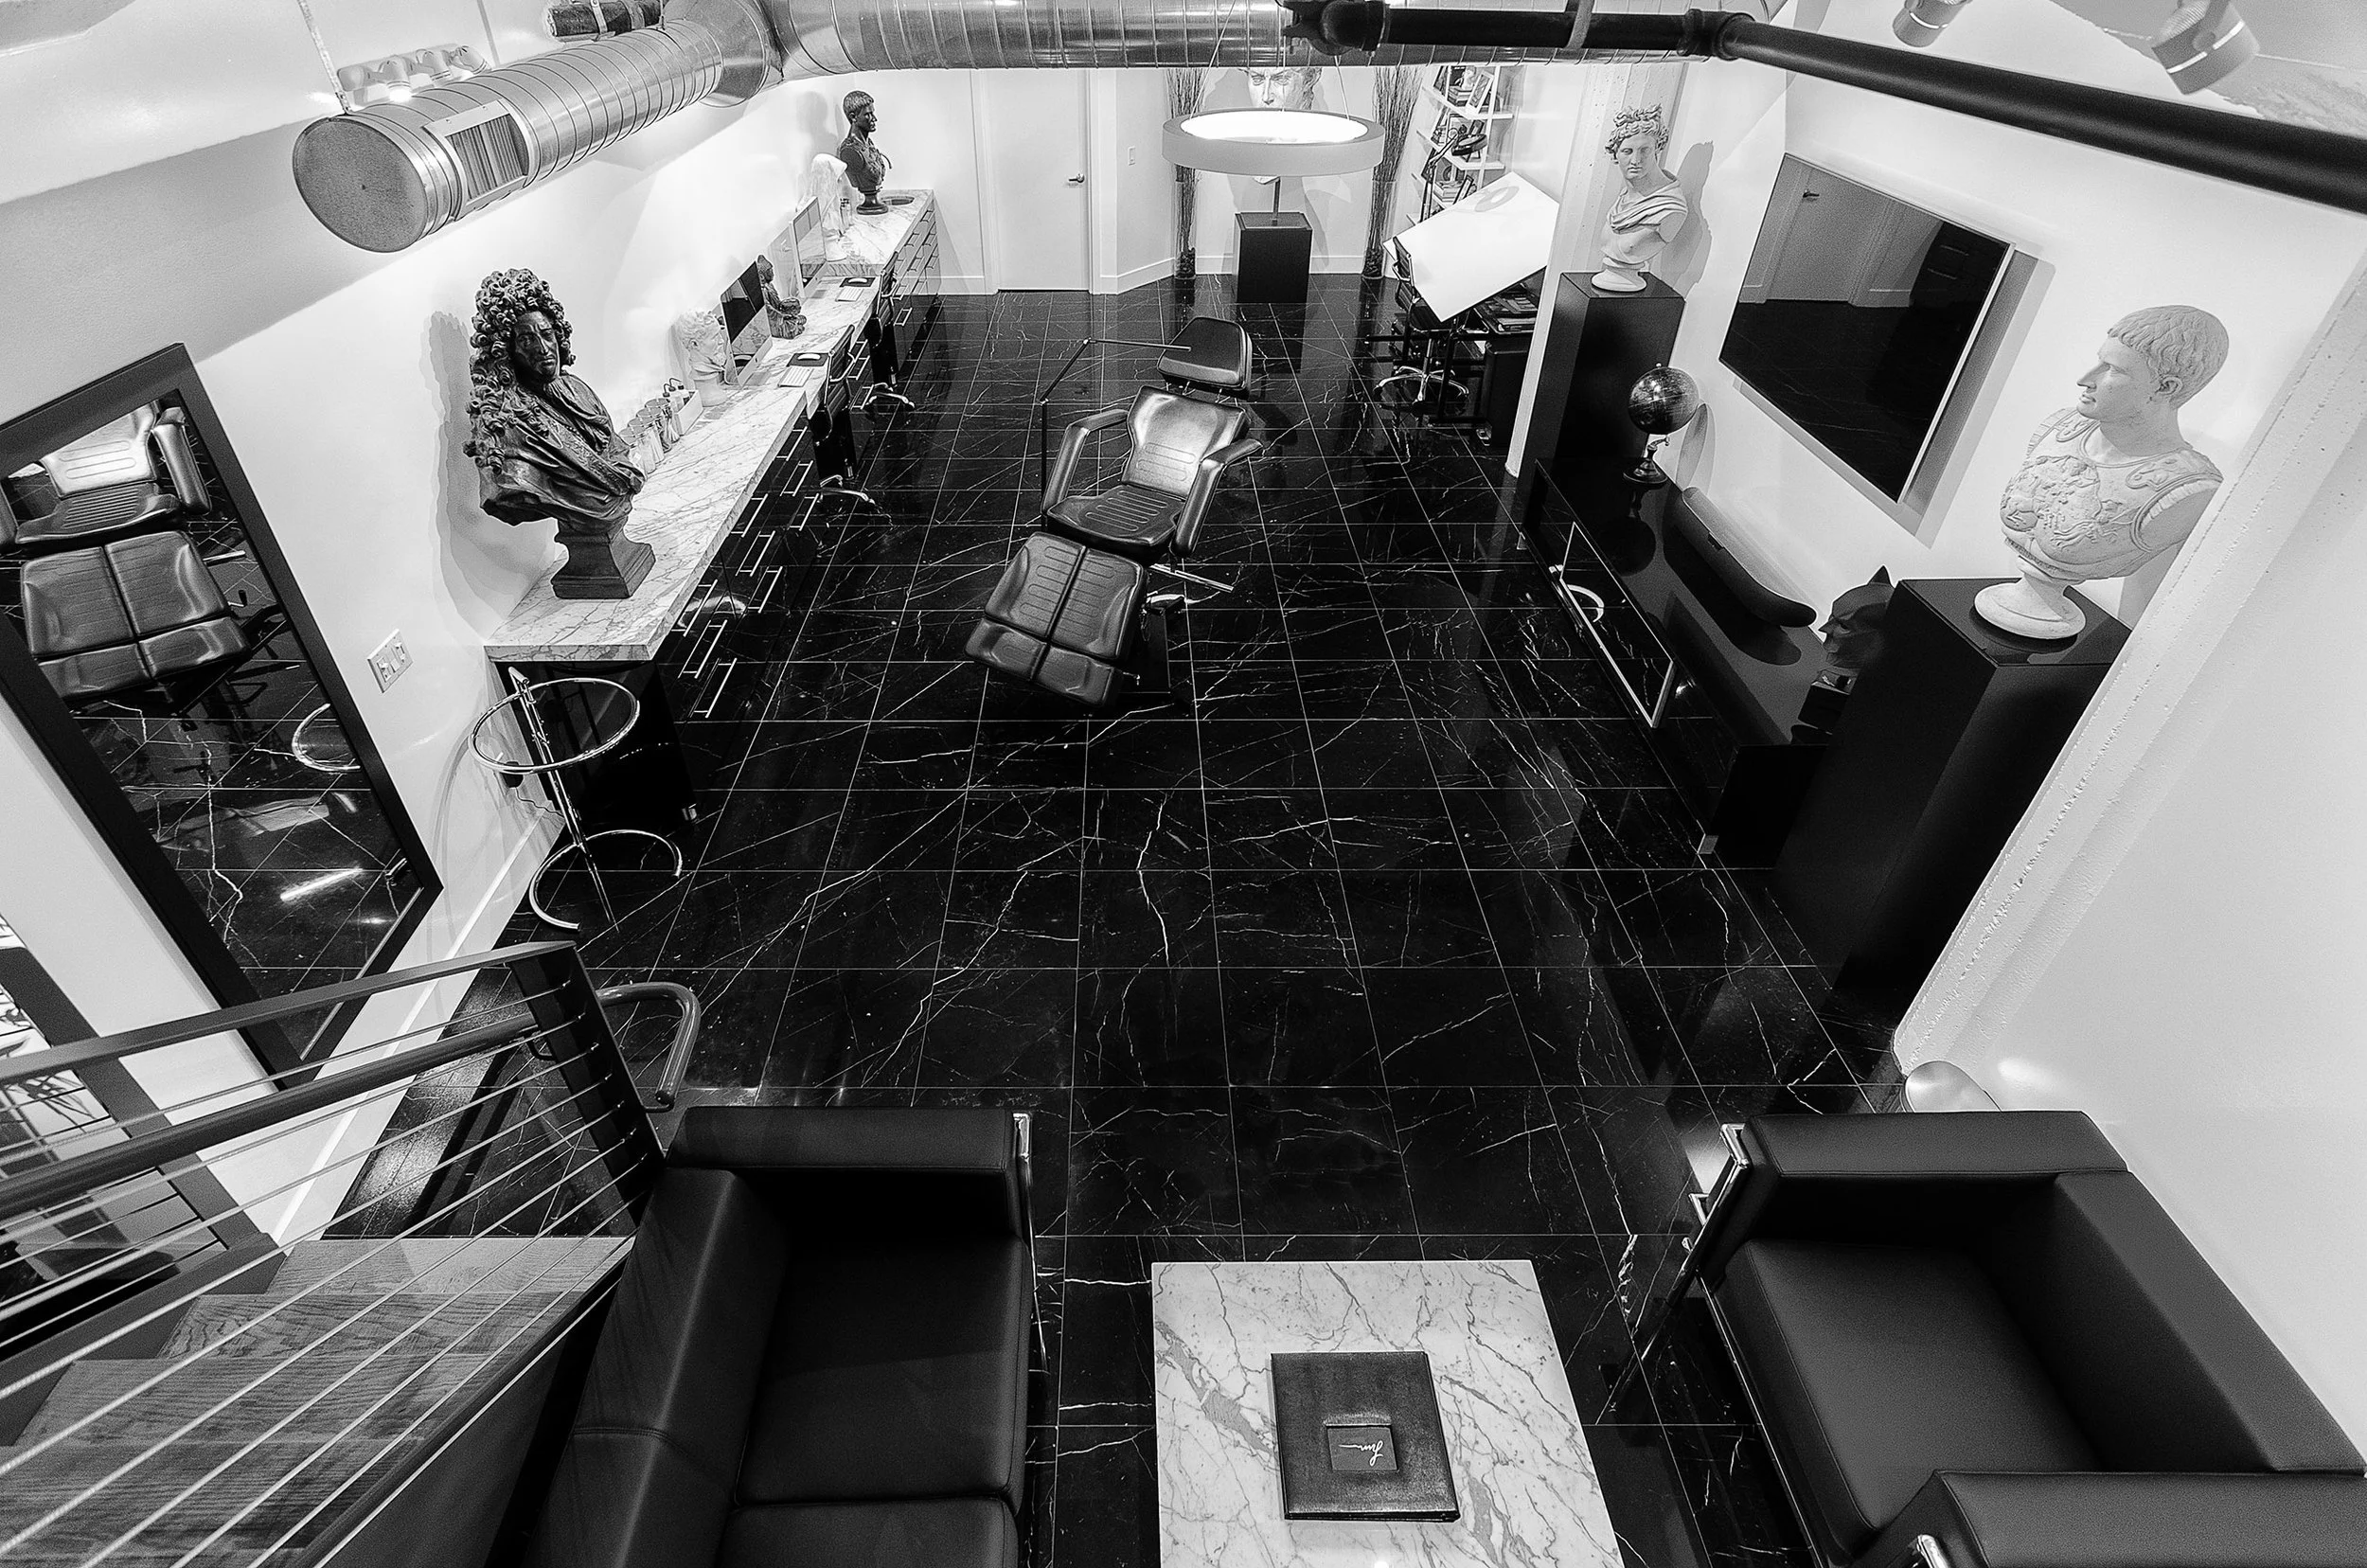
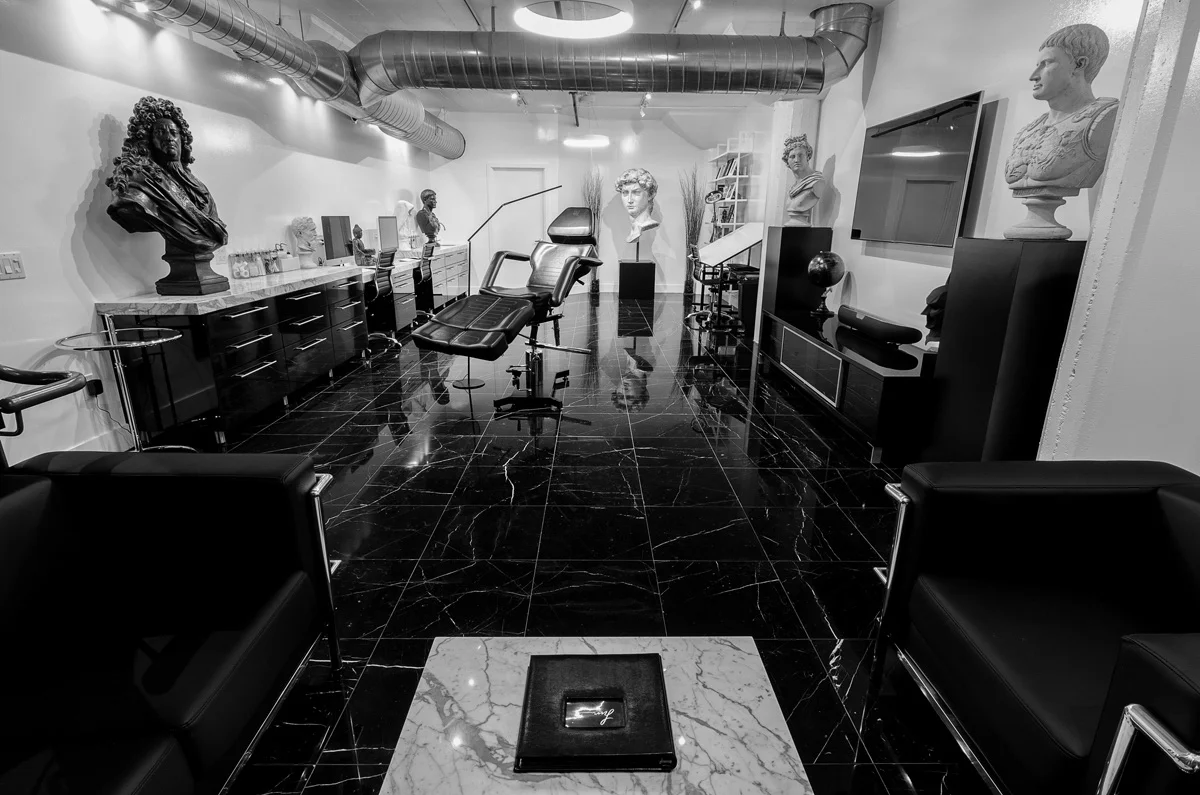
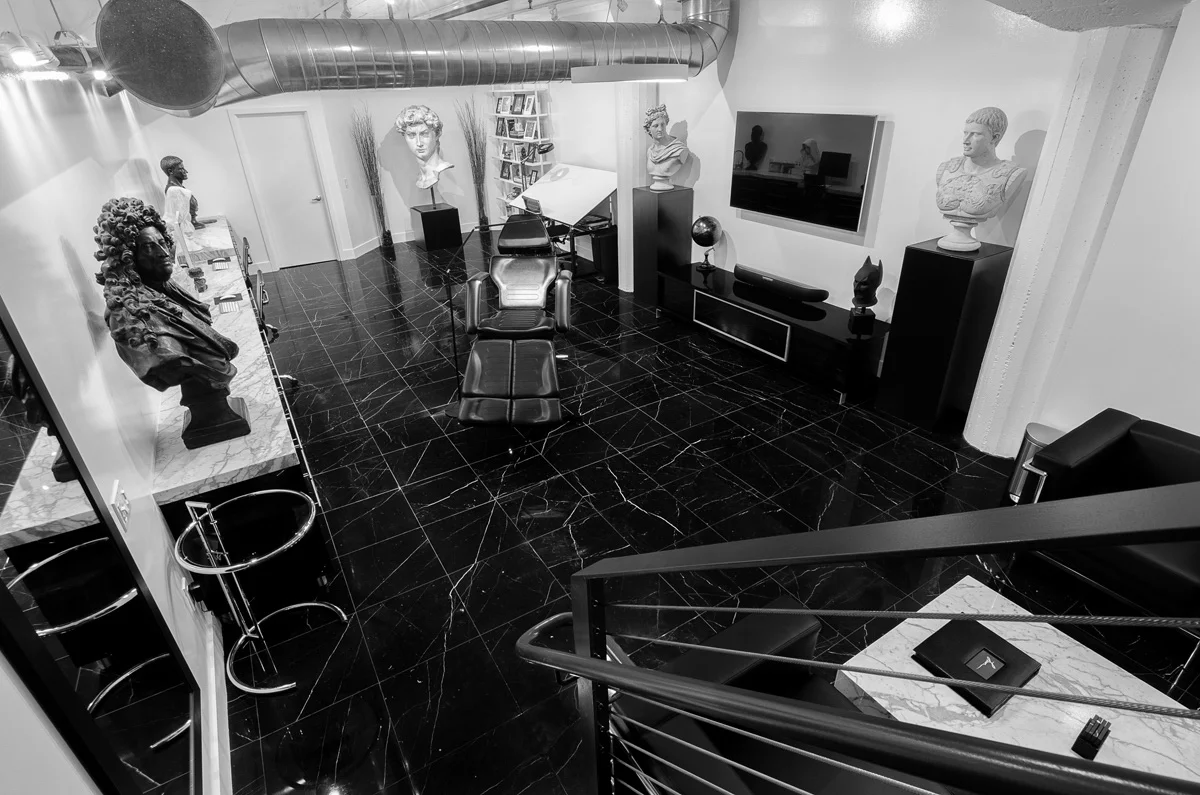
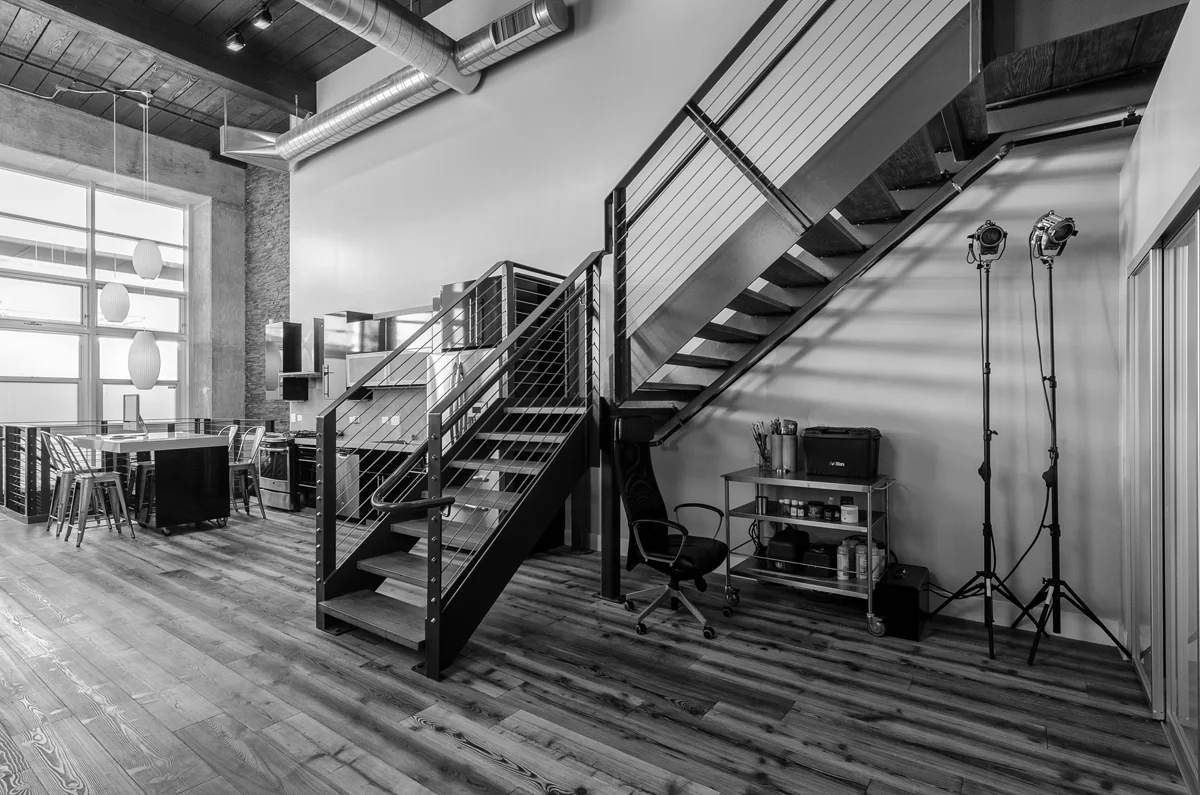
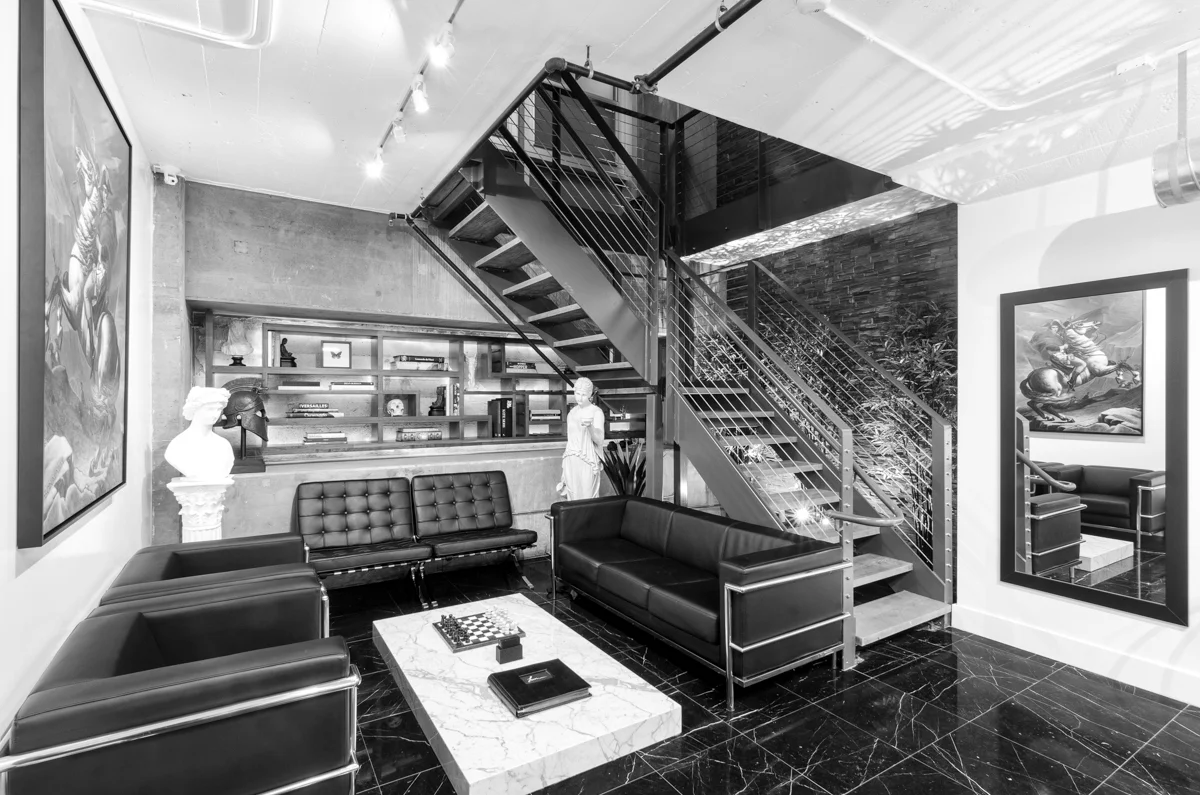
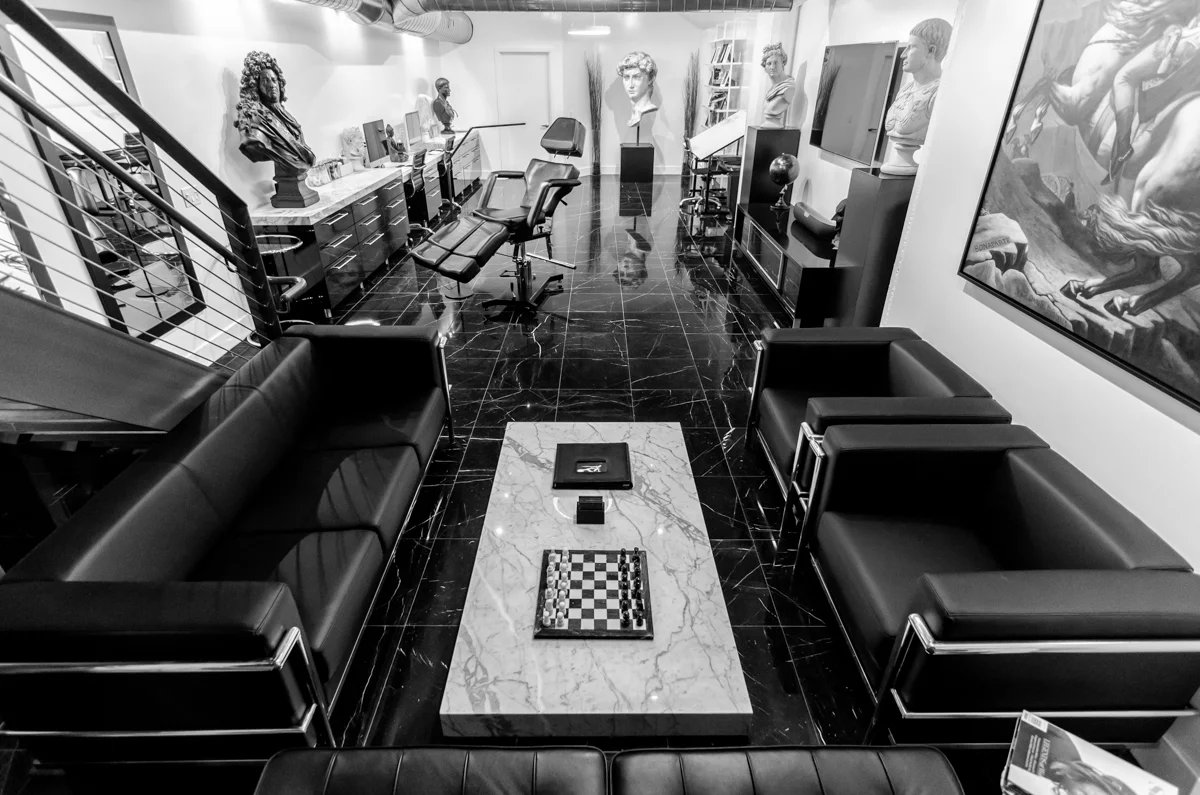
    Tattoo Artist Jun Cha's Monarc Studio.

    2. Communicate – Make sure to talk to the client at length about what they feel are the strengths of the space and what they like and what they’d like to convey. Ask as many questions as you can. This will help break into the emotional connection to the space and it will give you a good idea of what space to be in as you map out how to approach it. Unlike real estate, where the agent is not particularly intimately connected to the property, most times, when working commercial real estate spaces, you’re working with the owner or manager of the business, and, for the most part, they are extremely emotionally tied to their space – they know the quirks, the strengths, the weaknesses. Play off of that. If you listen closely enough, they’ll tell you EXACTLY what shots to get that will ensure their satisfaction with your work. And of course you’ll come up with several of your own ideas, and throw those in there. Sometimes it’s neat to see their reaction to a shot, a view, an angle that they themselves perhaps have never paid attention to.

    3. Team Up – Encourage them to provide ideas and input as you move thru the space on shoot day. It will help make them feel like a pivotal part of the project, hopefully setting them up to be as emotionally attached to those images as they were when speaking about them in tip 2.
    Wasim-Muklashy-Real-Estate-Photography_San-Diego-Los-Angeles-Ventura_Pro-Property-Photos_114

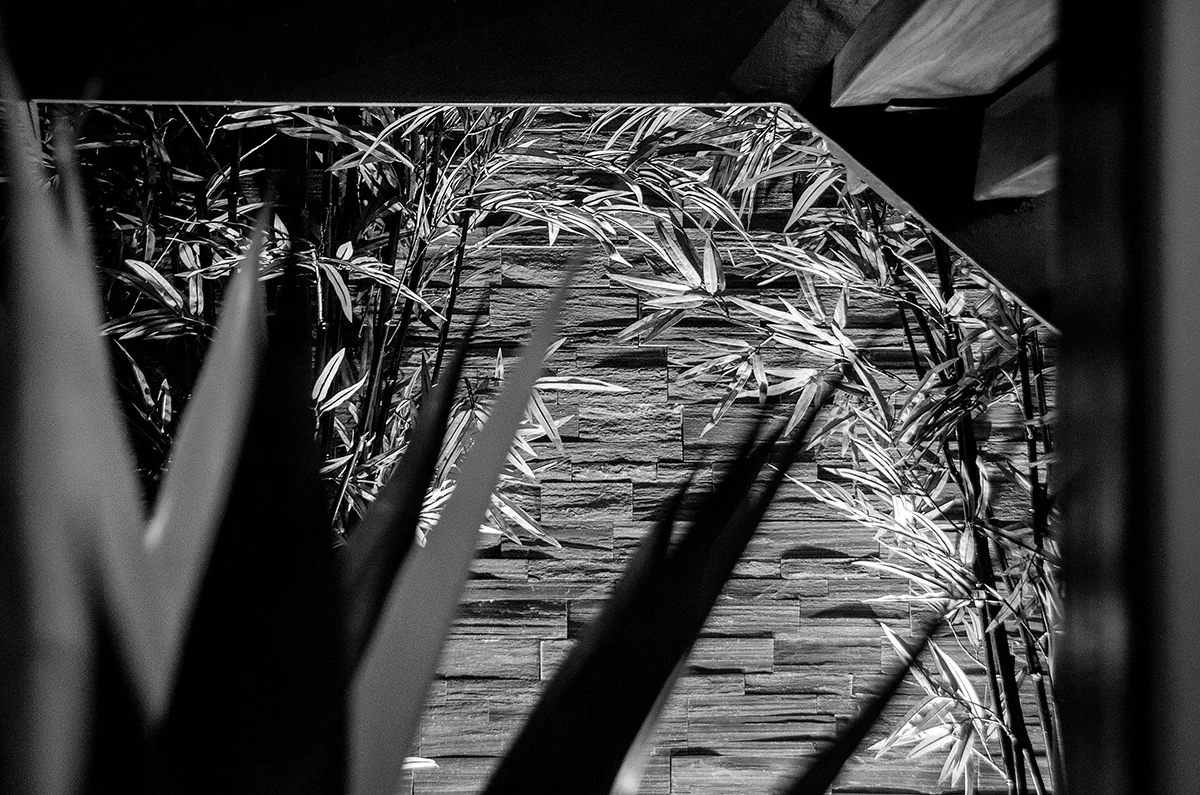
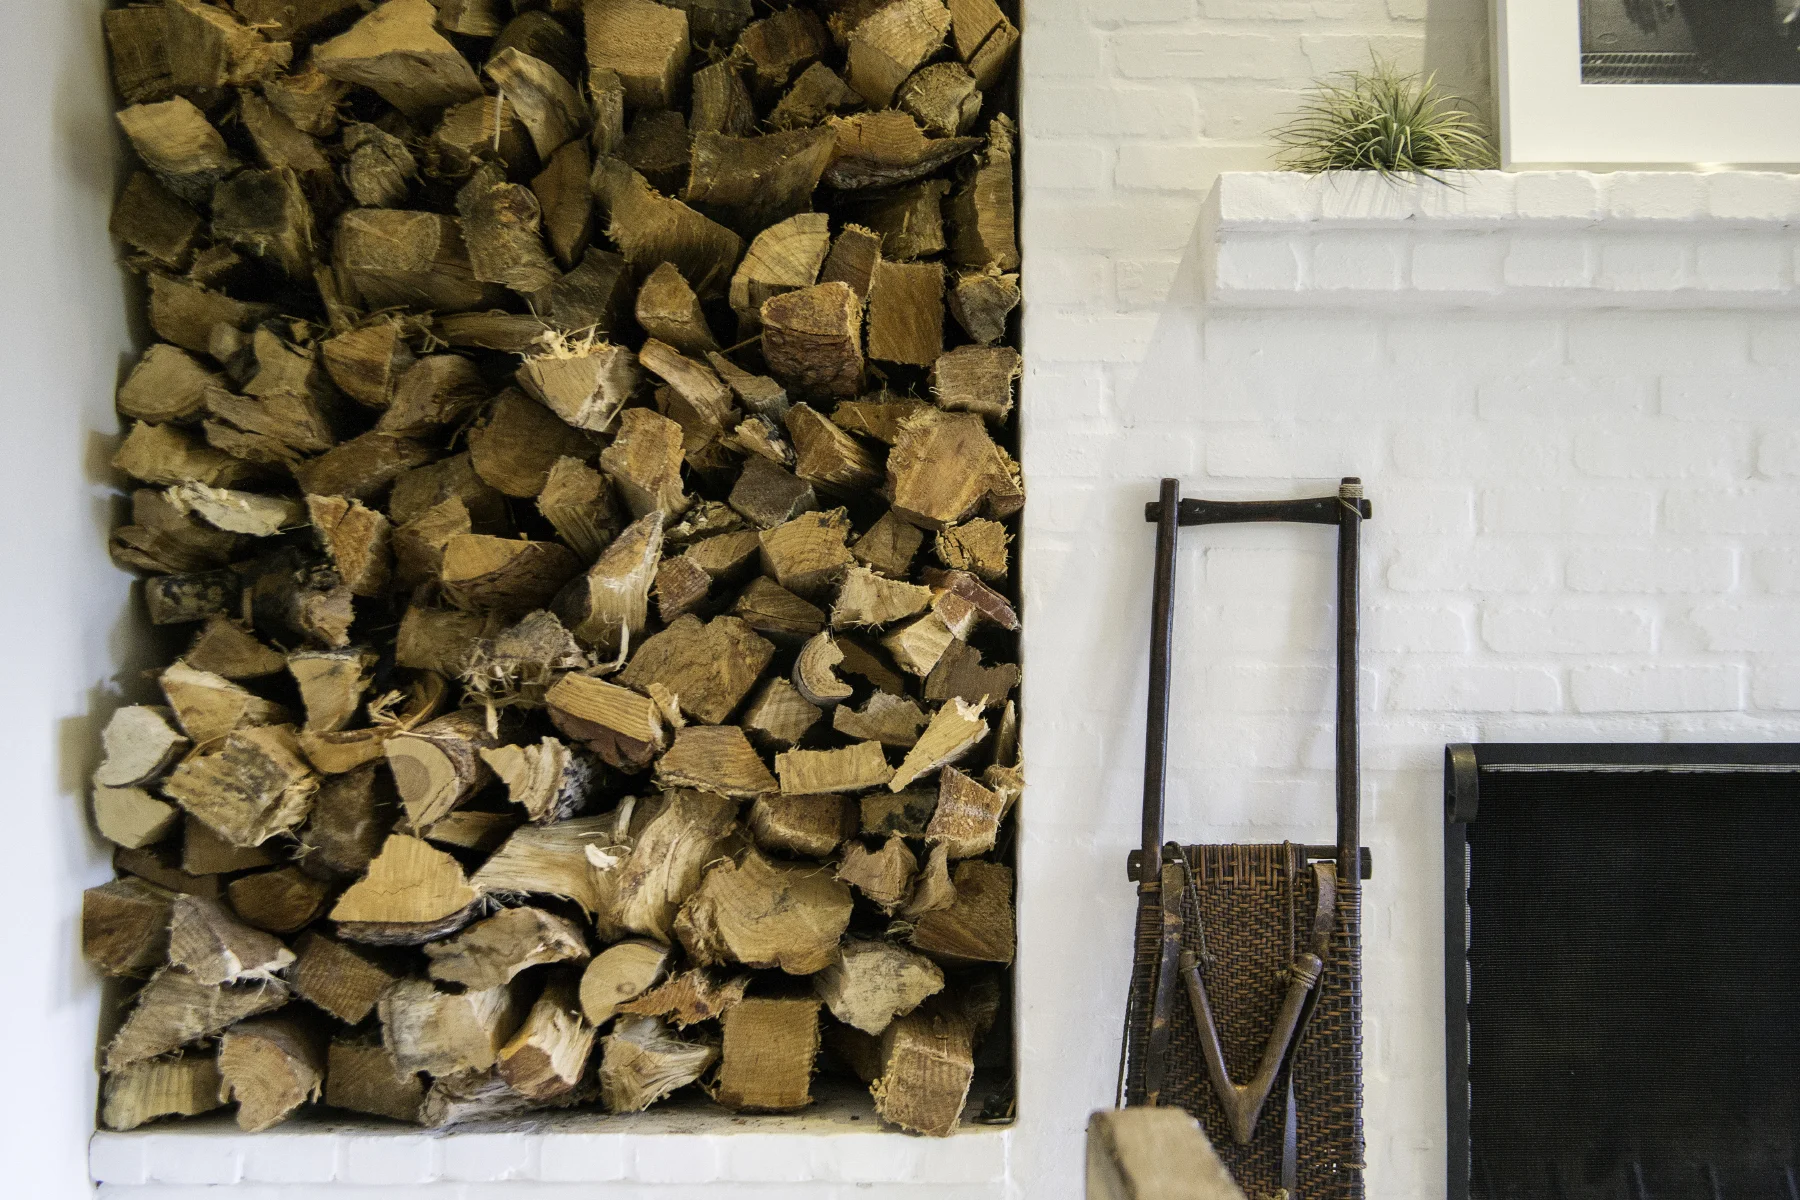
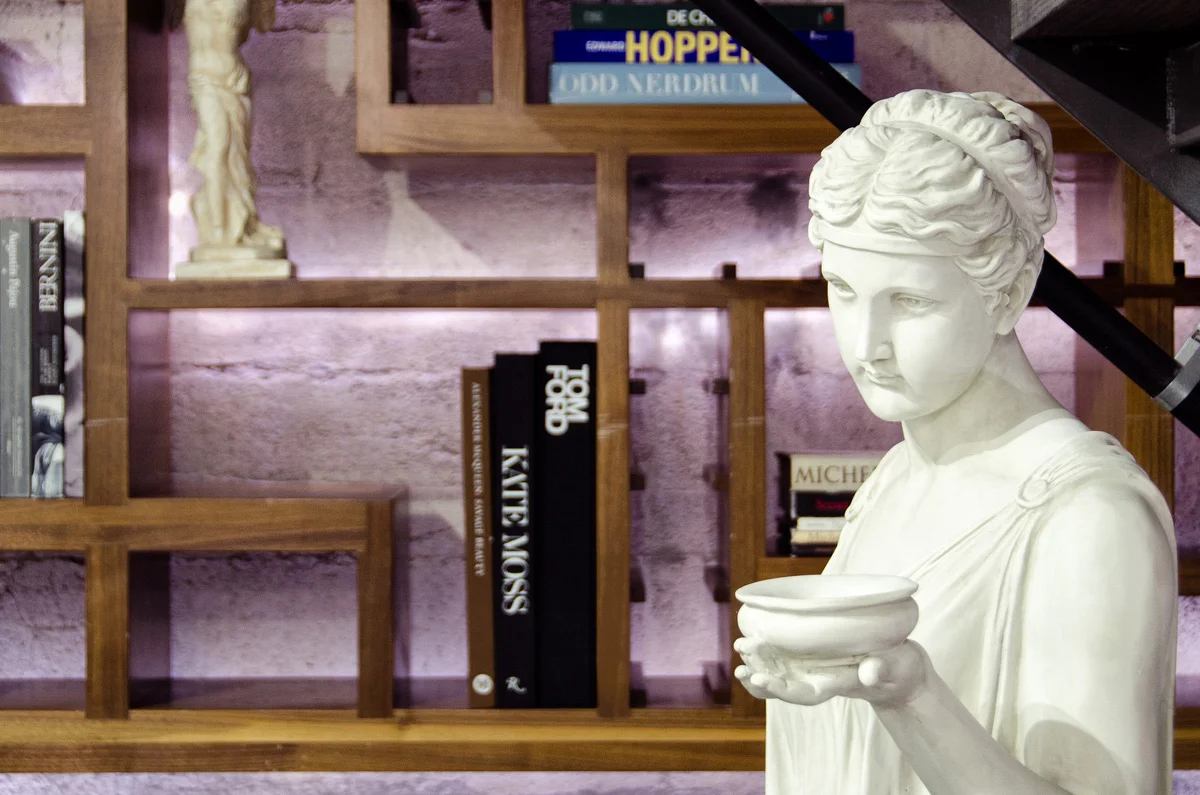
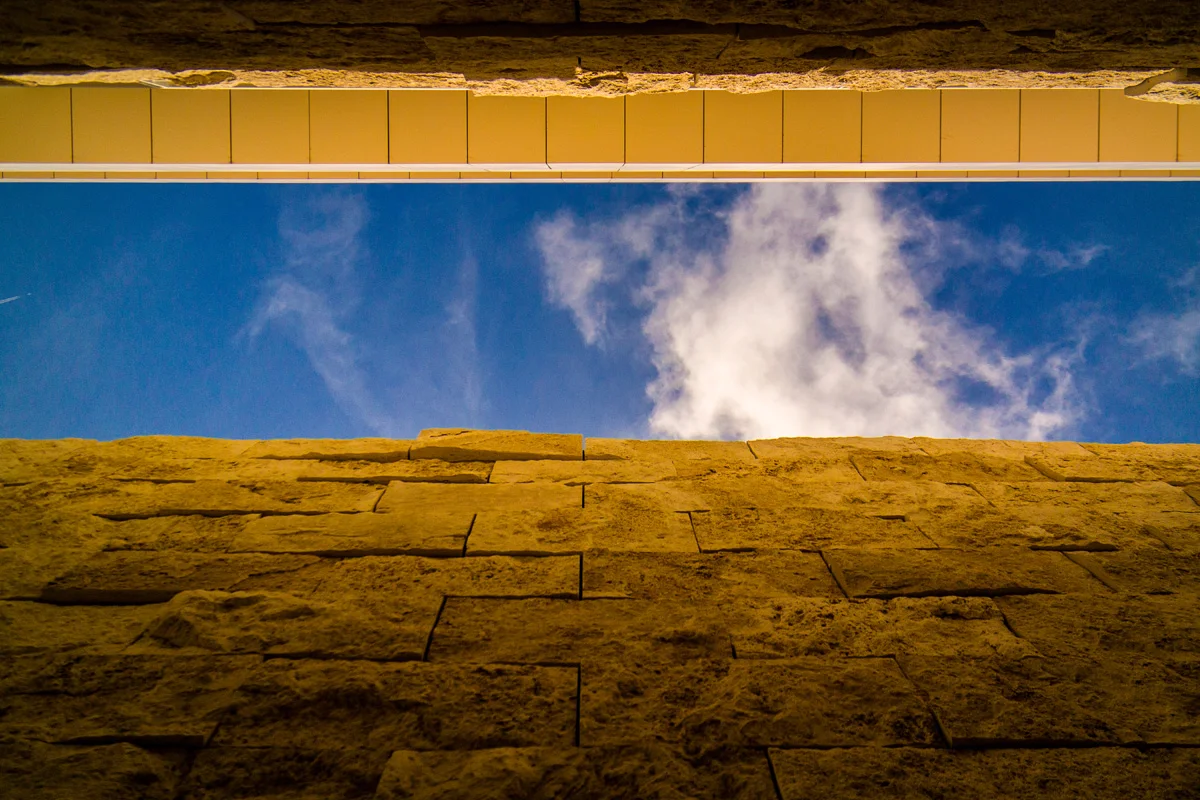
    4. Mix It Up – As was also talked about in my post 7 Tips For Real Estate Photography, mix it up. Yes, wide shots and crazy angles for the sense of space, but don’t discount the extreme value of vignettes and tighter shots, within the 35-50mm range for a more intimate feel. These shots aren’t as intimidating, and instead instill a sense of feel, aura, and connectedness with the space. A person’s vision can’t relate to a wide angle shot, but they can definitely relate to a detail or a vignette or a section of the space that gives you an idea of the character of the space.
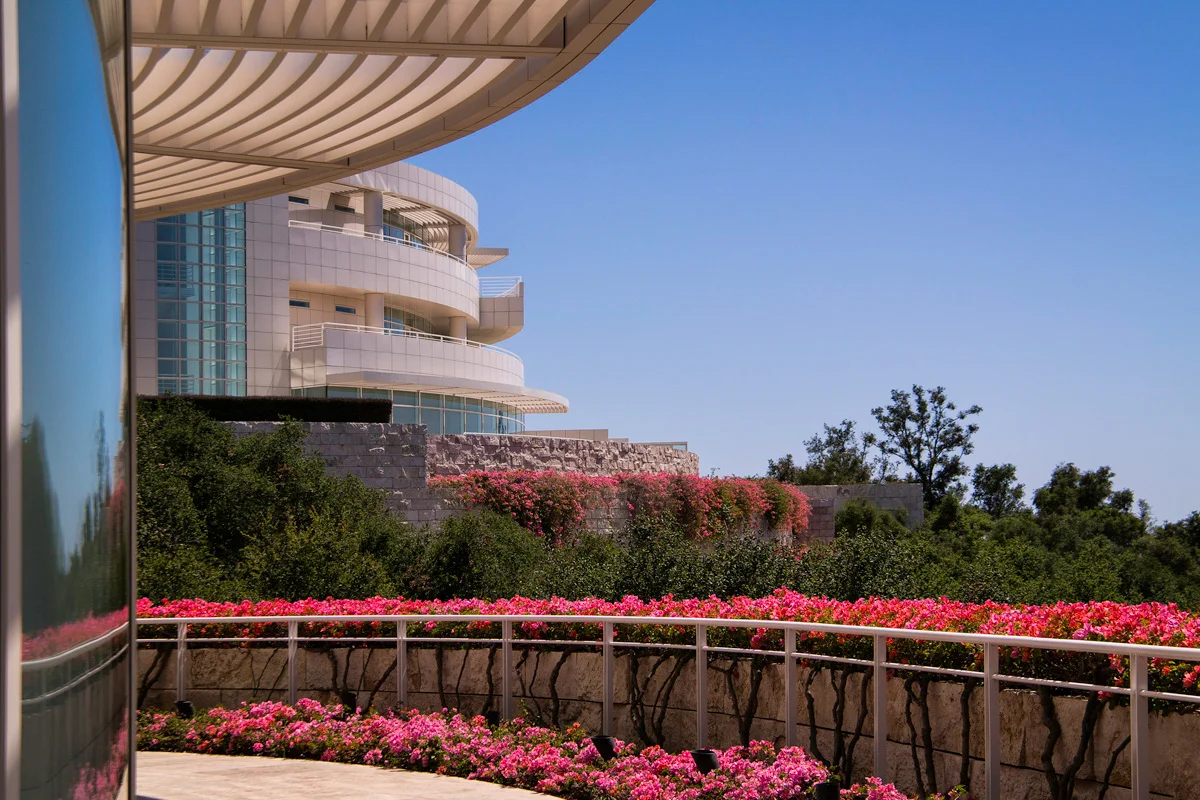
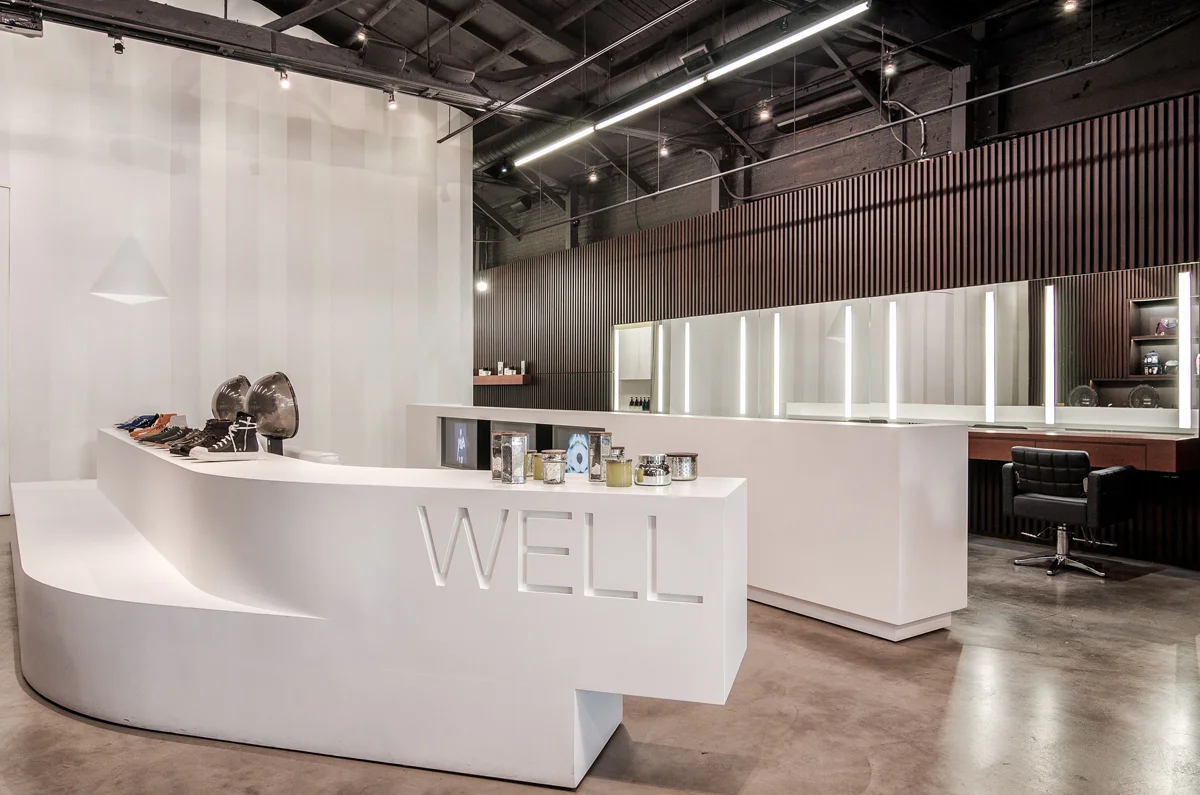
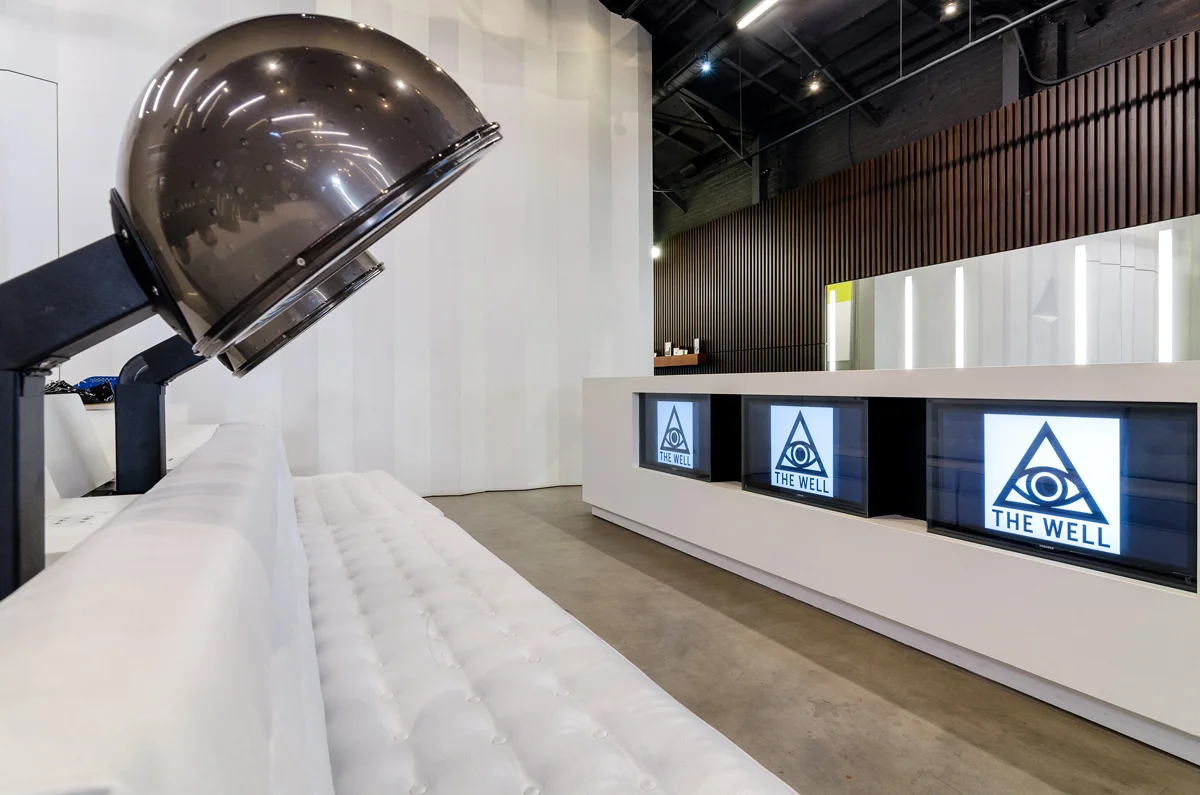
    Wasim Muklashy Real Estate Photography_The Well_Los Angeles_California_03

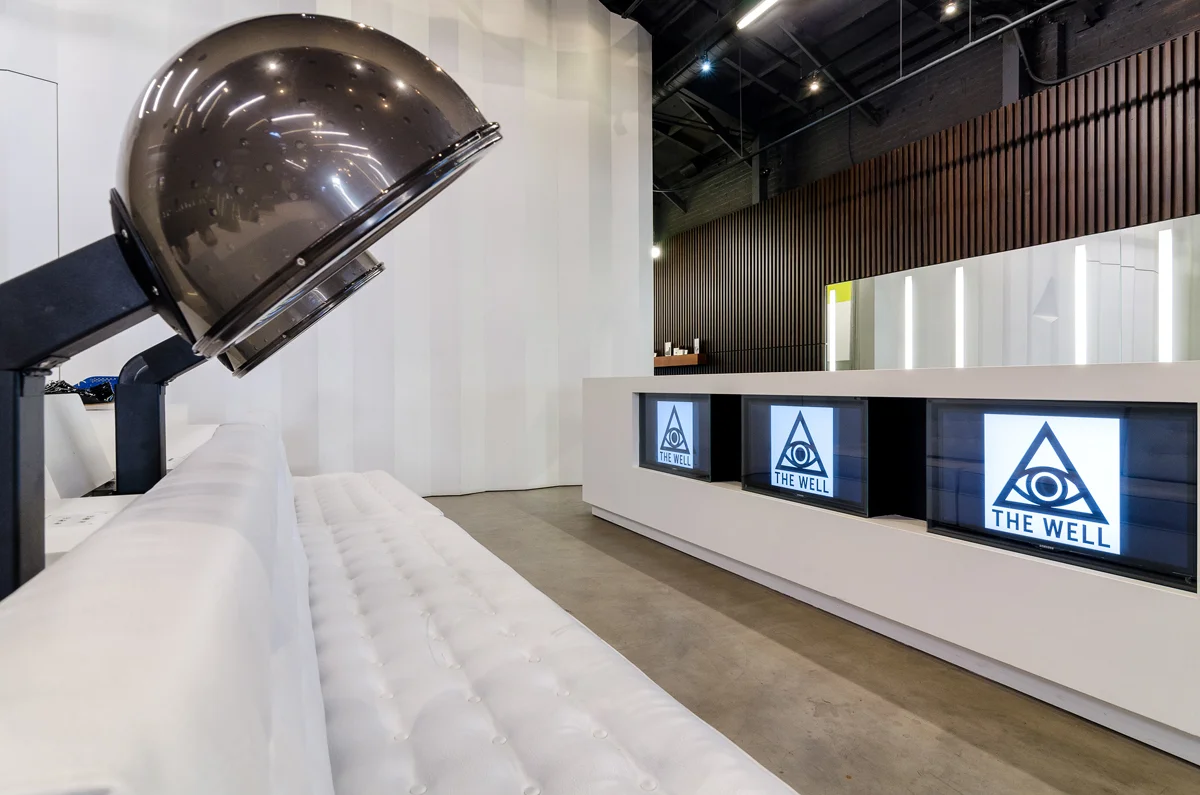
    5. Logos & Branding. If the space has any sort of branding or logos, try to find a way to incorporate those into the images. Whether they be on screens or table mats or windows or pens, try to find at least a few shots where those logos are included. Not only can these sorts of shots help with branding, but they can also be used for other purposes by the business such as social media posts, headers, or physical postcards or prints for marketing materials. Business owners work hard to build their businesses and consequently, they’re very proud of the fruits of their labor. Branding shots are a great pat on the back that they are sure to appreciate.

    So there it is. Don’t stress out about it, don’t fret, take it as a challenge, know that you’ll learn something, and, most importantly, have fun with it. If someone else was confident enough in your skills to hire you, then you’ve got those skills. Be confident. Go kill it!

    Also, here are a few more entries that can also help you when shooting real estate and properties:

    7 Tips for Shooting Real Estate Photography

    How To Expose For Interiors And Exteriors In Architecture Or Real Estate Photography – Part 1 – On Location

    How To Expose For Interiors And Exteriors In Architecture Or Real Estate Photography – Part 2 – Post Processing

    How To Minimize Reflections In Interior Photography

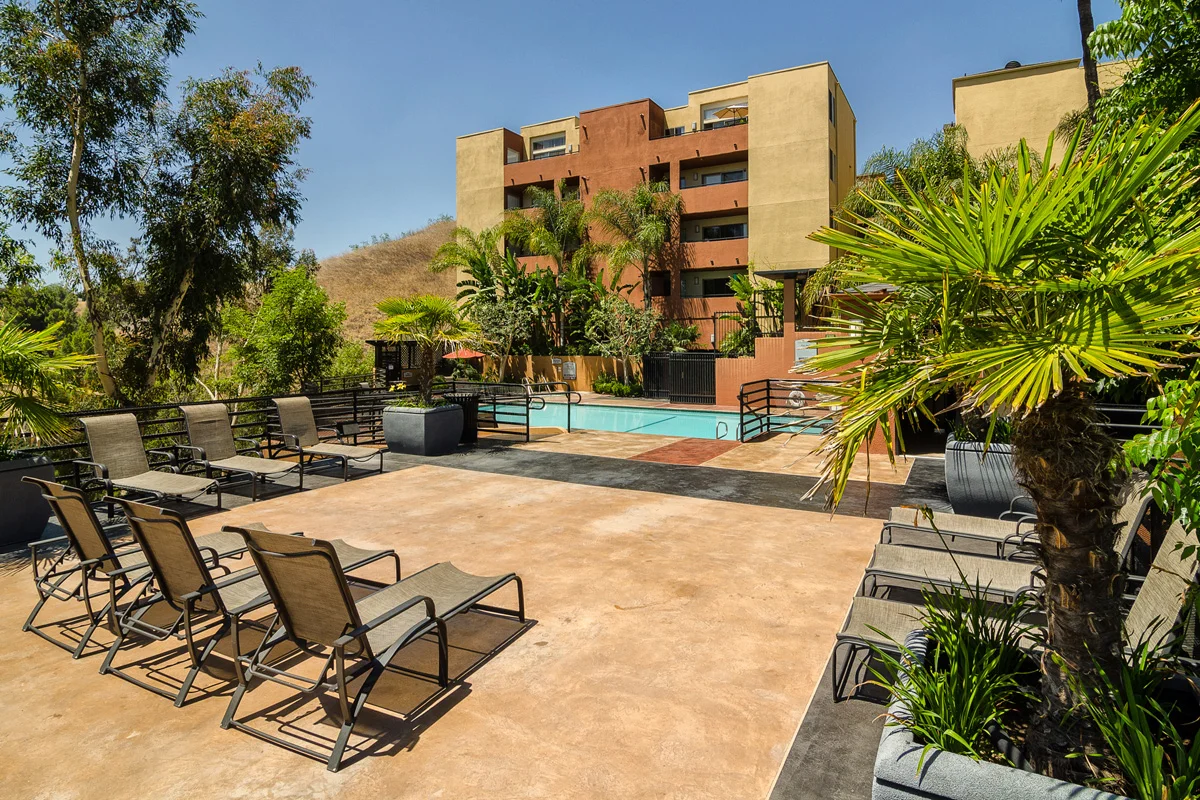
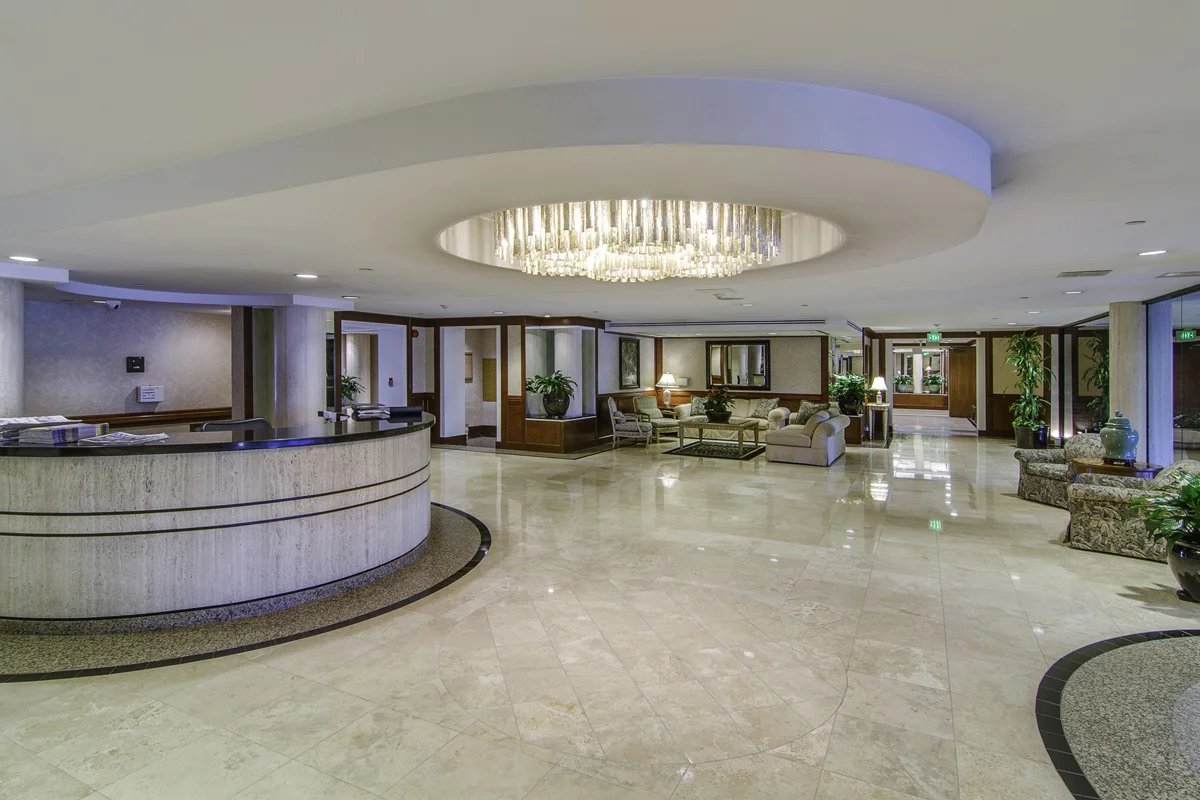
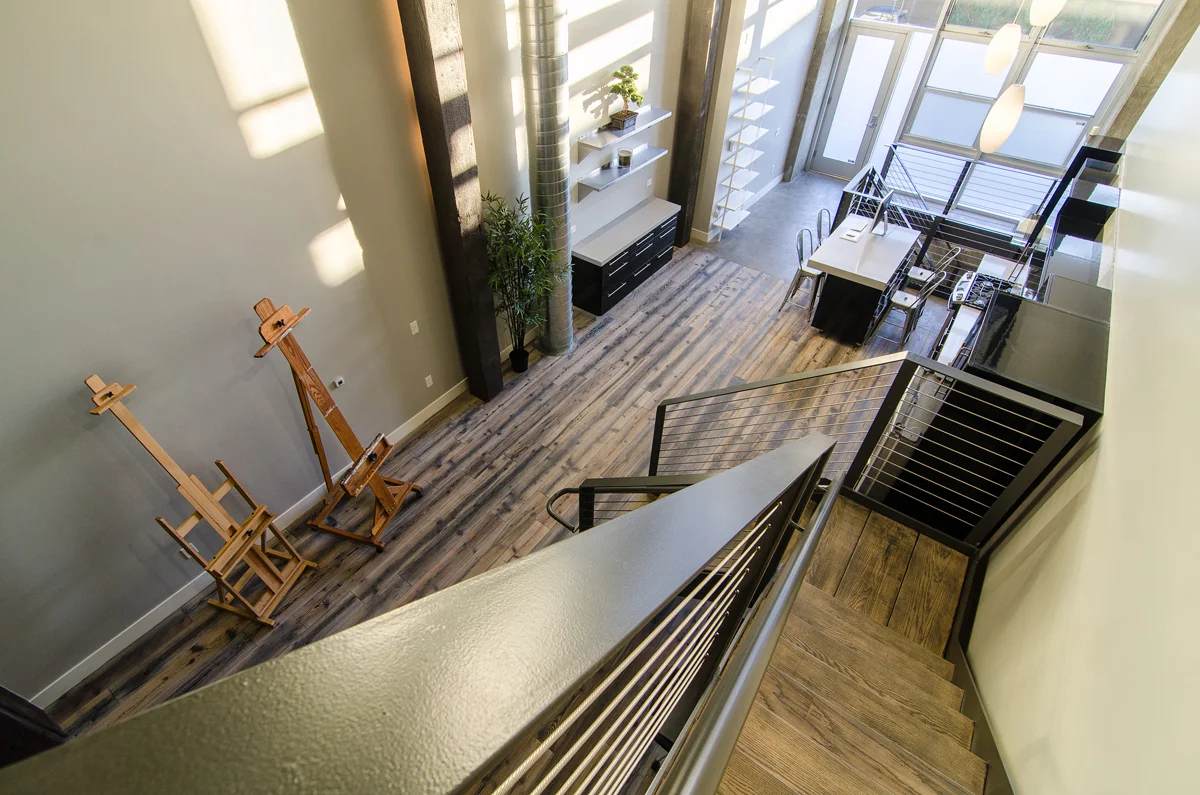
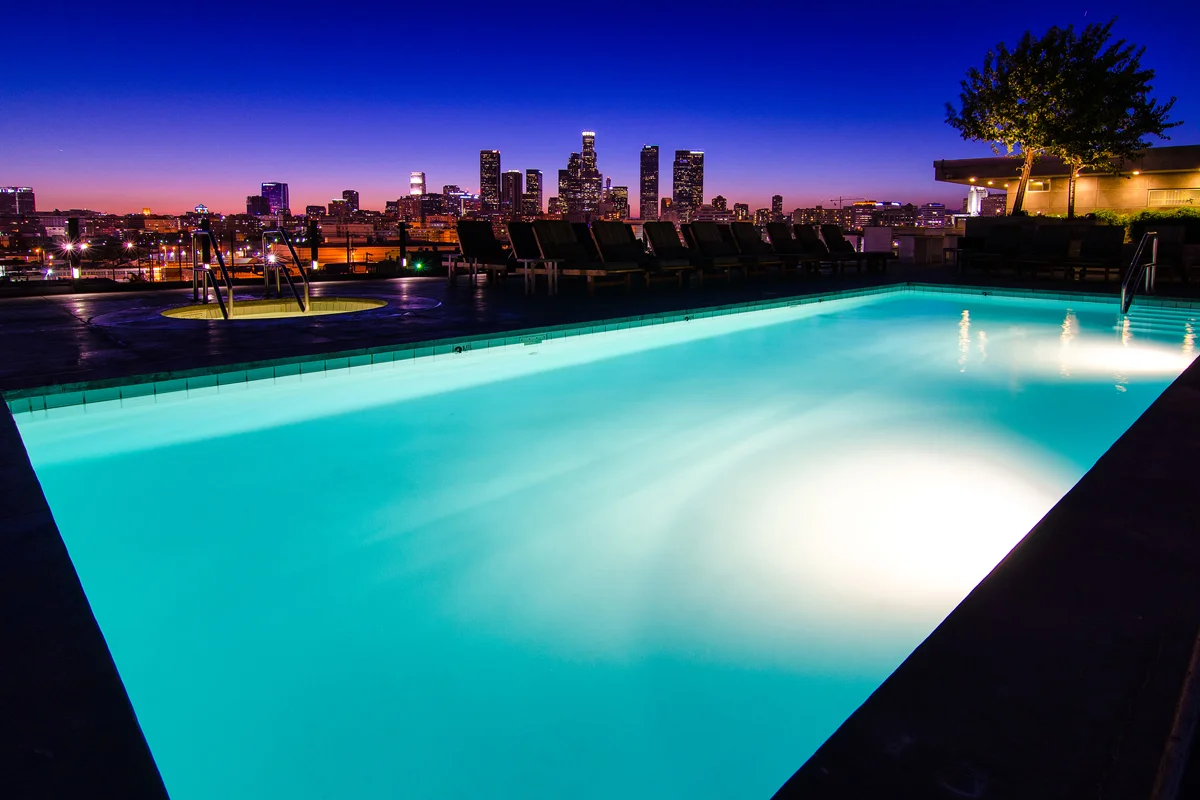
    Below is a gallery that has some of the images from my recent shoots at Jun Cha’s Monarc StudiosThe Well Salon & Event Space, and a local condominium complex.

    And if you’re in need of real estate photography services, whether commercial or residential, please feel free to contact me or check out my Property Photography website.

    And as always, for more of my madness, take your pick: Instagram: @wasimofnazareth Ello: @wasimofnazareth Google+: www.Google.com/+WasimMuklashy
  • Ten Fail Proof Gifts For Photographers In Your Circles

    Ten Fail Proof Gifts For Photographers In Your Circles

    Wasim Muklashy Photography_Samsung NX3000_Los Angeles_California_Gifts For Photographers

    Whether we’re ready to admit it or not, the holidays are upon us. I tried as long as I could to ignore the names of the months passing by on the calendar, but, well, once Daylight Savings Time hit, denial turned to grief turned to acceptance turned to ‘ok, fine, let’s do this thing!’ Anyhow, chances are there’s a photographer in your family or group of friends that you’ll have to shop for, and while we’re certainly a famously finicky bunch, I guarantee you, there’s still something that photographer “needs.” So here’s a list of things that will help turn that psychosis-inducing task of figuring it out into the easiest checkmark on your shopping list. Here are 10 fail-proof gifts for photographers in your circles.

    1. GIFT CARD!!! While so many might say this is the lazy, impersonal way to go, trust me, this is the number one gift any photographer will want. While we’re an extremely picky species, there is always something that we want. And that’s not limited to photography gear…we need hard drives, memory cards, batteries, light modifiers, sand bags, cables, a myriad of stuff, so a gift card to an outlet that sells everything from electronic to photography gear is an insanely valuable asset. You can’t go wrong with Amazon, B&H Photo, or Adorama.

    Wasim Muklashy Photography_Miles_Airport_Gifts For Photographers

    2. Airline Miles – Just about every photographer dreams to have fresh new exciting unfamiliar things and places to photograph, and every one of those photographers has a destination (or two, or three, or fifty) that they dream to visit, but just about every one of those photographers frets over the price of that plane ticket to get there. Miles are a HUGE help. Whether you have enough to hand over enough for a full flight, or a few thousand that can help alleviate part of the financial burden, miles are a gift that will never be unappreciated by the photographer in the family.

    3. iPad Mini – This is quickly becoming a must-have item for photographers, especially those that work in the field. From the tethering capabilities to just about every camera to the increased focus by major image software companies like Adobe, an iPad mini is something that will definitely get used. And if you’ve got the budget, AppleCare would help. Just sayin’.

    Craft and Vision

    4. Craft & Vision Gift Certificate – Guaranteed there will be at least 2 books that come out this year that the photographer in your family will want. And as they’re all written by respected photographers in the industry, they will be coveted. David duChemin’s Craft & Vision almost has a lock on the best photography books in the publishing world. Best of all, most of them are less than 10 bucks, so 20 bucks will go a long way. 50 bucks? Fuggedabbadit!

    kelbyone

    5. KelbyOne Gift Certificate – Scott Kelby and KelbyOne are perhaps the go-to in photography training, seminars, and workshops. The Photoshop master has built quite the machine, offering everything from video tutorials from the industry’s biggest draws, to live seminars and conferences taught by everyone from himself to National Geographic superstar Joe McNally. If you don’t know Joe, trust me, the photographer you’re aiming for does. I would recommend getting a membership, but there’s a good chance the photographer you’re shopping for already has one, but a gift certificate can be used for the seminars or workshops or various products as well. Can’t go wrong with this one.

    6. BorrowLenses.com Gift CertificateBorrowLenses.com is awesome! Every photographer you’ve ever known and will know, will spend hours, days, weeks, months, researching gear, lenses, camera bags, bodies, you name it, before they finally make their decision. A lot of times, the only way to know, is to touch, feel, use, and marinate with a piece of gear, and BorrowLenses.com makes that incredibly affordable and awesome. You can rent, Netflix-style, everything from camera bodies, lenses, and even lighting gear, so you can test it out before you buy. You’d be helping make the photographer’s research a hands-on experience. They’ll never forget that!

    Adobe Creative Cloud

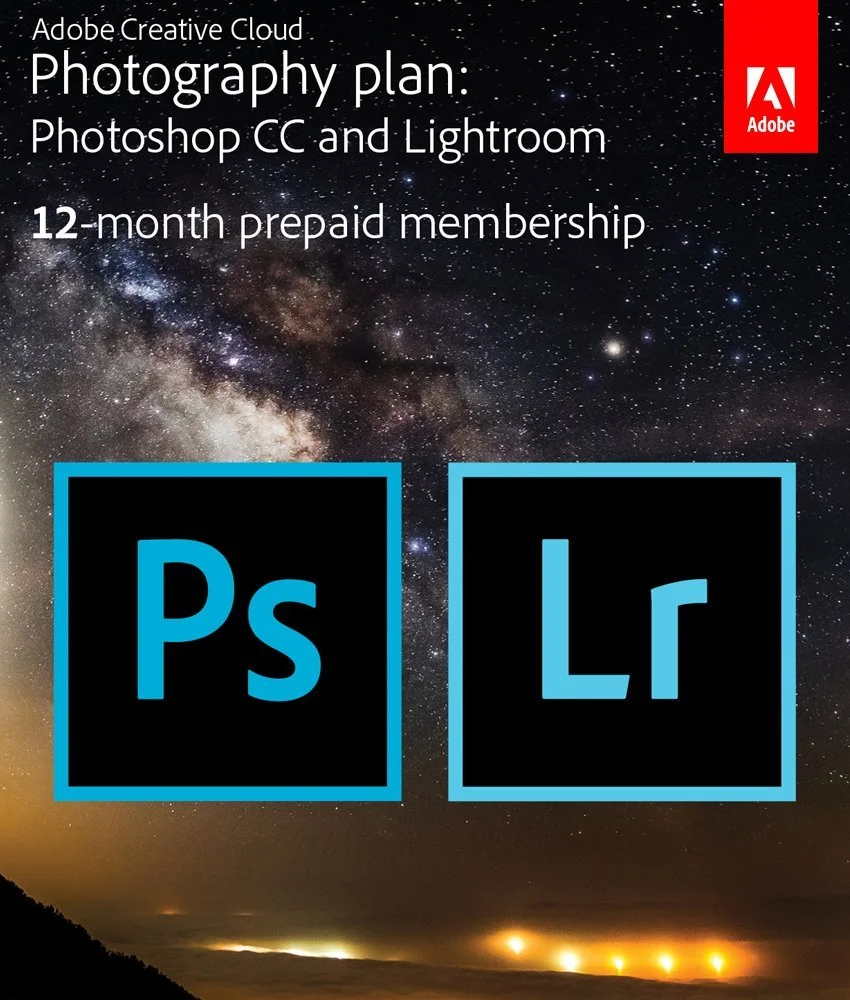
    7. Adobe Creative Cloud Subscription Because we hated the fact that we had to pay for a subscription to use the software that is our bread & butter, that charge on our credit card still irks us each month, and by paying for it for a year for us, it’ll help us forget it for that much longer. Ah…the good ol’ days…

    leatherman-mut-multitool-9289

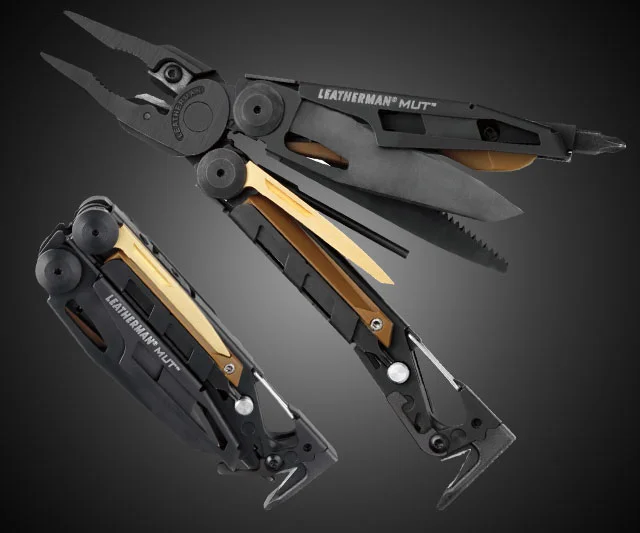
    8. Leatherman – Because we love cool things and Leathermans are cool things! And we can have a hundred Leathermans and love each one of them. Like children. Sort of. Not really. But you know what I mean.

    9. Swatchmate – Ok, this is pretty sweet stuff. This might apply more to digital artists than to strictly photographers, but, well, the line does seem to be blurring, so here’s one for color freaks. This device allows you to capture ANY color anywhere you are from any surface of anything at all and be able to save it as a swatch to use later. It can even save it directly to Photoshop for you.

    10. Their own Prints – Not for them, but for other people. There is NOTHING that tickle’s a photographer’s fancy more than that notification on their phone that they sold a print. And if you buy several after another for different people, that means more notifications. That means more love.

    Wasim-Muklashy-Photography_Gifts For Photographers_Prints

    11. (BONUS). My Prints. Because, well, they’re awesome! But you didn’t hear it from me. Well, yes you did, but, no you didn’t. Anyhow…do it! Buy. Crated or FineArtAmerica.

    Additionally, if you’ve got a budding photographer in the family, and you’re looking to get them their first camera or upgrade their shooting experience, here are the 6 Best Cameras For Budding Photographers.

    And please remember, if you use Amazon, use this link or the one right there in the right column on this site. There’s no difference to you at all, but by using this affiliate link, I get a bit of a kickback from Amazon which helps me cover the costs of running and maintaining this site and creating content like this that is hopefully of some value to you.

    For more of the photography psychotica, pick your poison:
    Instagram: @wasimofnazareth
    Ello: @wasimofnazareth
    Google+: www.Google.com/+WasimMuklashy

  • 5 Black & White Photography Tips I Learned While Taking The Black & White Photography Challenge

    5 Black & White Photography Tips I Learned While Taking The Black & White Photography Challenge

    Wasim Muklashy Photography_Realtime Lapse_Samsung NX3000_Malibu_California

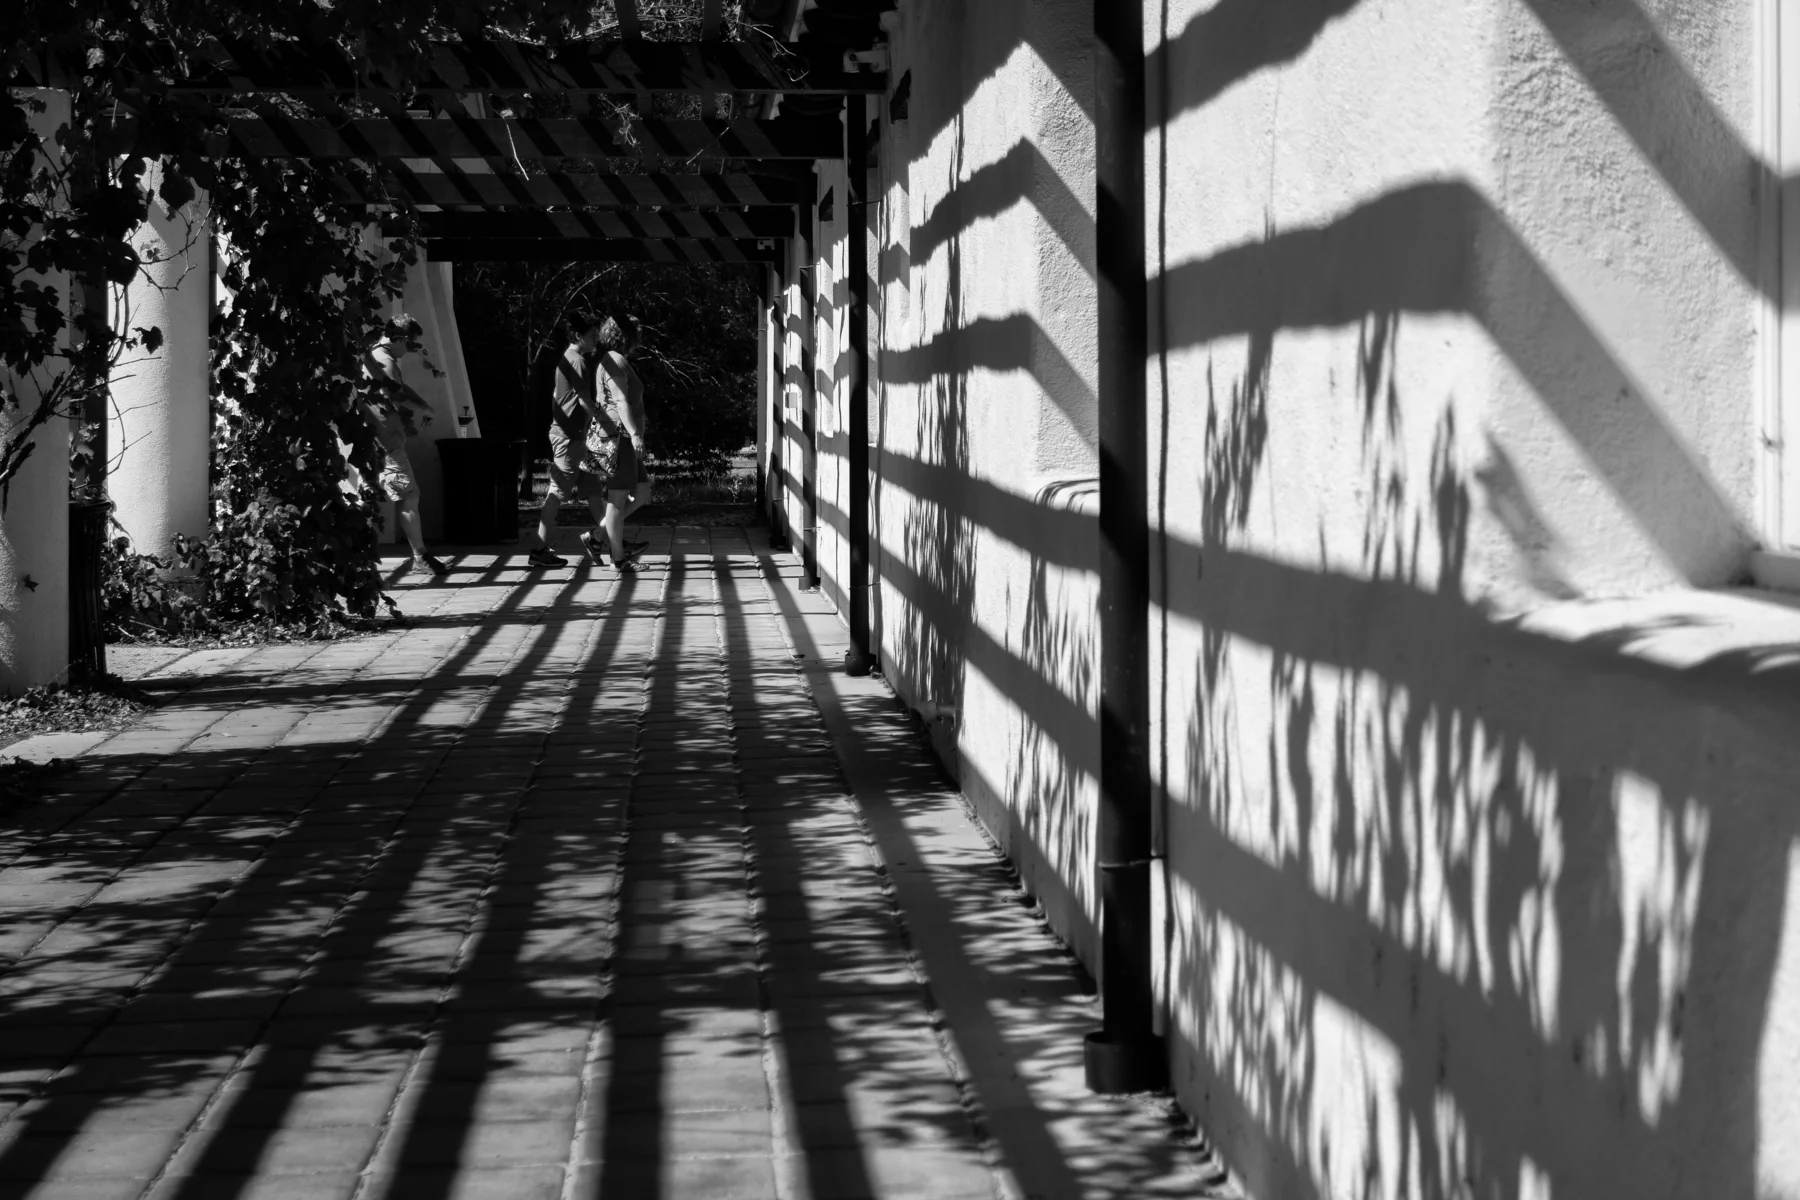
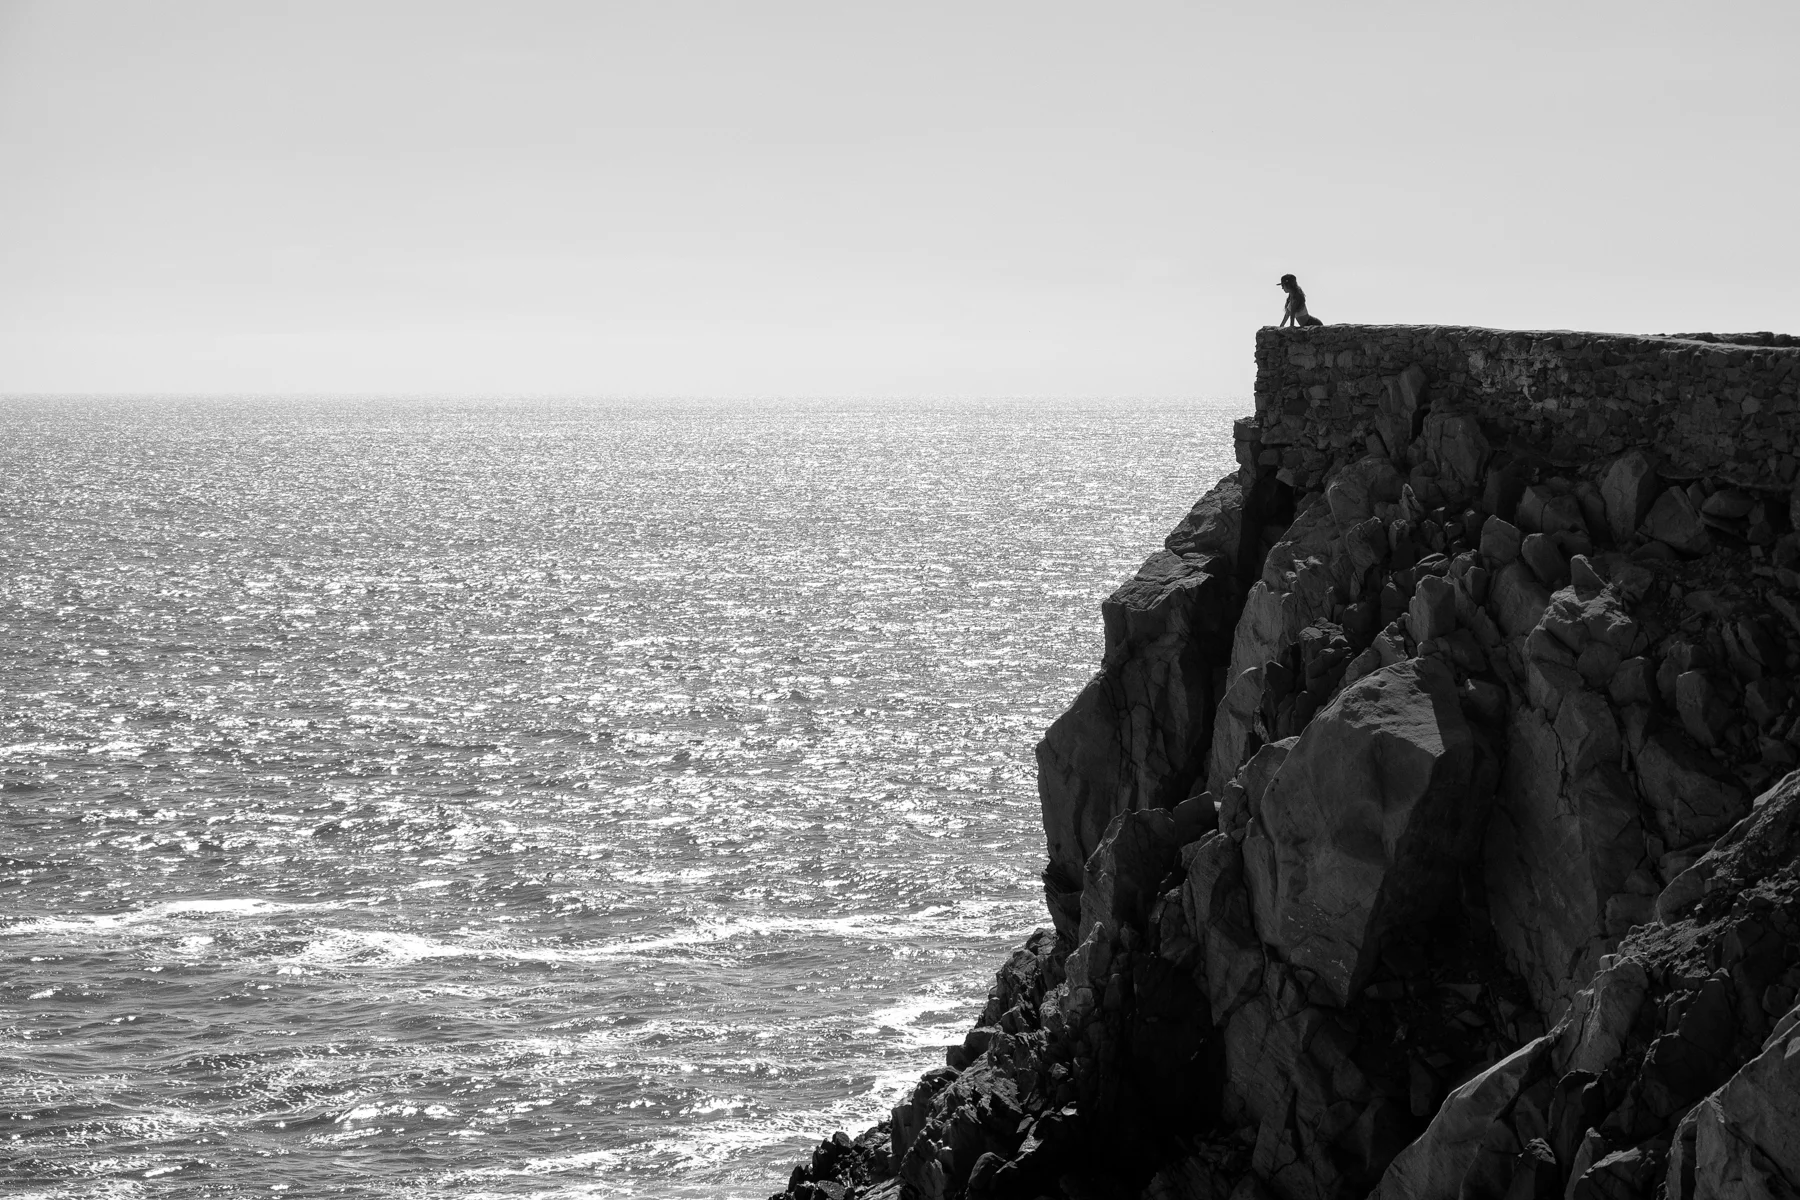
    So I was recently challenged by a fellow Samsung Imagelogger, the talented portrait photographer Jess Anderson, to take the Black & White Photography Challenge. Basically, I had to post 5 black and white images in 5 days. Anyone that knows me or my work knows that color plays an enormous role in the images I choose to make, so this was definitely a bit intimidating. In addition to a few of my favorites from those recent 5 days, what follows are 5 things I learned and experienced in my little black & white journey. One thing that is immediately apparent is that once you lose the luxury of color, your mind shifts, and it has to. It’s not as easy as just hitting the black & white tab in Lightroom or Photoshop or dropping saturation. You can’t make images the way you’ve known and been used to and you are forced to focus on other aspects. The good news is, once the mind-shift happens, a whole new world that you may not have previously paid attention to, pops up into existence. It’s really quite fascinating.

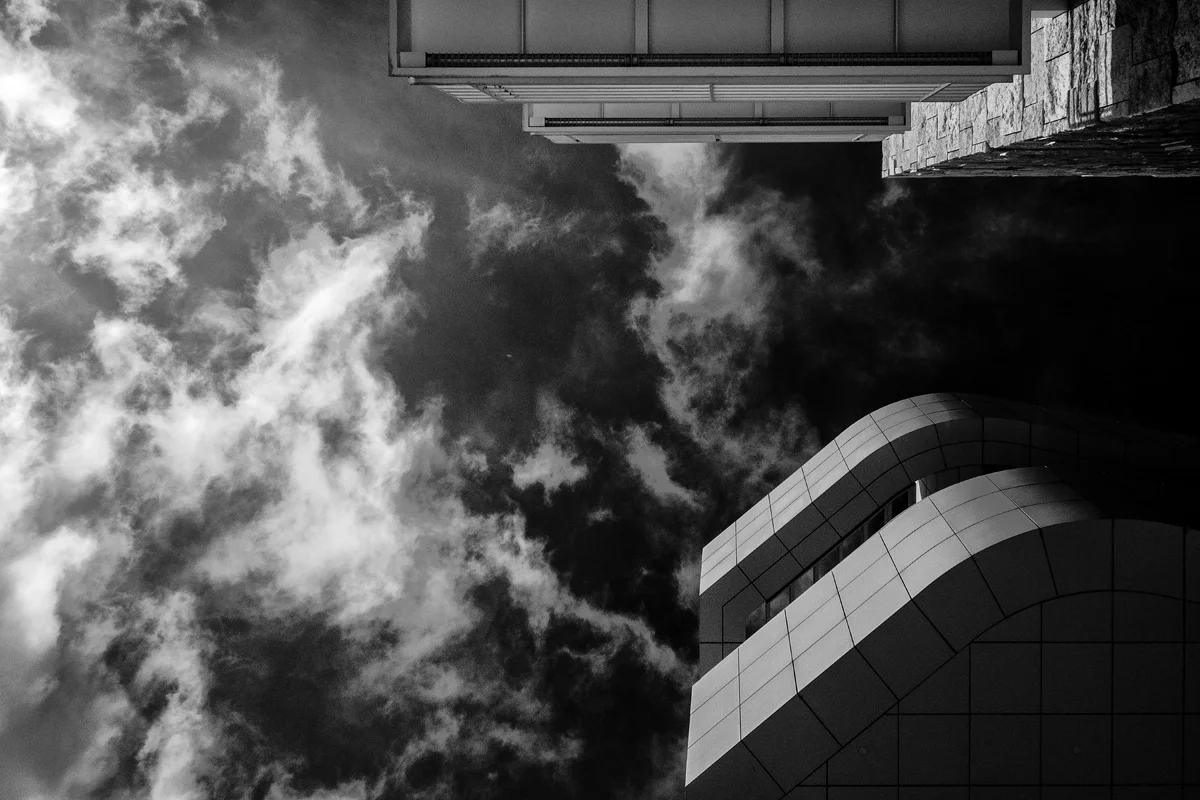
    1. Contrast was HUGE! When you lose the ability to capture color as a main player in an image, you have to look at things completely different, and one of the top factors that can make for a good monochromatic image is contrast. Extreme contrast between shadows and highlights, light areas, dark areas, that’s going to be the main player in the image, no matter the subject. The caveat to add here is that gloomy are also good days to shoot for black and white as well, as the contrast between subjects plays more of a role than the contrast between shadows and highlights. For example, a humanoid dressed in white standing against a dark wall.

    Wasim Muklashy Photography_062614_Samsung NX30_Los Angeles_California_ SAM_5367_1800

    2. Geometry! Pay attention to leading lines and shapes. They both seemed to play a huge role. If you can find lines that stand out, curves that are apparent through the scene, that is optimal. Additionally, keep an eye out for shapes. Squares, rectangles, triangles, circles, they all stand out in monochromatic situations when an eye is denied the ability to look for color.

    Wasim Muklashy Photography_Samsung NX3000_100714_Santa Monica Mountains_California_ SAM_1165_1800

    3. Light, more than ever, is perhaps your most important player here. It’s a fact that the brightest spot in the image is where the eye is naturally drawn to, so light that falls in between columns in a building, creating a striped pattern across someone’s face, or just a single ray of light at the end of a dark alley falling on a person’s face. You get the idea. Watch the light, where it’s going, what it’s doing, and know that mostly nothing in the shadowy areas is going to be the main subject or player in your image. It’s what’s going to be in that light.

    Wasim Muklashy Photography_Samsung NX3000_Agoura Hills_California_ SAM_1281_1800

    4. ISO is of the utmost importance! Definitely try to shoot at the lowest ISO possible. I learned very quickly that when playing in contrast and with several dark areas in an image, noise is MUCH more apparent. Minimize the noise-reduction-plugin rabbit hole by shooting at as low an ISO as you can.

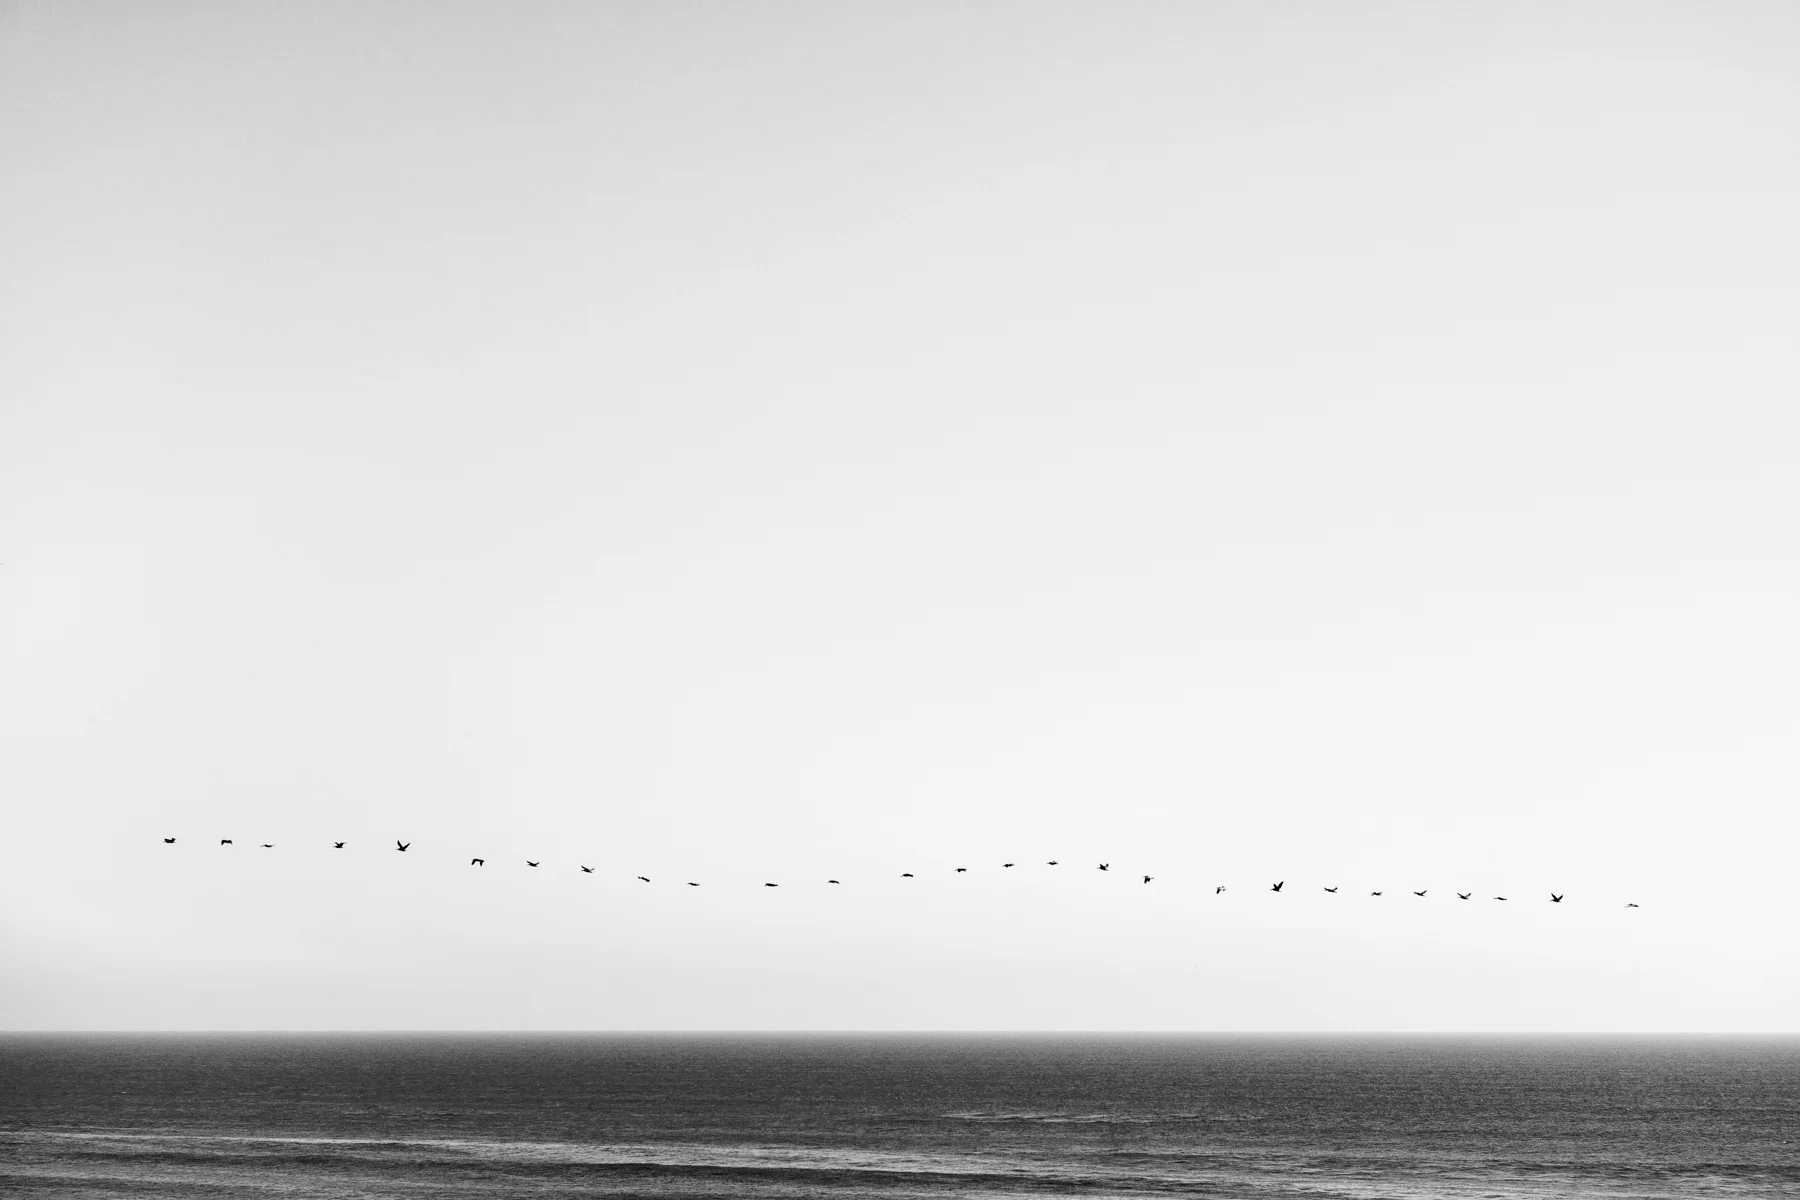
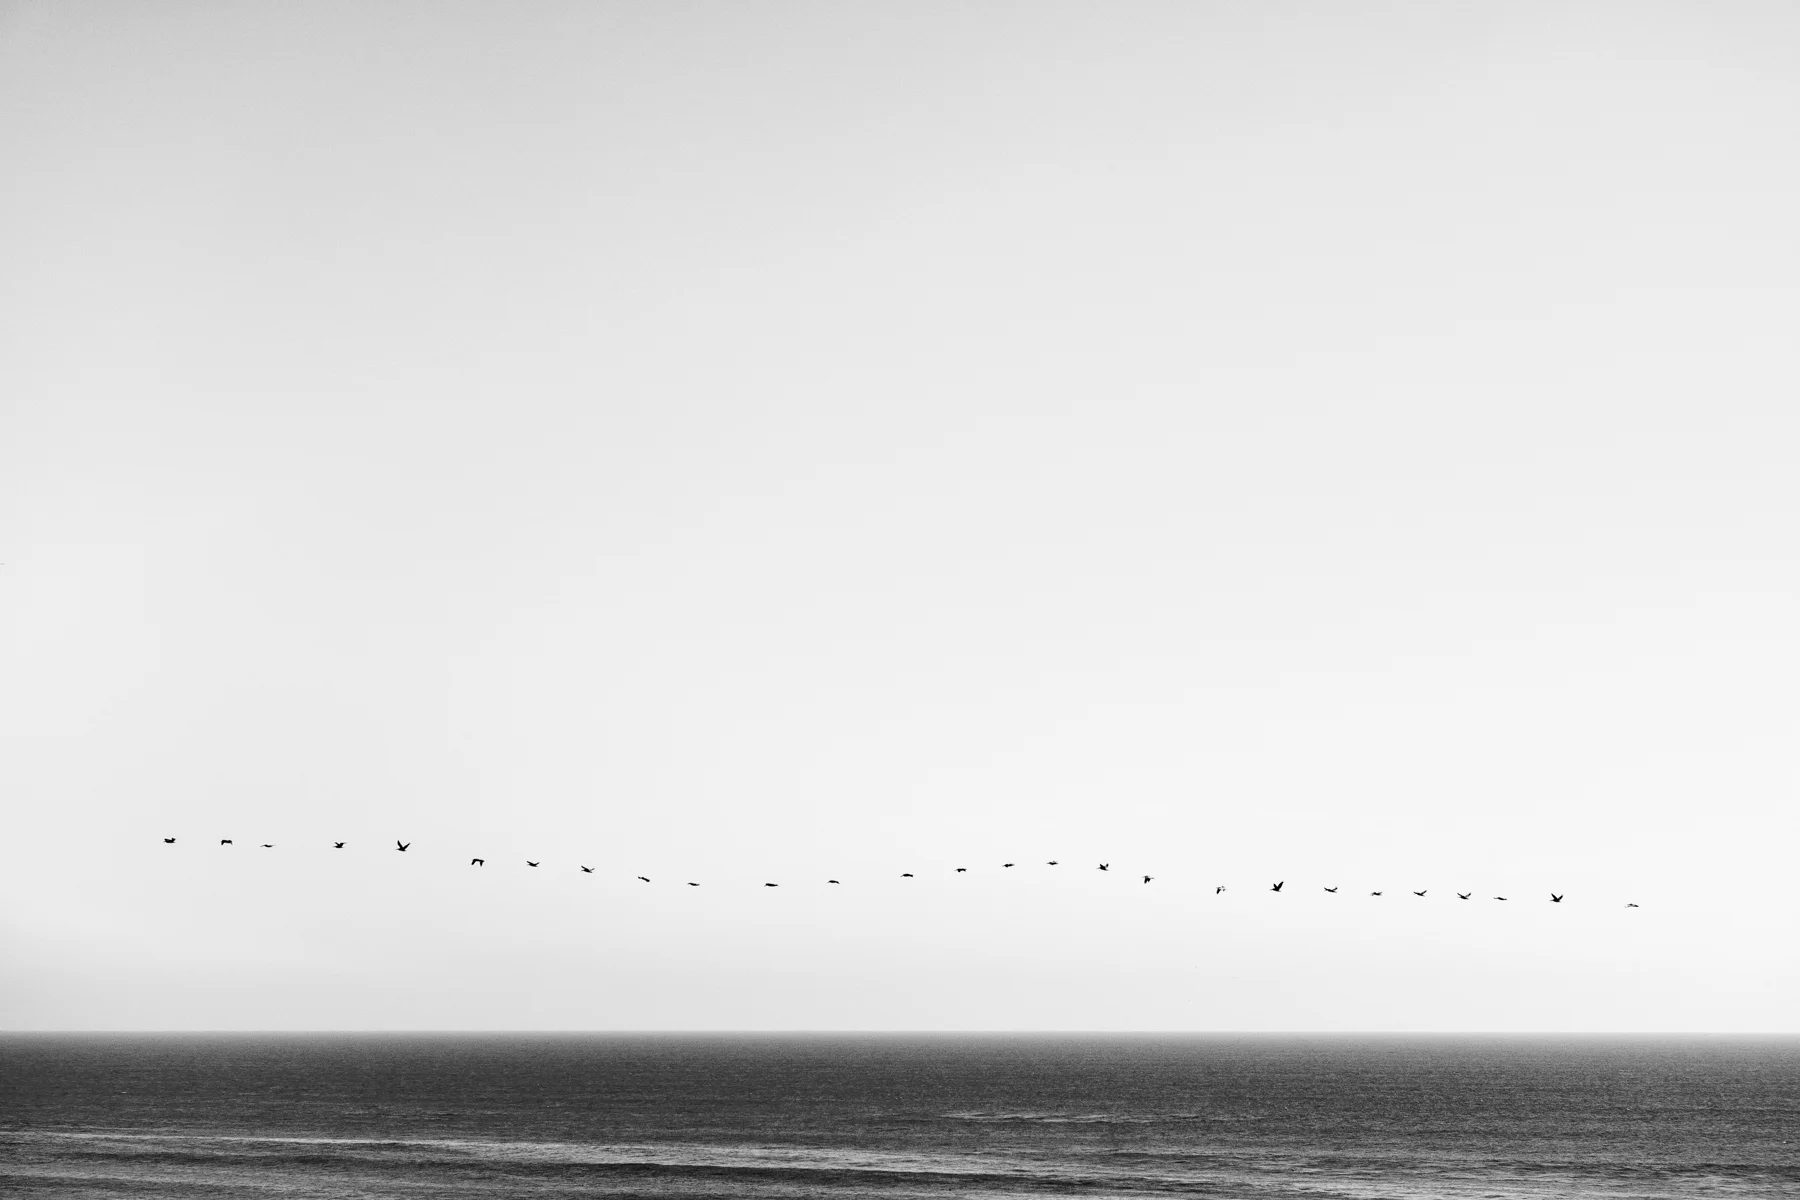
    5. Minimalism can play a great role here. A few of my favorites from those 5 days use a LOT of negative space – the one with the birds and the one of the woman on the cliff edge overlooking the vast Pacific Ocean.

    Wasim Muklashy Photography_062614_Samsung NX30_Los Angeles_California_ SAM_5422_1800

    Bonus Tip: If your camera is capable, shoot in RAW. If you’re used to shooting in JPEG, set it to shoot in RAW+JPEG, but you’ll see how important having that extra RAW flexibility of adjusting shadows and highlights comes into play in post-processing when shooting for black and white. Trust me.

    With that being said, I quite liked the challenge, and I thoroughly enjoyed shooting for black and white, so thank you for that Jess! Don’t be surprised to see me post a few more monochrome images in the future.

    All the images above were taken on mirrorless Samsung NX30 and NX3000 cameras.

    For more of my madness, take your pick:
    Instagram: @wasimofnazareth
    Ello: @wasimofnazareth
    Google+: www.Google.com/+WasimMuklashy

  • 5 Photo Projects You Can Start And Finish In A Weekend

    5 Photo Projects You Can Start And Finish In A Weekend

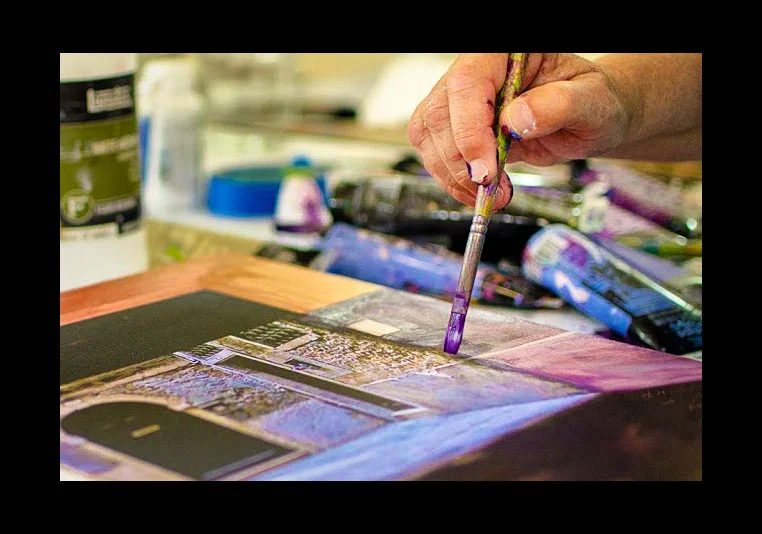
    Wasim-Muklashy-Photography_Photo-Projects_Robin-Becker_Border

    So this one’s going to be a little different. I recently had the insanely humbling experience of being a guest on the popular Improve Photography podcast with Jim Harmer. We recorded the show with the understanding that it could, or could not be, posted. Well, the team at ImprovePhotography.com were gracious enough to post it this week. The topic we discussed was ‘5 Photo Projects You Can Start And Finish In A Weekend,’ and rather than list them here, I’m going to direct you over to the podcast link so you can listen away! There’re some good ones in that sucker I must say!

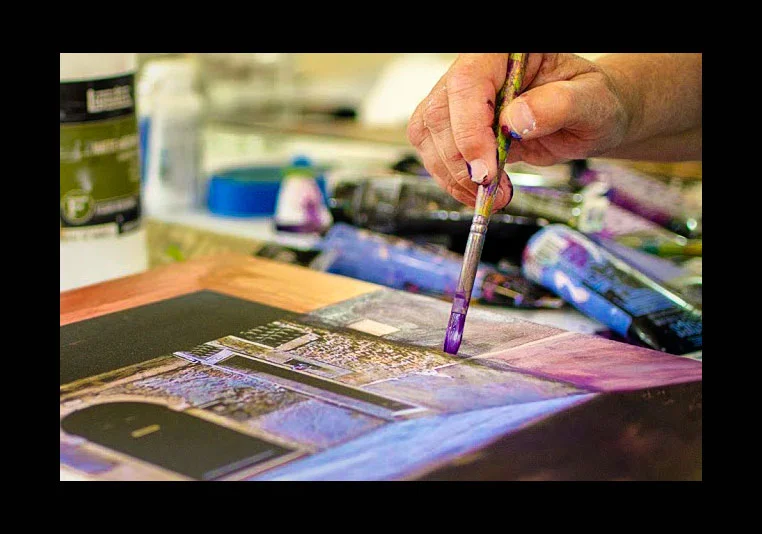
    The image above is of Topanga Canyon artist Robin Becker working. She is a mixed media artist who enhances her photographs with paint. Needless to say, it’s incredibly stunning. Check out her work at www.RobinBeckerArtist.com

    And for more of my madness:
    Instagram: @wasimofnazareth
    Twitter: @wasimofnazareth
    Google+: www.Google.com/+WasimMuklashy
    Facebook: www.Facebook.com/WasimOfNazareth

  • How To Photograph The Super Super Moon!

    How To Photograph The Super Super Moon!

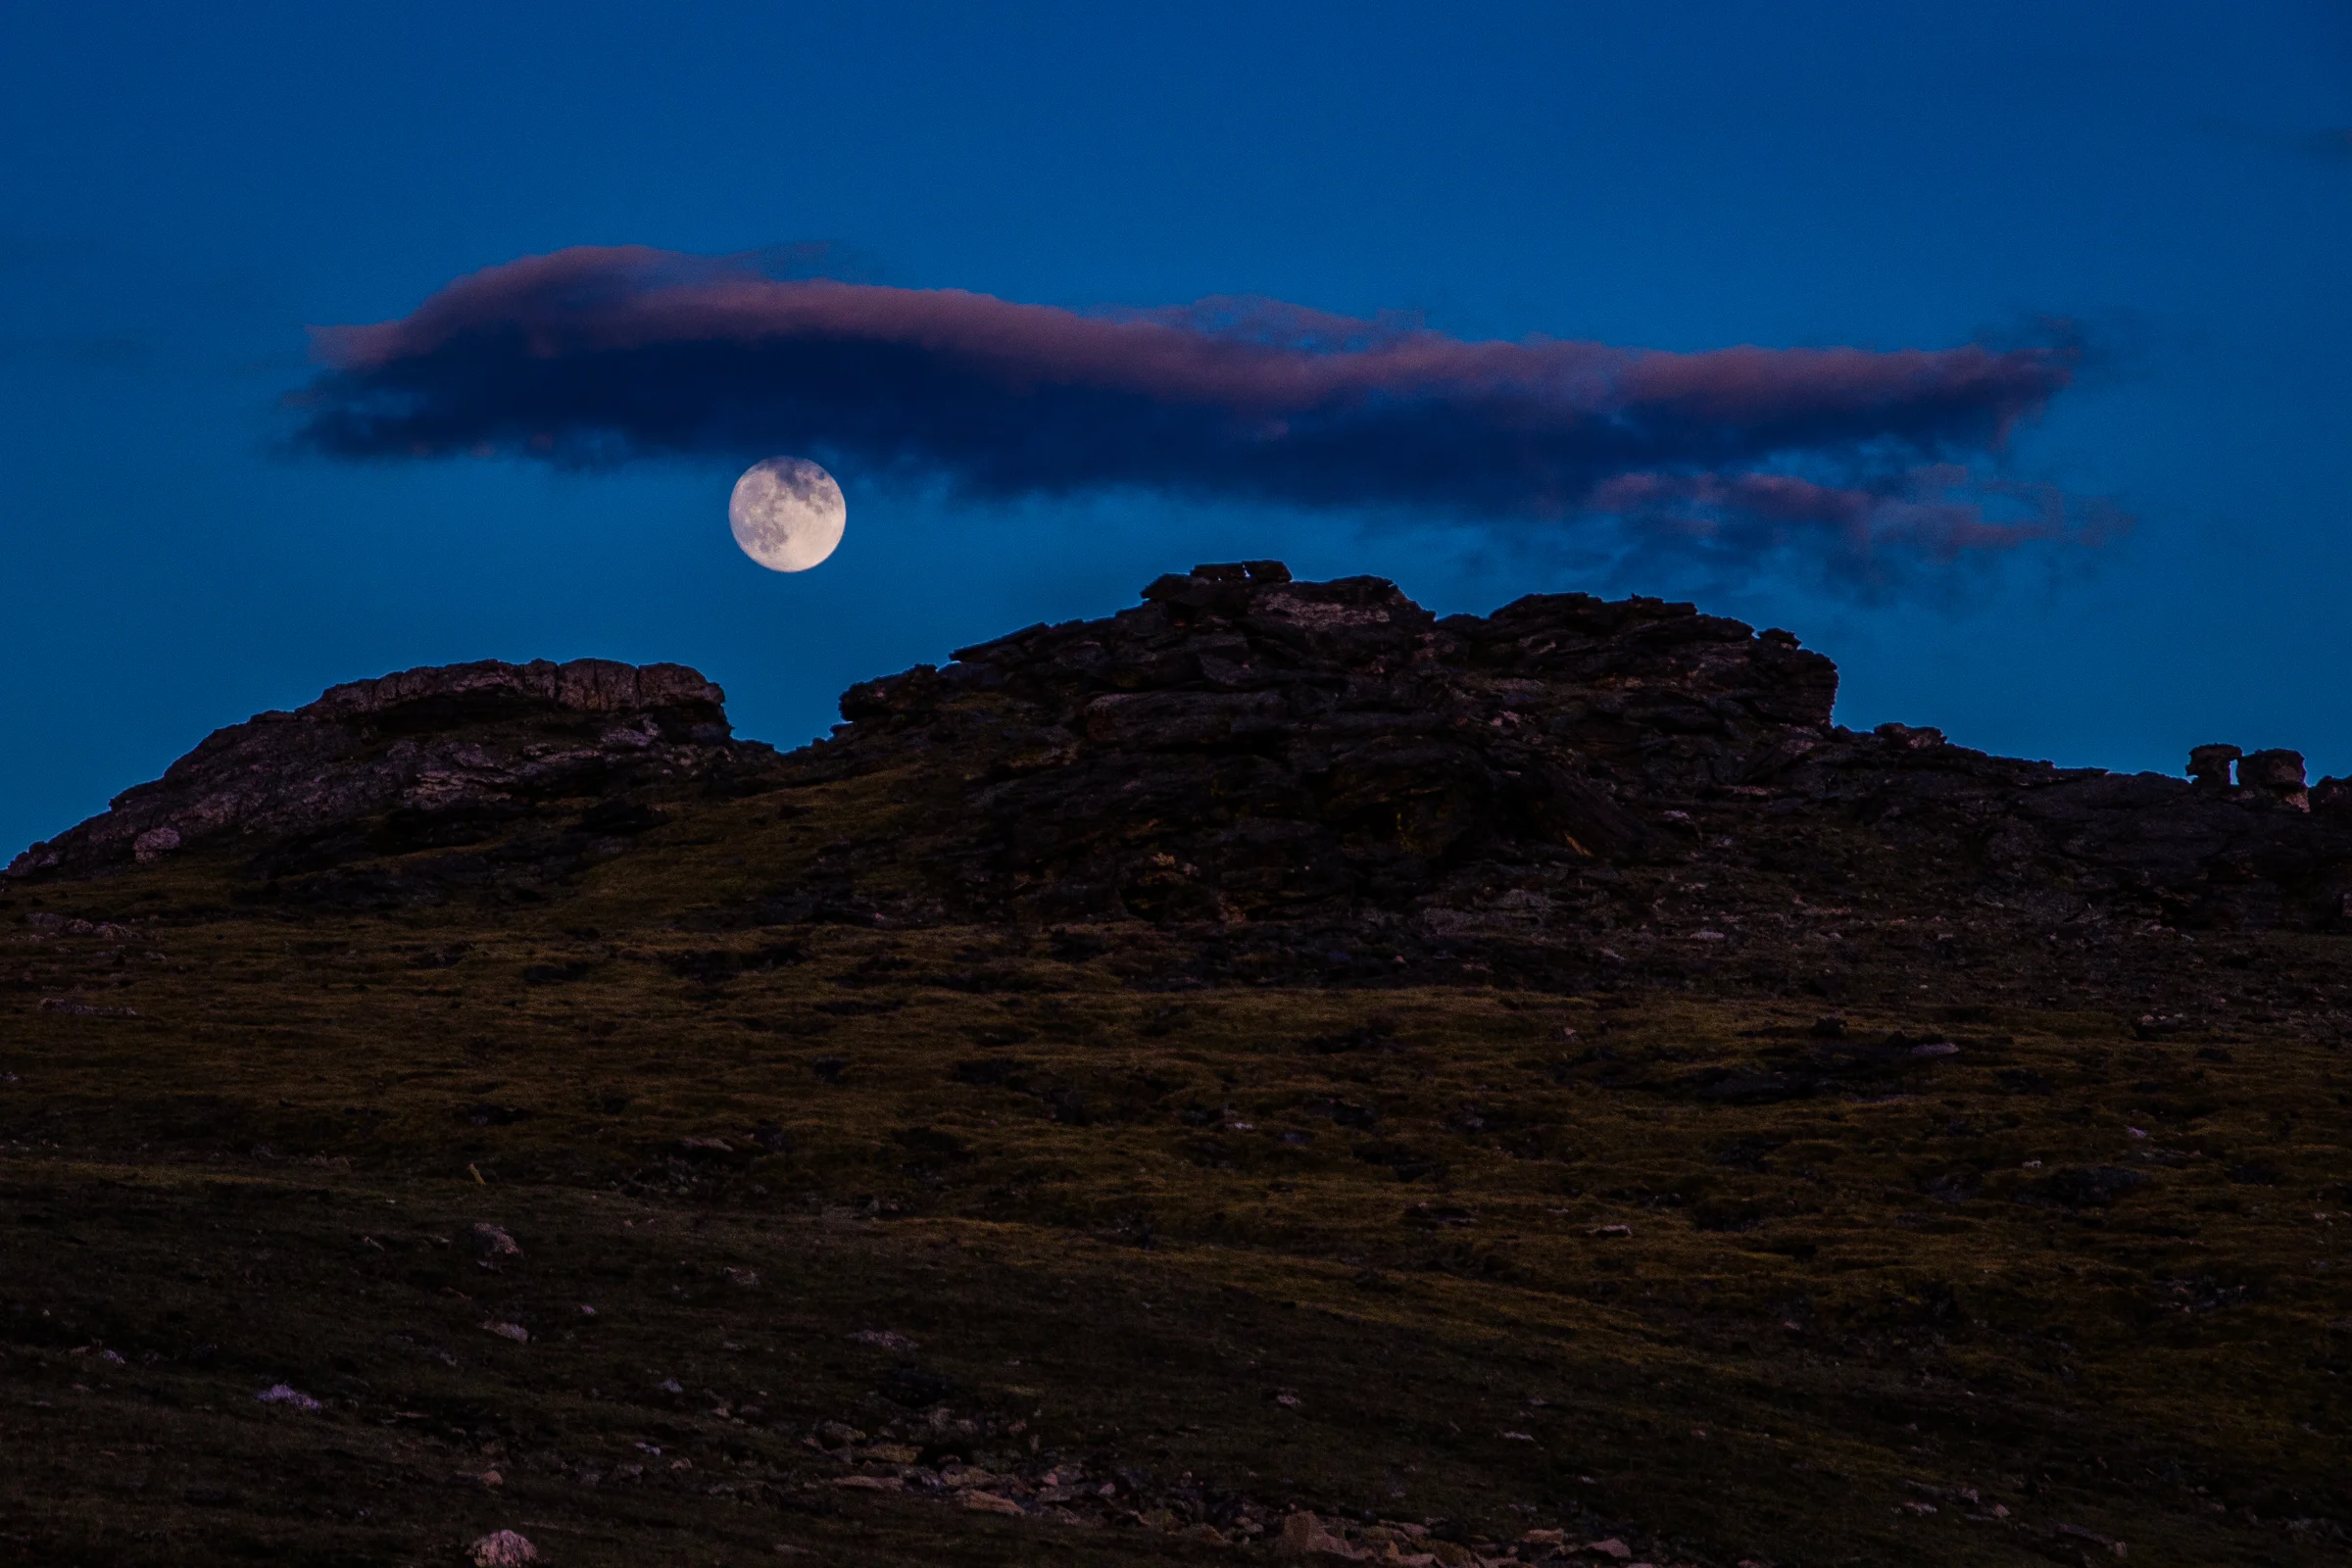
    Wasim Muklashy Photography_Wasim Of Nazareth_Full Moon_Continental Divide_Rocky Mountain National Park_Colorado_-_1WM2334_2400

    So all that hype about the ‘super moon’ that we’ve heard not only this month but last month and sometime back earlier this year as well? Well, this is more of it! Apparently this weekend, on Sunday, August 10, is the superest of all super moons (at least in 2014). Scientists like to get all loose and crazy and call it a ‘perigee full moon,’ basically meaning it’s the closest the moon will be to earth this year. Anyhow, along with all the hype about the super moon itself, for us photographers, comes all the hype about how to photograph the super moon, so here are my obligatory tips on how to photograph the super super moon.

    1. TRIPOD!! USE A TRIPOD!!! This is one you can’t get away from.

    2. Tighten Up! Use as tight a focal length as you have (or can afford). At the very least you’ll want to use a 200mm (remember on a crop sensor, that’s roughly 300mm). If you can get away with it (and your wife /husband or boy/girlfriend won’t kill you, or your creditors aren’t already hot on your tail), get yourself a 400mm or even longer lens.

    3. Spot Meter!!! Only Spot Meter!! The moon is quite the bright bugger, meaning, the camera will have a hard time metering properly as the big bright thing surrounded by darkness will confuse it, making the moon completely washed out, causing your shot to miss out on the details, the contours, the lines, the mountains, the valleys, the moon men curiously pondering the mars rover tracks, wondering if there’s other life ‘out there.’ This is also where you might want to use exposure compensation. Take a few test shots, and if the camera still isn’t metering properly, drop the exposure compensation by a stop or two to -1 or -2 (manually underexposing) to make up for what the camera thinks it’s seeing.

    4. How Low Can You ISO? Use the lowest ISO you can get away with, which, if you refer to tip #3, can be the lowest ISO your camera supports. Shoot using an aperture between f5.6 and f11. That should allow sufficient light to hit the sensor while giving you a crisp image of the moon’s surface, as the middle apertures tend to give you the sharpest images.

    5. Augment Your Reality! Grab an app like PhotoPills or Sun Seeker or Rick Sammon’s Photo Sundial or for Android, there is Sun Surveyor. These are essentially augmented reality apps that you can point at the sky and know exactly where the moon is going to be at exactly what time on exactly what date. Kind of handy eh?

    6. Size Matters! Try to find a foreground, like a hill or a tree or a structure for a sense of scale. Even if it’s just a silhouette of that foreground object. Otherwise it can look just like any other full moon, and when the super moon is essentially called that because of the considerable size difference in comparison to other full moons, it would be pointless. This is easiest achieved with timing, as you’ll want to capture the moon just as it begins to rise above the horizon. If you wait until it’s directly overhead and there are no other elements in the image, it’s just another moon…

    7. Look Up! Don’t forget to look away from the camera. As a photographer, it’s easy to get caught up with what’s inside that little frame of yours, easily forgetting everything surrounding that frame. Stop for a few minutes. Just breathe. Soak it in. At the very least, it’s a nice reminder of you why you do what you do.

    When you’re all done, moon me! Post links to them suckers here, would love to see ’em!

    And for more of my madness:
    Instagram: @wasimofnazareth
    Twitter: @wasimofnazareth
    Google+: www.Google.com/+WasimMuklashy
    Facebook: www.Facebook.com/WasimOfNazareth

  • Why Apple iOS 8 Will Create Better Photographers

    Why Apple iOS 8 Will Create Better Photographers

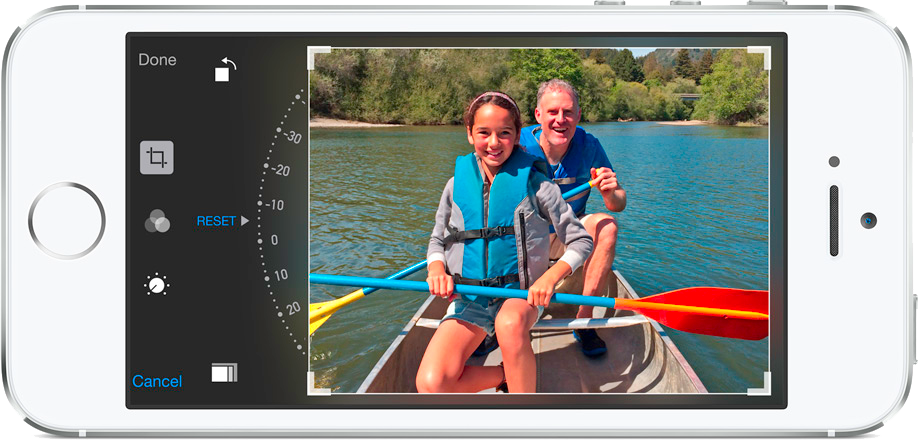
    Apple_iOS 8_Manual Camera Controls_Capture_Composition

    With Apple opening up controls to iPhone’s native camera in the soon-to-be-released iOS 8, allowing access to manual photo controls, and the fact that the iPhone camera is already the most popular camera phone, we might just see a significant uptick in the quality of all those selfies and your coworkers lunches, cats, and margaritas (well that depends on how many margaritas I suppose).
    Most people that use their iPhones as cameras use the native app, and with that comes no controls other than aspect ratio and front or rear facing camera, and most third party apps that offer some version of manual controls proving either clunky or digitally over-ambitious at best. But now, with iOS 8, they’re going to see a lot of options that they may have never even heard of before.

    “To be clear, iOS 8 will expose just about every manual camera control possible,” a recent AnandTech report states. “This means that ISO, shutter speed, focus, white balance, and exposure bias can be manually set within a custom camera application. Outside of these manual controls, Apple has also added gray card functionality to bypass the auto white balance mechanism and both EV bracketing and shutter speed/ISO bracketing.”

    As the uninitiated shutter-flies begin messing with these controls out of curiosity, or even perhaps simple boredom, they’ll notice two things:

    1. Some of their pictures are getting better.

    2. Some of their pictures are getting worse.

    And if you really stop to think about it, that’s the same thing that happens when an aspiring professional photographer begins using manual controls, leading him/her to really discern what the differences are in those settings in order to get a higher percentage of images to their liking. If all goes well, this can inevitably lead to a higher percentage of better images being shared! A good thing for Apple, a good thing for their compeition, and most importantly, a good thing for photography.

    For more of my madness:
    Instagram: @wasimofnazareth
    Twitter: @wasimofnazareth
    Google+: www.Google.com/+WasimMuklashy
    Facebook: www.Facebook.com/WasimOfNazareth

  • What The Heck Are The Different Photography Filters Used For?

    What The Heck Are The Different Photography Filters Used For?

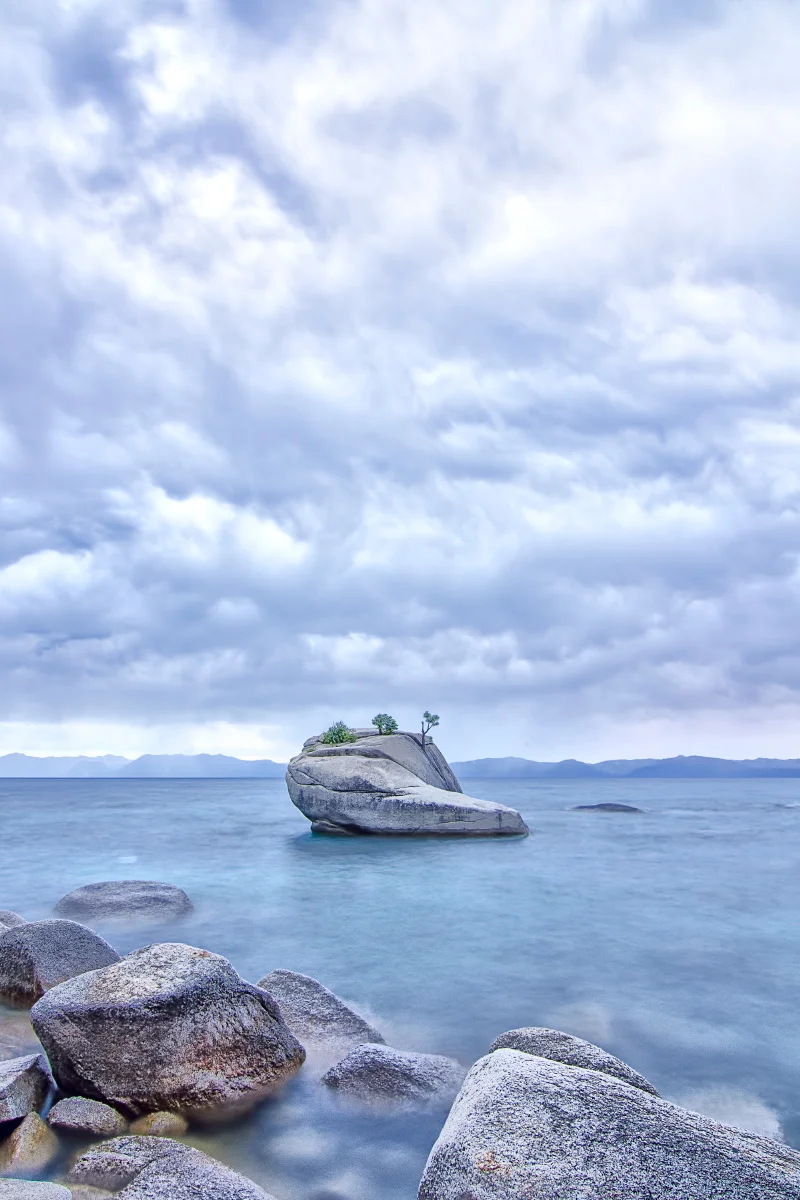
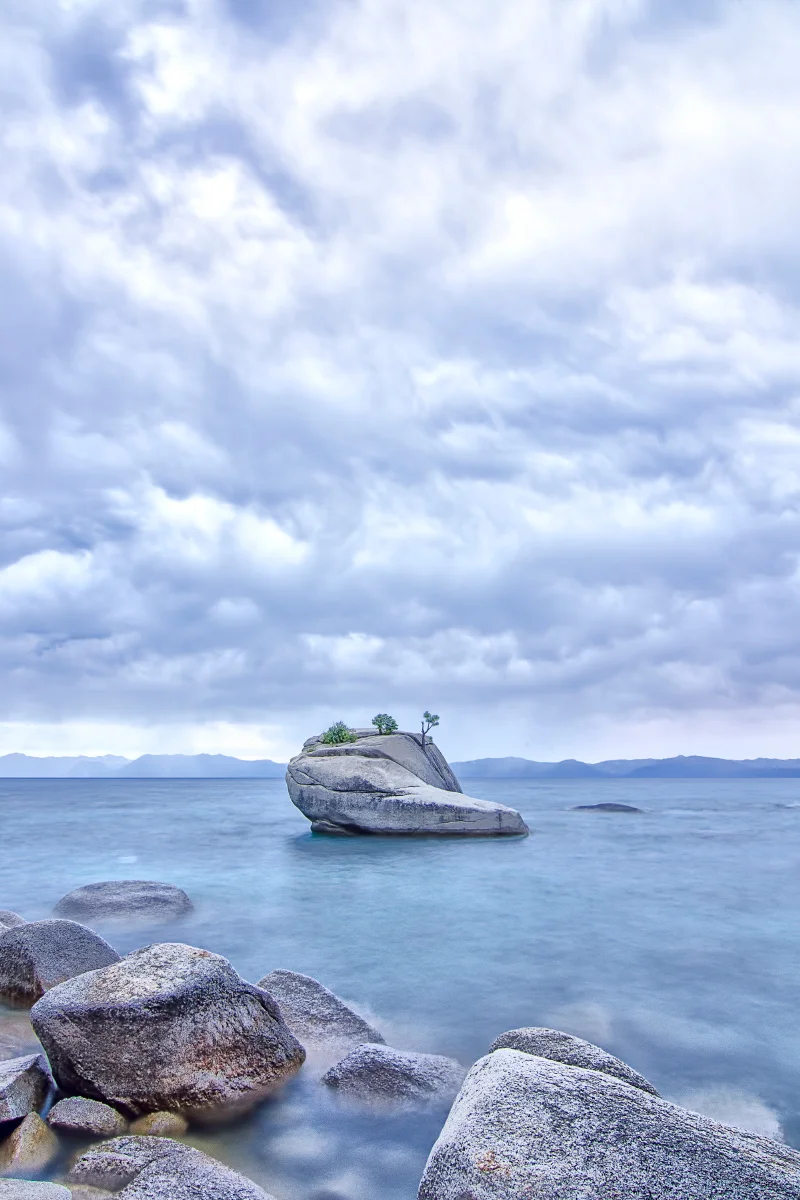
    Wasim Muklashy Photography_Bonzai Rock_Lake Tahoe_California_Graduated Neutral Density Photography Filter

    It eventually happens to every new photographer. You’re out in the field. You’re setting up to make a shot, and you see others around you setting up for a shot, only, some of these people have these strange contraptions attached to the front of their lens. It looks like a huge piece of square glass. You sit there. You stare. You wonder. And when you get back home, you Google ‘square things on lens.’ The first time this happened to me, I was set up to shoot some images of Bonsai Rock in Lake Tahoe, California several years back. It’s a rock about a hundred yards offshore that has miniature trees growing on it as a result of the trees roots not being able to penetrate the rock, effectively stunting their growth. Anyhow, I had my positioning, tripod locked down, and others began to show up and set up, and a few of them set up with these aforementioned chunks of glass. I had to know what they were, so I asked the photographer next to me, who kindly explained what they do and the effect they give. They lent me one, showed me a crude way of using it by holding it front of my lens (they had special holders for theirs) and I was immediately blown away. Everything became so clear to me. All those crazy images I see on 500px.com and around the web with milky smooth water and skye and clouds…I get it now.

    The one they let me use was a Graduated Neutral Density filter, and I explain what that does below, along with the 5 most popular photography filters used by photographers in the field.

    1. UV Filter – This filter does absolutely nothing, yet, it is by far the most popular. Huh? Well, because it does nothing to the image itself, many photographers will have them on their lens to protect the glass. While a lens can be in the thousands of dollars, a basic UV filter can be under 30, so it’s a minimal investment to protect your gear. Plus, it does actually help a little bit in minimizing haze and glare. These come in circular shape and screw onto the front of your lens so you forget it’s even there. They’re sold by the size of the lens, which is demonstrated on the barrel of the lens following the ø symbol. For example, in this image, you’ll see ø67, so the size of filter I’d shop for is 67mm.

    2. Polarizer – Essentially this one is most commonly used to darken and saturate skies, as well as reduce reflections in reflective surfaces such as water and glass. They can also be extremely effective in making colors pop in overcast conditions. Polarizers, like UV filters, also usually comes in the circular screw-on format. Once you screw it on, you can turn it and see the effects immediately through your viewfinder or LCD panel. On sunny days, they work best the closer you are to a 90 degree angle from the sun (when the sun is directly overhead or to either side of you).

    3. Graduated Neutral Density (Grad ND) – It’s basically a piece of glass that gradually moves from no tint to a dark tint, with a discernible line along the middle. What this does is it allows the proper amount of light through the part of the glass where there is no tint, to letting less light in the part of the glass with the tint. Essentially, this makes it so that whatever is under the tint is underexposed, allowing you to increase your exposure time to still get a proper exposure for the scene. Basically, you can decrease your shutter speed, allowing for a longer exposure in the lighter areas without overexposing the full image. For example, in the shot of Bonsai Rock, the sky was much brighter than the water and the foreground in my image, so it would have been impossible to get a good exposure of the entire scene. So I wanted to be able to allow less light into the bright areas while I expose for the darker areas. By placing the filter so that the dark tint is on the top half (or horizon) of my scene and darkening my sky, I am able to get a proper exposure preserving detail in both halves of the scene. These filters typically need a filter holder as explained below.

    4. Neutral Density (ND) – This is almost the same as the graduated neutral density filter described above. The only difference is that on a regular neutral density filter, the entire glass is one tint. They come in various degrees of tints, called stops. This is in relations to your f-stop, so a 3-stop ND filter will allow you to expose for 3 additional f-stops to get a proper exposure, a 6-stop ND will allow you to expose for 6 additional f-stops, and so on (which also applies for the Graduated Neutral Density filters). Neutral Density filters are best used on very bright days when you want to accomplish a long-exposure. This way, the filter darkens the glass, creating the opportunity to keep your shutter open for a longer exposure. Neutral Density filters also usually require a filter holder.

    5. Infrared – Madness! That’s what these create. Essentially, what Infrared filters do is block infrared light while letting through visible light. By blocking out certain spectrums of light, IR filters allow us to view spectrums of light that are normally lost to the human eye. Using an IR-transmitting filter will result in almost monochromatic surreal images with colors that we don’t normally see to the naked eye. The detail the provide can be insane! Click here for a few examples. (Edit: As pointed out by Google Plus user Jonathan Allen, “most cameras have built in infrared filters. Removing the infrared filter is what produces the effects in the photos you linked to under the infrared filter.” He is correct, to a degree. There are actually two things going on here. There is an IR-blocking filter, and an IR-transmitting filter. the IR-blocking filter is what the camera is equipped with in order to block the infrared spectrum from coming to the sensor and making your images unnatural looking. The IR-transmitting filter is what allows the infrared spectrum to hit the sensor, giving that surreal effect. It’s the same effect you’d get if you had the IR-filter that is built into the camera removed).

    So there’s the basic breakdown of five of the more popular filters. The other element here is the filter holder and that depends on your lens. Certain ones are made for wide angle lenses, others are made for more standard focal length lenses. They basically screw onto the front of your lens and then the filter slips into the grooves provided.

    While many manufacturers make them, the ones I use are the Cokin filter holders.

    And some of the best filter brands out there include Singh-Ray, Hoya, and Lee.

    If you’re on a budget and want to affordably play around a bit before committing to the higher-end brands and options, Cokin and Tiffen are worth checking out.

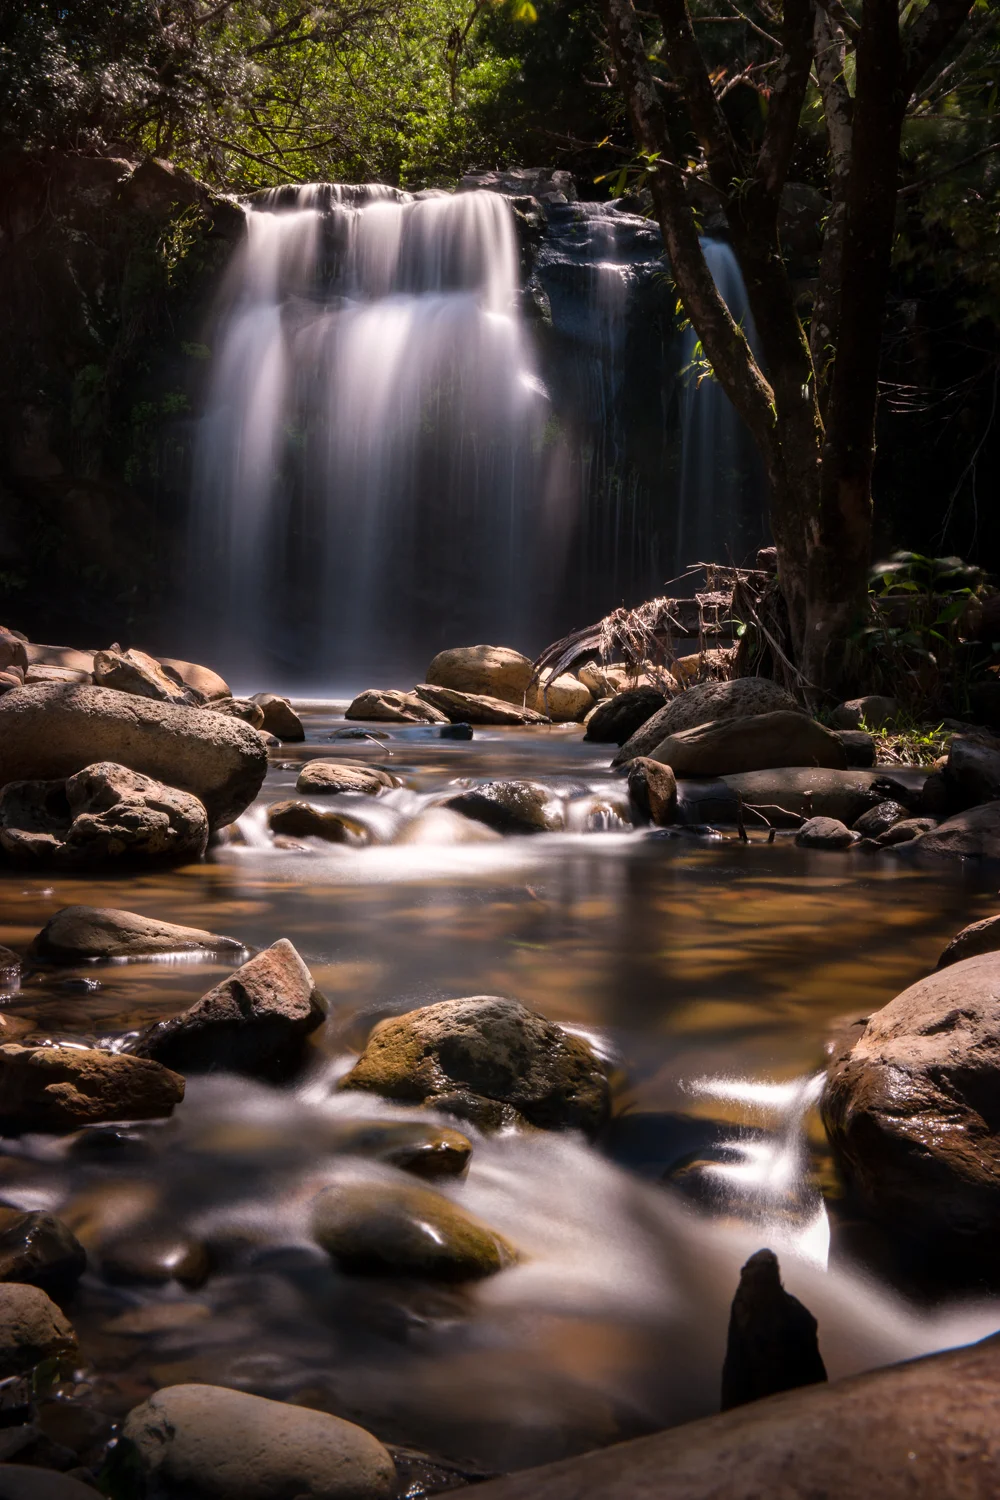
    Samsung NX500 Hawaii Waterfallformatoriginal

    And recently, I’ve been introduced to Haida, and got myself a 10-stop Neutral Density filter. They’re designed to compete with Lee’s Big Stopper and THEY DO THE TRICK!!! Here’s one, shot in Hawaii, literally at high noon, and I was able to get this gorgeous 30-second exposure shown here on the right.

    Try to stay away from the plastic filters and stick to the glass ones – you WILL notice the difference in quality.

    While I learned the lesson of the power of the filter in the field, that wasn’t the only lesson I learned on that shoot. The other was that no matter how warm the weather, do NOT ever ever EVER wear flip-flops, especially when you have to scale a small cliff to get into position. I tore the sucker on the way down and climbing with photo gear half-bare-foot along a rocky lakeside isn’t…eh…comfortable.

    Regardless, my resulting shot was worth it (or at least I thought so…).

    For more of my madness:
    Instagram: @wasimofnazareth
    Twitter: @wasimofnazareth
    Google+: www.Google.com/+WasimMuklashy
    Facebook: www.Facebook.com/WasimOfNazareth

    Between A Rock And A Busted Flip Flop
    Between A Rock And A Busted Flip Flop
  • 5 Things To Remember When Assisting a Photographer

    5 Things To Remember When Assisting a Photographer

    SAMSUNG CSC

    So one of the best ways to learn photography is to assist another photographer, which I’ve had the pleasure of recently doing for photographer Stephen Chiang. While getting a photographer assistant gig may seem like a tough nut to crack, you’d be surprised at how many people can or will refer you just by putting out a simple call on your Facebook or Twitter or Google Plus account. Photographers are everywhere and every single one of them can use some help, and what separates those that are helping them and those that are thinking about helping them? Well…those that are helping them asked if they can. While it may not turn into a regular gig, it’s a marvelous step in building a new network, gaining some trust amongst your peers, and best of all, learning your craft hands on. And to maximize that effort, here are a few things to remember when assisting a photographer.

    Dress Up – Sure, you’re going to be running around and moving and carrying heavy stuff and MacGuyver’ing a piece of tissue paper and a paper clip into a diffuser or a dictionary and gaffer tape into a light stand, so you’ll want to be comfortable, so there’s no need for a tie and to tuck in, but business casual is a safe bet. At the very least, a polo or a button up with some clean pants. In any However, do keep a more casual outfit in the car just in case…you certainly don’t want to look better than the photographer! Also, it’s not a faux paus to ask the photographer for a dress code. Don’t be shy. Ask.

    Show Up Early – Try to show up to set or location before they do. Walk around and get a good feel for the space/area. That way, when the photographer shows up, you’ll at least already have a bit of a lay of the land and can offer suggestions and ideas right off the bat, which is a VERY valuable thing, especially if they haven’t had their coffee yet. If that’s the case, you’re gold!

    Find Your Place – Do not be afraid to ask the photographer you’ll be working with what your role should be. Some want more out of you, some want less, and you certainly don’t want to overstep any boundaries or sink too far into the background. So it’s safe and respectable to ask the photographer what s/he’d generally like you to do. Some, believe it or not, like setting up their own stuff so you’re mostly there for emotional support and to hurry up and wait, and then there’s some that hope you’d be able to set everything up so they can focus strictly on their viewfinder. As an assistant, it’s your responsibility to find out that information beforehand so as not to put either of yourselves in an awkward situation on set. That’s the worst. The worst. Just the worst.

    Always anticipate – Keep an eye on what the photographer is doing and anticipate any moves they might have. For example, I recently had the opportunity to assist professional photographer Stephen Chiang on a corporate headshot gig. While he was switching lenses and pow-wowing with makeup department on look and strategy, I took it on myself to explain to the subject how to stand, how to pose, and what the photographer was looking for. I knew this by paying close attention to the first couple of subjects. When the photographer came back to set, he was surprised that the subject was already in position, and knew where to stand, where to look, and what to do, saving him some time and trouble of repeating himself. It may seem like a small thing, but It’s things like that that let the photographer know you’re paying attention and s/he can trust you to make their lives easier.

    Pack For Two – Often times you’ll be working through many hours or in time constraints in which stopping to eat or refuel isn’t an option. If you’ve got multiple energy bars or candy bars in your bag, it’s a welcomed sight to any hard working photographer to randomly see an outstretched arm with a Clif Bar in front of them. Try to do this every 2-3 hours or so. Low blood sugar makes for lack of focus and stressful situations. Those suck. A lot. Oh, and pack gum! You (and your breath) will most likely be in close proximity of other humanoids all day.

    One final thing to keep in mind is if you have access to information and equipment before the shoot day, get acquainted with it. Or try to find out from the photographer or production manager what equipment you’ll be using so you can study up on it and have a good idea of what you’re in for. Surprises can be good, but not in situations in which you’re expected (and being paid) to be a smooooooth operrraattorrr…

    Welp, hope those tips help you out. Let me know of any disaster stories. While they’re never fun to be a part of, they’re certainly fun stories to hear!! J/K (sorta…)

    For more of my madness: Instagram: @wasimofnazareth Twitter: @wasimofnazareth Google+: www.Google.com/+WasimMuklashy Facebook: www.Facebook.com/WasimOfNazareth
    SAMSUNG CAMERA PICTURES

  • Why You Should Stop Paying Attention To The Focal Point Of Your Images

    Why You Should Stop Paying Attention To The Focal Point Of Your Images

    Sunset Photography_Wasim Muklashy Photography

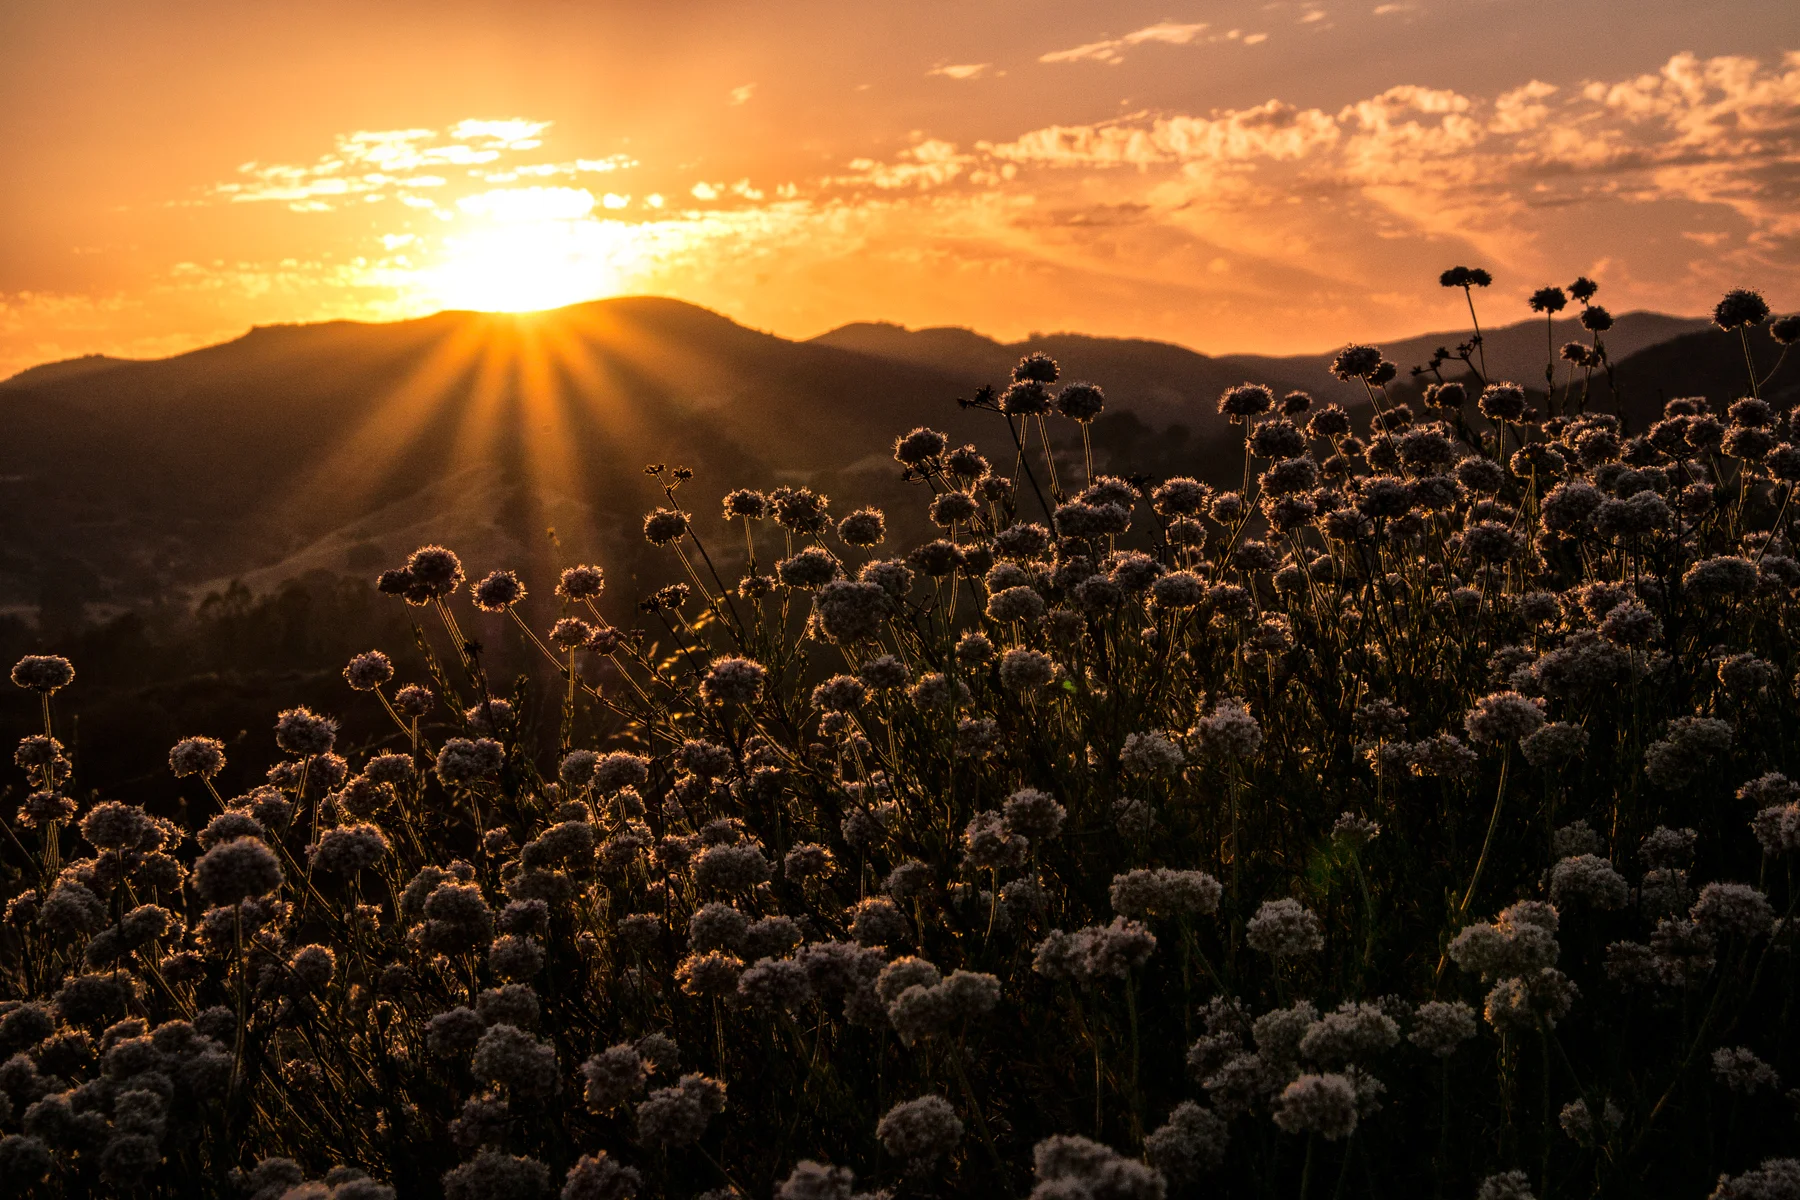
    I recently found myself standing in front of a stunning vista in the Santa Monica Mountains. It was June 21, 2014. The Summer Solstice. And the sun was just about to set behind the mountains, leaving a beautiful show of colors and clouds and reflections and highlights and vivid shadows in it’s wake. There was another group of photographers at the other end of the overlook and they were doing what most photographers first instinct is to do…pay full attention to the focal point of their image, the subject they wish to draw attention to, and everything else came secondary.

    In this case, the focal point was the sun.

    The images they got weren’t bad, they were wonderful images of the sun over the mountain range, but, well, that’s exactly the image that most people would expect to see, meaning, in essence, they weren’t very unique for the situation. For months, I’ve been tackling how to avoid this sort of image and so far my conclusion is, well, to avoid the focal point and subject of my image and, somehow, find a way to make that secondary.

    Make the sun secondary during a sunset shot? Huh? Let me explain.

    When I saw that group of photographers standing in a row next to each other, I couldn’t help but distance myself as far from them as possible. As a matter of fact, I went to the complete opposite end of the overlook. That was the first thing I did that I knew would differentiate my image from theirs, for better or for worse. The next thing I did was drop from eye level and look for a foreground subject. As soon as I dropped to ground level, I ran across a sagebush and it was impossible to ignore the highlights bouncing off the tops of the drying buds. They were stunning and I knew immediately this had to be incorporated into the image. This is an aspect of my final image that I would have completely missed had I joined the other photographers, an aspect that all of those standing eye level at the other end of the overlook had no idea even existed.

    I’m not in any way claiming my image was better, or more original than theirs, nor am I claiming that I have any sort of secret to making good images. That’s obviously in the eye of the beholder. All I’m claiming is that by simple physics, the fact that I consciously chose a different vantage point, made my image at least different than the other photographers there. And I personally liked what I came away with. And that’s at least a good first step towards a goal of finding uniqueness amongst a saturated photographer world out there.

    Had I joined the group, yes, no doubt I would have ended up with a very nice Summer Solstice sunset image, it would have been hard not to in that location at that time. But would I have ended up with this one? One I’m MUCH happier with? No. I wouldn’t have. The interplay between the sun setting behind the hills, and the highlights of that final light of the day bouncing off the tips of the sagebrush adding a sense of scale and depth that otherwise would have been missing, are what I feel helps this image stand apart from just focusing on the sunset itself.

    So the point here is basically to not settle for the obvious. You know that option is there, so you can always return to it if all else fails, but don’t be sedentary. Duck and dodge and move and try different things. Try to focus first on finding a foreground or an element that would normally be overlooked – the bark of a tree, the petals of a flower, the dust being kicked up by the wind – whatever other elements exist, are all parts of that landscape, and can all help in adding another dimension to what the main focus of the image was originally supposed to be.

    In other words…play!

    The image above was taken with a Samsung NX30 and a Samsung 18-200mm lens.

    For more of my madness:
    Instagram: @wasimofnazareth
    Twitter: @wasimofnazareth
    Google+: www.Google.com/+WasimMuklashy
    Facebook: www.Facebook.com/WasimOfNazareth

  • 7 Tips For Shooting Real Estate Photography

    7 Tips For Shooting Real Estate Photography

    property_photography_110

    If you read this blog regularly, you’ll know that one of my primary sources of income is photographing real estate and properties for various clients ranging from Airbnb to real estate companies and management companies. After doing this for the past 3 years, I’ve managed to pick up a few tips and pointers along the way that have made my job a LOT easier. Here are 7 of them:

    1. Do A Walk-Through – Walk through the space before you begin. Have the host or the agent give you a quick tour so that your mind can begin to work out any issues that might arise ahead of time. Plus, sometimes they’ll have some ideas of what could make for special shots and features of the space that they’d like to highlight. What ends up happening is you find yourself subconsciously thinking of solutions as you shoot other parts of the house, so by the time you get to the problem or feature areas, you’ll have a few ideas up your sleeve.

    Wasim Muklashy Real Estate Photography

    2. Lights! Turn on every light you have available to you. It helps make the space look inviting and comfortable and homey instead of dry and sterile. The exception is if all the lights are fluorescent. If that’s the case, try to switch out the lights if you can for something warmer or perhaps use a piece of CTO gel (Color Temperature Orange) to wrap the bulbs in while you take the shots for those rooms. Warmer tones are more inviting. To avoid a lot of glare and light leak in rooms with lots of light, underexpose your shot by a stop or so and pull out the shadows and darker areas in post, or for more advanced techniques using multiple exposures, check out my post on Exposing For Interiors And Exteriors.

    Wasim Muklashy Real Estate Photography

    3. Lines. It’s all about the lines. Always be on the lookout for leading lines – the armrest of a couch leading into the fireplace, the line of barstools leading into the brick oven, a row of spice jars leading to the fridge, a shelf full of trophies leading towards the bed. Not only do they make for a more pleasing image, but they help make the viewer feel a sense of harmony to the space.

    Wasim Muklashy_Real Estate Photography

    4. Clutter Sucks. The less clutter the better. sometimes you can try to shoot around clutter, but it’s often much more effective to actually spend some time moving it out of the way. Yeah, it can be more work on set, but it will save you hours of frustration and clone tool mishaps in post-processing. This is especially evident in tight spaces like bathrooms, where even a toothbrush holder and hair dryer can ruin the aesthetics of a shot.

    5. Close Windows & Doors. Close the windows in all the rooms. The last thing you want is to go back to the studio or home to process the images and realize that there are obstructing window frame lines that end up super distracting and time consuming to fix in post-processing. They take focus away from the window and the scene or light outside. Regarding doors, when they’re wide open, they tend to distract from the room you’re trying to showcase. Often it’s aesthetically more pleasing when the doors are either closed all the way, or only left about 1/4 open, which can help show the flow of a room, especially if some warm light is leaking in from that crack in the door. That’s always swell.

    6. Deflect Reflections. When shooting in rooms with mirrors or reflective surfaces, like shower doors in a bathroom, and keeping yourself and your gear out of the shot is unavoidable, try to use the timer on your camera or a remote shutter release to fire the exposure(s). That’ll give you much less mass to have to clone out or clean up in post. It’s a LOT easier to just remove a camera and tripod than a camera, a tripod, and a human body…TRUST ME! Additionally, try to position the camera in a way to minimize any surrounding furniture or elements, so that when you do have to clean up your, or your equipments, reflections in post, you’ll have less that you’ll need to work around.

    Wasim Muklashy_Real Estate Photography_Detail_Lamp

    Wasim Muklashy_Real Estate Photography_Kitchen Window

    Wasim Muklashy_Real Estate Photography_Bedroom_Vintage Dresser_Vignette

    Wasim Muklashy_Real Estate Photography_Fireplace_Vignette

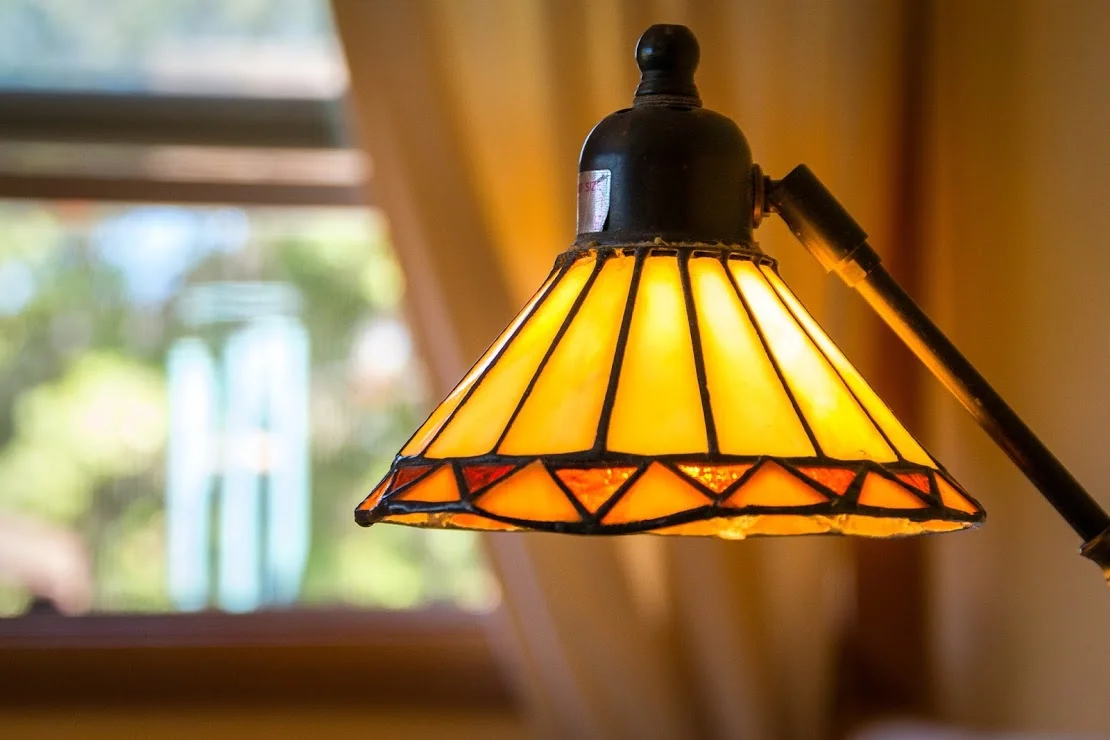
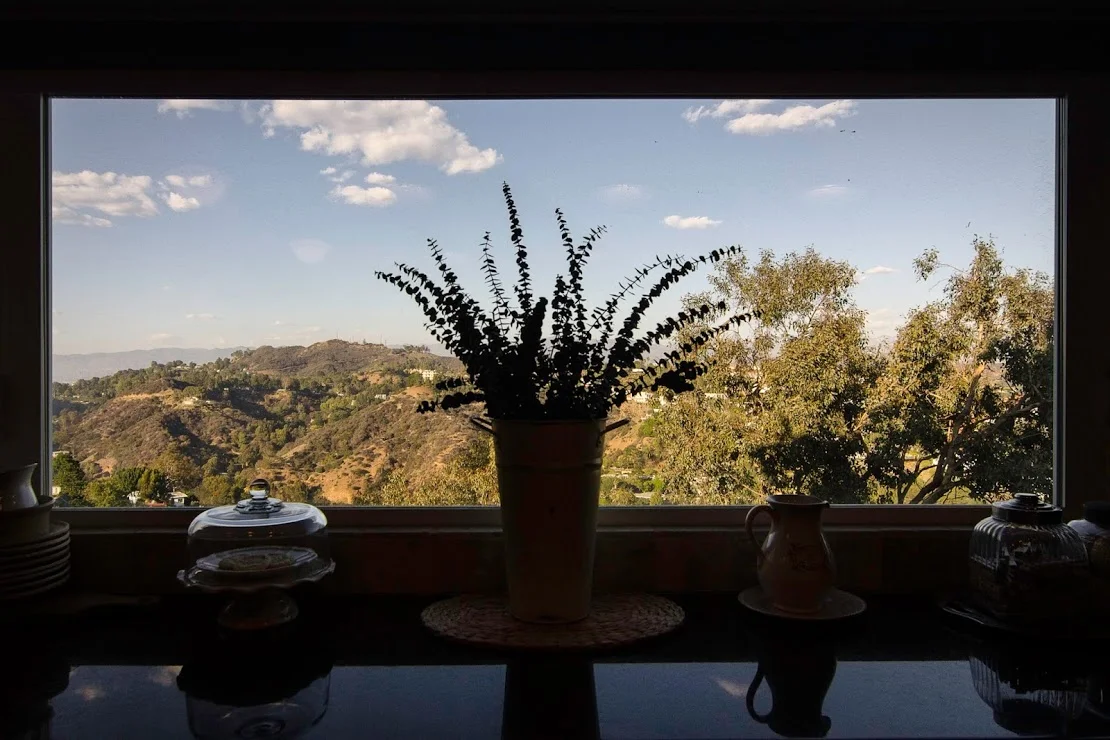
    7. Mix It Up. Use a mixture of wide-angle and telephoto focal lengths. While wide angle lenses, from 11-24mm, show much more of the space and are pleasing to the eye, they can be a bit distorting, and this is where vignettes and tighter focal lengths come into play. That way you get the wide establishing shot, and you can have a focus on some unique details of that space using tighter lengths such as a 35mm, a 50mm, or even an 80mm. These are the shots that help a viewer more intimately connect to the space. Plus, if you’re ever intending on shooting for larger publications such as Architectural Digest or Dwell, if you notice, very few, if any, of their images are shot using wide-angle lenses.

    Also, I have an extensive post about Exposing For Interiors And Exteriors In Architecture Or Real Estate Photography that you might want to read. It’s a very detailed step-by-step guide to achieve proper exposures for both what’s inside the window and out, especially useful for rooms with great views or backdrops.

    I hope these tips help you get that ‘money’ shot every agent seeks. For them, that shot is the one that will bring potential buyers to the property. For you, that shot is the guaranteed call-back.

    And if you’re in need of real estate photography services, whether commercial or residential, please feel free to contact me or check out my Property Photography website.

    For more of my madness: Instagram: @wasimofnazareth Twitter: @wasimofnazareth Google+: www.Google.com/+WasimMuklashy Facebook: www.Facebook.com/WasimOfNazareth
    wampics-property-photography_55