Tag: tricks

  • How To Expose For Interiors And Exteriors In Architecture Or Real Estate Photography – Part 1 – On Location

    How To Expose For Interiors And Exteriors In Architecture Or Real Estate Photography – Part 1 – On Location

     Wasim Muklashy Real Estate Photography_Hollywood_CA

    If you’ve shot architecture or real estate photography, you already know the rub…exposing for interiors as well as exteriors! It’s a finicky art all in itself. Starting when I lived in Los Angeles, sandwiched in my little hippie canyon between Malibu, Pacific Palisades, and the Hollywood Hills, and throughout my time after moving to the Pacific Northwest, I had the opportunity to shoot some very high-end real estate for some very high-end and particular clients, and through that process, I’ve learned some incredibly helpful methods to help pull off results that even surprised me! While it would look incredibly unnatural to have both exposed for perfectly, especially when shooting a scene where big windows are involved on a bright day with a to-die-for view in which blown out windows are just NOT an option, there are a few ways to do it that will please both yourself and the client. Most importantly, they can provide a very accurate and attractive representation of the space.

    HDR is certainly one of those methods, but HDR in its traditional sense more often than not results in very unnatural surreal images. While they can sometimes (and I emphasize ‘sometimes!’) look pretty cool, they’re more often than not neither an accurate representation of what the scene actually looked like, nor do they represent any sort of (sober) reality anywhere on earth (and if they do…please tell me where…I’m moving!).

    My preferred method was taught to me by Michael McNamara of ShootingLA.com, a client I did some occasional work for in Los Angeles and this method has changed the way I approach real estate photography and has made my job a LOT easier. In addition to your camera and obligatory tripod (a MUST), here are the things you’ll need:

    1. A decent off-camera flash (with an optional bounce-card). Does NOT need to be name brand. I use the Yongnuo speed-lights and they’re MORE than capable and a third the price of name-brands. If you really want to get crazy, you can use a Cheetah Light or equivalent, such as the Cowboy Studio or Neewer versions of the same speedlights.

    2. Wireless flash triggers such as the Pocket Wizards or what I use are Yongnuo RF-603 flash triggers. A pair cost me 30 dollars and they do just as good a job.

    3. Adobe Lightroom software

    4. Enfuse Plugin by Photographers Toolbox (donationware) or Photomatix Pro by HDRSoft ($99) or Skylum’s Aurora HDR, especially their updated 2019 version. While I used to use Enfuse, since the original publication of this article, I have begun using Aurora HDR as their tools have become infinitely better. Enfuse is certainly more economical and absolutely gets the job done, but Aurora HDR and Photomatix are much more detailed programs that give you more control over certain parameters that you might want to consider after you get the process down and are looking to advance to the next level. Also, as of the original date of this writing, Adobe has included a very very good HDR Merge feature directly into Lightroom, which is an excellent option as well.

    Now when you’re in the space, find your shot, frame your shot, lock the camera on the tripod, and set it at an aperture you’re happy with for the size of the space to get everything in focus, typically between f7.1 and f11. Also, make sure you shoot in RAW to get the most latitude out of your data. Now, either set your camera to bracket 3 shots as if shooting HDR, or if your camera doesn’t have an automatic bracket feature, you can fire the brackets yourself – one exposure centered at 0, one exposure at a stop underexposed and one exposure a stop overexposed using exposure compensation. I typical expose for the mid-tone in the scene so as to preserve as many details as possible. And if the window is blown out, don’t worry, that’s where the fun part comes into play.

    Image asset

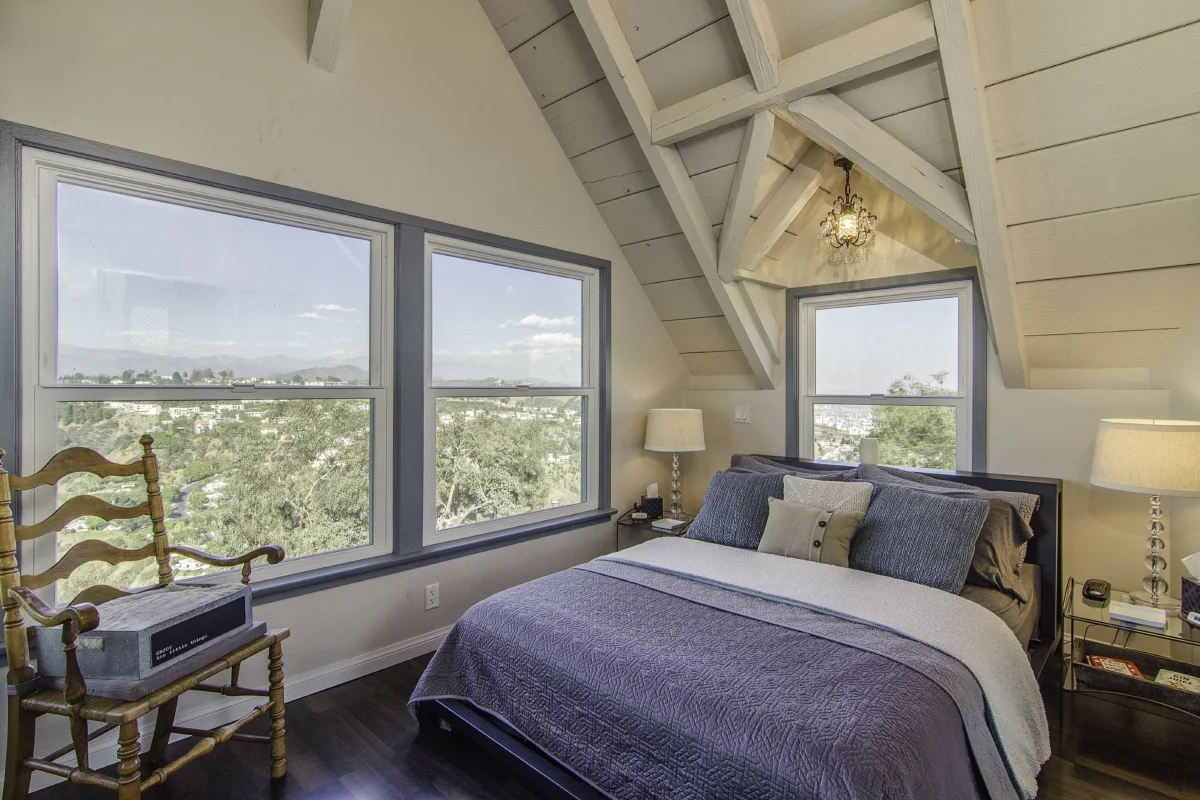
    Once you have your base exposure and the two bracketed exposures, turn off bracketing, and turn on your flash and the wireless flash triggers. Set your exposure centered at 0 and move your focus/exposure point to expose for the brightest part in the scene (typically the window). Increase your ISO to somewhere between 400-600 in order to boost the sensor’s light sensitivity to absorb as much of the flash light as possible. Now fire an exposure using the flash as a bounce flash aimed off the wall either behind the camera or the ceiling above the camera if it’s white or a light color that will bounce the flash. If there is no light surface to bounce the flash, use the bounce card or a white piece of paper. If you did it right, what you should see now that you didn’t see in the brackets is the window frame or door frame detail, as well as the scene outside the window well exposed. If there are shadowed areas in the exposure, don’t worry, you’ve already exposed for those areas in the brackets. All you’re looking for here is a well exposed exterior scene outside the door or window with little to no light leak or fringing on the door or window frames. Sometimes, depending on the scope and size of the window or door and intensity of light, you might have to shoot that exposure at a stop underexposed. What you’re looking for is a result similar to following image:
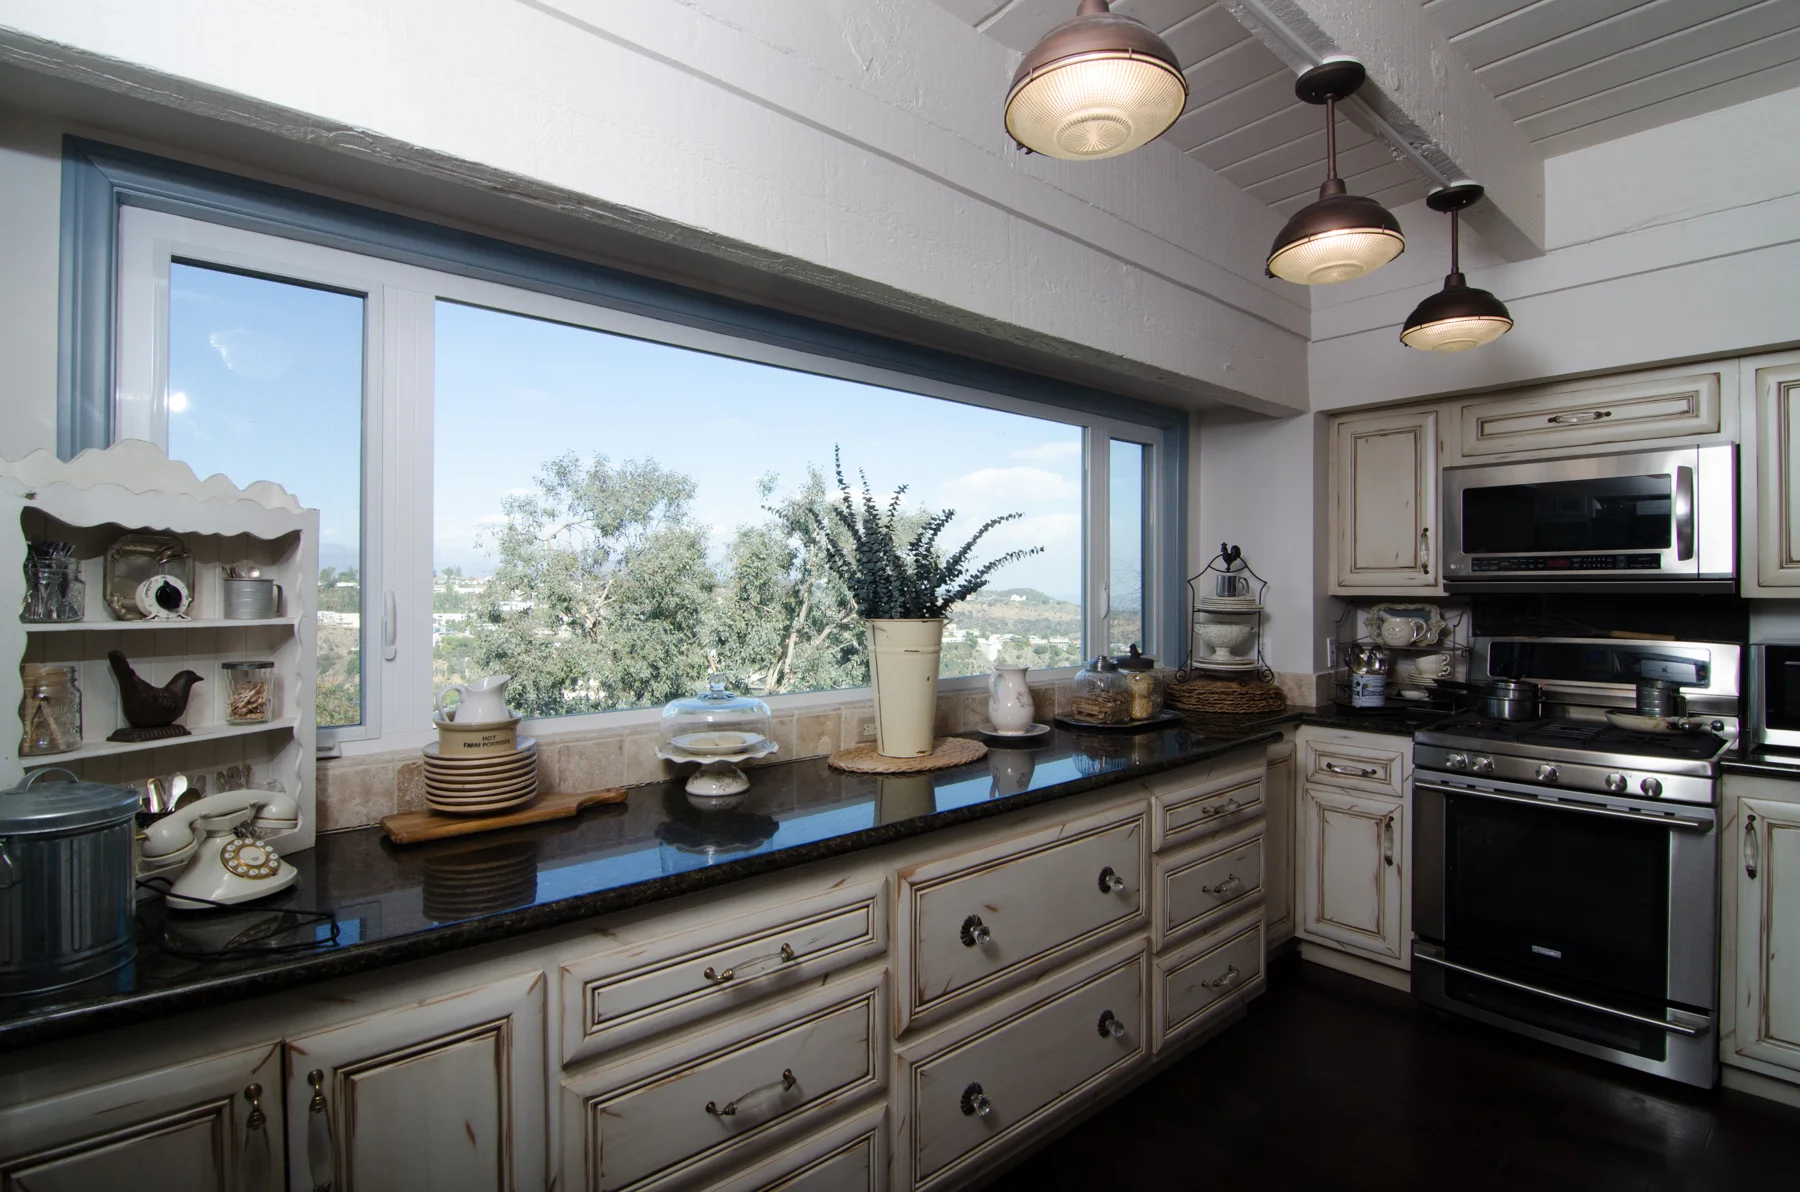
     Wasim_Muklashy_Photography_Architecture_Flash_Exposure

    For more advanced shooters and once you have this process down, you can even shoot multiple bounce-flashed exposures to expose for different parts of the room or space.

    Next step is to post-process these exposures. I cover that process in How To Expose For Interiors And Exteriors In Architecture Or Real Estate Photography – Part 2 – Post Processing. In the meantime, go fire off a few images using the methods above so you can follow along with the post-processing techniques.

    And if you’re in need of real estate photography services, whether commercial or residential, please feel free to contact me or check out my Property Photography website.

    For more of my madness: Instagram: @wasimofnazareth Twitter: @wasimofnazareth Google+: www.Google.com/+WasimMuklashy Facebook: www.Facebook.com/WasimOfNazareth
  • 6 Travel Photography Lessons Learned On My Recent Trip To The Pacific Northwest

    6 Travel Photography Lessons Learned On My Recent Trip To The Pacific Northwest

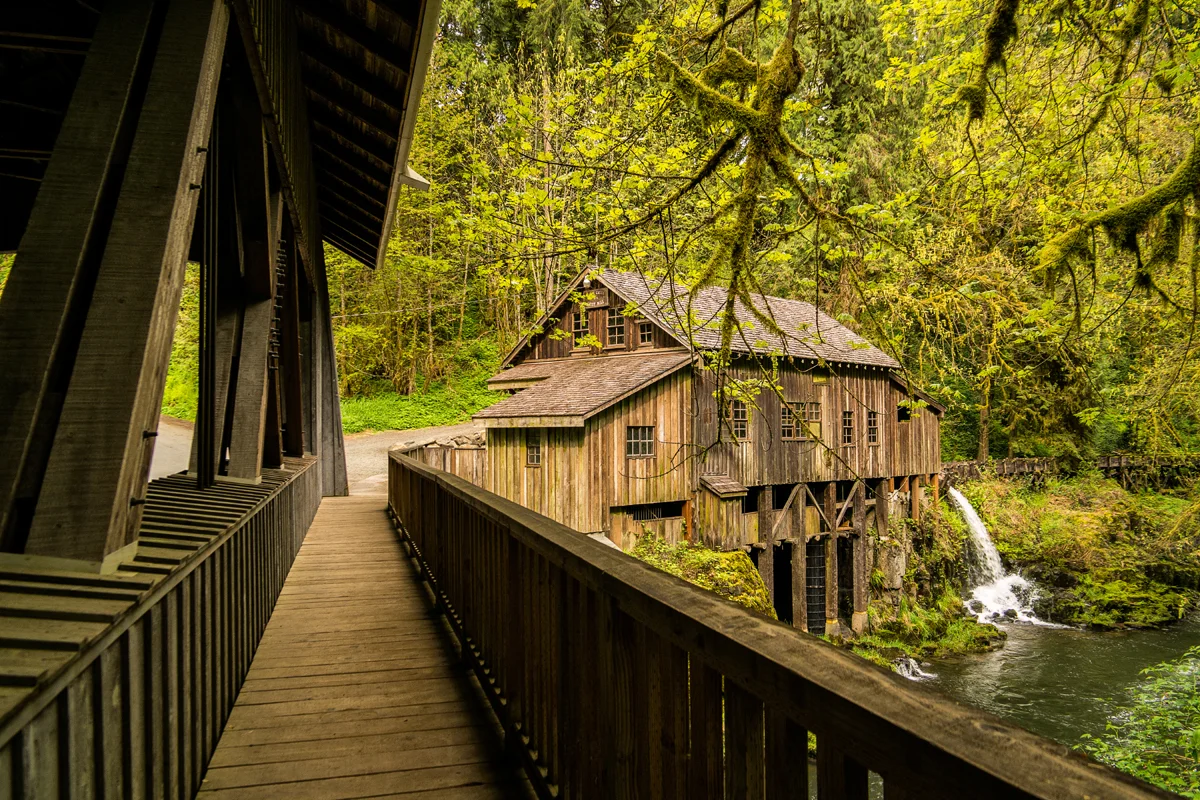
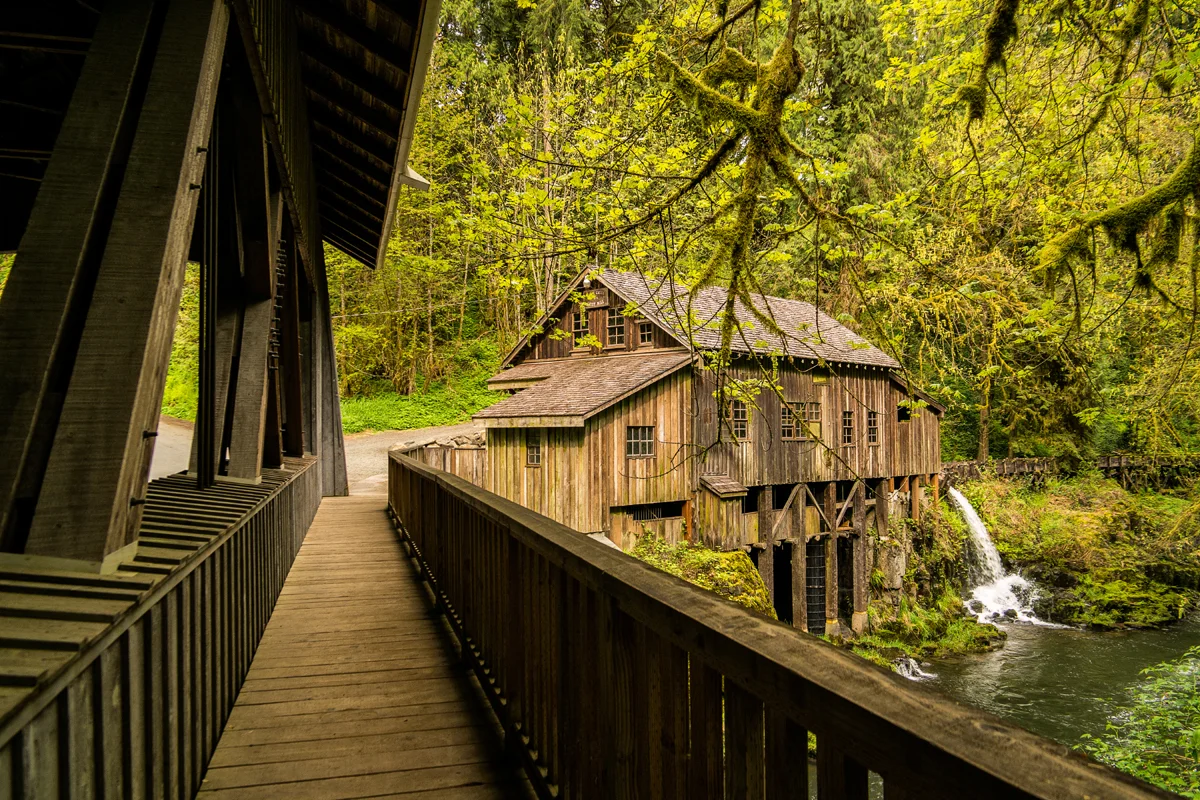
    Wasim Muklashy Travel Photography_Pacific Northwest_Cedar Creek Grist Mill_Washington

    So as many of you know, I embarked on a nature and travel photography trip this past Spring to the Pacific Northwest, and I’ve shared all those pictures here and all my social outlets. This so happened to be my first photo trip in which I left the DSLR behind and employed mirrorless cameras exclusively, namely, the Samsung NX30. While this post will forgo all the reasons behind that (click here if you want to see those posts of that journey), now that the dust has settled and some time has passed, I’ve been able to reflect a bit on the incredible experience, which has proven to be a personal milestone in many ways in my photographic journey. So I figured I’d take this opportunity to share with you a few of the lessons I learned on that trip:

    1. Make A List – It always seems like a good idea to make a list of the shots and images you’d like to come back with. When you’re planning for a trip, especially if it’s somewhere you’ve never been, it would do you good to do a bit of research, whether you Google the location, or visit sites like 500px and Google Plus to search for images from that location. It’ll give you a great idea of what to expect, what to look for, how the weather can alter the look of the images, what you like, what you don’t.

    2. Throw That List Out – The main reason for me making that list was basically to get it out of my system. It’s almost like pre-visualizing a conversation with someone – it’s impossible, and more often than not, it doesn’t go at ALL the way you had it in your head. It’s great to have the ideas and a foundation in your head to work from, but once you’re on location, your eye is going to dart around and see things you never planned for. And this is a good thing. I mean, do you really want to return with the same images you already saw all over those sites? Really?

    3. Work It – Never EVER settle on the first shot or angle. In other words, yes, trust your eye in the sense that something made you stop and look. Something was behind whatever it was that caught your attention. And sure, stop, set up, take the shot. Indulge. But no joke, every time I found myself in front of something that caught my attention for whatever reason, it was NEVER the first shot that I took that ended up being my favorite. I ducked, dodged, leaned in, got on the ground, climbed a tree, switched positions, got behind bushes, wrestled with spider webs, balanced on an unbalanced rock, everything I could to make whatever it was that caught my eye even more attention grabbing. Sometimes you don’t have the luxury of time on your side, but in most cases, if you can find time to snap one shot, you can usually find time to try at least try 2 or 3 different angles or approaches. If you’re with people that get annoyed by your practicing your ‘art,’ surprise them later with a beer at dinner. You’ll see how quickly they get over it.

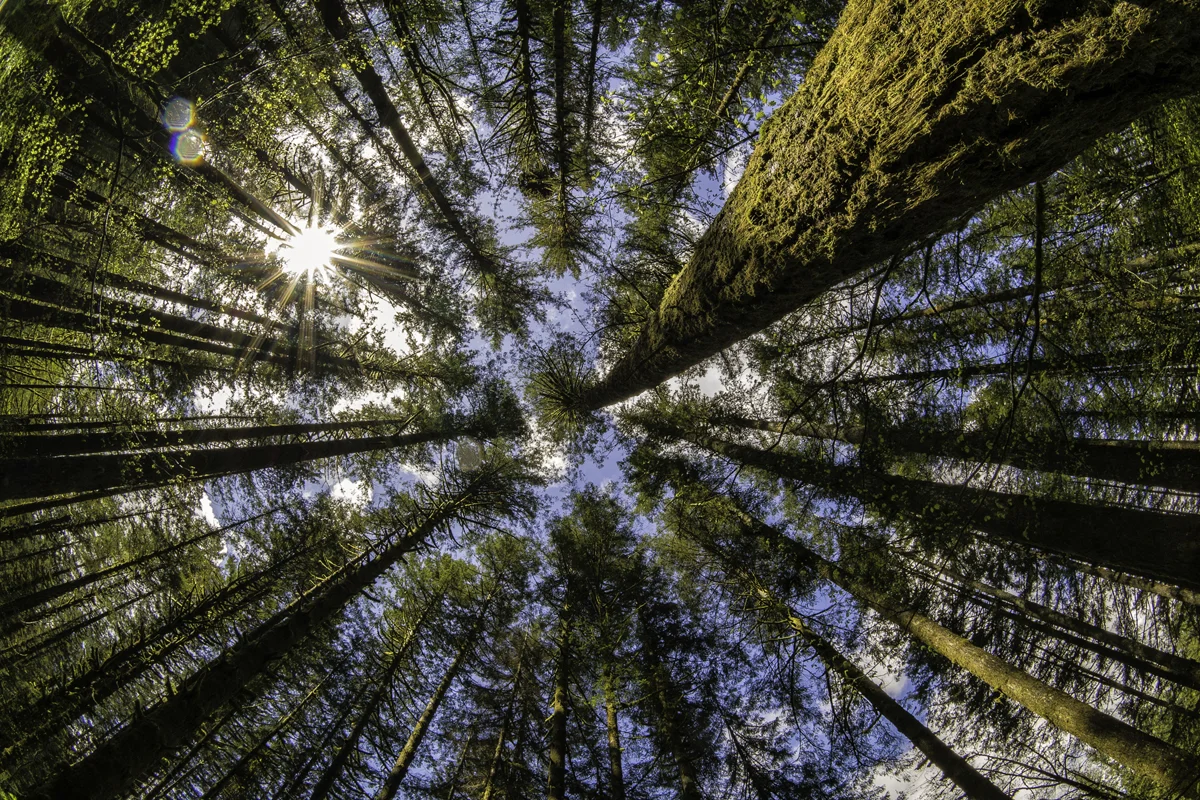
    Wasim Muklashy Travel Photography_Pacific Northwest_Washington_Tree Canopy

    4. Marinate – Let the images come to you. Just because I’m somewhere with a camera does not mean I need to make a picture. As a matter of fact, it was when I just sat back and soaked in my environments that I was truly able to get the best feel for the location we were in. Sure, I’ll usually spend the first few minutes antsier than a flock of fleas, but once that part passes, you almost get into a meditative, relaxed state in which your mind goes out of its way to tell you ‘it’s ok.’ And you can’t help but agree. It is OK. The tree canopy above ended up being one of my favorite images from the entire trip and this wouldn’t have happened if I didn’t take a break, put down my camera, and take a mini-catnap on a picnic bench in the middle of the forest.

    5. Have Fun! – Don’t forget why you’re doing this to begin with – fun. Don’t lose sight of that. You’ll get caught up in it and at times frustration will set in and it’ll feel like the world revolves around that very shot or not getting it right or why can’t I get this? Well, it doesn’t. The world truly doesn’t give a hot nor a cold damn. It’s just you. Only you. No one else but you. After all, no one, other than yourself, even knows that image doesn’t exist yet because, well, it doesn’t! So you’re literally stressing out over nothing. Literally. Stop, breath, meditate on the mantra ‘have fun’ for a few minutes. After all, who the hell wants to work?

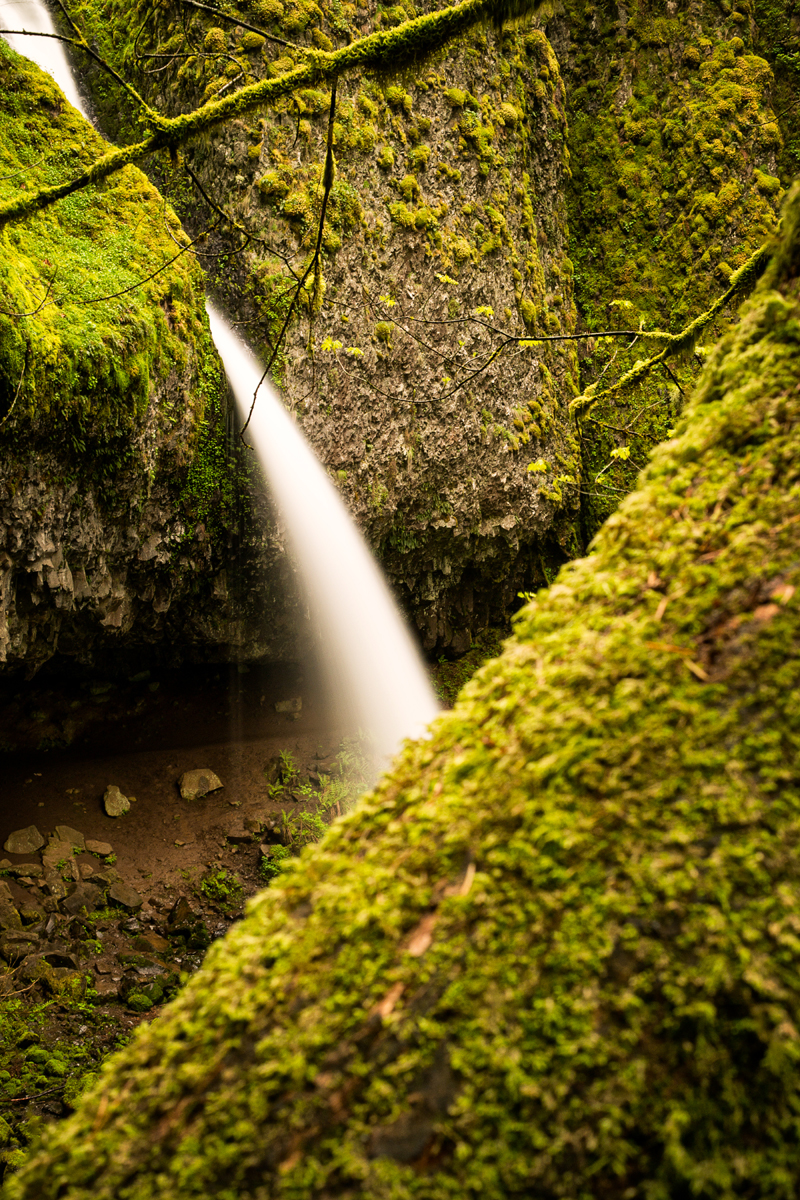
    Wasim Muklashy Travel Photography_Pacific Northwest_Ponytail Falls_Washington

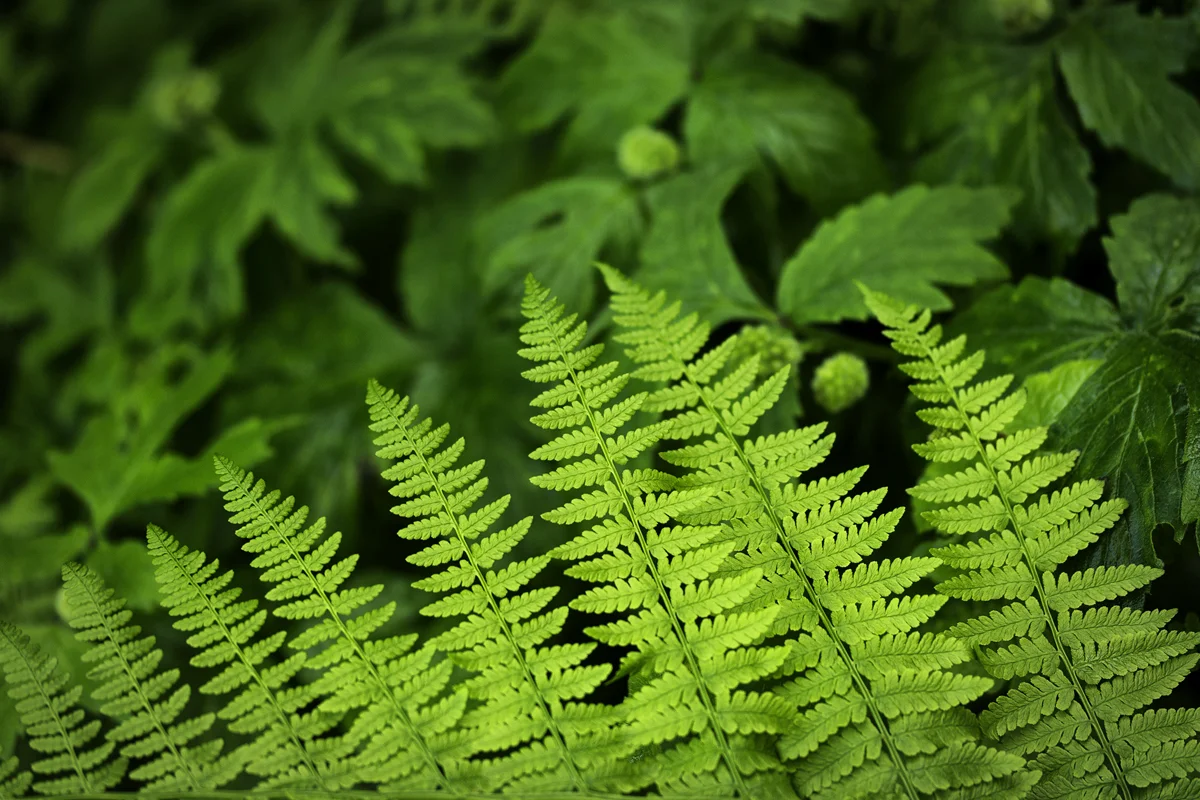
    Wasim Muklashy Travel Photography_Pacific Northwest_Washington_Fern

    6. Details! Don’t forget the details! It’s easy to get overwhelmed by big scenes and subjects, especially if it’s your first time around them. Instinct seems to dictate to try to capture on your sensor as much of that scenes as possible. I want the river with the trees with the mountains with the rock with the acorns with the elk with the other tree and oh…oh…oh…that barn! Oh that barn!! Well, that’s all fine and dandy, and, as expressed in tip #3, shoot it! But don’t settle on that. Now that you got that off your shoulders, get creative. Move in, focus just on the details. If I got that shot as described above, chances are high that once you (or someone else) viewed the image, you wouldn’t know where to rest your eyes. If you just get the elk next to the barn, or the river with the tree, or the hinges on the barn door, the focal points become much clearer, providing a much more pleasant, and imagination-inducing viewing experience. A great example is the fern in the image above. It was surrounded by a picture perfect waterfall and a cave and a cliff and gorgeous moss-covered trees, but once it came down to it, it was the fern that really had my attention, so once I focused solely on that, I was happy with the shot. The rest of it came in a different shot, the one on the right, which, again, focused on the detail of the moss covered tree and the waterfall behind it.

    So I hope you were able to get something out of this. It all might seem like common sense, but once you’re out in the field, especially in unfamiliar locations, every single one of your six senses (yup, six, I’m one of those guys) hits overdrive and all common sense is typically thrown out the window bit by byte. But if you just focus on these six things, Make A List, Throw That List Out, Work It, Relax, Have Fun, and Details, you’re bound to come back with several keepers that you’ll be proud to share.

    Feel free to share your experiences below and what works for you and what doesn’t.

    For more of my madness:
    Instagram: @wasimofnazareth
    Twitter: @wasimofnazareth
    Google+: www.Google.com/+WasimMuklashy
    Facebook: www.Facebook.com/WasimOfNazareth
  • Why I Switched To Back Button Focus And Haven’t Looked Back

    Why I Switched To Back Button Focus And Haven’t Looked Back

    SAMSUNG CSC

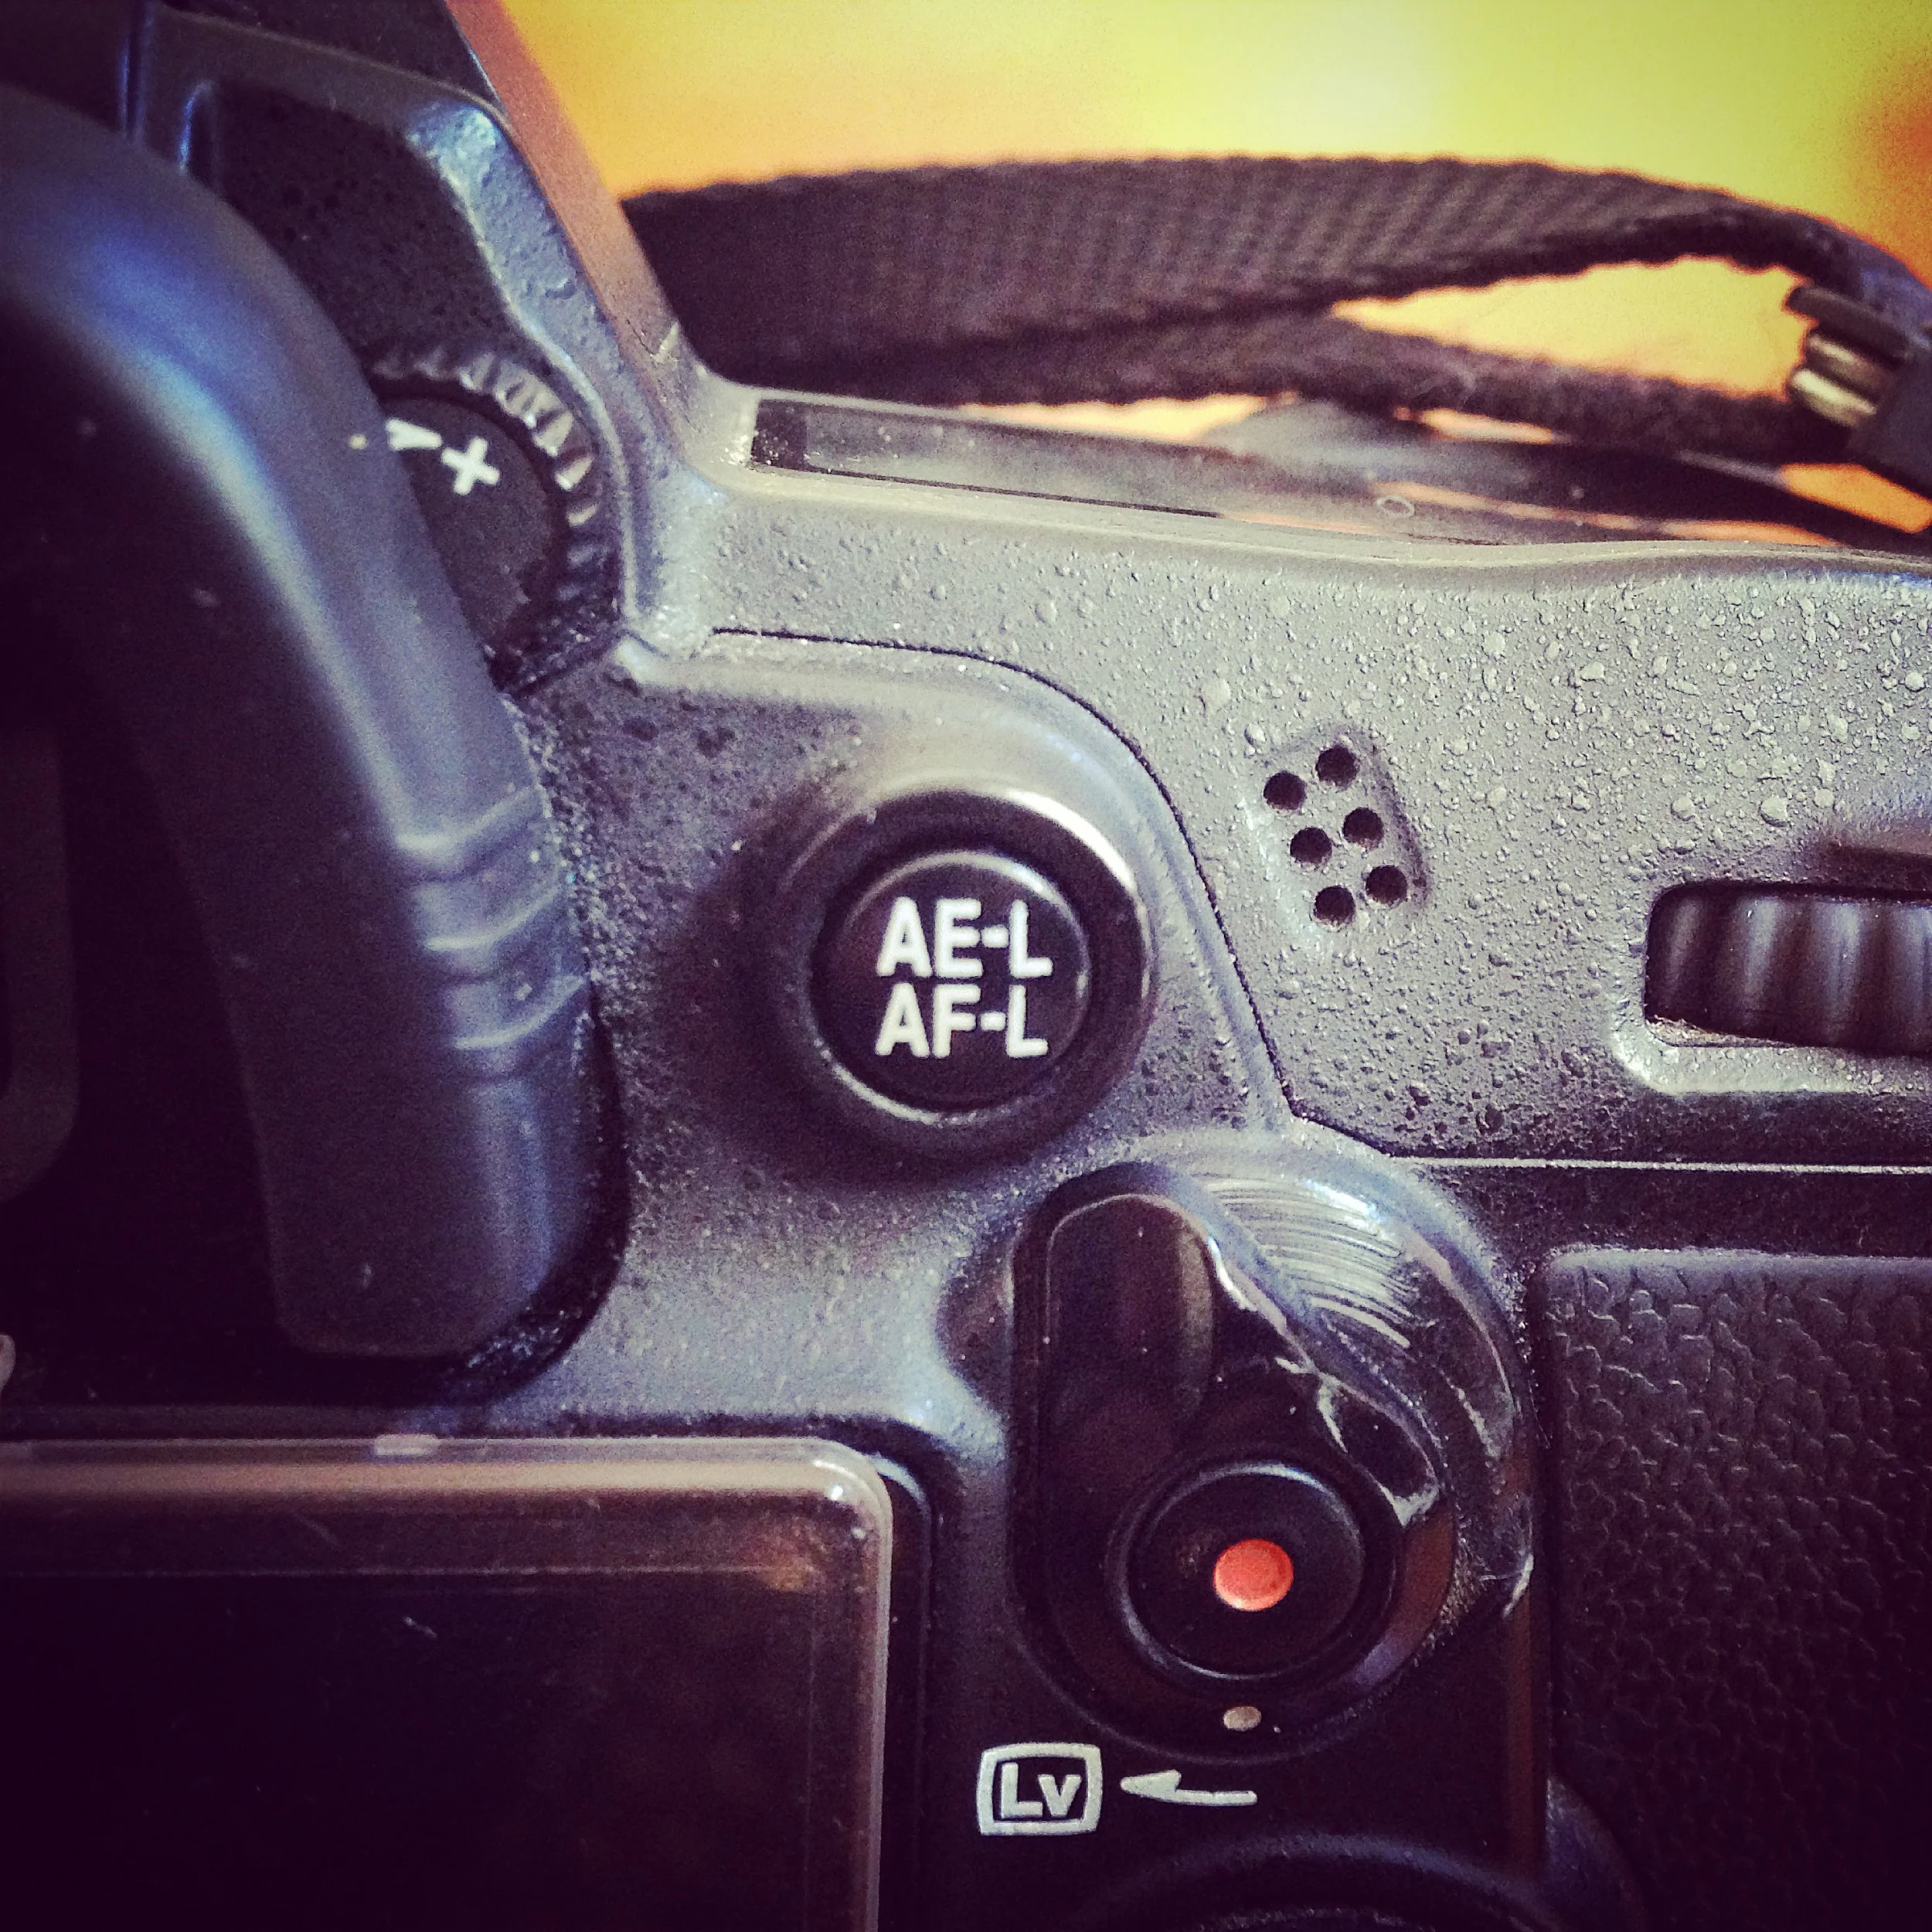
    It didn’t make sense at first. Use the AE button on the back of the camera for focusing? How is that supposed to be easier and/or better than the traditional method of pressing the shutter halfway down? I mean, that’s what I know, that’s what I’ve grown to know, that’s what’s normal! Is this an elitist purist thing? Or is this real?
    About a year ago, I decided to truly dig deeper into the idea behind back button focus and, well, like a classic case of neuro-plasticity, over the next 90 days, I had inadvertently rewired my brain to wonder the exact opposite of what I was wondering when I started this little experiment…how did I go this long without it?

    The idea is this: Back button focusing basically frees up the shutter button to be, well, a shutter button. Once you wrap your head around that novel idea, the fun part begins. This is the stage when your brain begins the process of peeling the two functions apart from synonymity, realizing that once you have separate control of focusing and firing the shutter, everything becomes clearer (pun intended…sort of).

    BackButton_AEL_Nikon D7000

    When you’re using the shutter halfway down method of focusing, each time you move the camera, you have to refocus on your focal point. Unless you’re able to be steady enough to keep that shutter halfway down without clicking the shutter, sometimes for several minutes at a time, this can become a bit tedious as your brain keeps focusing and firing the shutter as a single married entity. But, once you realize they’re a horrible couple and you break them up and see how silly it was that they ever got together to begin with, your brain begins to understand that it should be able to focus on the task of focusing, and then, turn all its energy to the composition of the shot itself.

    In other words, once you focus, as long as you stay in that position, you won’t have to focus again. You can expend all your energies on the composition of the shot with the peace of mind that your shots will be sharp from simply setting that focus once, rather than having to refocus with each shot, each press of the shutter.

    Essentially, the photographic process goes from:

    compose, focus, shoot, re-compose, re-focus, shoot, re-compose again, re-focus again, shoot.

    to, simply:

    focus, compose, shoot, compose, shoot, compose, shoot.

    My brain already hurts less just thinking about it.

    Just imagine the decrease in brain strain when shooting at events and weddings and wildlife knowing that your shots are in focus by just having to focus once instead of with each shot! All because once you release the back button, so long as you remain the same distance away from your subject(s), you can re-compose to your heart’s content confident that focus will remain on that plane of field. The amount of ‘keepers’ is bound to drastically increase!

    Additionally, this works really well on moving objects such as sports or wildlife. For example, let’s say a car was coming towards you, you can focus on the part of the car you want, hold down the back button for focusing, keep it held down and aimed at your chosen focal point, and that point will continually stay in focus. You can then independently fire the shutter while your finger is still holding down the focus button so all of your attention is aimed at the focal point and nothing else, ensuring with better accuracy that you’ll get the sharp focal point you want. Conversely, with traditional shutter-halfway-down focusing, once you press down on that shutter, any movement in those milliseconds between auto-focus disengaging and the shutter firing, especially when working with fast moving subjects, and you’ll have less of a chance of getting a sharp shot. Once you use it and get used to it, there is no turning back.

    Anyhow, most DSLRs and newer mirrorless cameras offer the option – it would be in your settings menus. In most Canon DSLRs, look for the “Metering Start / Meter + AF Start” option in the “Shutter/AE Lock Button” menu. In most Nikon DSLRs, first navigate to the “Custom Settings Menu,” choose “Controls,” then “Assign AE-L/AF-L Button”, then “AF-On.” Now, in the “Custom Settings Menu,” choose “Autofocus,” then in both “AF-C priority Selection” and “AF-S Priority Selection,” choose “Release” so that the shutter will still fire even if if it thinks you didn’t focus because the shutter button wasn’t pressed halfway.

    If you have a different kind of camera, Just Google your camera make and model with ‘back button focus’ and you should be off and running.

    For more of my madness:
    Instagram: @wasimofnazareth
    Twitter: @wasimofnazareth
    Google+: www.Google.com/+WasimMuklashy
    Facebook: www.Facebook.com/WasimOfNazareth
  • How To Photograph Sunsets, Silhouettes And Starbursts For Your Summer Snaps!

    How To Photograph Sunsets, Silhouettes And Starbursts For Your Summer Snaps!

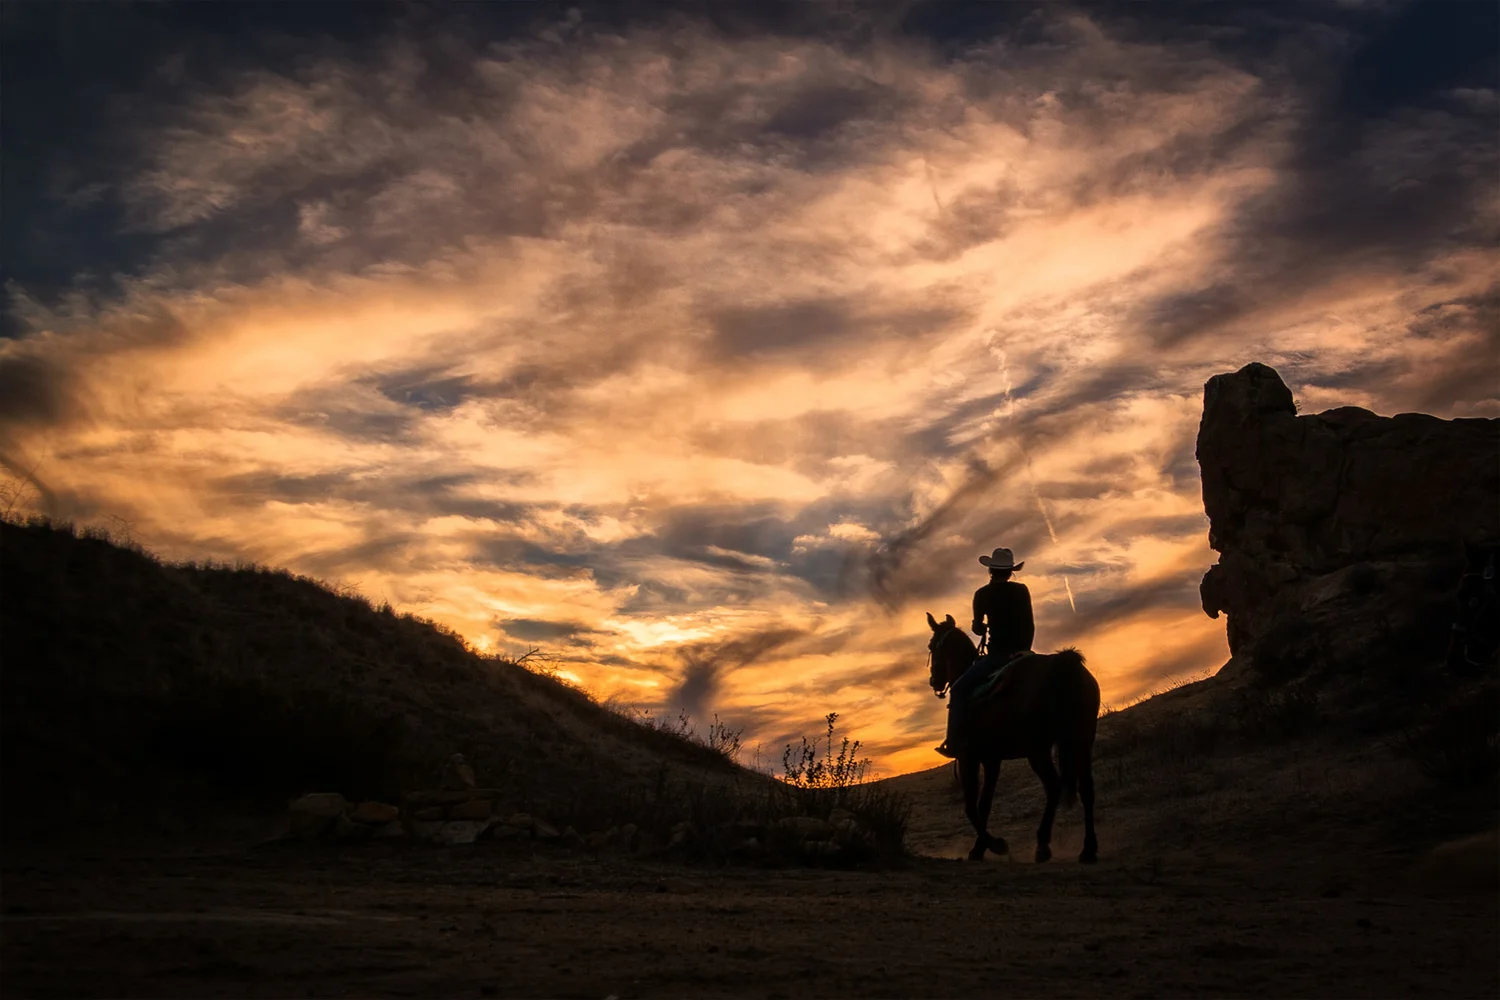
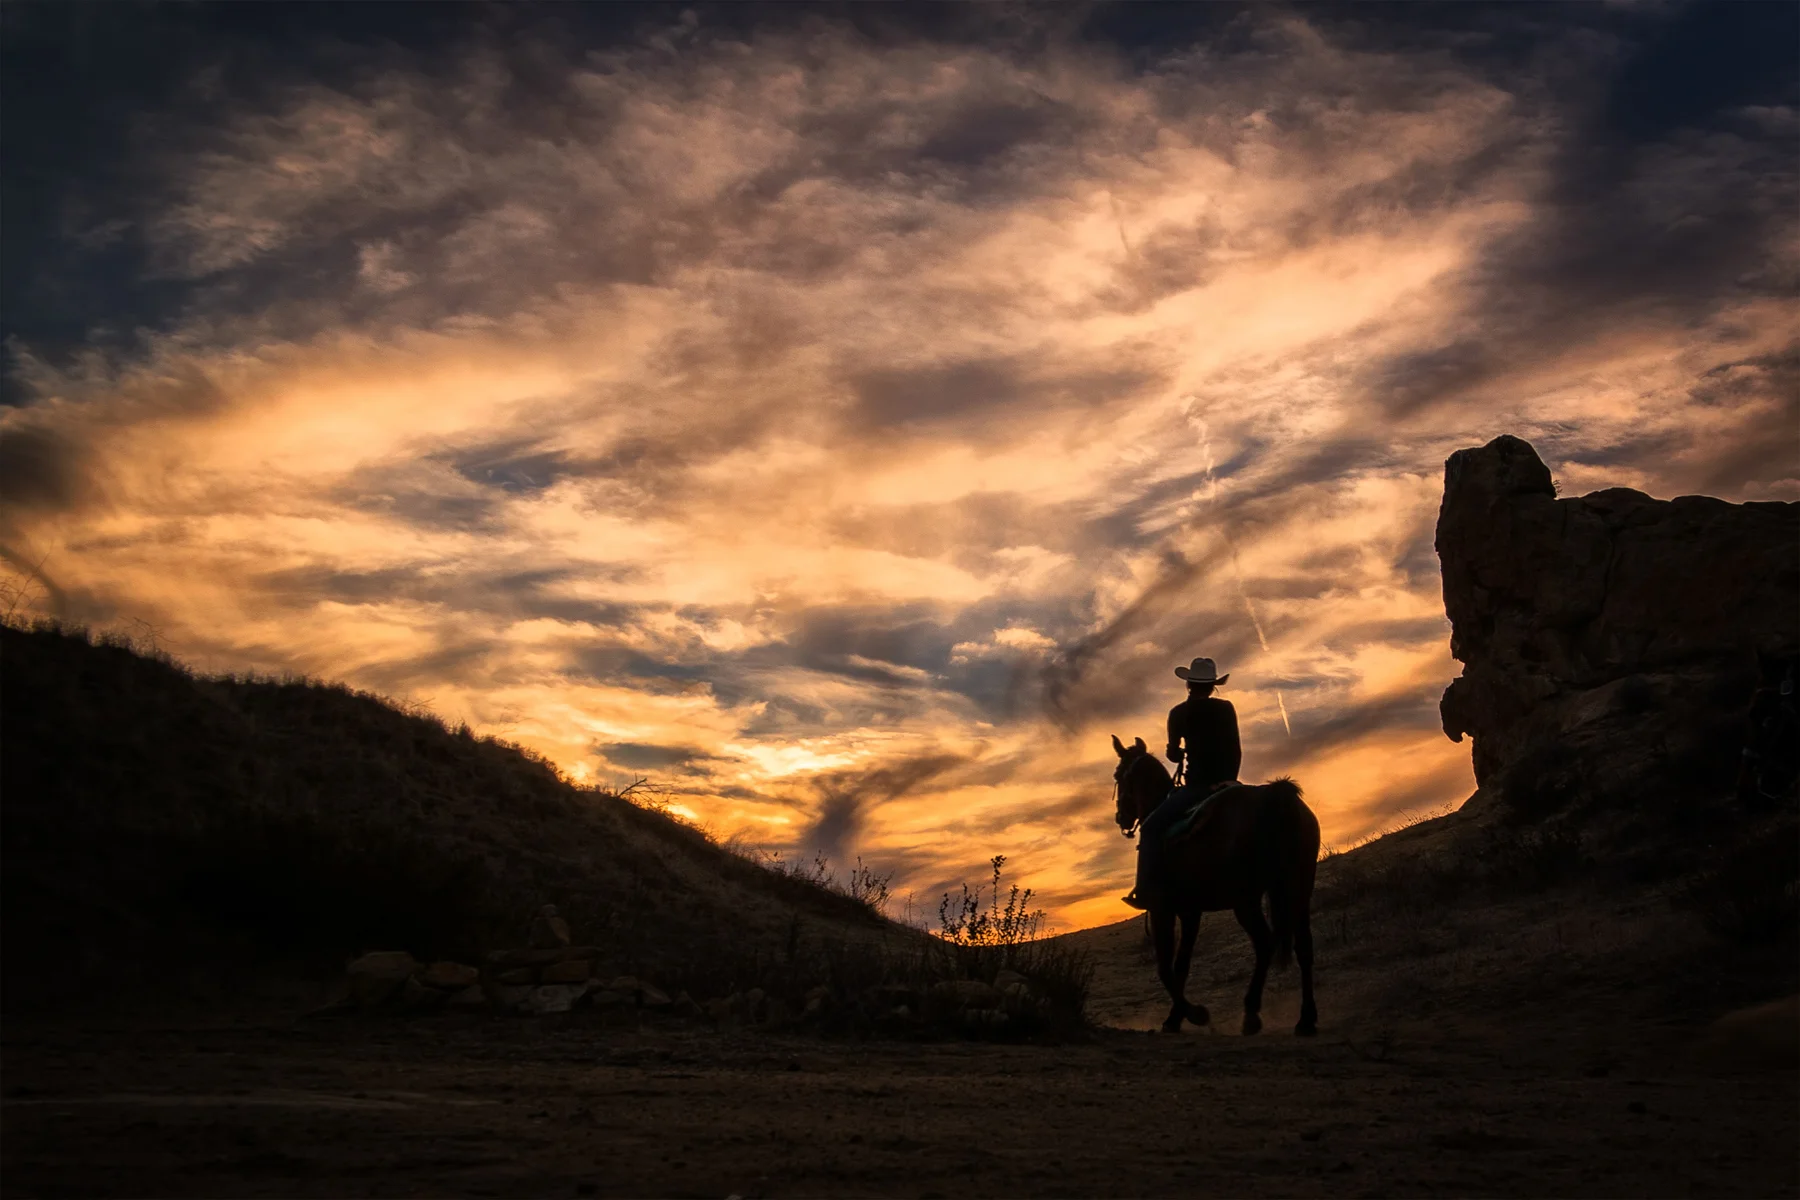
    Wasim_Muklashy_Cowboy_Topanga_Sunset_Photography_Silhouette

    Being in Southern California, we get a lot of wonderful light during the final hours of most days, so naturally, a lot of my photography happens during that time. Consequently, I find myself in position to photograph sunsets a lot, many of which can prove to be quite spectacular, and one of my favorite effects is to catch sun stars (also called starbursts) and silhouettes during this time. I’ve been asked more than a few times what my methods for sunset photography are, so figured I’d share a few tips to help you catch those perfect sun shots during your summer adventures. Click past the break here to see the tips.

    How To Photograph Sunsets, Silhouettes And Starbursts For Your Summer Snaps!

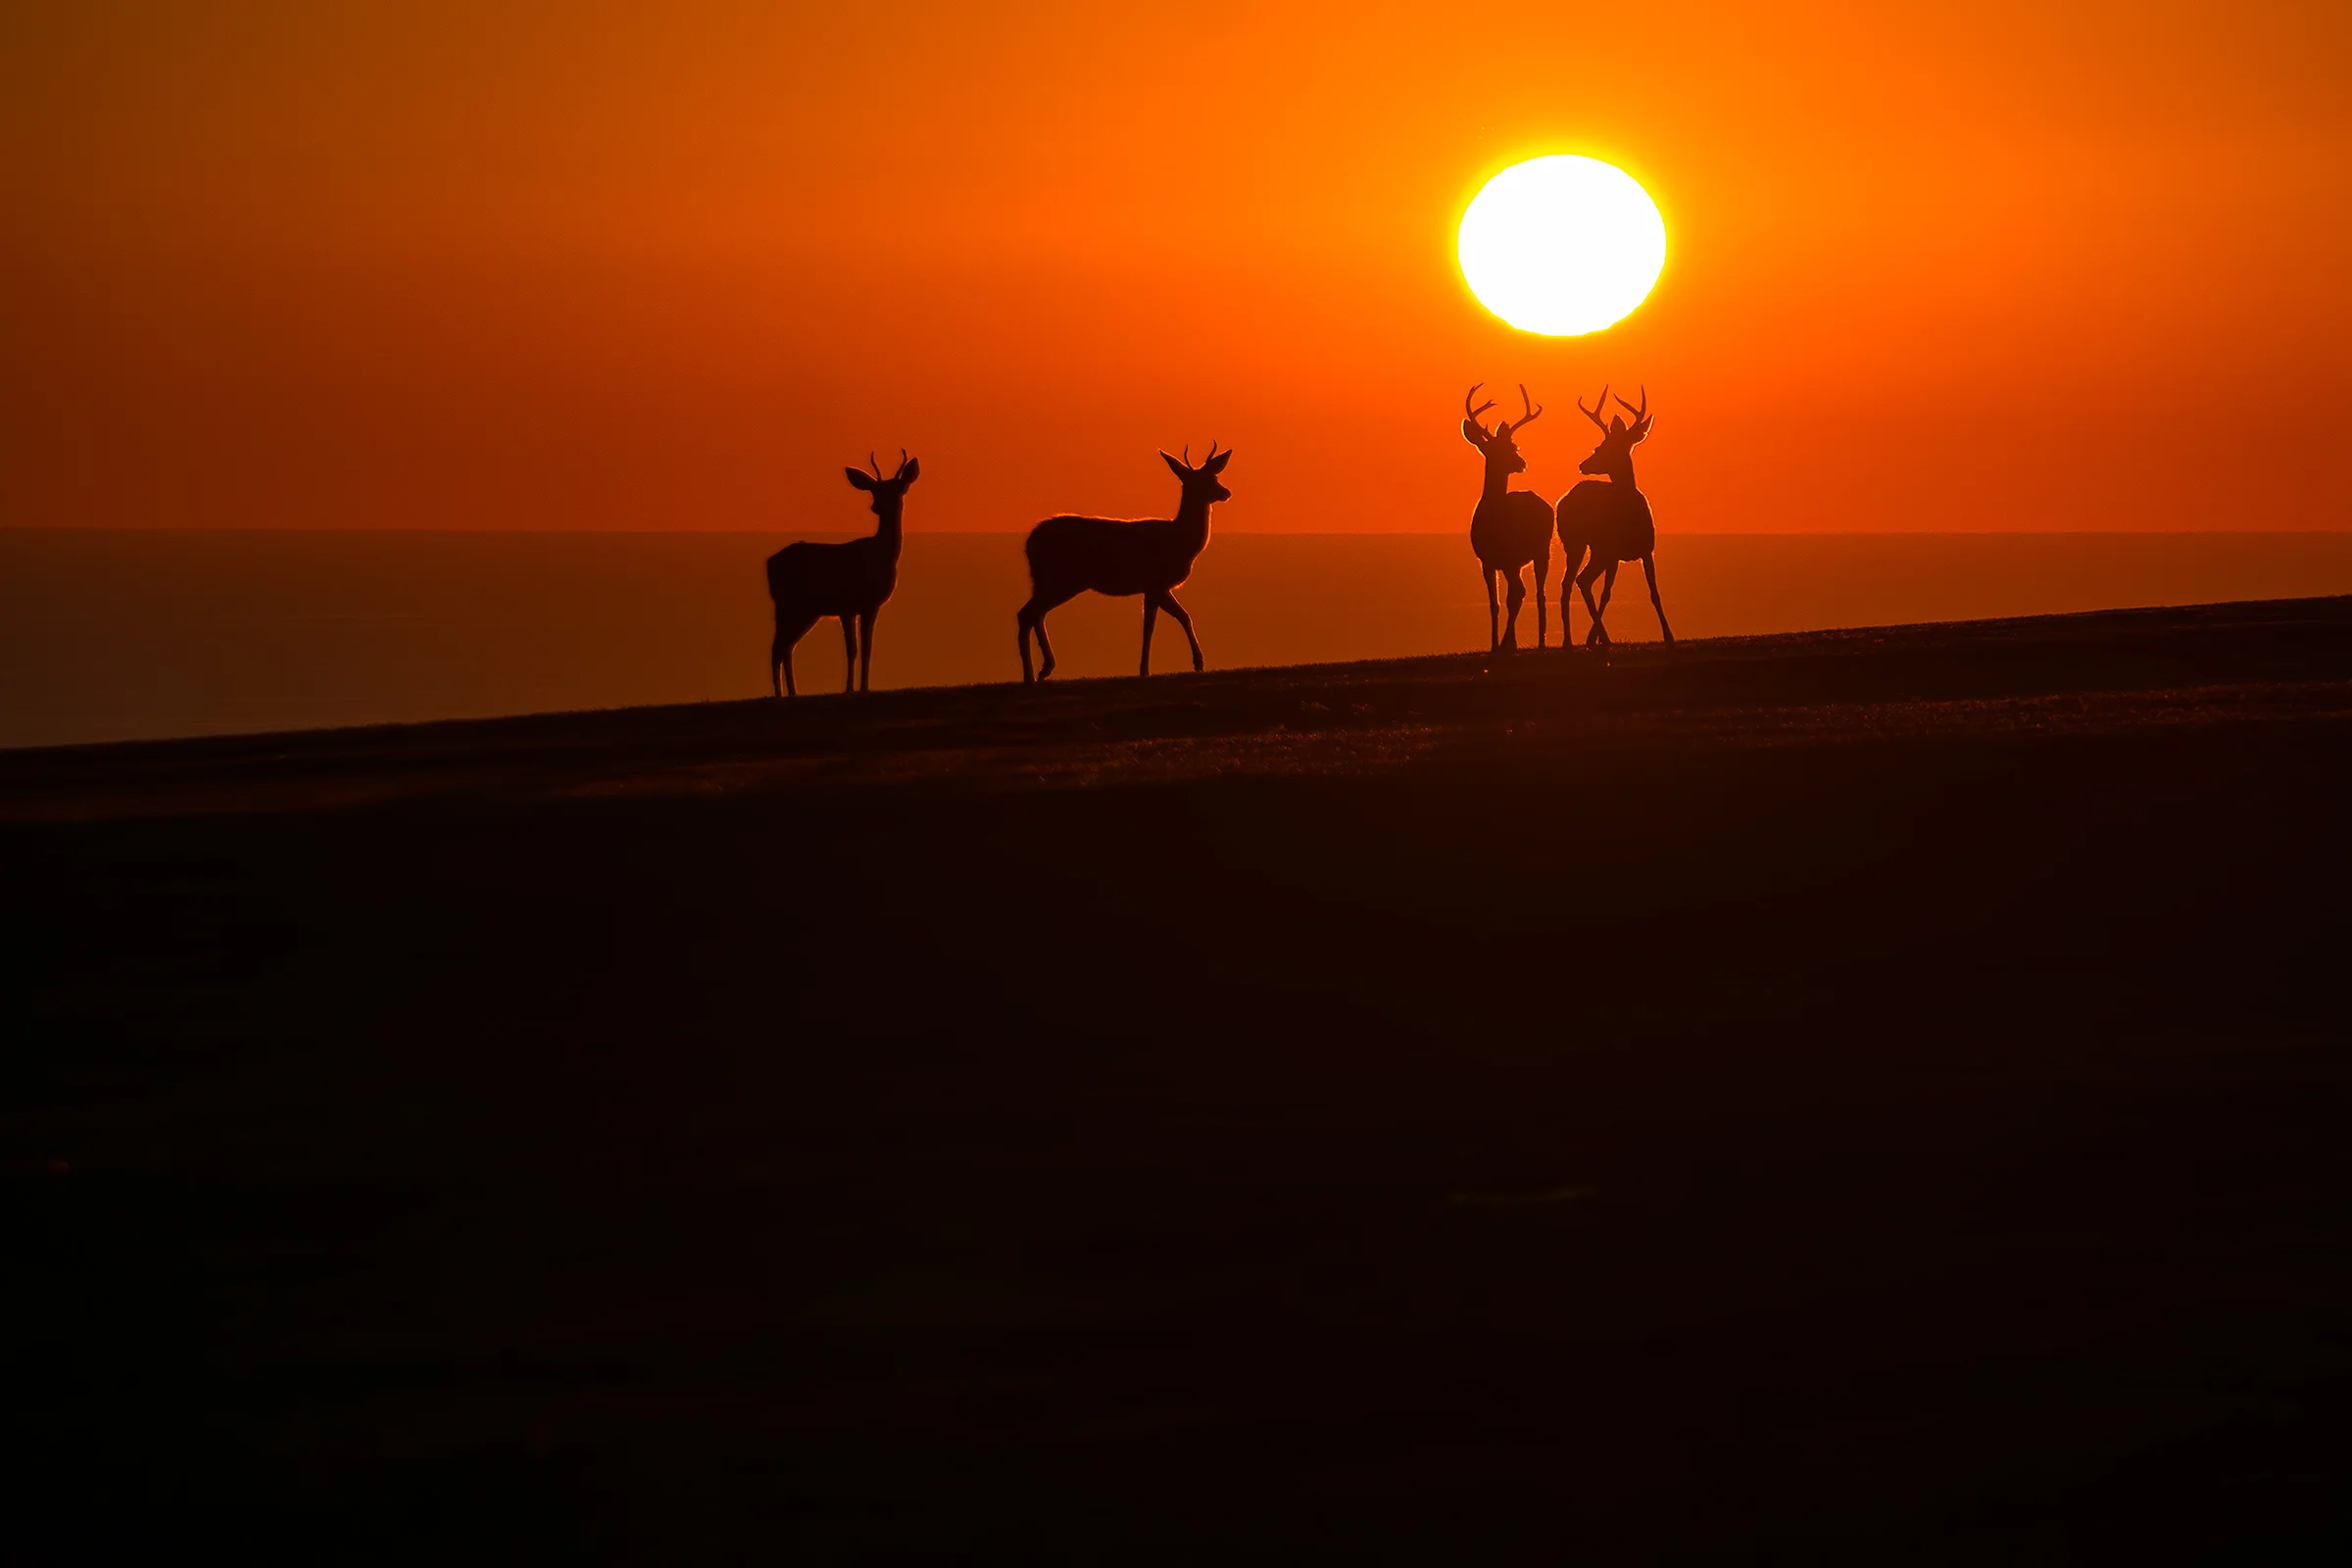
    1. Silhouettes – If it’s a silhouette that you’re trying to capture, such as the deer along the ridge in the image above, or the palm trees in the foreground of that sunset sky in the image in this link, then I usually shoot in Aperture Priority mode and meter for the brightest spot on the scene, usually the sky just around the sun. I’ll then use exposure compensation, the little button that with the +/- symbol that normally looks something like the one below here, to underexpose the image by about a stop, sometimes even two full stops, and if I’m feeling particularly crazy, sometimes up to 3 full stops, depending on how bright the light happens to be that day or time of day.

     Exposure Compensation Button
    Exposure Compensation Button

    I do this so that the bright light isn’t obscenely overexposed to the point you lose all detail. Finally, if necessary, I”ll bring up some of the details in post in Lightroom using the shadow and highlights sliders to taste. Remember…this is art.

    Wasim_Muklashy_WA_NX30_Sunflare_Starburst_Photograph_Sunsets

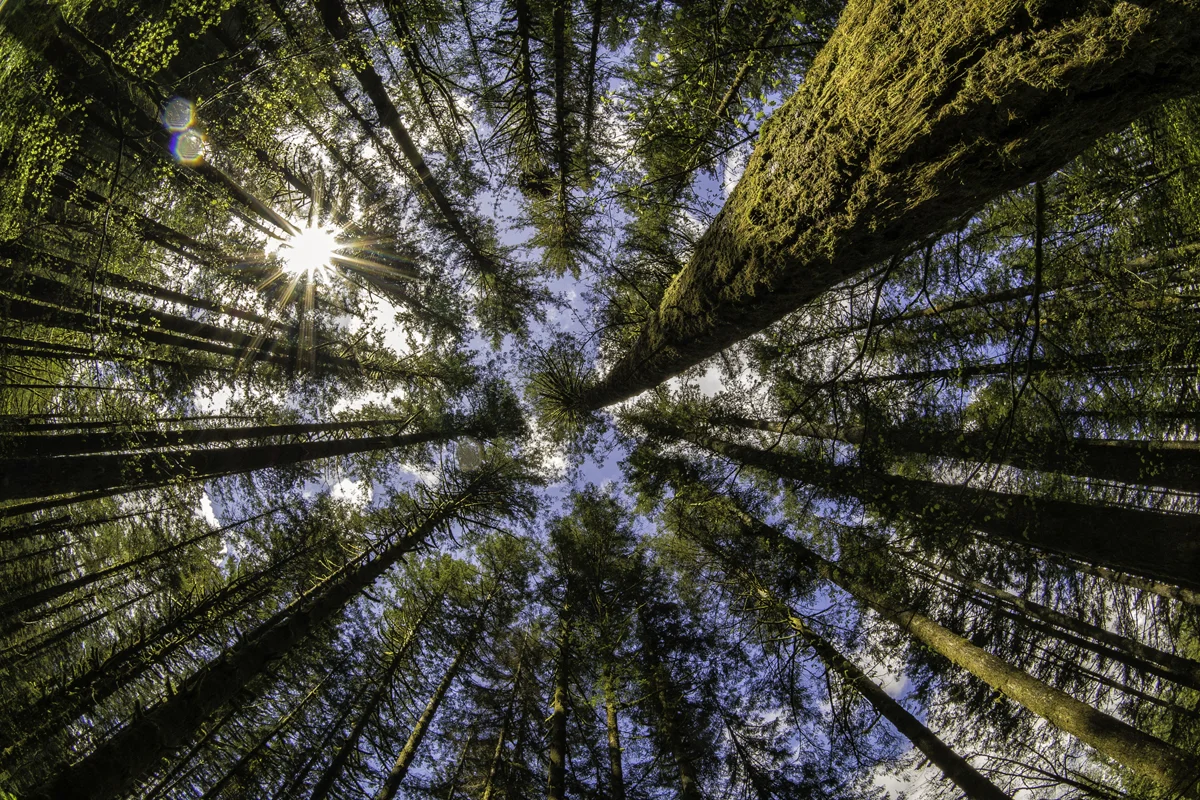
    2. Starbursts – If I’m looking to get the starburst effect such as in the image of the tree canopy above or the Topanga Canyon sunset in the image in this link, it’s best to stop up to f16 or even smaller, usually best at about f18 or f22. Then I’ll frame the shot so the sun is partially obstructed by a tree/hillside/ridgeline/building/leaf/something. Shooting at that small aperture is what will give you that starburst you see in some of them. The effect is a result of what is called light diffraction. In essence, this is when light waves bend around something in their way, causing the waves to spread out. In this case, the ’something in their way’ are the diaphragm blades in the lens. The number of blades inside your particular lens will dictate how many points you get in your starbursts. Typically, the higher end lens will give you more points and a cleaner starburst, but these days, pretty much any lens will give you more than satisfactory results.

    Wasim_Muklashy_051814_Malibu_CA_NX30_SAM_4249_Edit_2400C

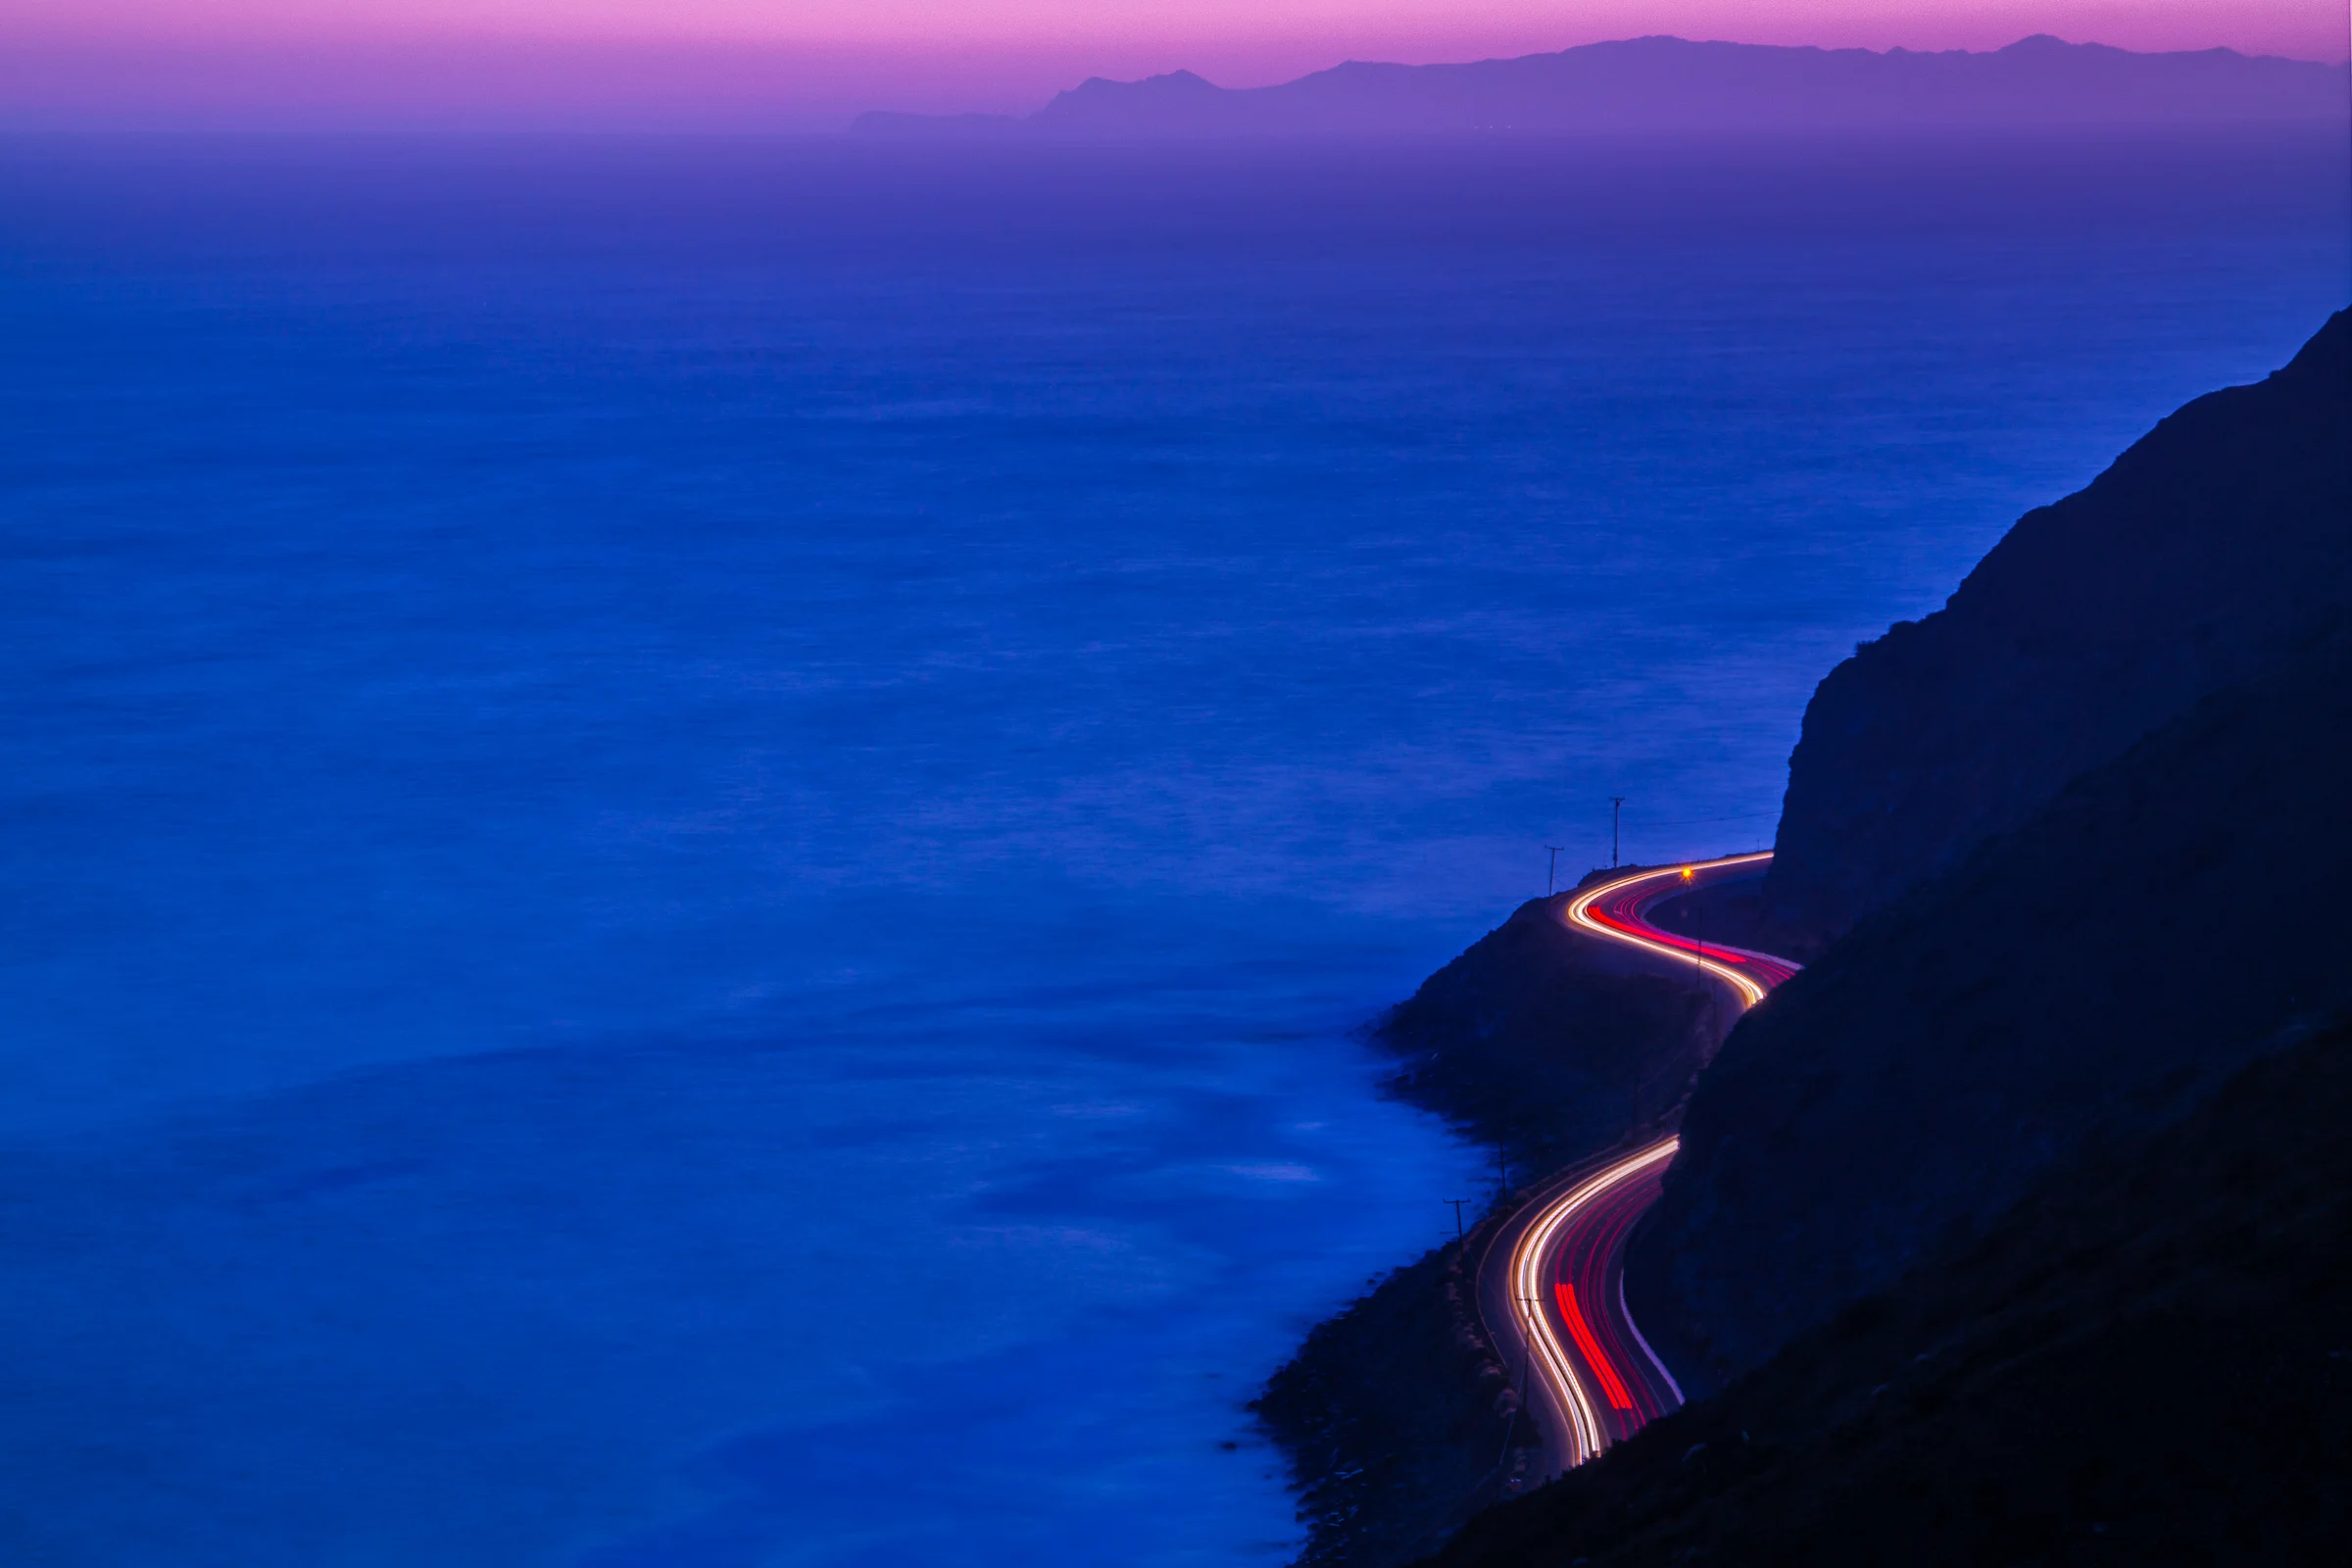
    3. Dusk/Twilight – If the sun isn’t directly in the shot, but you’re looking to capture the dusk/twilight light like the one of the Pacific Coast Highway you see above, then I typically expose for the sky if I’m looking to silhouette or darken the mountains/landscape. Conversely, I might decide to expose for the mountains to get some detail in there, and then use exposure compensation to stop down about a stop or so in order to not blow out the sky too much, still preserve some visible detail in the mountains, and still be able to capture those surreal colors that happen in those 15-20 minutes of perfect twilight after the sun sets behind the horizon. I’ll often also set the white balance to ‘cloudy’ even if it’s not cloudy as it helps warm up the scene and saturates the colors a bit. A few minimal tweaks of the shadow, highlights, and sometimes the contrast and vibrance sliders in Lightroom, and you’ve got yourself some awfully purty colors!

    One final tip is to make sure your lens is clean, especially when shooting images where the sun is a major component such as lens flare or starburst shots. Otherwise, you WILL get very visible unwanted dust specks and artifacts in your images.

    Well, I hope those tips help you during your summer adventures. Let me know if they help you capture some fun shots. I’d love to see them!

    By the way, all the shots you see above were shot on either the Samsung NX300 or the Samsung NX30, both of which are mirrorless cameras and provided to me as part of the Samsung Imagelogger program. Both of which I absolutely highly recommend and have turned into my primary cameras. If you decide to purchase through Amazon, try the links above! They’ll take you directly to the cameras I used and they’ll show me a bit of love for sending you that way…

    For more of my madness: Instagram: @wasimofnazareth Twitter: @wasimofnazareth Google+: www.Google.com/+WasimMuklashy Facebook: www.Facebook.com/WasimOfNazareth
  • One Step At A Time – Forging Ahead In My Photographic Journey

    One Step At A Time – Forging Ahead In My Photographic Journey

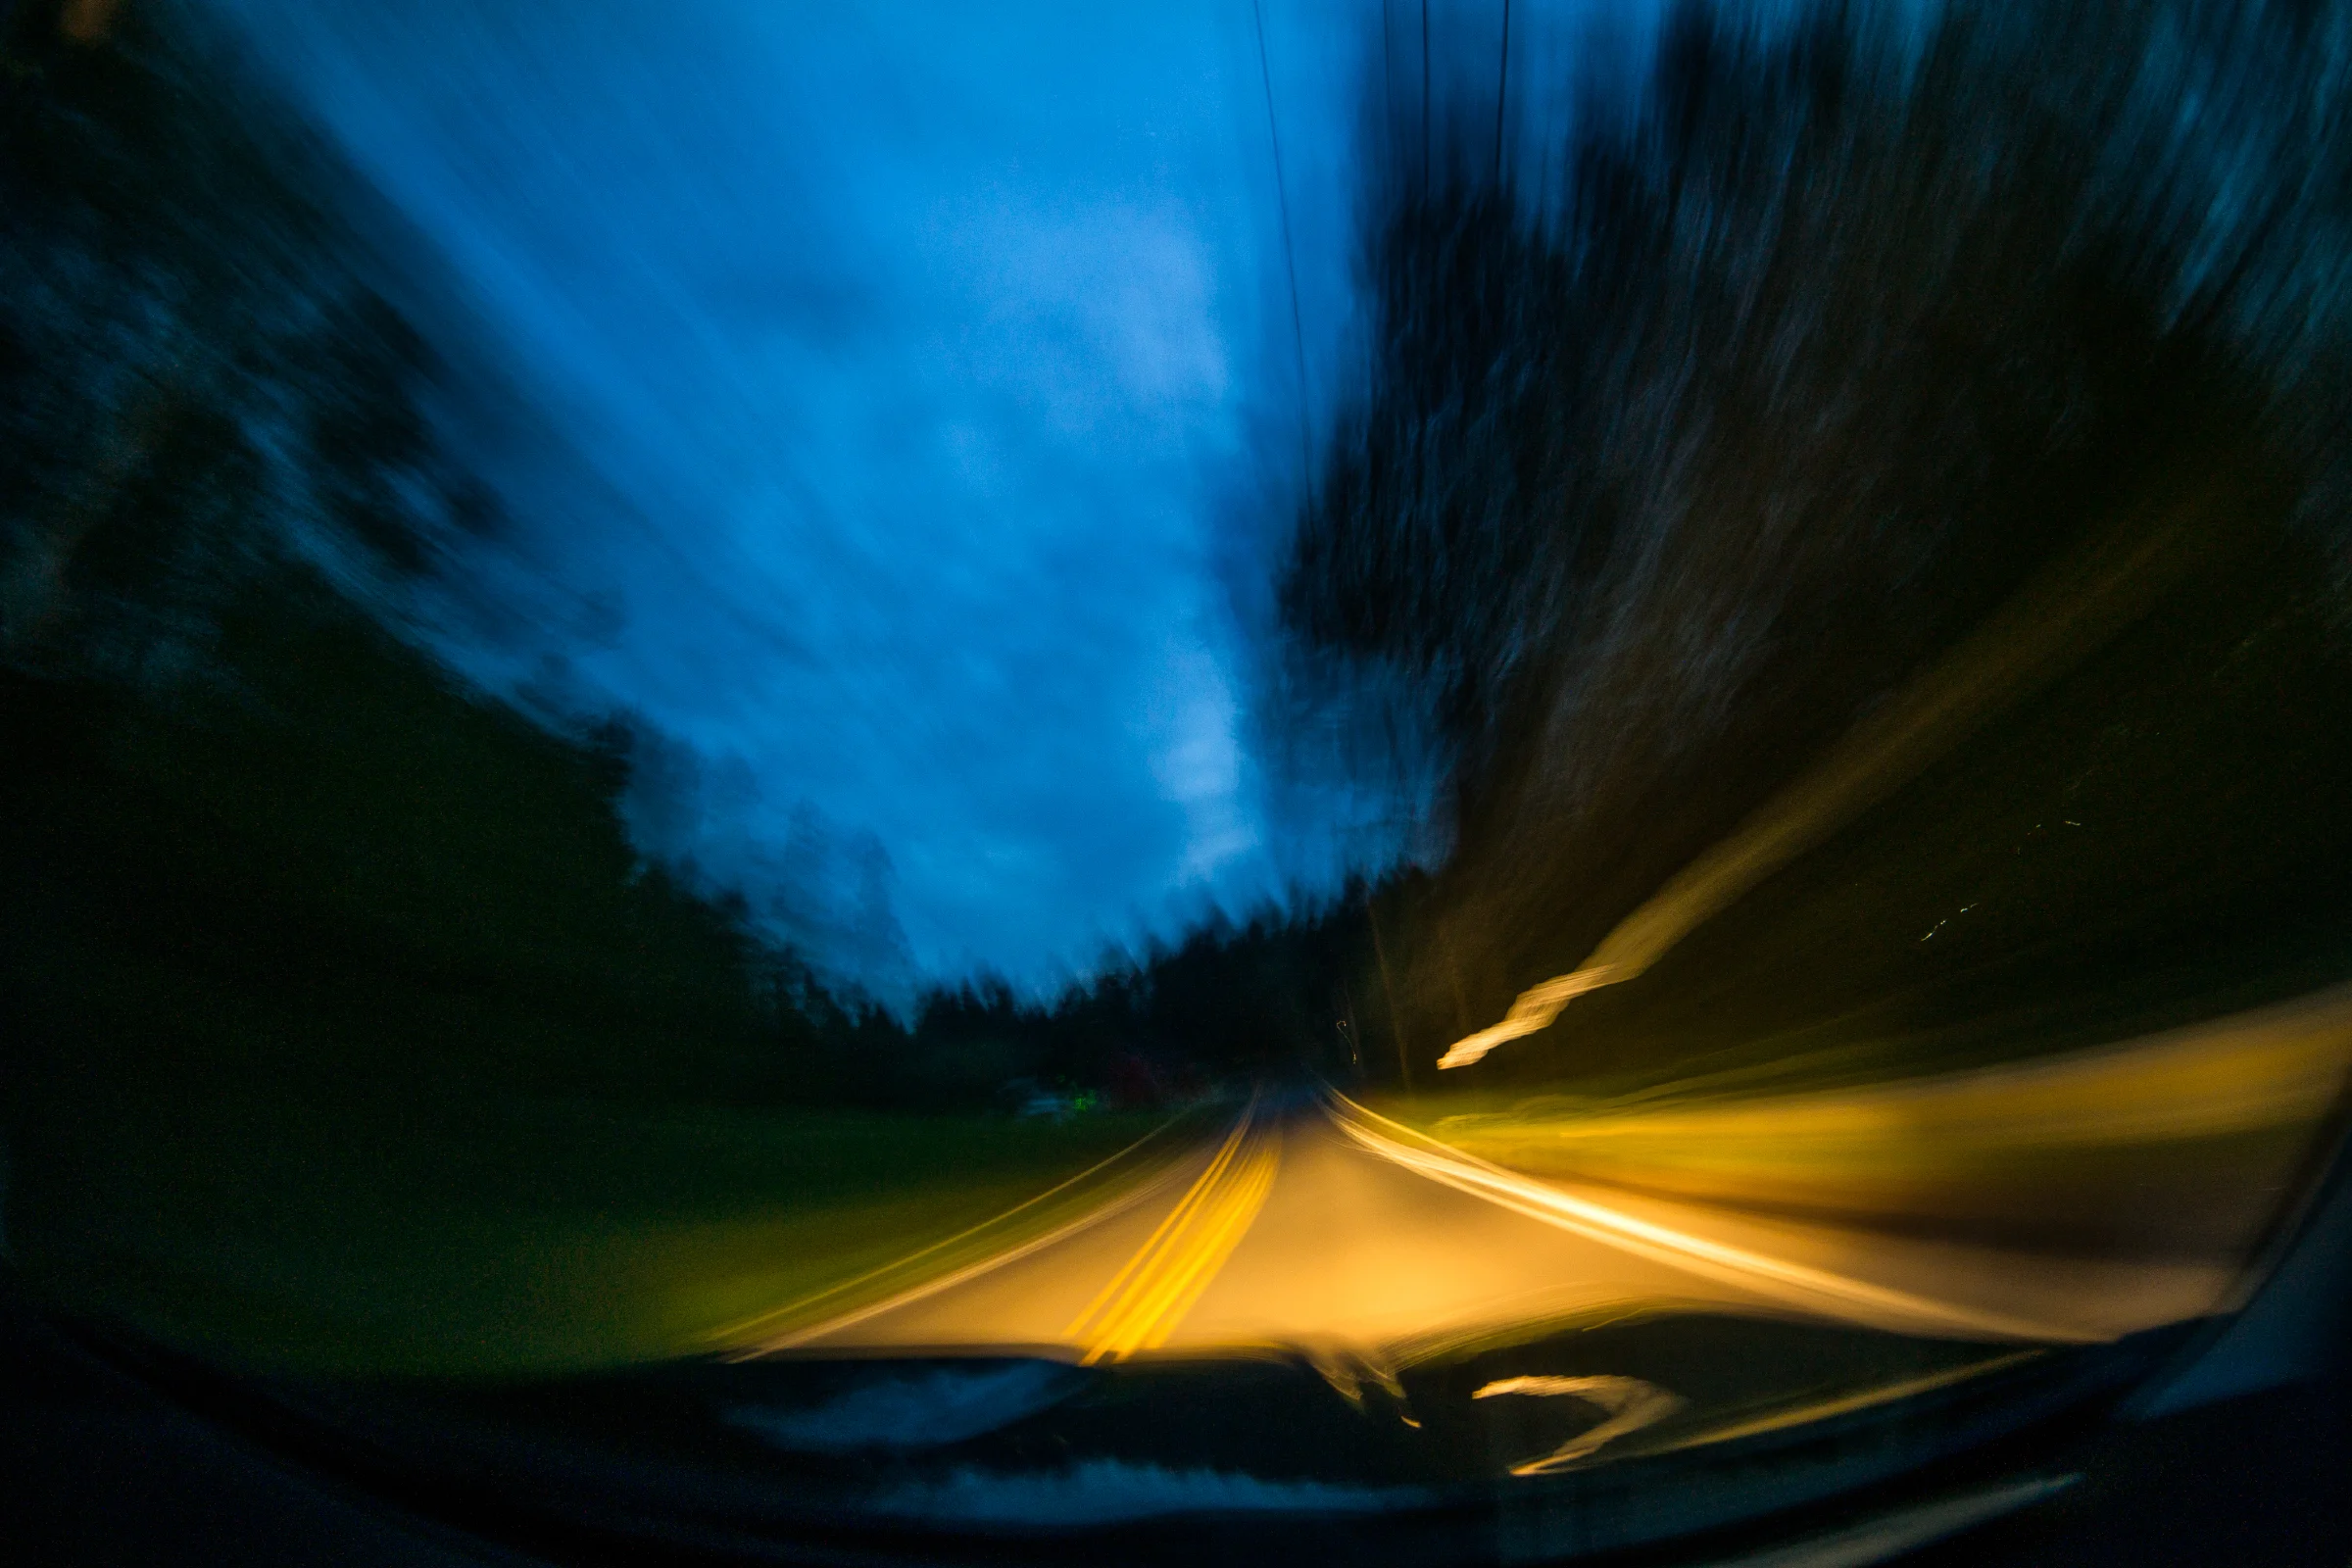
    Wasim_Muklashy_Photography_Trails_SAM_2466_2400sfw

    So if you’ve logged on lately, you might have noticed, but I wanted to wait until everything was ported over from one to the other before introducing my new website. I’ve been working hard the past several weeks getting this sucker in shape and I think it’s ready! You’ll notice that the homepage no longer begins with my portfolio, but rather with the blogroll, so that way you’ll see the latest, and freshest content whenever you log on. Additionally, I’ve created two categories for the blog posts. One, ‘Journeys,’ will continue to focus on my personal photographic journeys and adventures that you’ve grown used to, the other, ‘Lessons’ will focus on tips and tricks and lessons learned through my photographic (hopefully) growth.

    I’ve been getting quite a few questions about photography, so figured this would be a good time to start answering some of them and perhaps providing a bit of insight into my process. However, please take everything with a grain of salt. I am not an expert on anything and would never claim to be. I’m just a photographer and aspiring artist with a passion to keep learning his craft, and hopefully, as I learn, I’ll have some information to share that might be of value to some of you out there. With that being said, if you have any photography related questions, please feel free to send them to me through the contact form or the comments below and I’ll do my best to answer them or find someone who has an answer for you!

    Additionally, I’ve revamped the portfolio a bit. Added a few new images to the ‘Places’ section and added ‘Periphery,’ where I’ll be regularly posting some of my favorite images from out and about that might not fit into the other categories. They’ll be a mix of images from all my sources – from professional gigs all the way to my Instagram feed – and there’s no rhyme or reason to how they’re displayed. Whenever you refresh, it’ll look different. This is the section that will be filled with random photography psychotica! Sometimes it’s how I see the world, sometimes it’s how I’d like to see it. The filters, fun, nonsensical, moody and abstract aspects of what goes on up in this noggin’ need a home too!

    Thank you again so much to everyone that has followed along so far. All your words of encouragement and comments and laughs and votes of confidence are behind the forces that are keeping me going on this camera(s)-laden journey. This has saved my sanity and given me a place to focus my energy on through a rough patch in my life, especially over the past several years, so please know that I’m so insanely humbled that you’ve joined me thus far. I hope that you enjoy the next part of this adventure at least a fraction of how much I’ll enjoy presenting it to you.

    Also, please keep me in the loop on what’s going on in your worlds as well. I’m genuinely interested in growing together however we can. After all, isn’t sharing what art is all about?

    To find me in other places, click the links below! I’ll find you back…

    Google+

    Instagram

    Facebook

    Twitter

    Ok then – Let’s do this thing!