Tag: property photography

  • 5 Tips For Shooting Commercial Real Estate Photography

    5 Tips For Shooting Commercial Real Estate Photography

    Wasim-Muklashy-Real-Estate-Photography_San-Diego-Los-Angeles-Ventura_Pro-Property-Photos_011

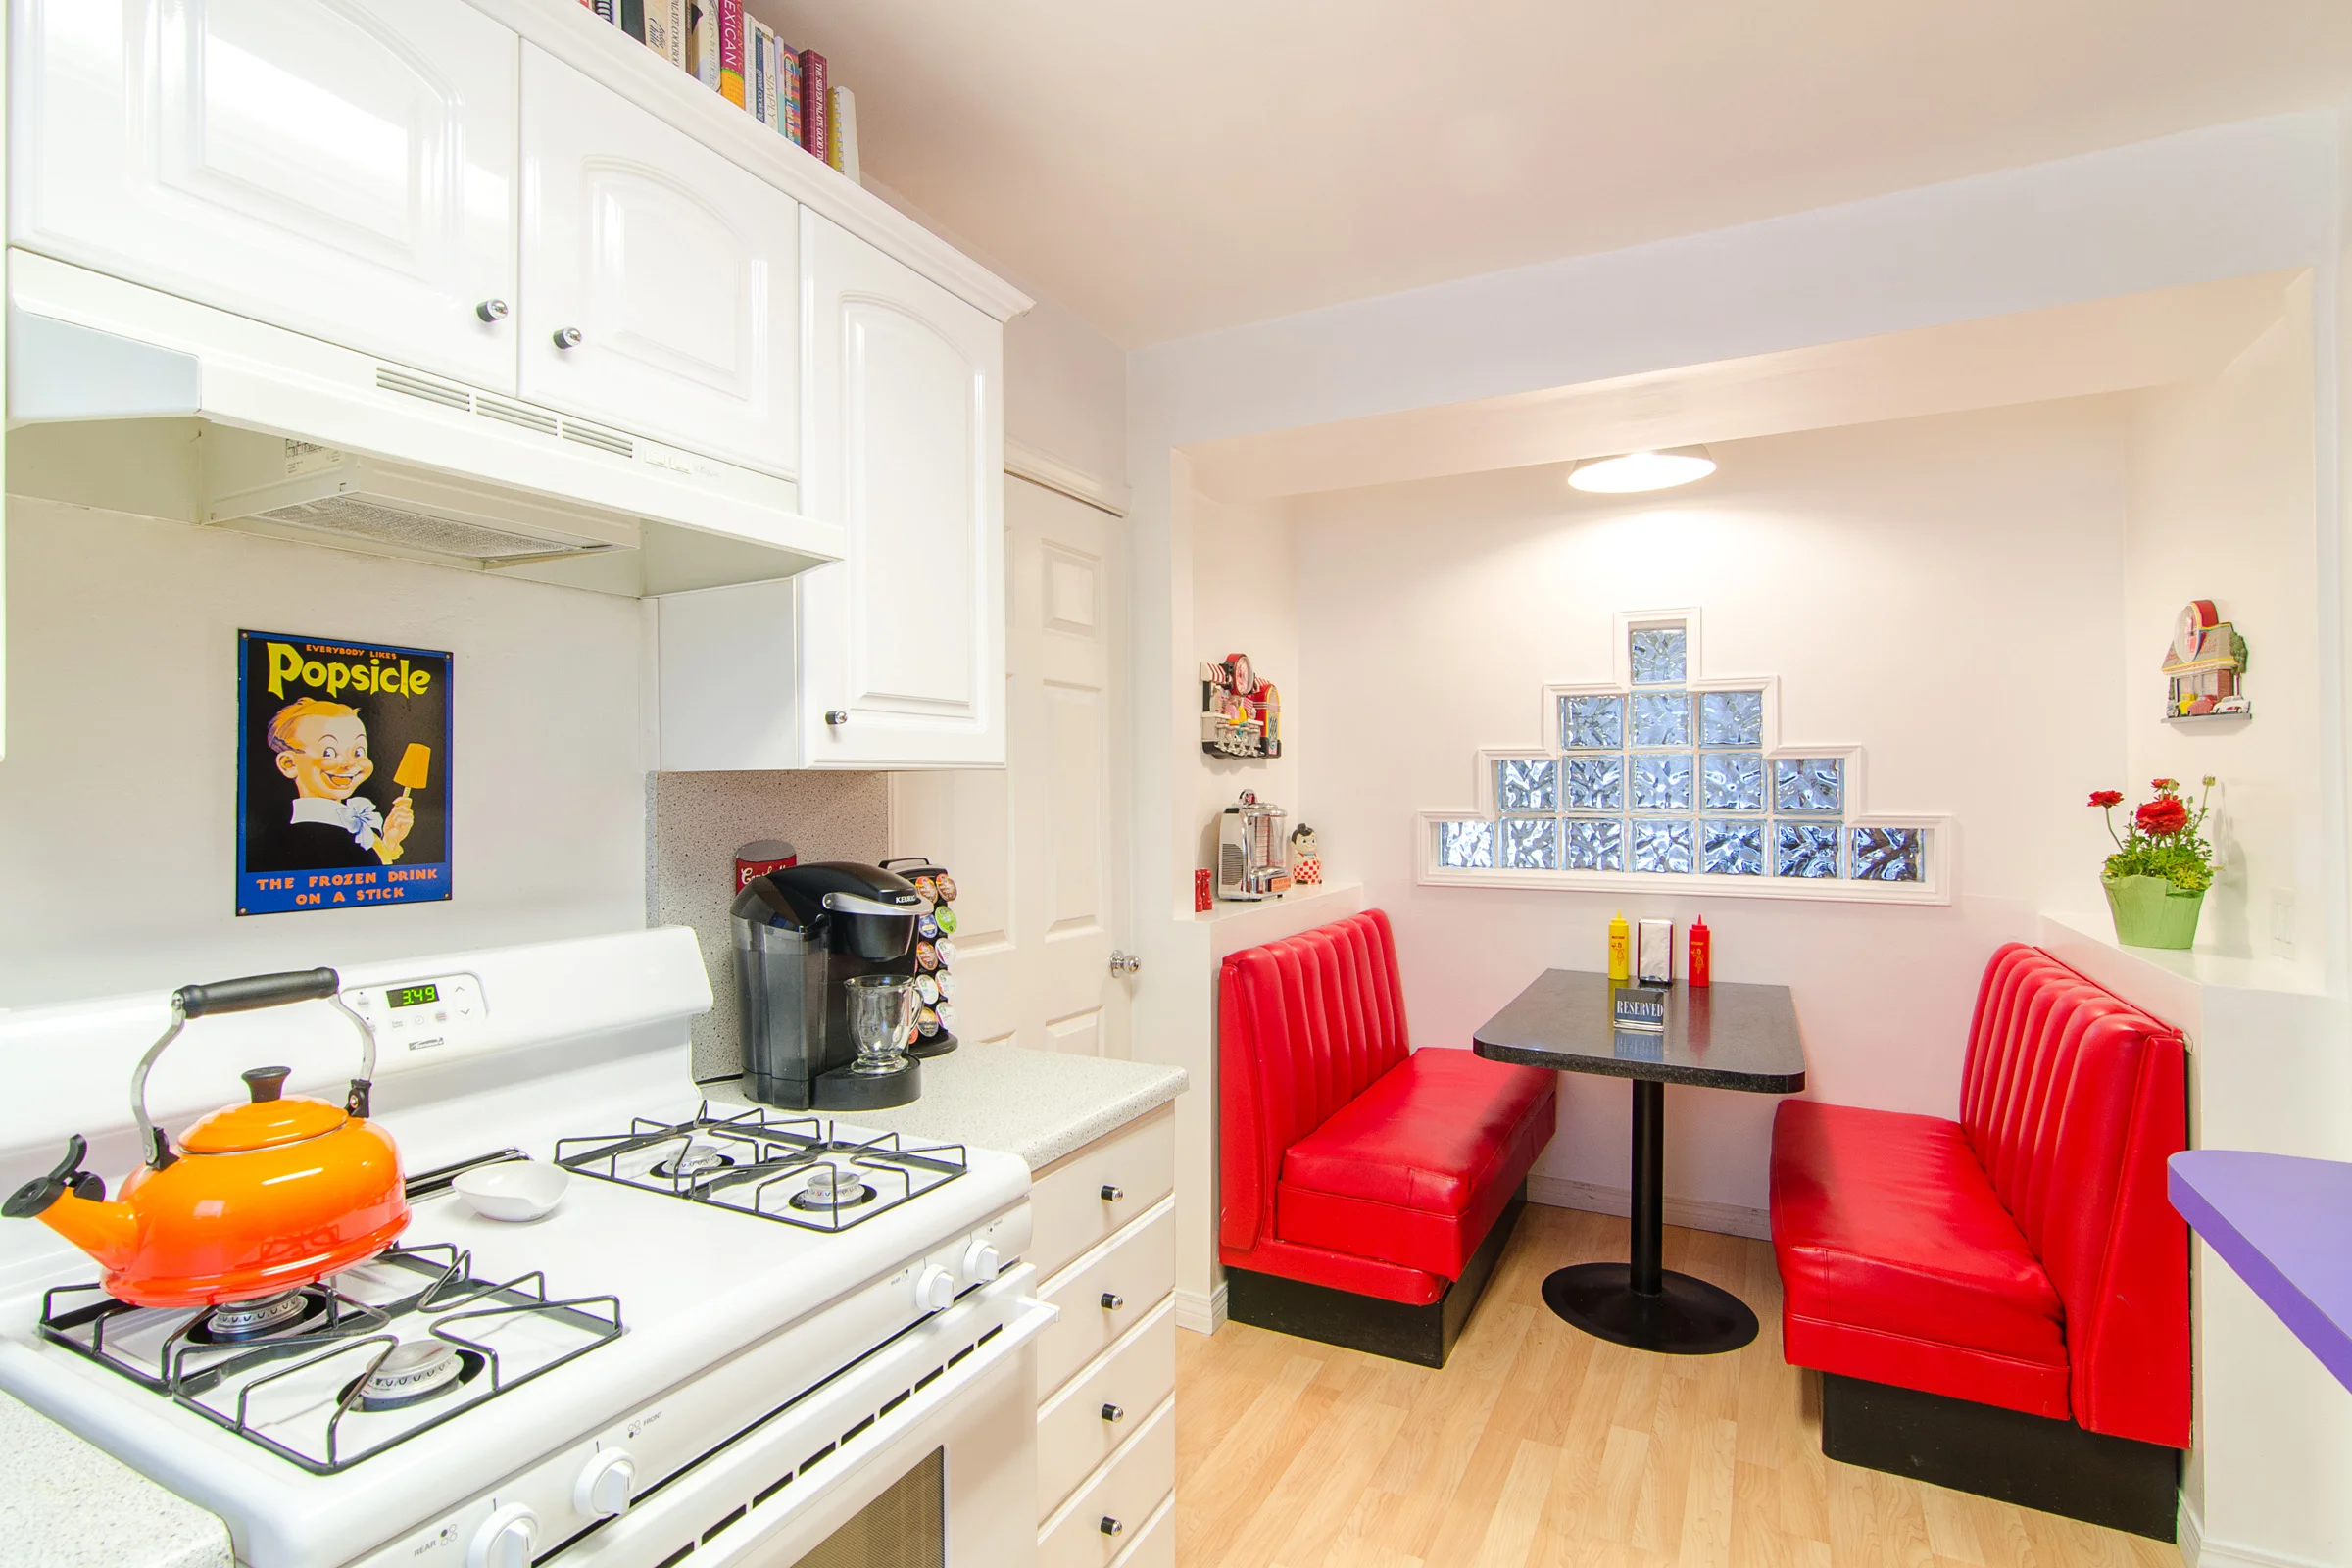
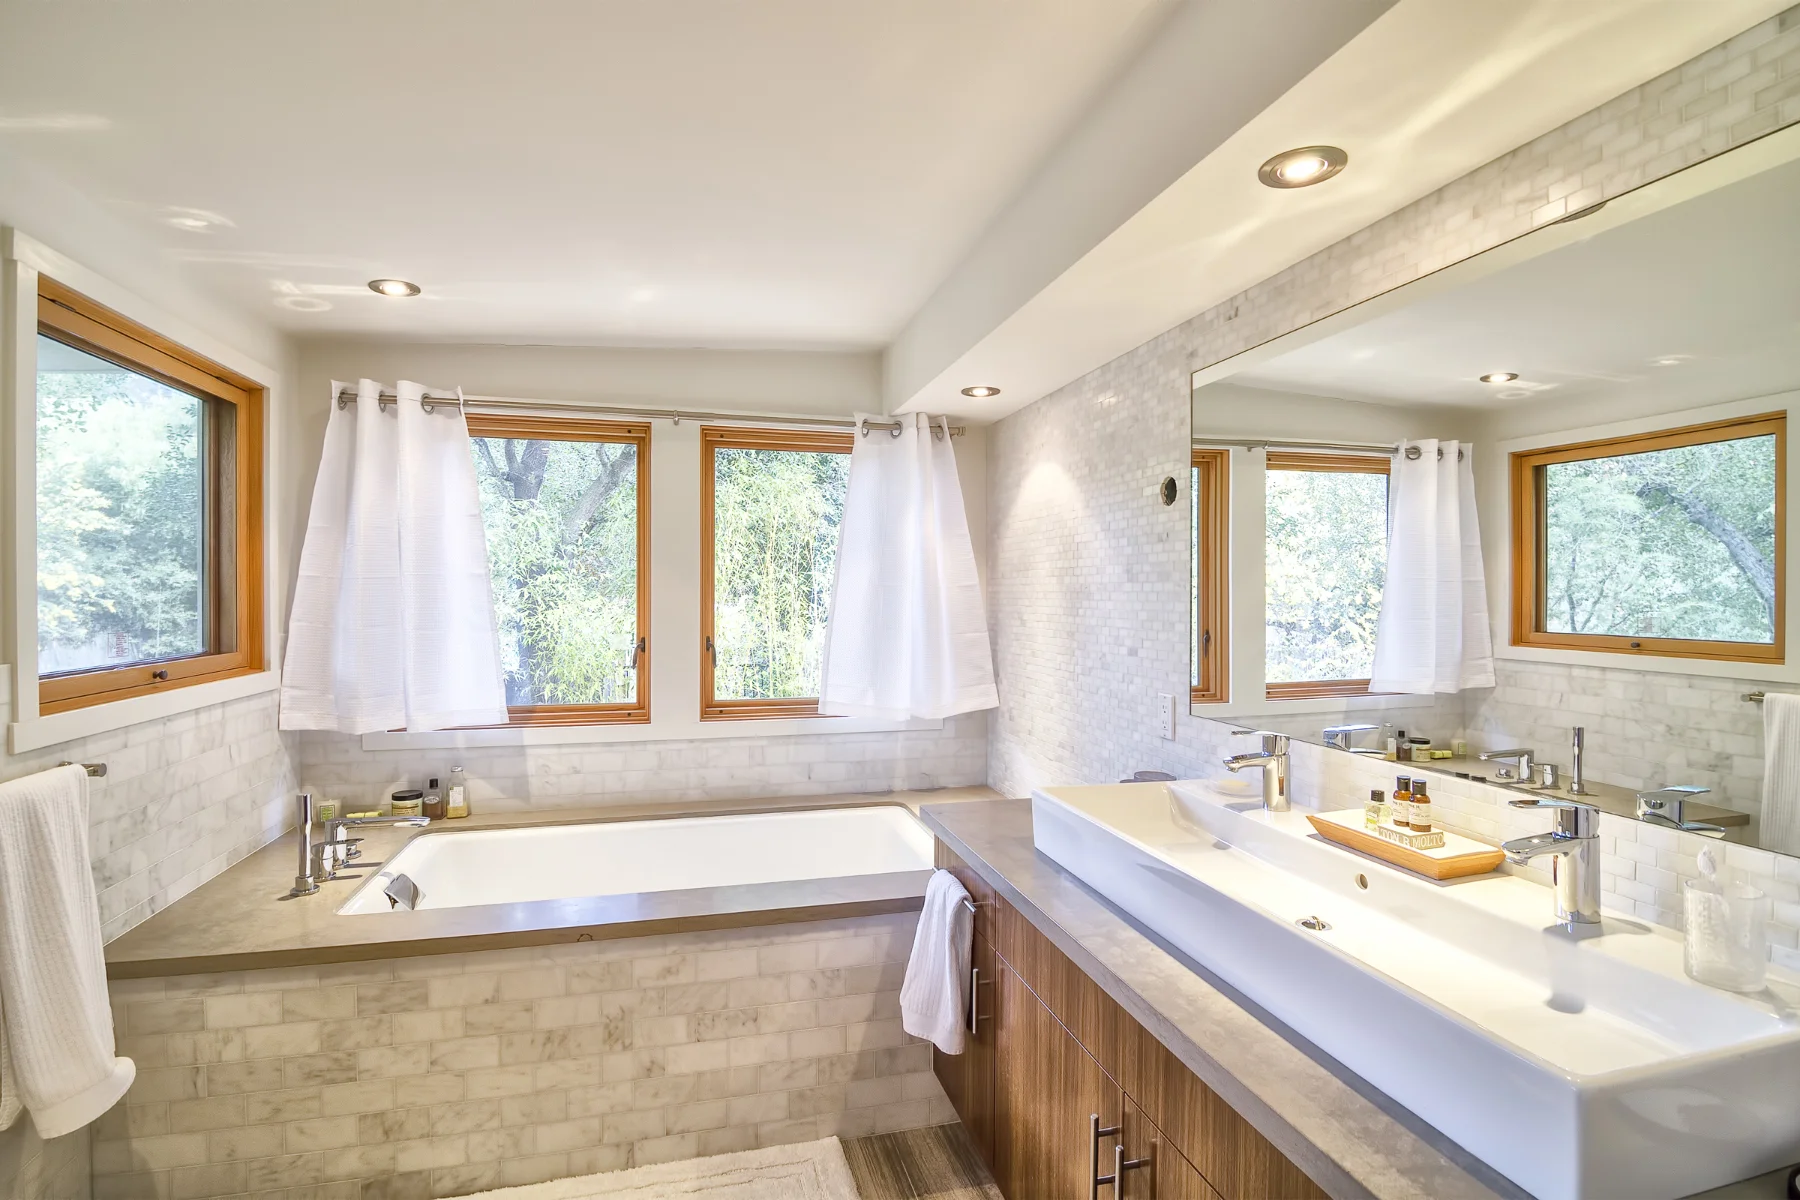
    While there are definite similarities in regards to methods and approach when photographing any sort of real estate, there are also important differences to keep in mind, especially when photographing commercial real estate and properties. In the residential real estate realm, they tend to use the images for a few weeks or maybe months until the space is sold, but in commercial real estate, these images are used to sell the business for perhaps years and years, and they might live on a website for just as long, offering the potential client or customer a visual representation of the space.

    While that’s a huge responsibility for the photographer to capture that in a way that the business owner is proud of, that doesn’t necessarily mean it needs to be any more difficult. Like anything else, if you spend adequate time getting a feel for the space and the business and do your homework, you’ll naturally start to gravitate towards the best ways to represent them in photographs that’ll make both you and the business owner proud. Here are a few tips for commercial real estate photography that I’ve learned on a few recent commercial shoots:

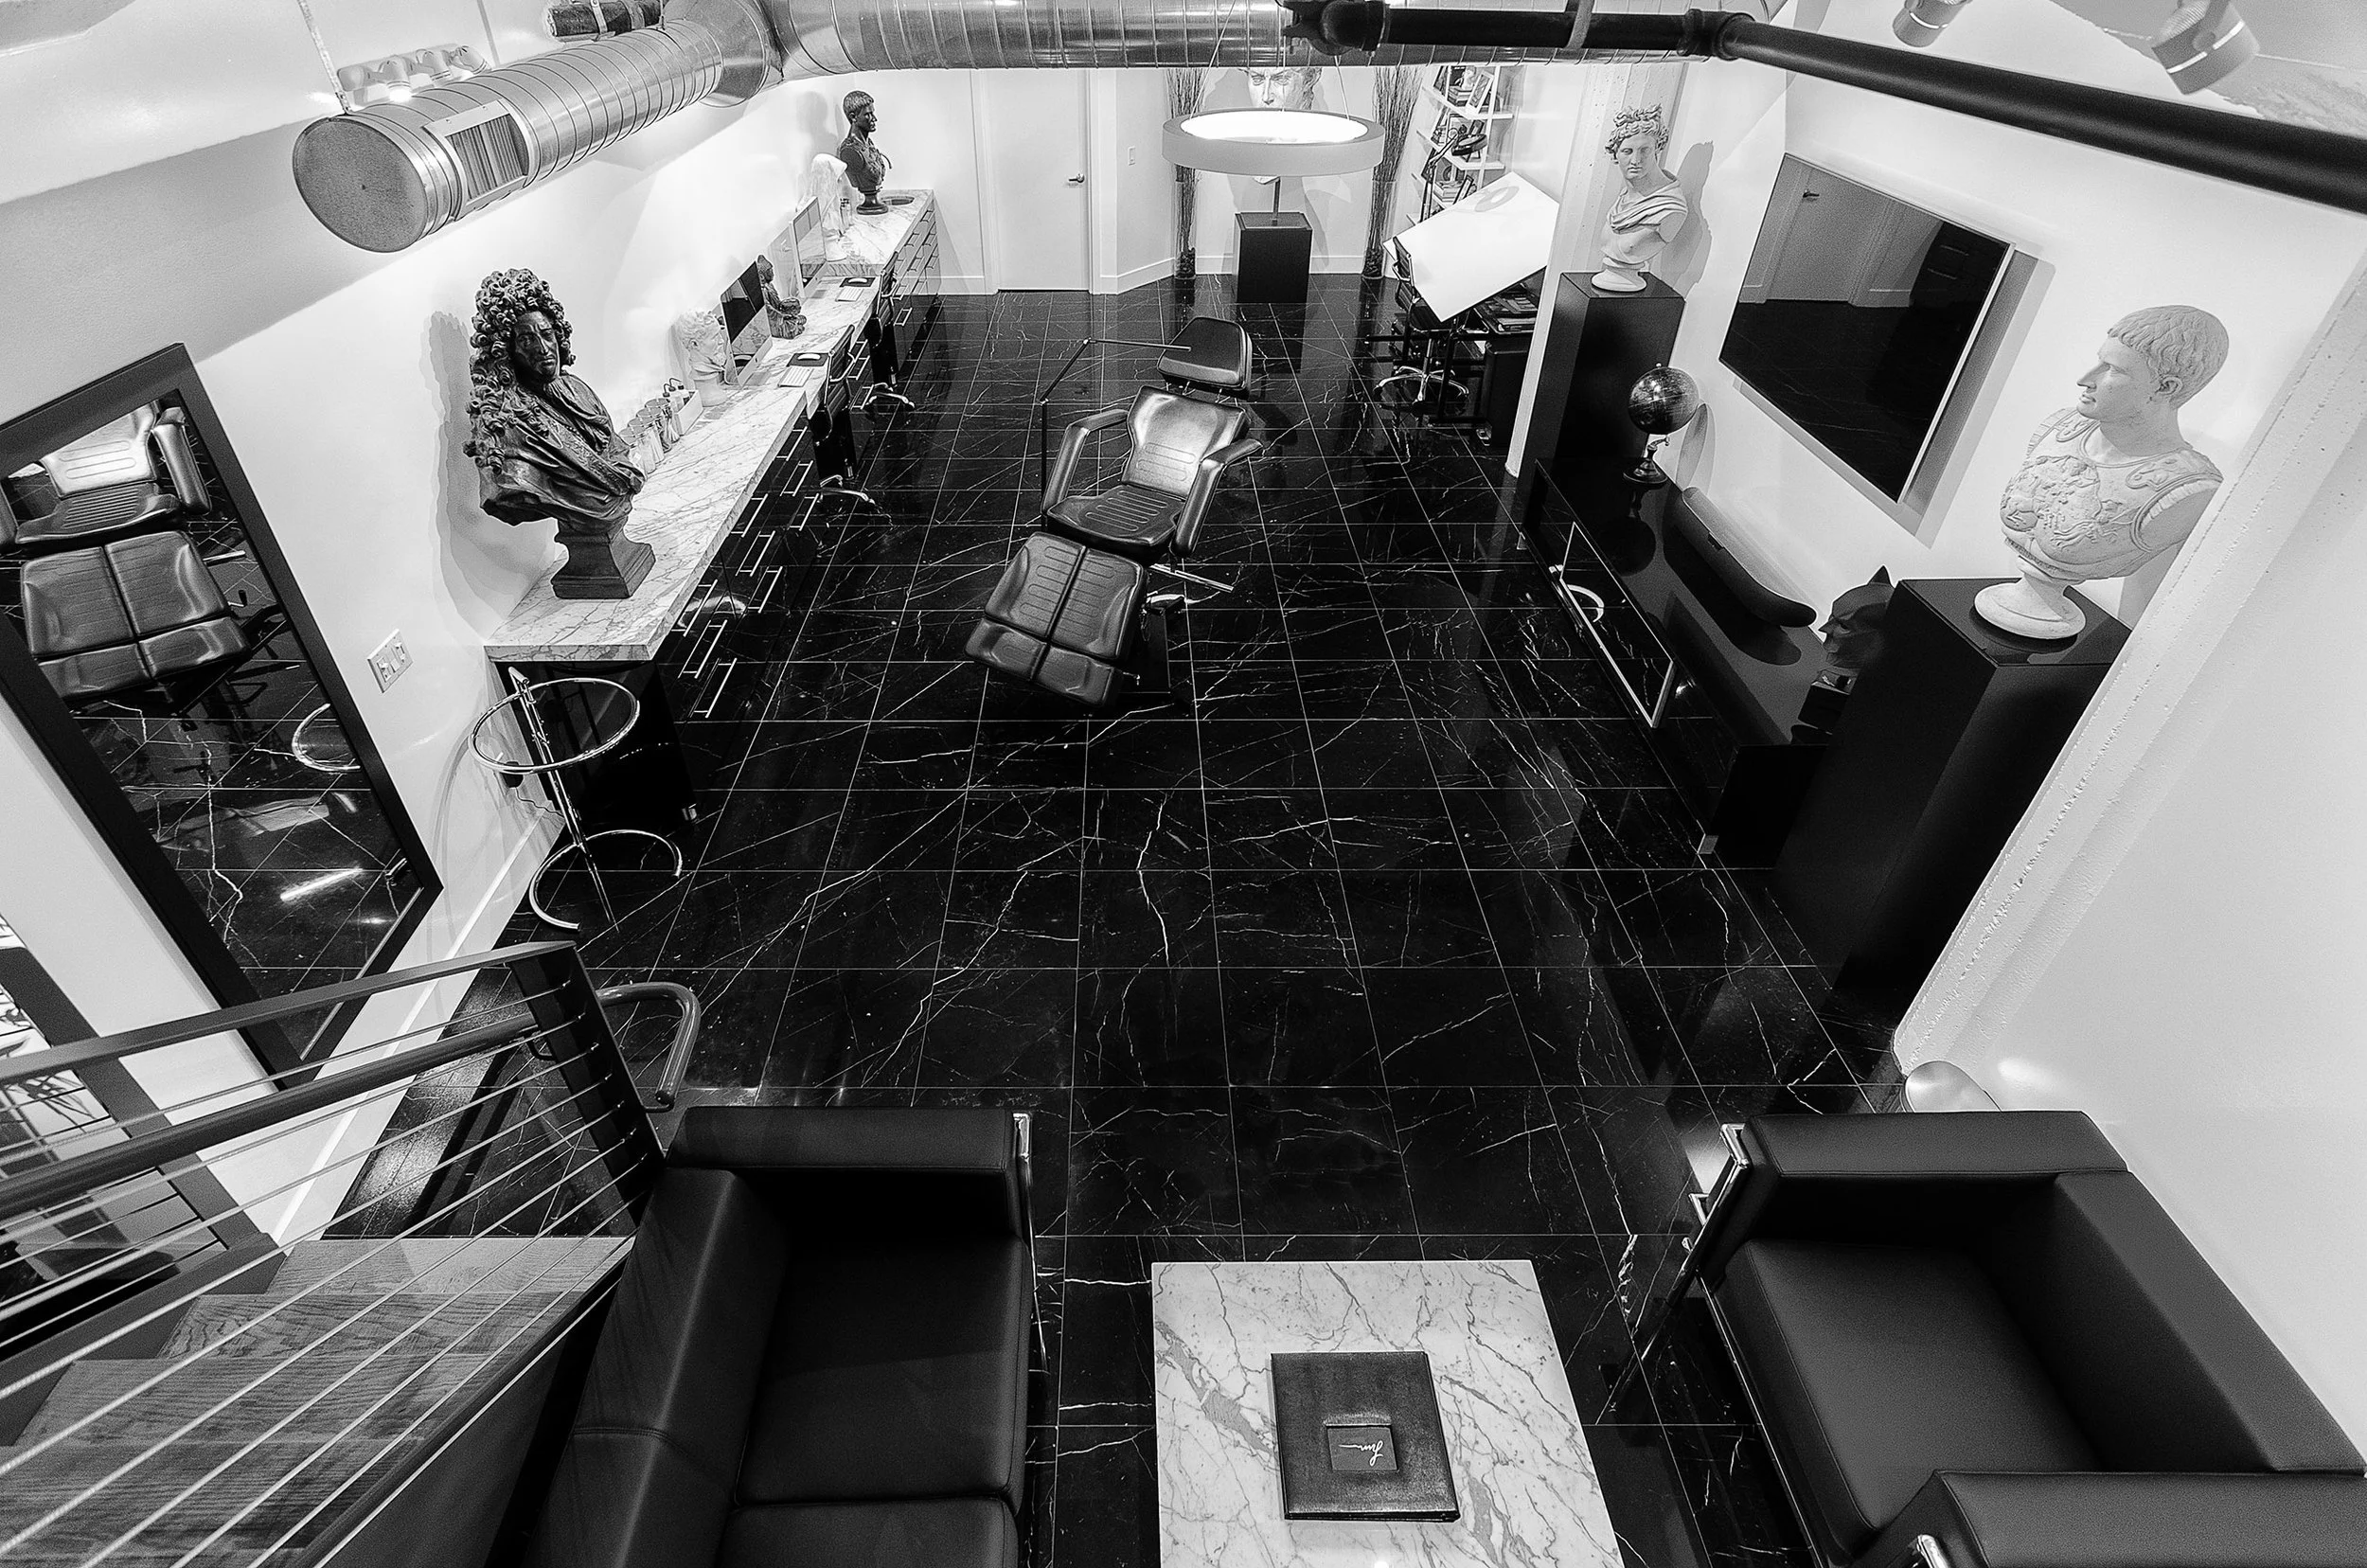
    1. Scout – Make sure to scout the space at least a few days prior to shooting, or if you’re unable to make it yourself due to location (there should be no other excuse really), have someone take simple shots from different corners into the space so you get a sense of the space and get an orientation of the space, which direction are the windows facing, when will the sun be where, are there obstructions to natural light, are there reflective surfaces (if so, check out my post How To Minimize Reflections In Interior Photography). If you can make it to scout the location yourself, which is preferable, shoot a few shots from different angles. Typically the corners of the room, even just on your phone, that you can take with you and marinate on for a few days. This time will give you a chance to formulate a mental shot list and idea of how to and what you’ll need to execute a successful shoot without the day-of stresses of getting all the shots you need and figuring it all out on the fly. This will also give you some time to play with ideas with the client, helping to build a rapport and a trust between you.
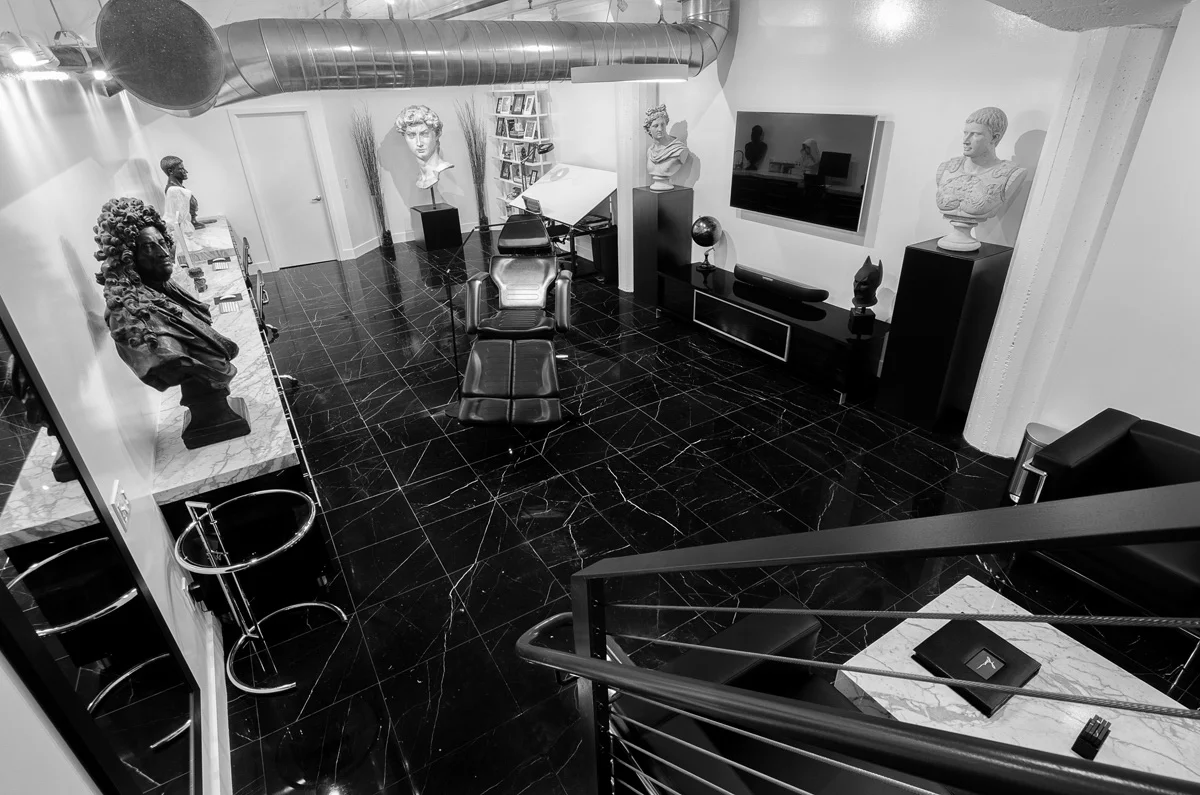
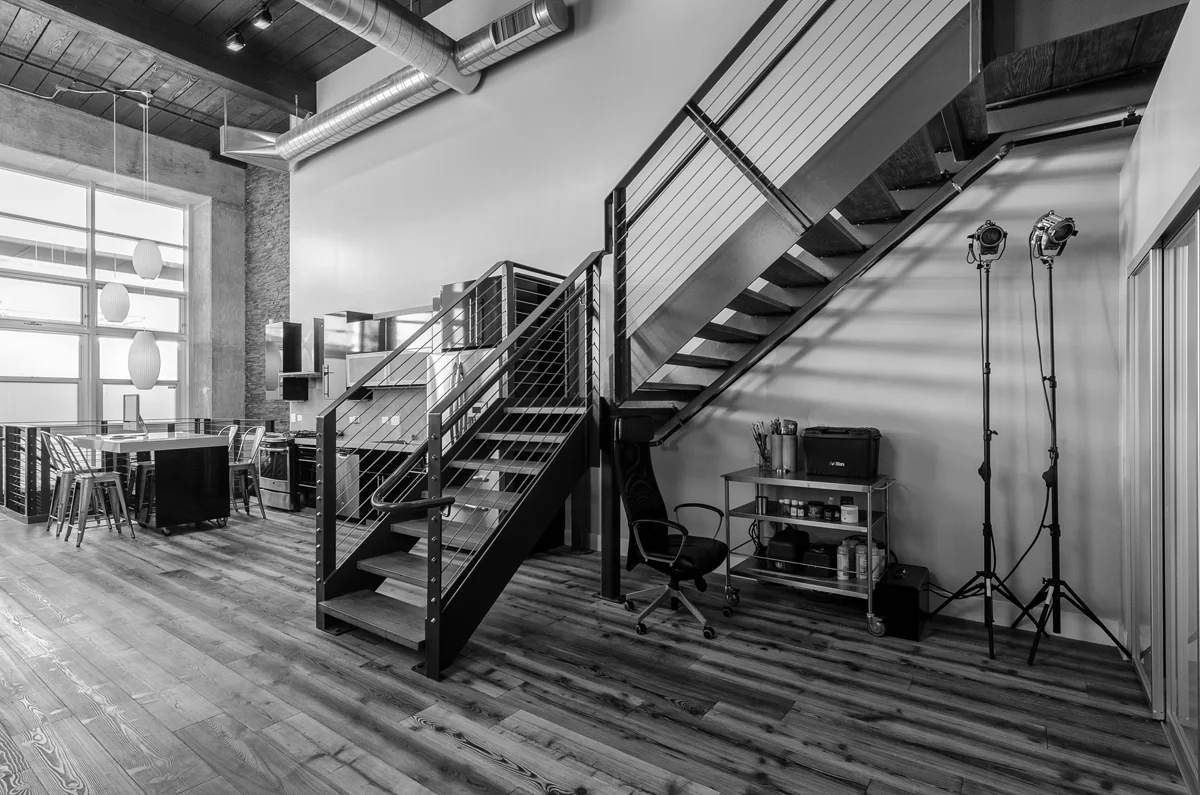
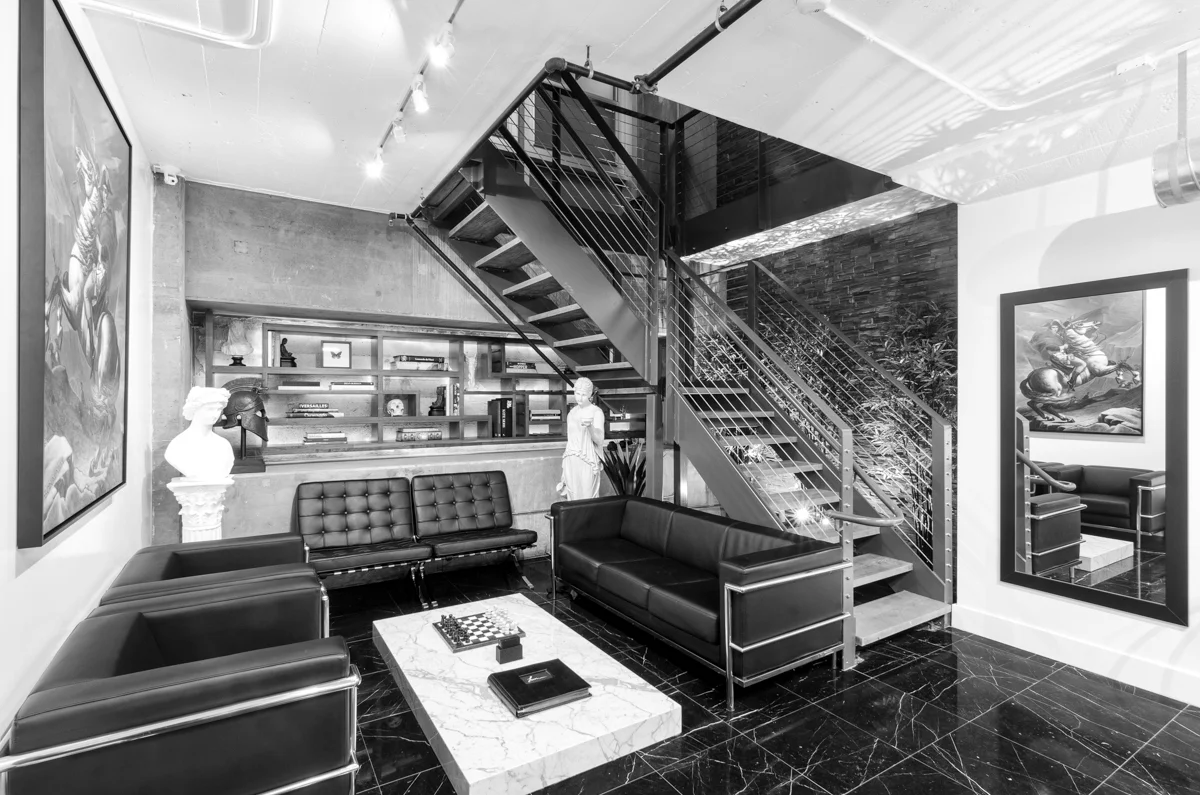
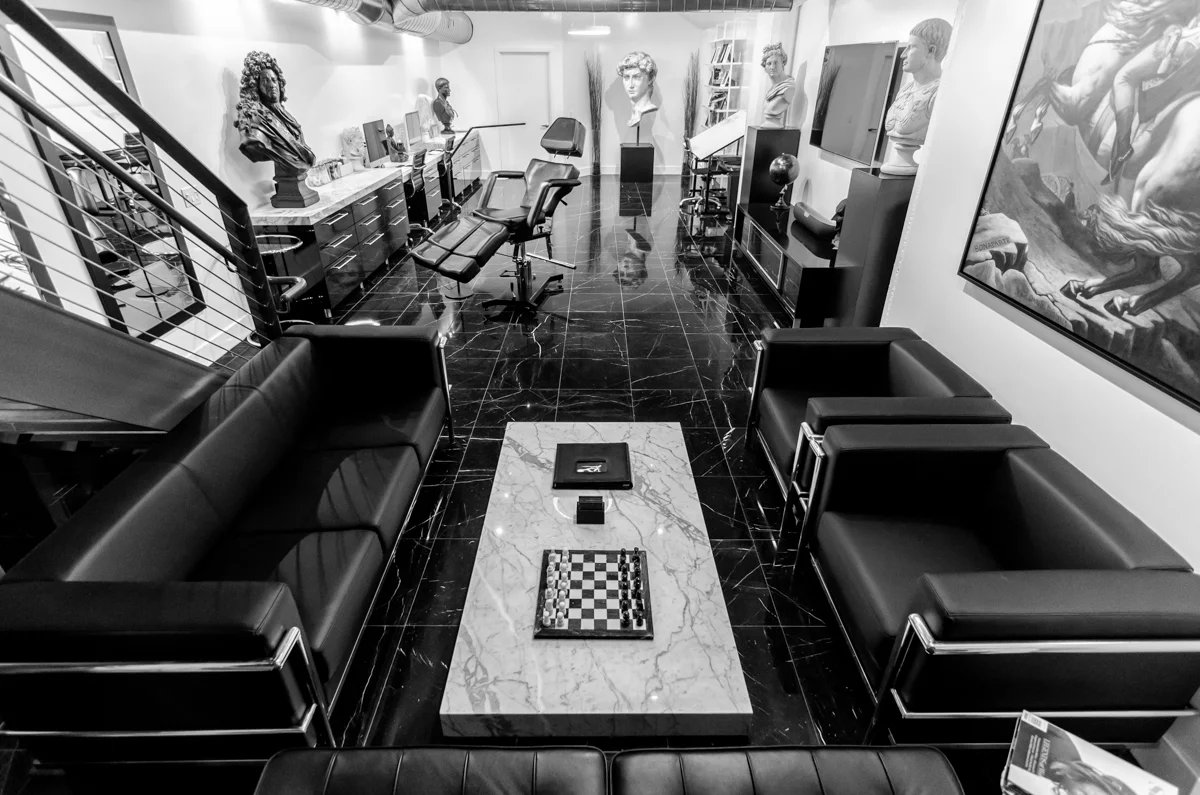
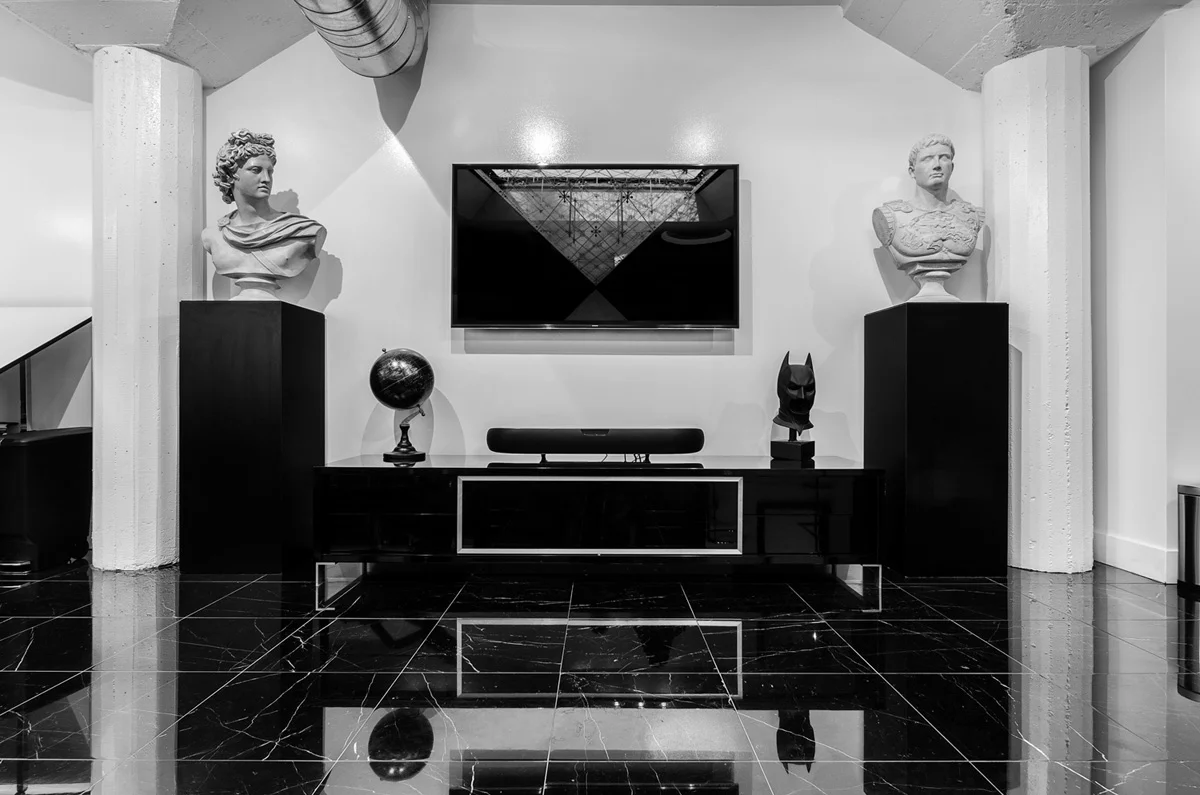
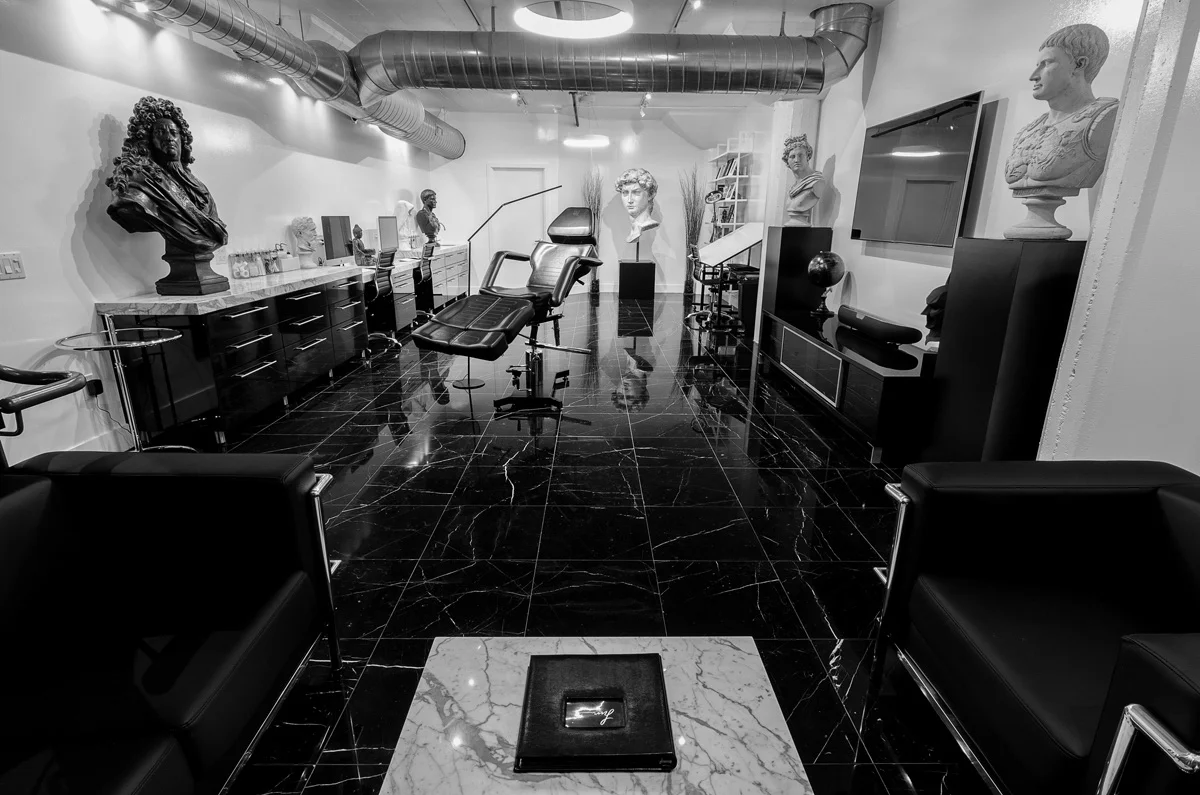
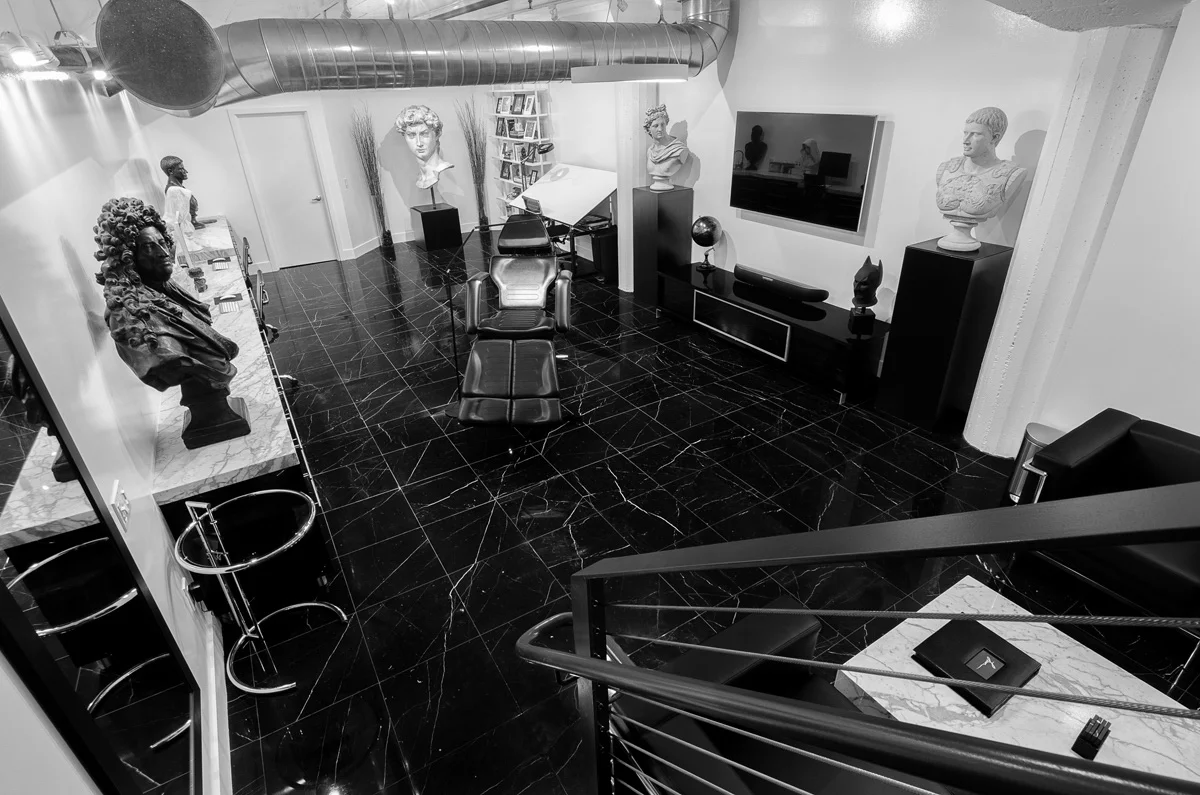
    Tattoo Artist Jun Cha's Monarc Studio.

    2. Communicate – Make sure to talk to the client at length about what they feel are the strengths of the space and what they like and what they’d like to convey. Ask as many questions as you can. This will help break into the emotional connection to the space and it will give you a good idea of what space to be in as you map out how to approach it. Unlike real estate, where the agent is not particularly intimately connected to the property, most times, when working commercial real estate spaces, you’re working with the owner or manager of the business, and, for the most part, they are extremely emotionally tied to their space – they know the quirks, the strengths, the weaknesses. Play off of that. If you listen closely enough, they’ll tell you EXACTLY what shots to get that will ensure their satisfaction with your work. And of course you’ll come up with several of your own ideas, and throw those in there. Sometimes it’s neat to see their reaction to a shot, a view, an angle that they themselves perhaps have never paid attention to.

    3. Team Up – Encourage them to provide ideas and input as you move thru the space on shoot day. It will help make them feel like a pivotal part of the project, hopefully setting them up to be as emotionally attached to those images as they were when speaking about them in tip 2.
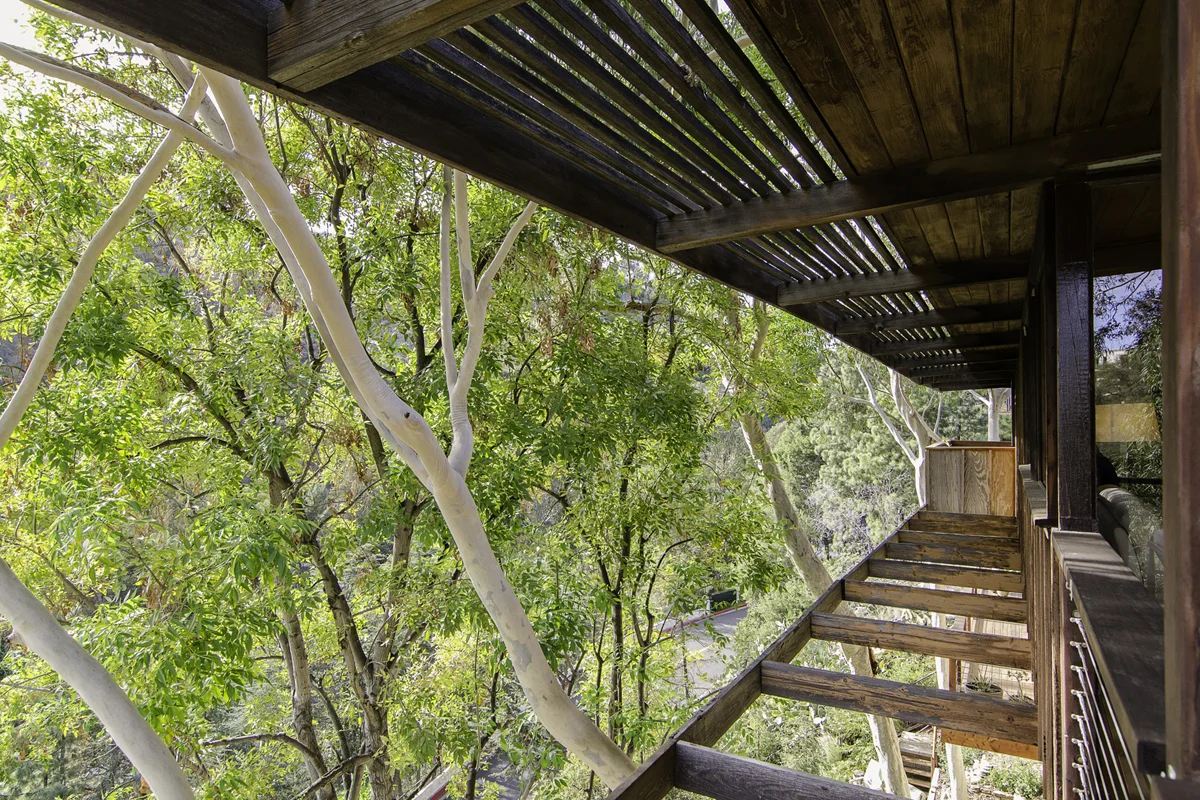
    Wasim-Muklashy-Real-Estate-Photography_San-Diego-Los-Angeles-Ventura_Pro-Property-Photos_114

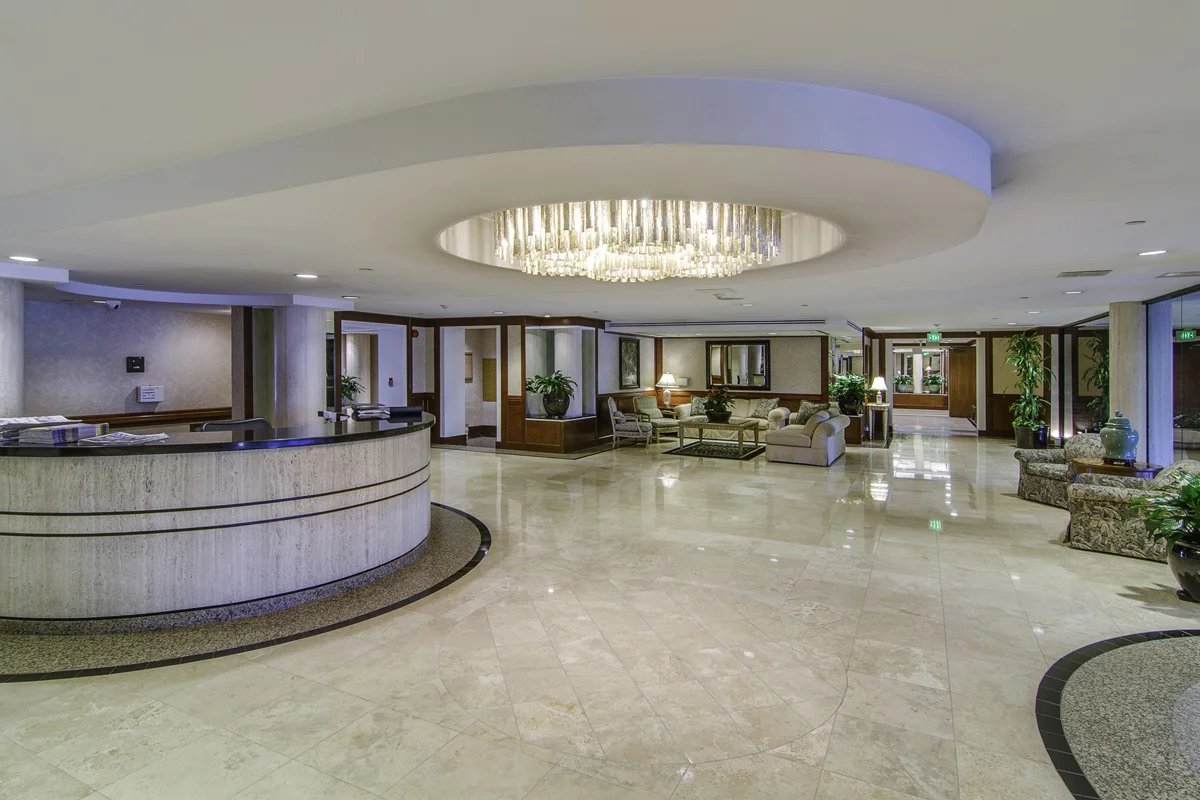
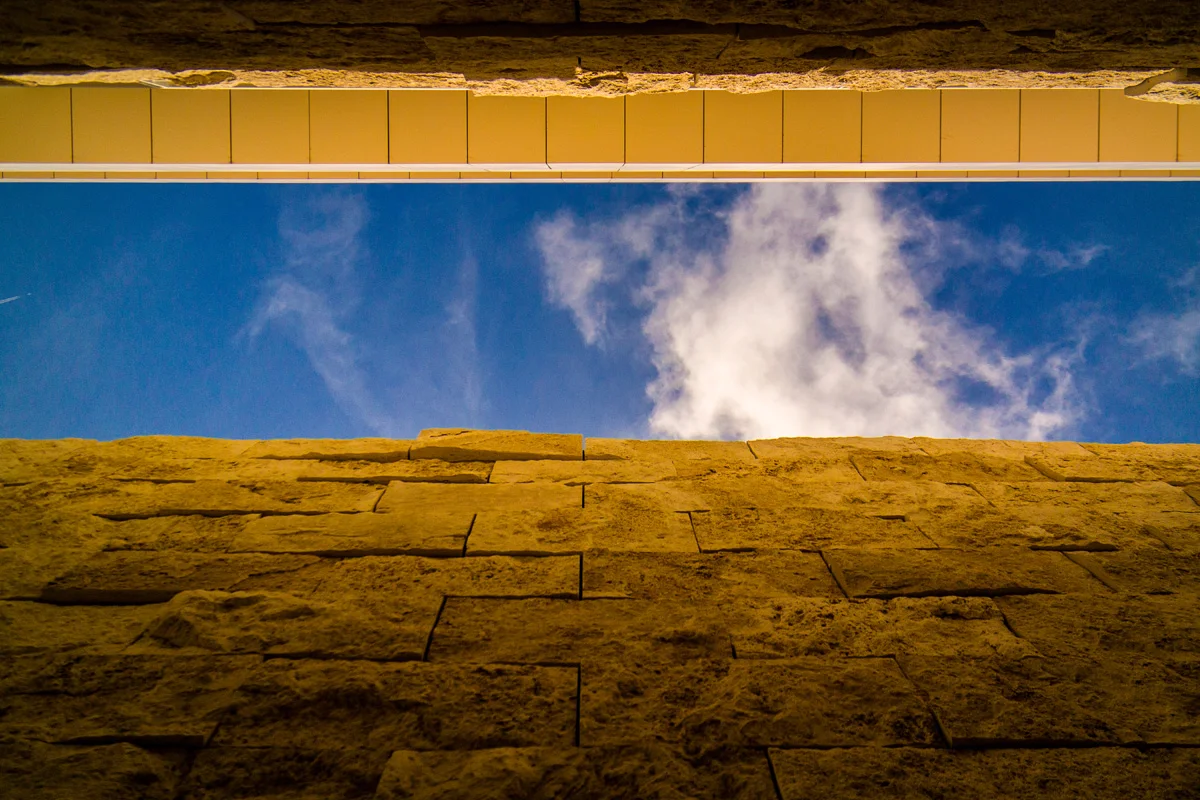
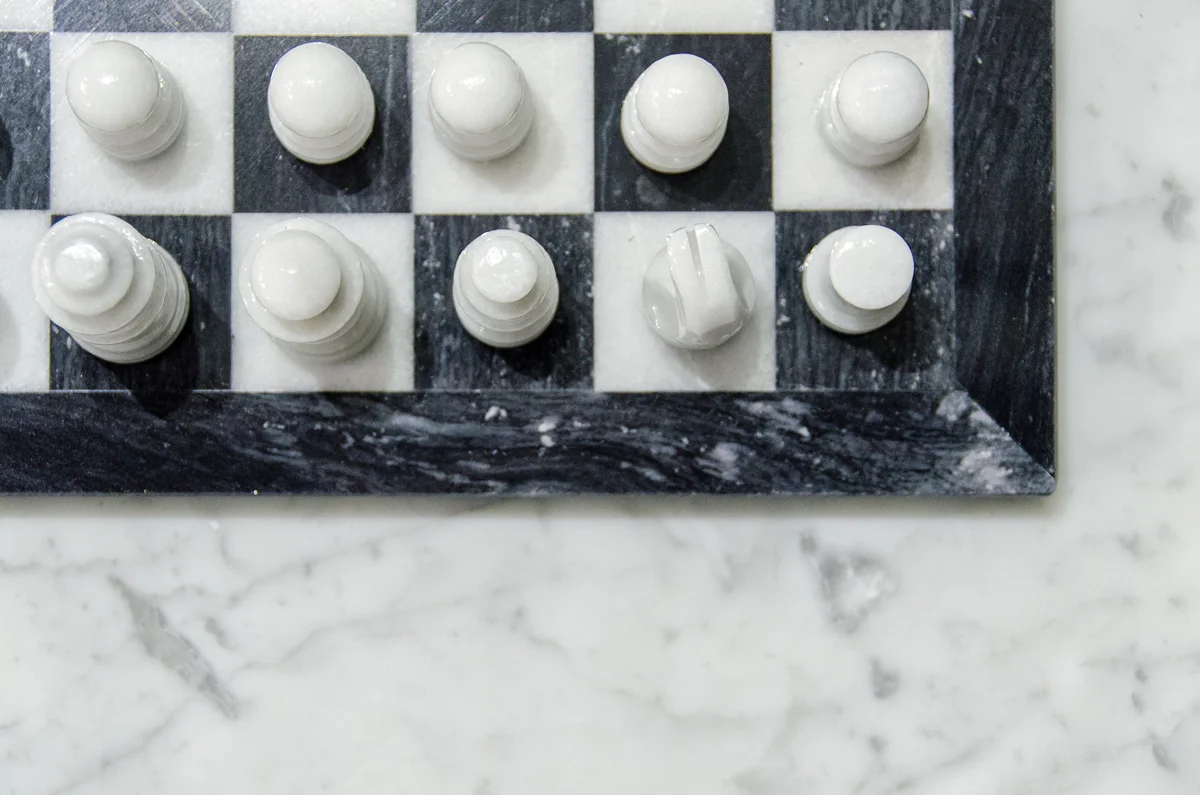
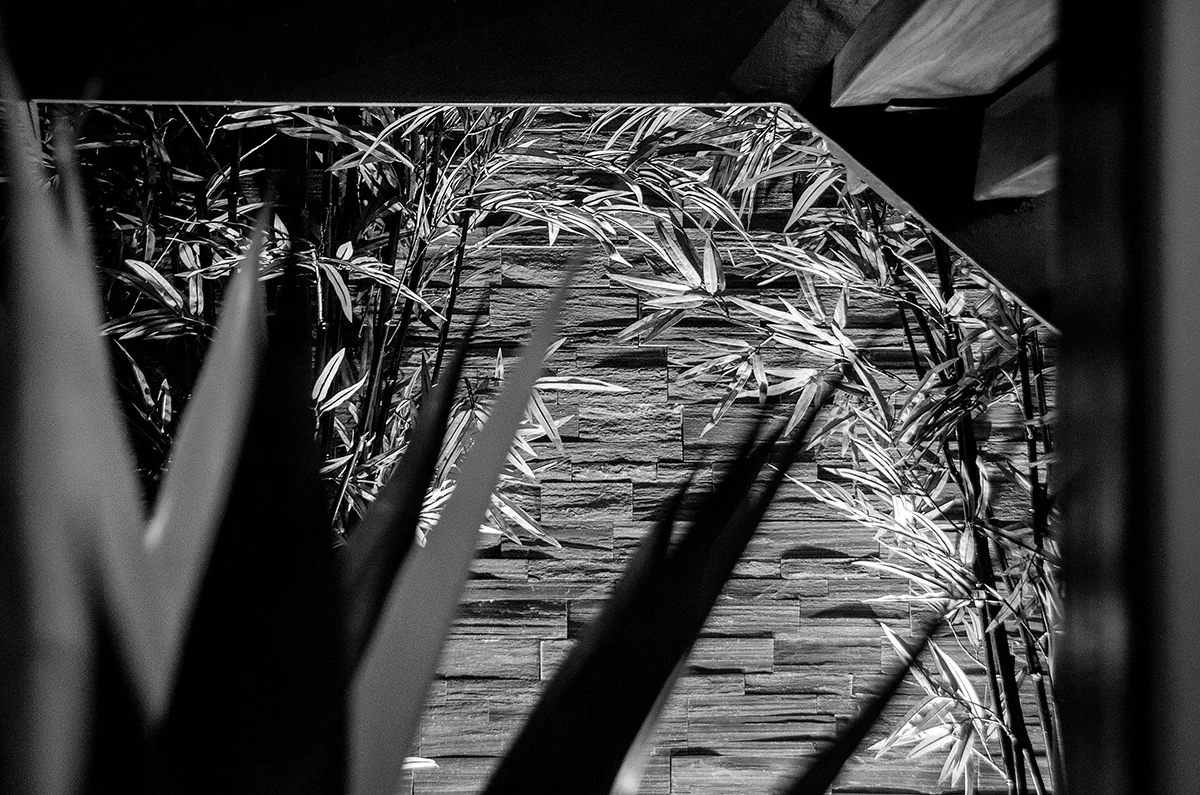
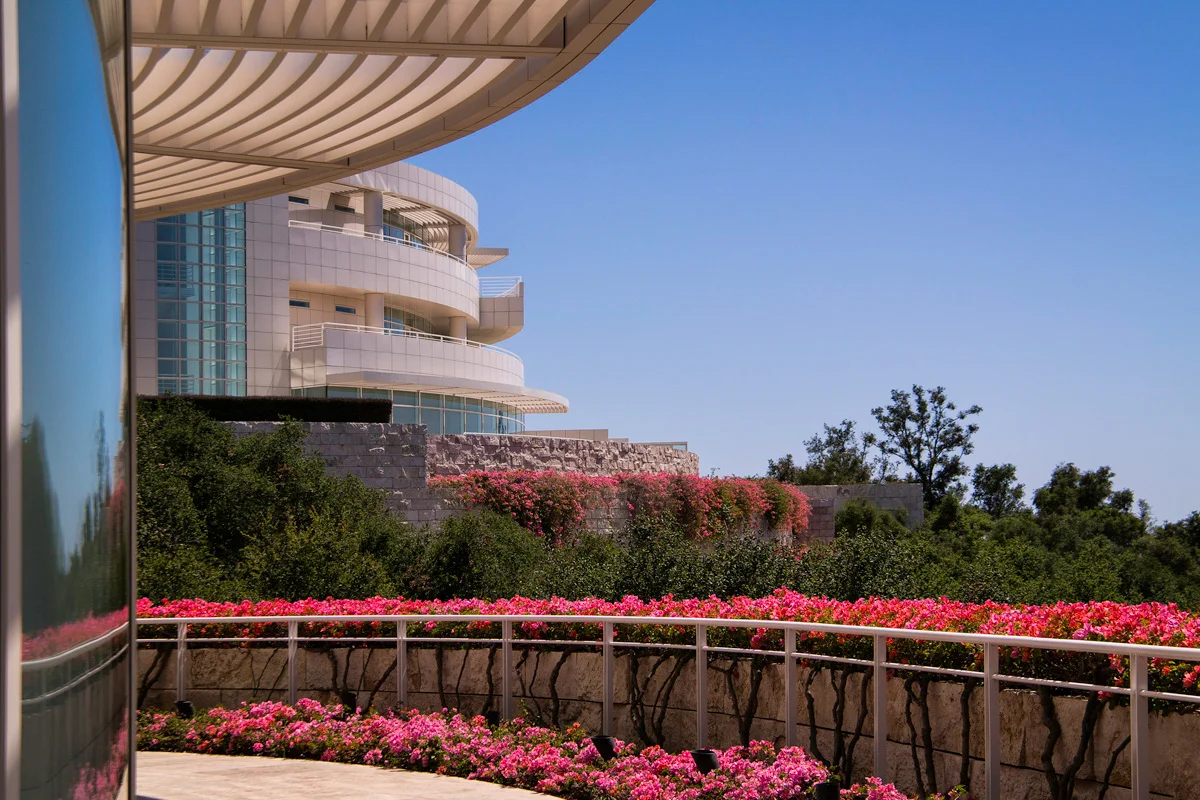
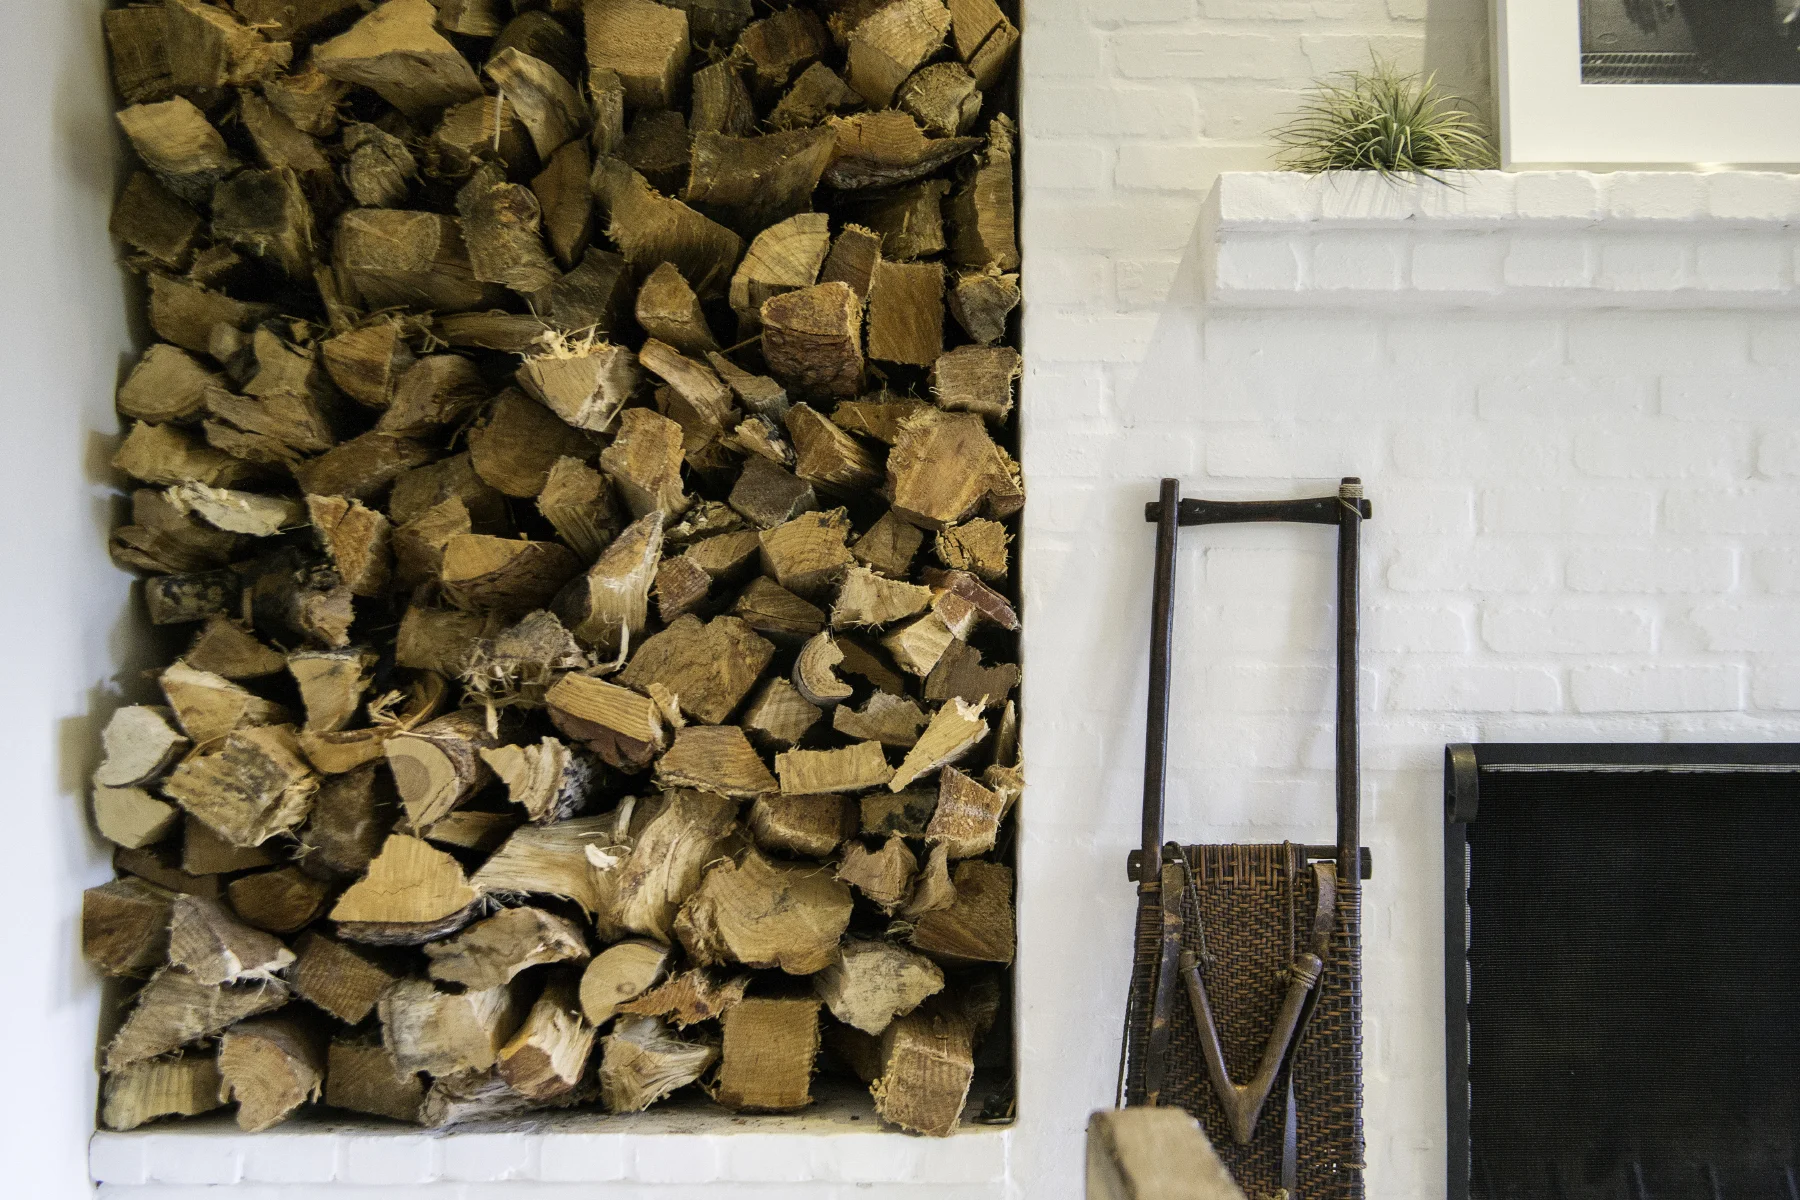
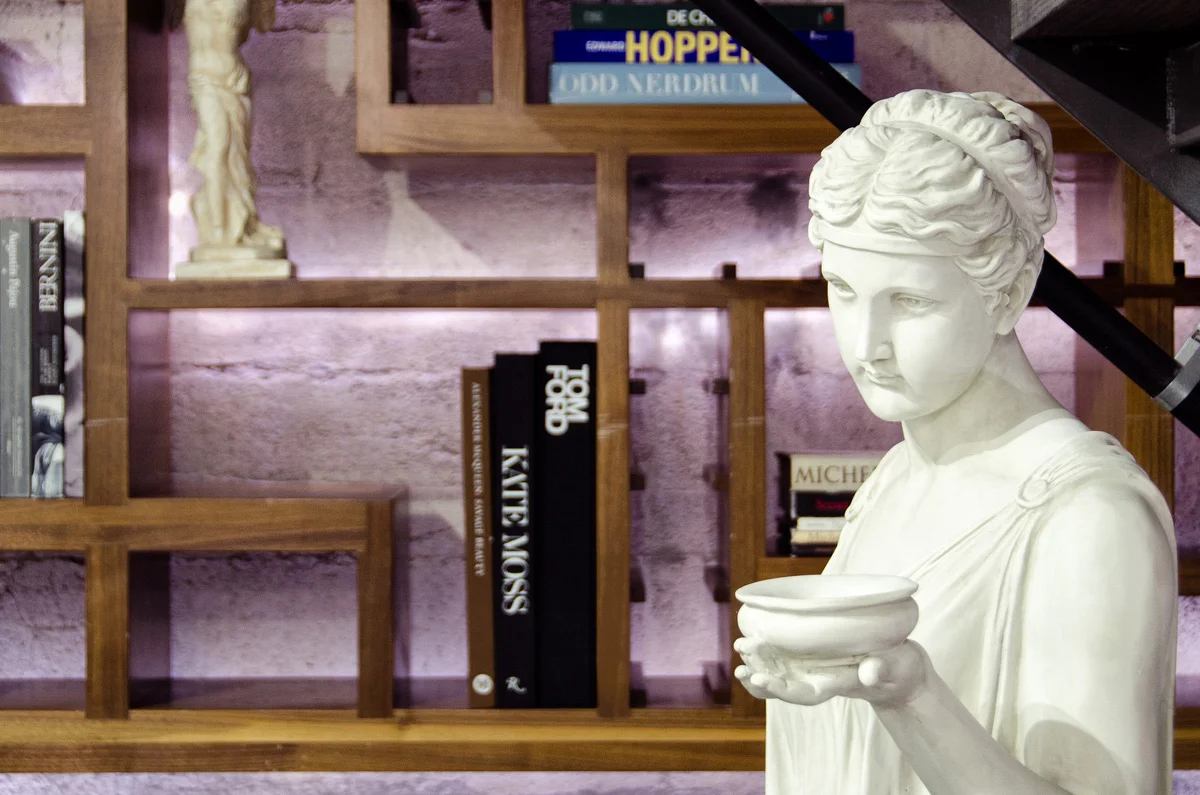
    4. Mix It Up – As was also talked about in my post 7 Tips For Real Estate Photography, mix it up. Yes, wide shots and crazy angles for the sense of space, but don’t discount the extreme value of vignettes and tighter shots, within the 35-50mm range for a more intimate feel. These shots aren’t as intimidating, and instead instill a sense of feel, aura, and connectedness with the space. A person’s vision can’t relate to a wide angle shot, but they can definitely relate to a detail or a vignette or a section of the space that gives you an idea of the character of the space.
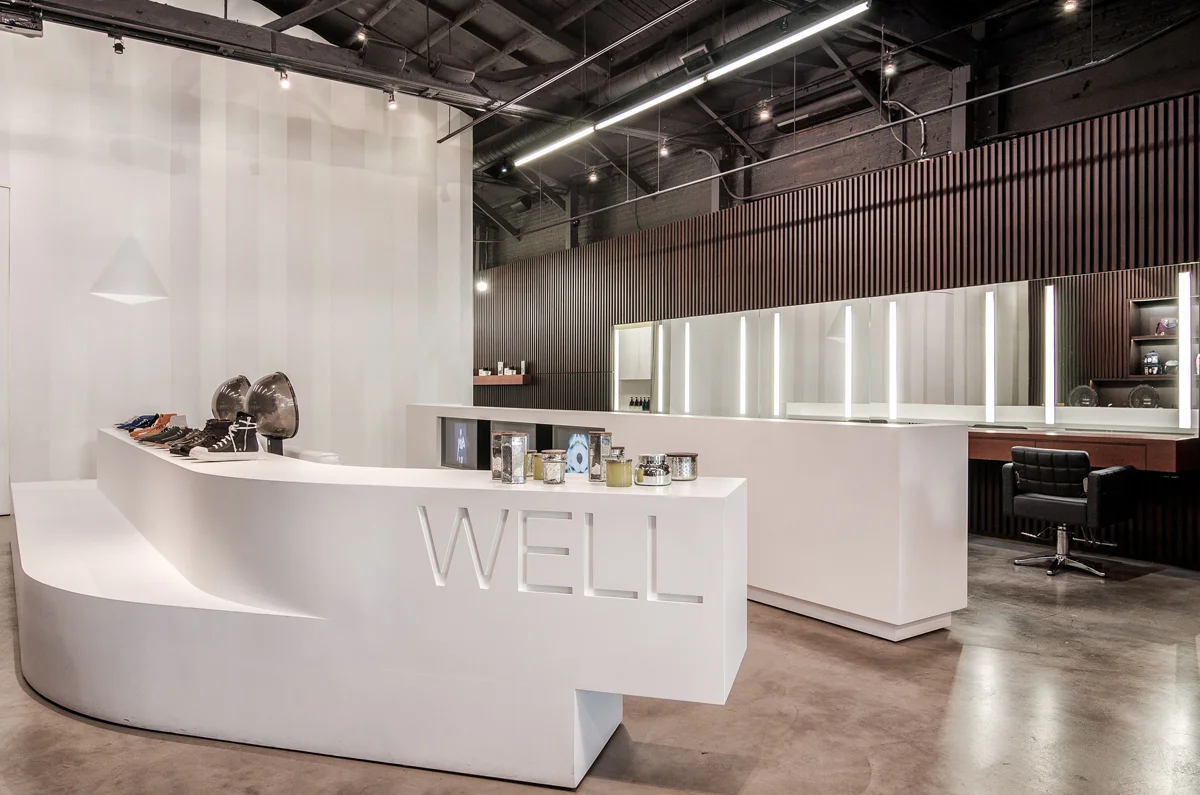
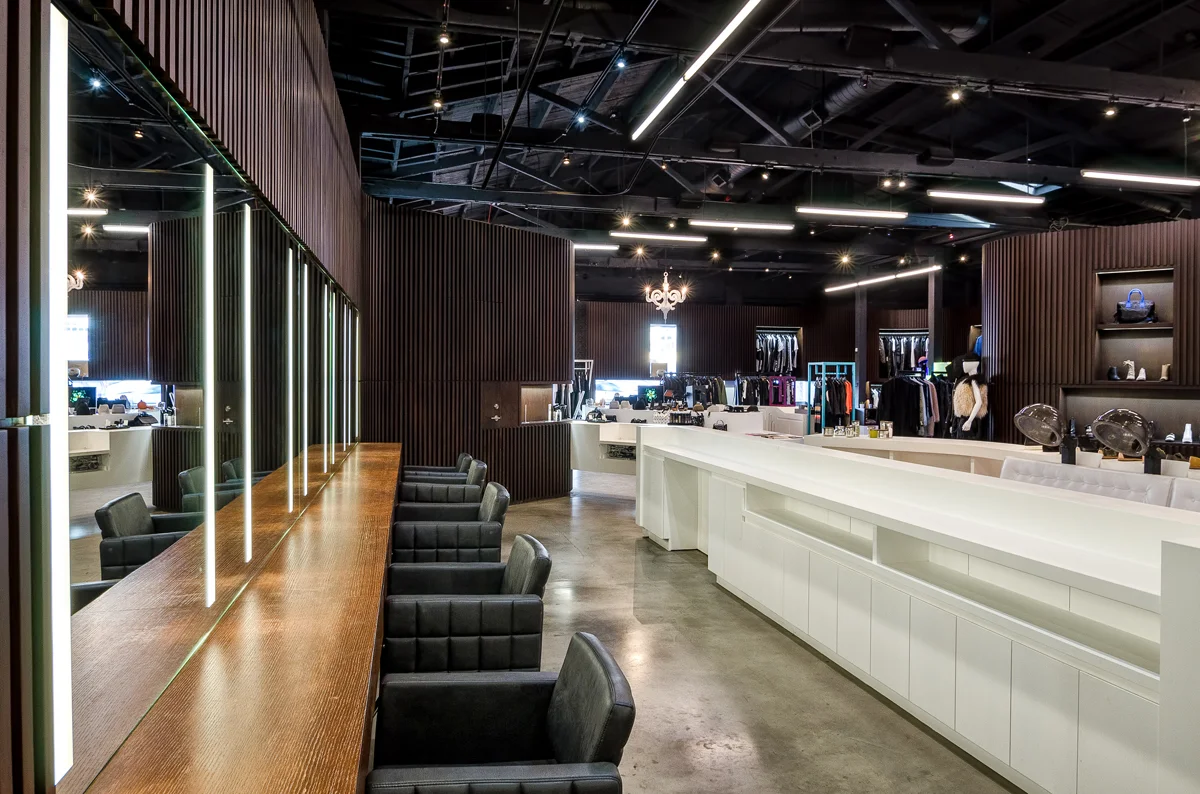
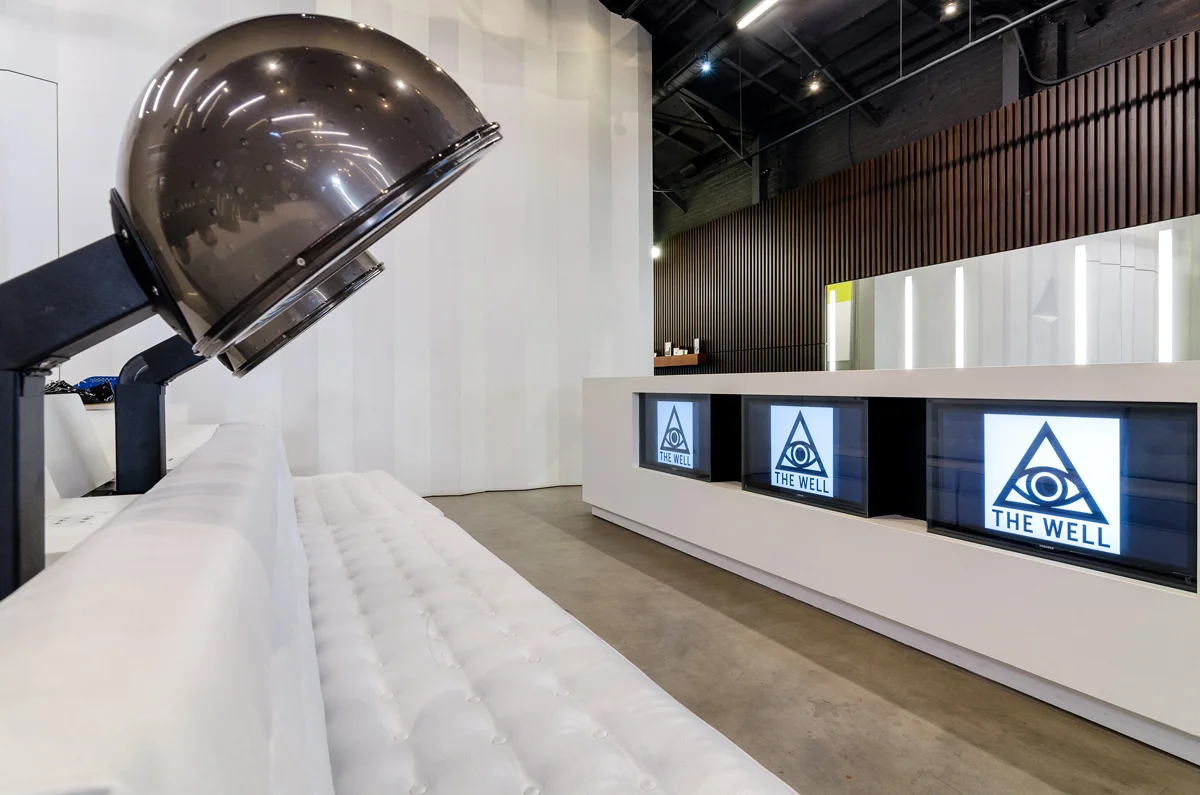
    Wasim Muklashy Real Estate Photography_The Well_Los Angeles_California_03

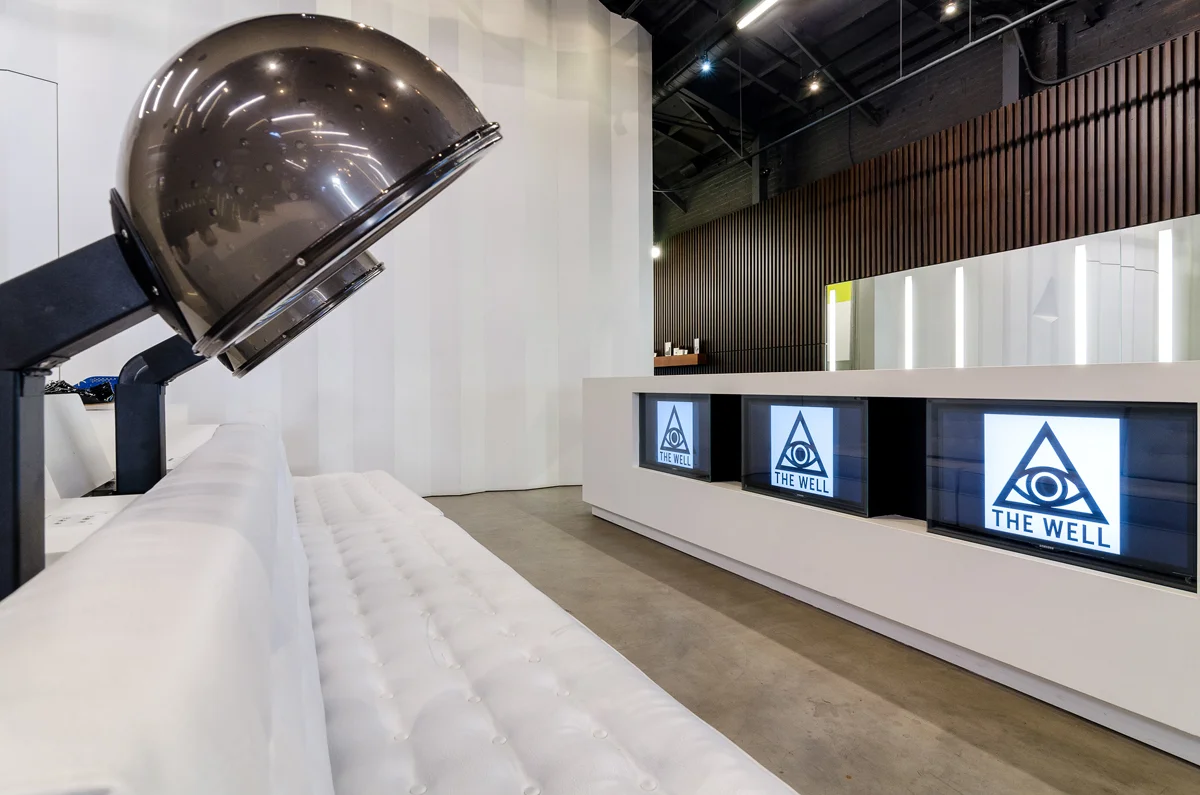
    5. Logos & Branding. If the space has any sort of branding or logos, try to find a way to incorporate those into the images. Whether they be on screens or table mats or windows or pens, try to find at least a few shots where those logos are included. Not only can these sorts of shots help with branding, but they can also be used for other purposes by the business such as social media posts, headers, or physical postcards or prints for marketing materials. Business owners work hard to build their businesses and consequently, they’re very proud of the fruits of their labor. Branding shots are a great pat on the back that they are sure to appreciate.

    So there it is. Don’t stress out about it, don’t fret, take it as a challenge, know that you’ll learn something, and, most importantly, have fun with it. If someone else was confident enough in your skills to hire you, then you’ve got those skills. Be confident. Go kill it!

    Also, here are a few more entries that can also help you when shooting real estate and properties:

    7 Tips for Shooting Real Estate Photography

    How To Expose For Interiors And Exteriors In Architecture Or Real Estate Photography – Part 1 – On Location

    How To Expose For Interiors And Exteriors In Architecture Or Real Estate Photography – Part 2 – Post Processing

    How To Minimize Reflections In Interior Photography

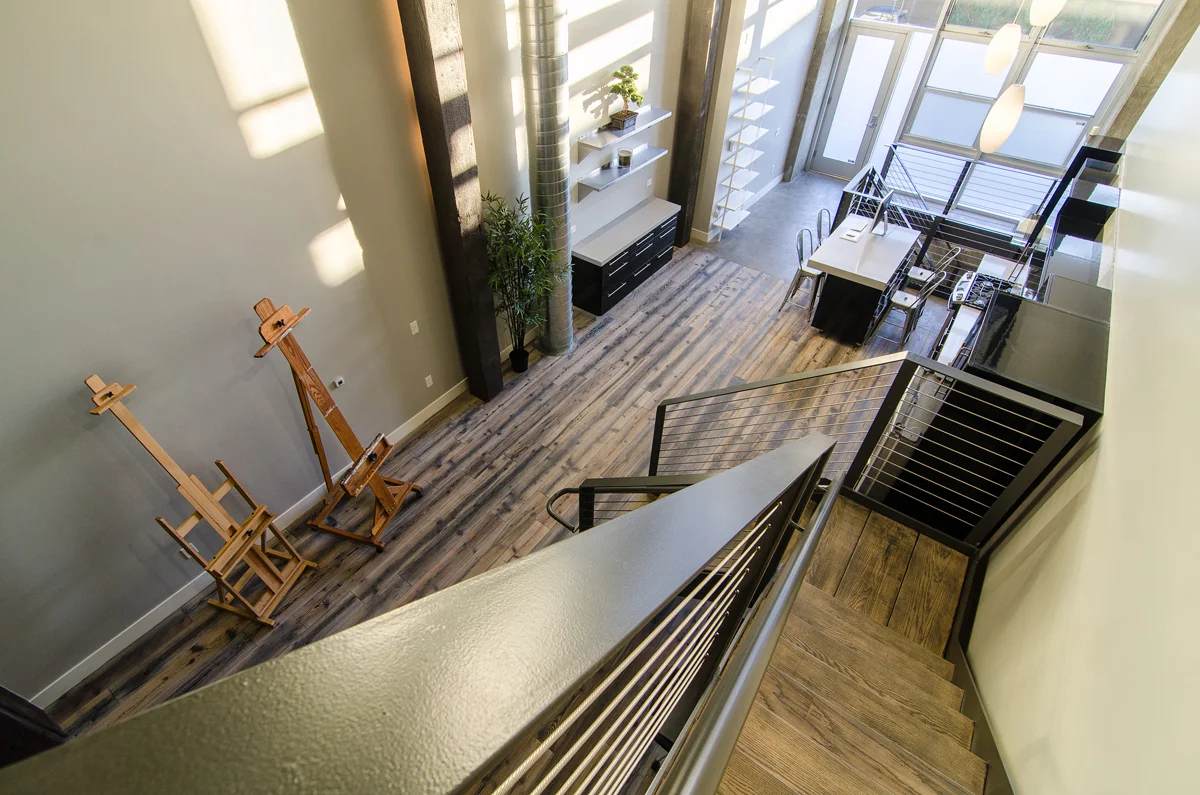
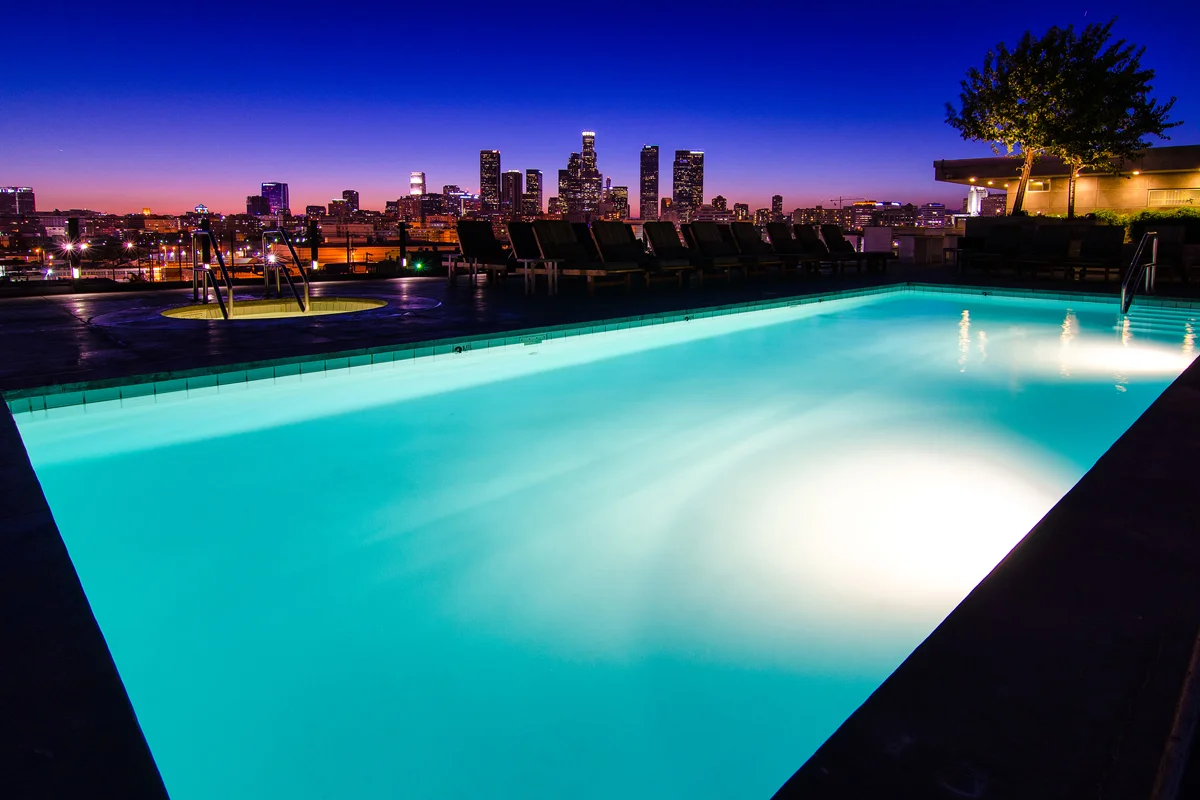
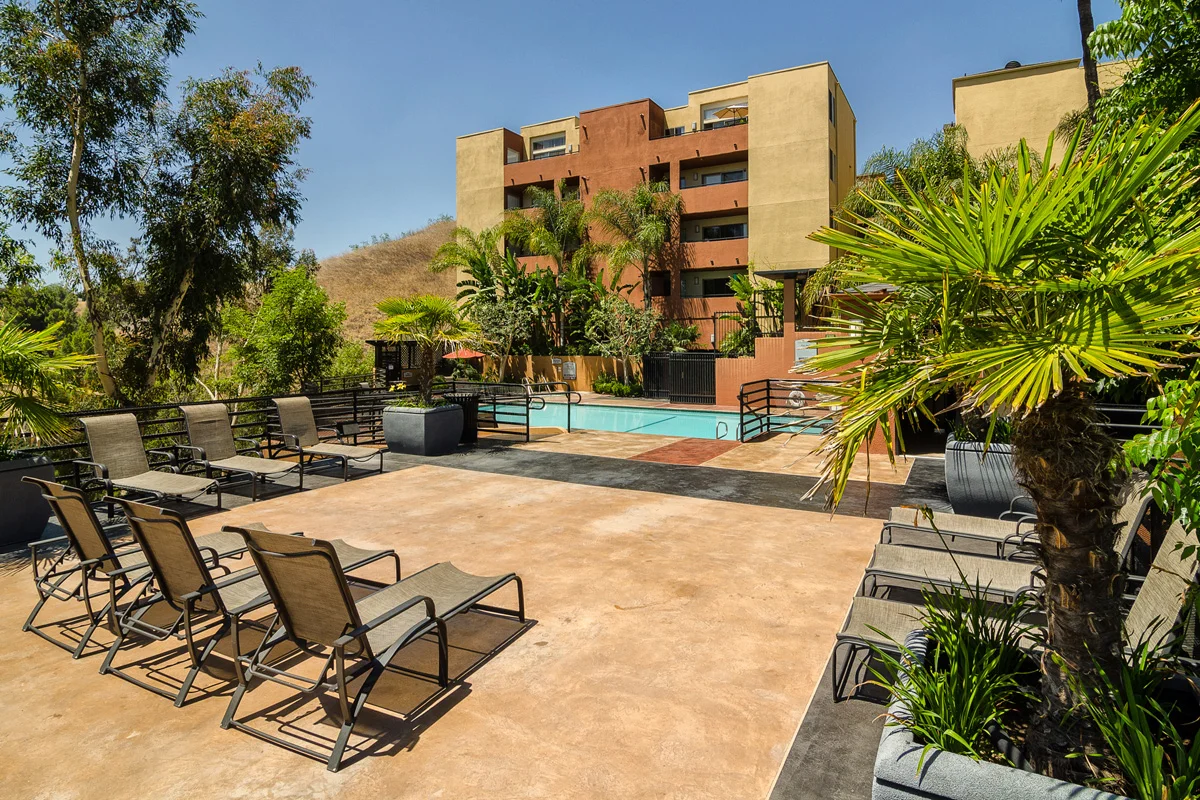
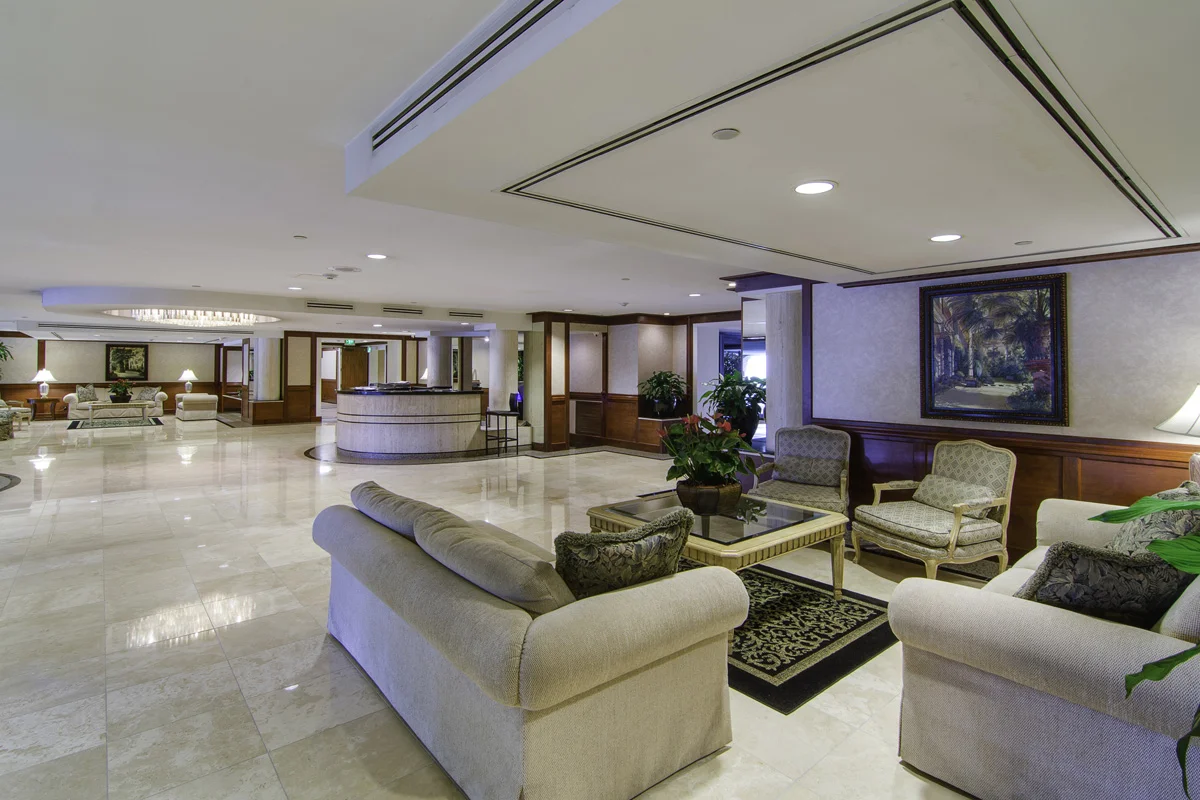
    Below is a gallery that has some of the images from my recent shoots at Jun Cha’s Monarc StudiosThe Well Salon & Event Space, and a local condominium complex.

    And if you’re in need of real estate photography services, whether commercial or residential, please feel free to contact me or check out my Property Photography website.

    And as always, for more of my madness, take your pick: Instagram: @wasimofnazareth Ello: @wasimofnazareth Google+: www.Google.com/+WasimMuklashy
  • 7 Tips For Shooting Real Estate Photography

    7 Tips For Shooting Real Estate Photography

    property_photography_110

    If you read this blog regularly, you’ll know that one of my primary sources of income is photographing real estate and properties for various clients ranging from Airbnb to real estate companies and management companies. After doing this for the past 3 years, I’ve managed to pick up a few tips and pointers along the way that have made my job a LOT easier. Here are 7 of them:

    1. Do A Walk-Through – Walk through the space before you begin. Have the host or the agent give you a quick tour so that your mind can begin to work out any issues that might arise ahead of time. Plus, sometimes they’ll have some ideas of what could make for special shots and features of the space that they’d like to highlight. What ends up happening is you find yourself subconsciously thinking of solutions as you shoot other parts of the house, so by the time you get to the problem or feature areas, you’ll have a few ideas up your sleeve.

    Wasim Muklashy Real Estate Photography

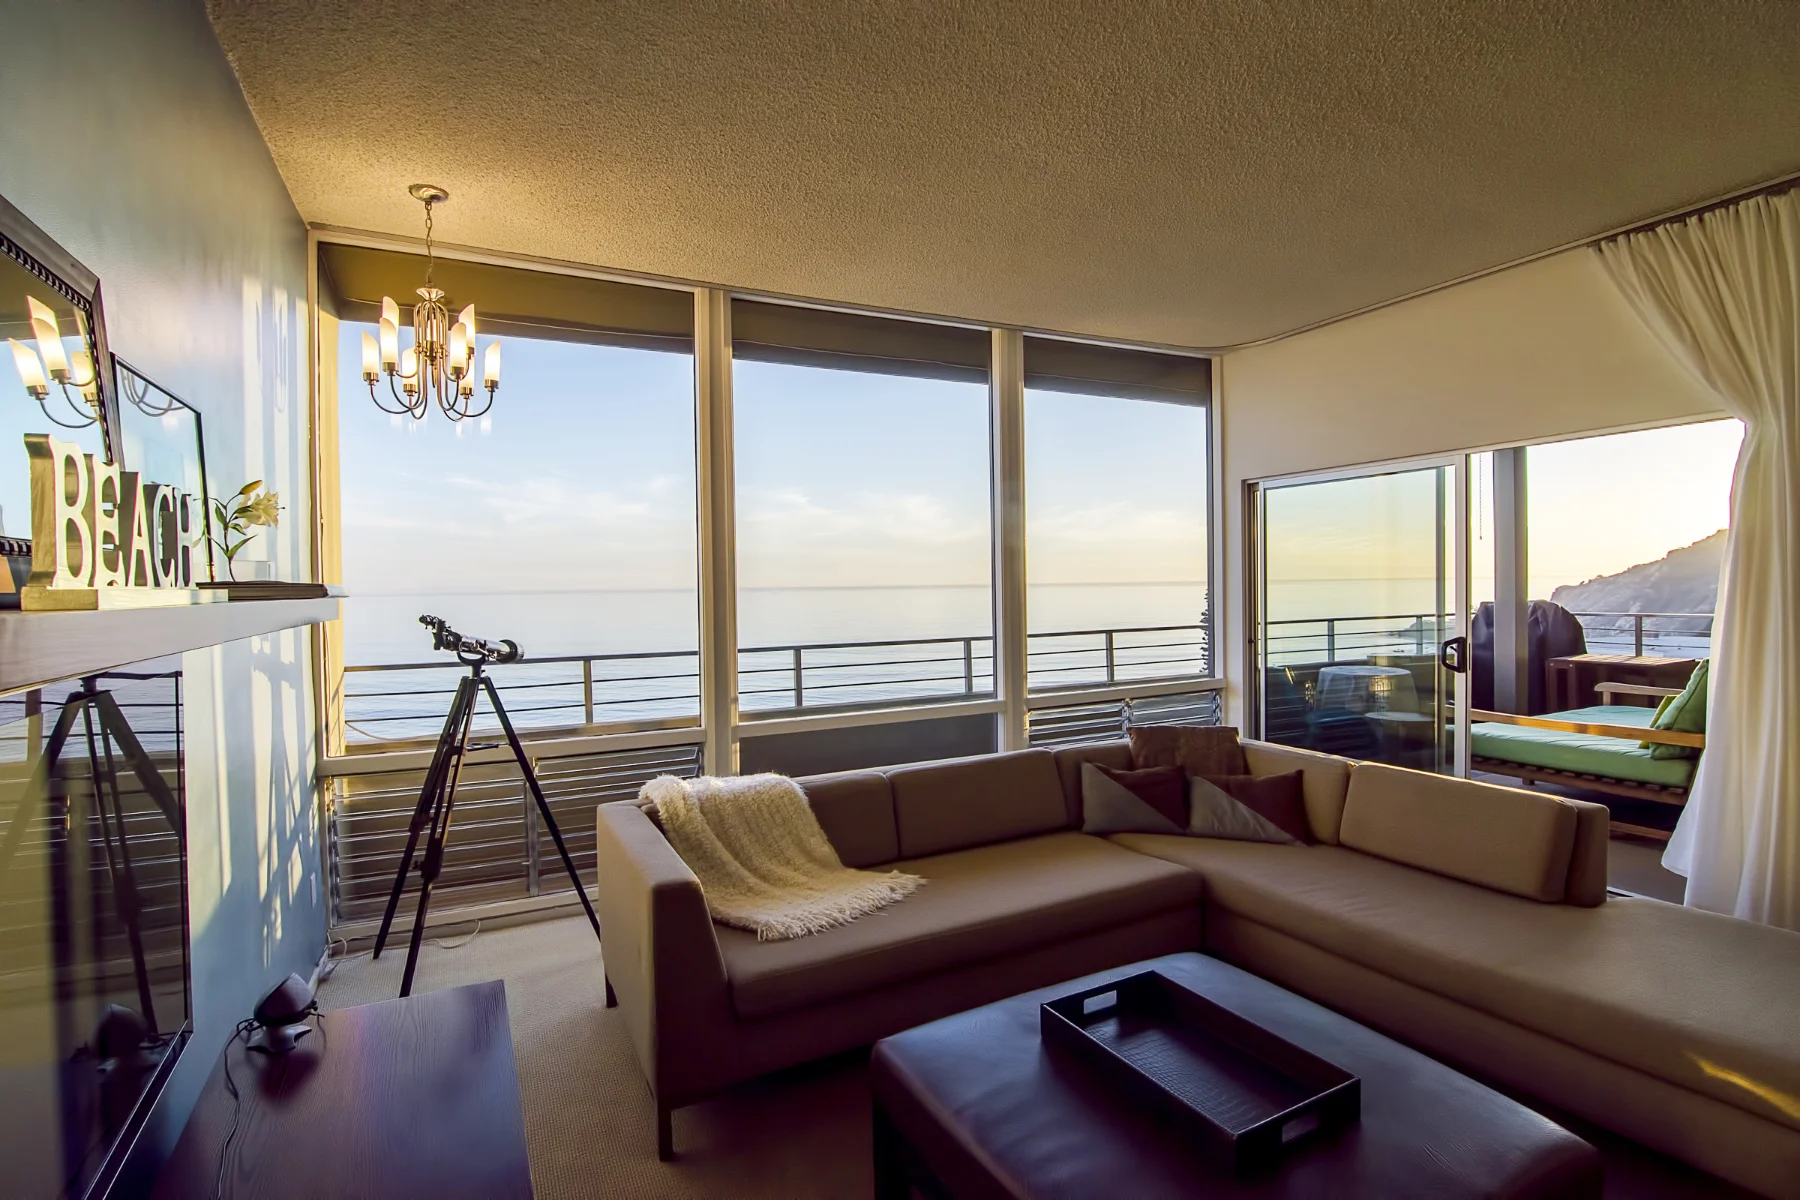
    2. Lights! Turn on every light you have available to you. It helps make the space look inviting and comfortable and homey instead of dry and sterile. The exception is if all the lights are fluorescent. If that’s the case, try to switch out the lights if you can for something warmer or perhaps use a piece of CTO gel (Color Temperature Orange) to wrap the bulbs in while you take the shots for those rooms. Warmer tones are more inviting. To avoid a lot of glare and light leak in rooms with lots of light, underexpose your shot by a stop or so and pull out the shadows and darker areas in post, or for more advanced techniques using multiple exposures, check out my post on Exposing For Interiors And Exteriors.

    Wasim Muklashy Real Estate Photography

    3. Lines. It’s all about the lines. Always be on the lookout for leading lines – the armrest of a couch leading into the fireplace, the line of barstools leading into the brick oven, a row of spice jars leading to the fridge, a shelf full of trophies leading towards the bed. Not only do they make for a more pleasing image, but they help make the viewer feel a sense of harmony to the space.

    Wasim Muklashy_Real Estate Photography

    4. Clutter Sucks. The less clutter the better. sometimes you can try to shoot around clutter, but it’s often much more effective to actually spend some time moving it out of the way. Yeah, it can be more work on set, but it will save you hours of frustration and clone tool mishaps in post-processing. This is especially evident in tight spaces like bathrooms, where even a toothbrush holder and hair dryer can ruin the aesthetics of a shot.

    5. Close Windows & Doors. Close the windows in all the rooms. The last thing you want is to go back to the studio or home to process the images and realize that there are obstructing window frame lines that end up super distracting and time consuming to fix in post-processing. They take focus away from the window and the scene or light outside. Regarding doors, when they’re wide open, they tend to distract from the room you’re trying to showcase. Often it’s aesthetically more pleasing when the doors are either closed all the way, or only left about 1/4 open, which can help show the flow of a room, especially if some warm light is leaking in from that crack in the door. That’s always swell.

    6. Deflect Reflections. When shooting in rooms with mirrors or reflective surfaces, like shower doors in a bathroom, and keeping yourself and your gear out of the shot is unavoidable, try to use the timer on your camera or a remote shutter release to fire the exposure(s). That’ll give you much less mass to have to clone out or clean up in post. It’s a LOT easier to just remove a camera and tripod than a camera, a tripod, and a human body…TRUST ME! Additionally, try to position the camera in a way to minimize any surrounding furniture or elements, so that when you do have to clean up your, or your equipments, reflections in post, you’ll have less that you’ll need to work around.

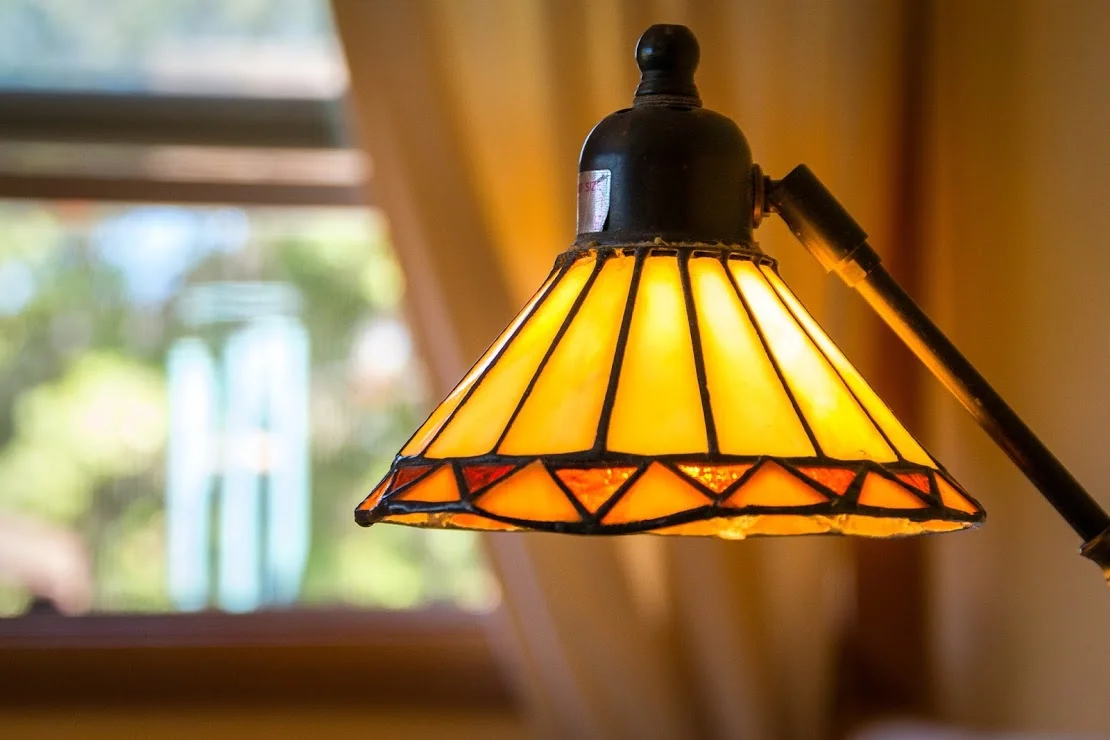
    Wasim Muklashy_Real Estate Photography_Detail_Lamp

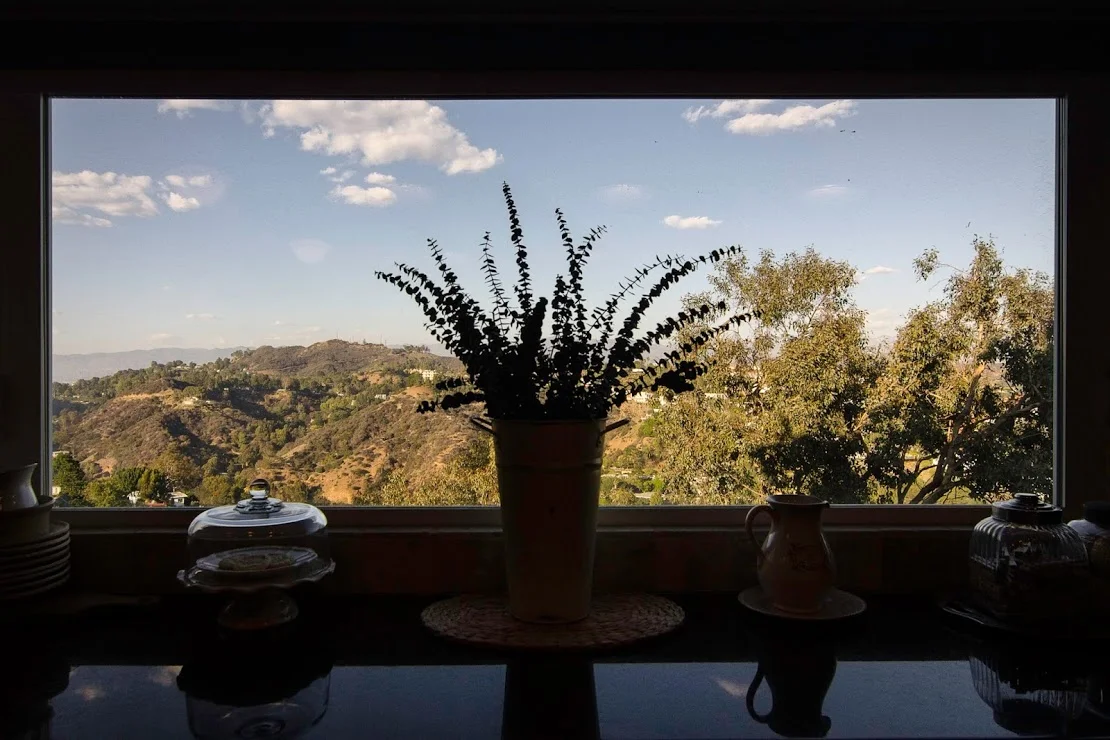
    Wasim Muklashy_Real Estate Photography_Kitchen Window

    Wasim Muklashy_Real Estate Photography_Bedroom_Vintage Dresser_Vignette

    Wasim Muklashy_Real Estate Photography_Fireplace_Vignette

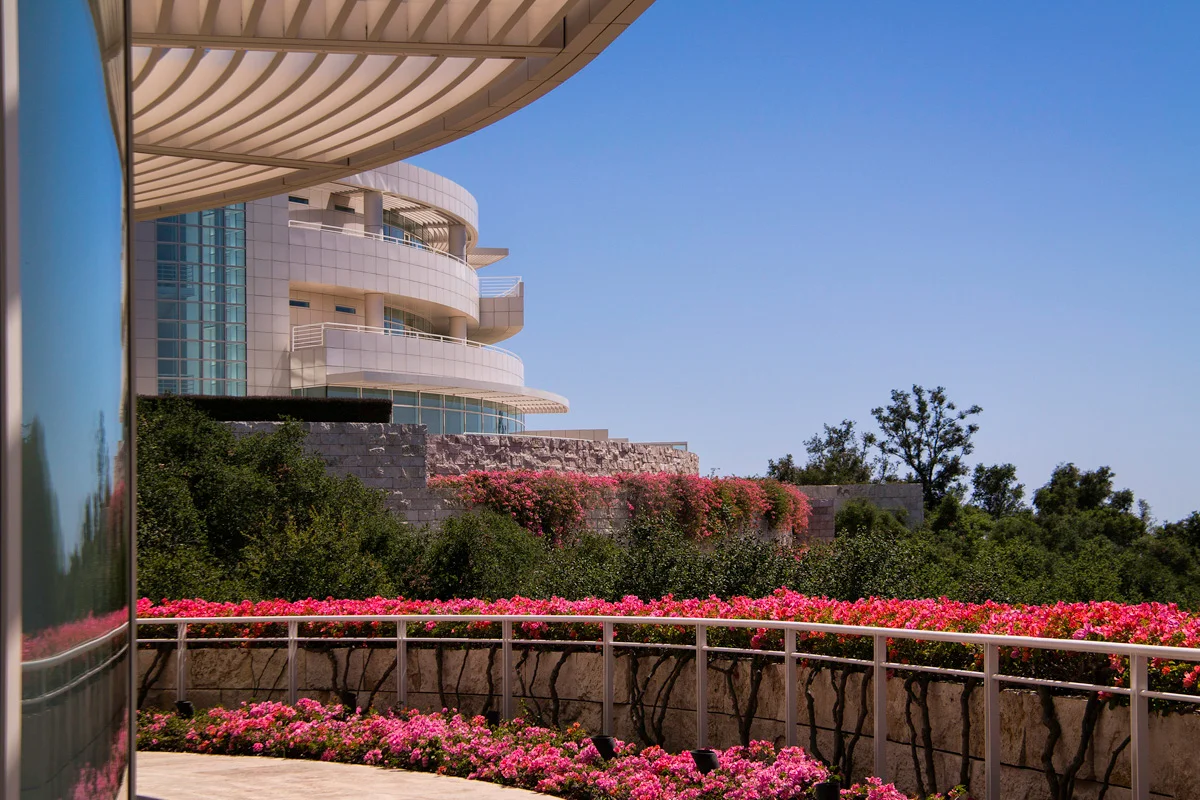
    7. Mix It Up. Use a mixture of wide-angle and telephoto focal lengths. While wide angle lenses, from 11-24mm, show much more of the space and are pleasing to the eye, they can be a bit distorting, and this is where vignettes and tighter focal lengths come into play. That way you get the wide establishing shot, and you can have a focus on some unique details of that space using tighter lengths such as a 35mm, a 50mm, or even an 80mm. These are the shots that help a viewer more intimately connect to the space. Plus, if you’re ever intending on shooting for larger publications such as Architectural Digest or Dwell, if you notice, very few, if any, of their images are shot using wide-angle lenses.

    Also, I have an extensive post about Exposing For Interiors And Exteriors In Architecture Or Real Estate Photography that you might want to read. It’s a very detailed step-by-step guide to achieve proper exposures for both what’s inside the window and out, especially useful for rooms with great views or backdrops.

    I hope these tips help you get that ‘money’ shot every agent seeks. For them, that shot is the one that will bring potential buyers to the property. For you, that shot is the guaranteed call-back.

    And if you’re in need of real estate photography services, whether commercial or residential, please feel free to contact me or check out my Property Photography website.

    For more of my madness: Instagram: @wasimofnazareth Twitter: @wasimofnazareth Google+: www.Google.com/+WasimMuklashy Facebook: www.Facebook.com/WasimOfNazareth
    wampics-property-photography_55