Tag: nx30

  • A Spontaneous Excursion Up Pacific Coast Highway – Part 2: Big Sur

    A Spontaneous Excursion Up Pacific Coast Highway – Part 2: Big Sur

    Image asset

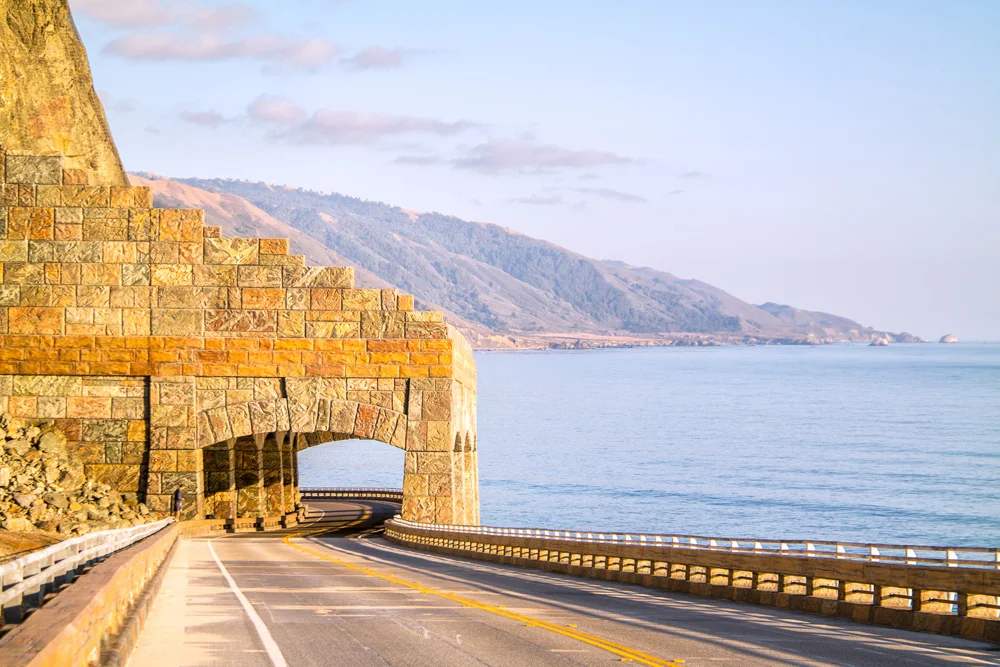
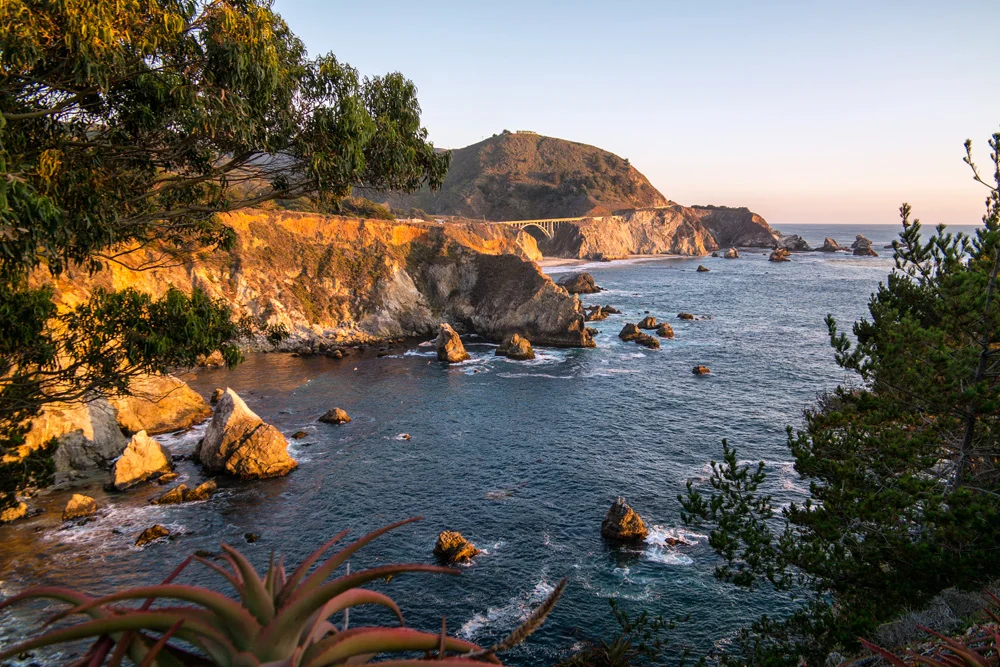
    So after the kayak melee in Morro Bay, it was time for Stephen Chiang, the photographer I was assisting, and I to drive up north to San Francisco for the job the next morning. Put two photographers in a car, give them the choice between A. a straight and direct, but boring route, and B. a windy, curvy, 2-hours-longer scenic route through Big Sur, and, well, you can guess which one they’re going to choose 11 times out of 10. So up the curvy Pacific Coast Highway we went, absolutely one of the most beautiful and scenic drives in the country. As we made our way through Cayucos, then Cambria, we stopped for lunch before PCH opened up along the Pacific Ocean for good from the lowlands of San Simeon (best known for Hearst Castle), all the way up the jagged picture-perfect sparsely populated Central California coastline to and through the majesty that is Big Sur. We pulled over and admired for a while, excited at the fact that just 24 hours from now, we’ll be back here to spend the rest of the week making the tough decisions of frolicking around the grand vistas overlooking the Pacific, or splashing around in this, the largest of the world’s 5 oceans.

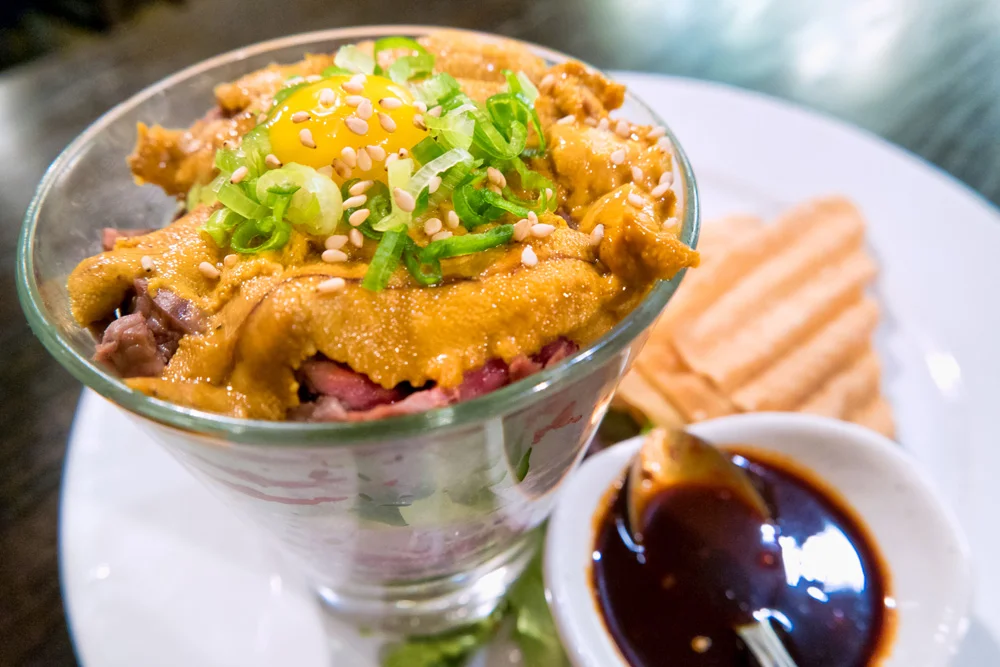
    But first, we had the task of finding dinner and a place to rest our heads for the night in San Francisco for the job in the morning, so we crossed over the famous Bixby bridge, rolled past Monterey and Carmel, made a pit stop in San Jose for my first experience with Yakitori at Gaku Yakitori in San Jose (I ate sea urchin!!! Anthony Bourdain would be proud!). There we used Airbnb.com, found ourselves a place to stay for the night, so after dinner, rolled into San Francisco around midnight. We woke up the next morning to fresh coffee from our host, who just so happened to be the photo editor for Via Magazine, an edition of the Automobile Club publications covering the western states, so, well, naturally, we all immediately clicked. (BTW kind Airbnb host, if you’re reading this, I have a feeling you’ll be hearing from us…)
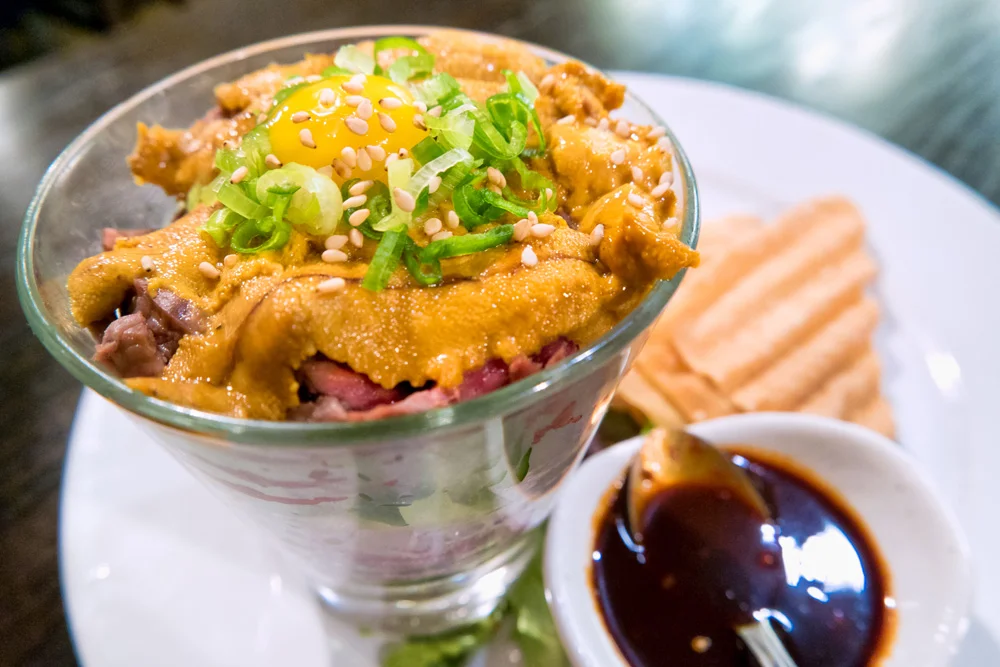
    Image asset

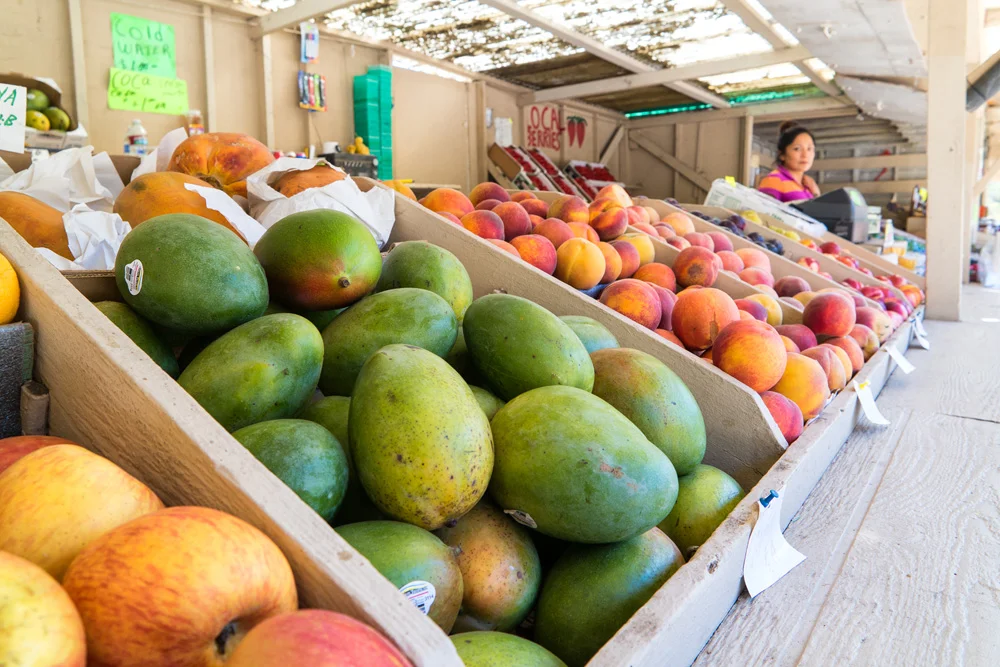
    The work day went suspiciously smoothly. It was a corporate headshot job, and we were in by 10am, out by 3pm. We didn’t even bother to stay in the city, opting to immediately get out, back along the coast, stopped in Pacifica at a roadside fresh produce stand for some snacks and supplies, and proceeded on down to Big Sur, where we were to meet my cousin, my aunt, and the family for dinner at Andrew Molera State Beach campground, our home for the next few days.
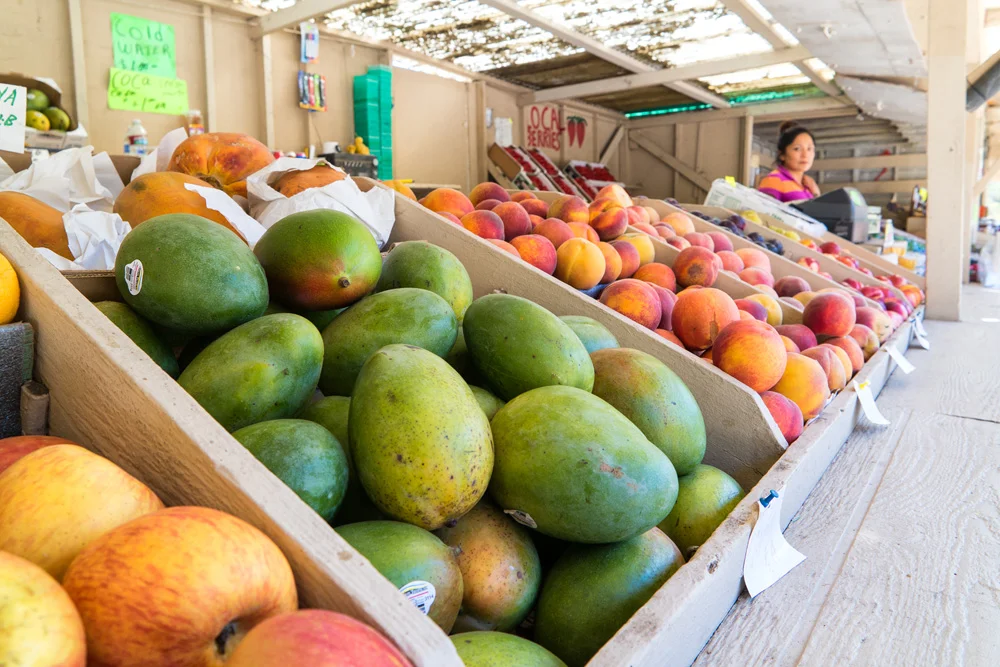
    Image asset

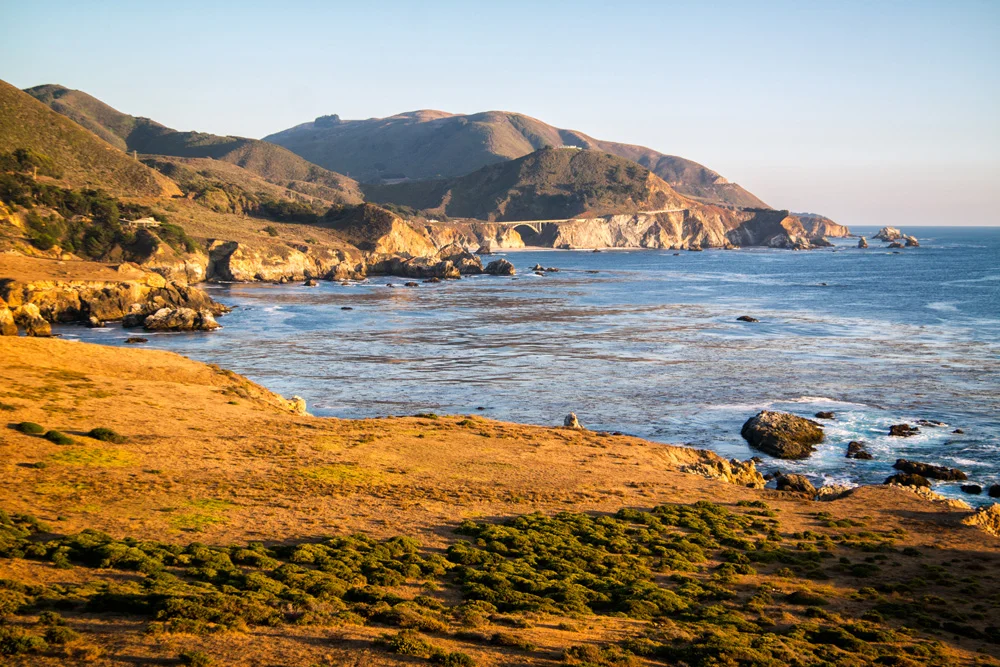
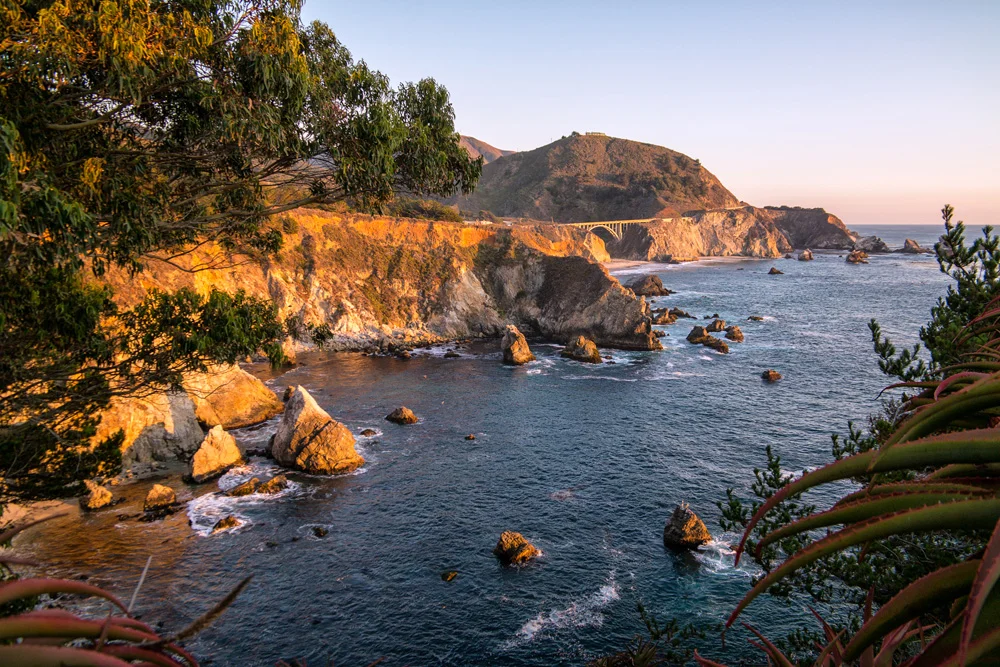
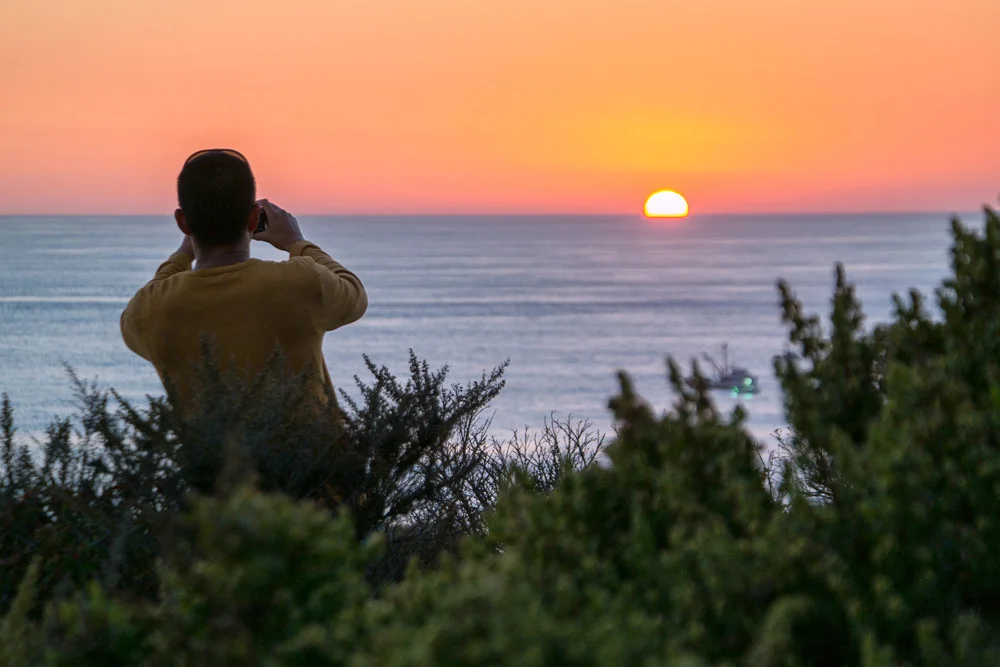
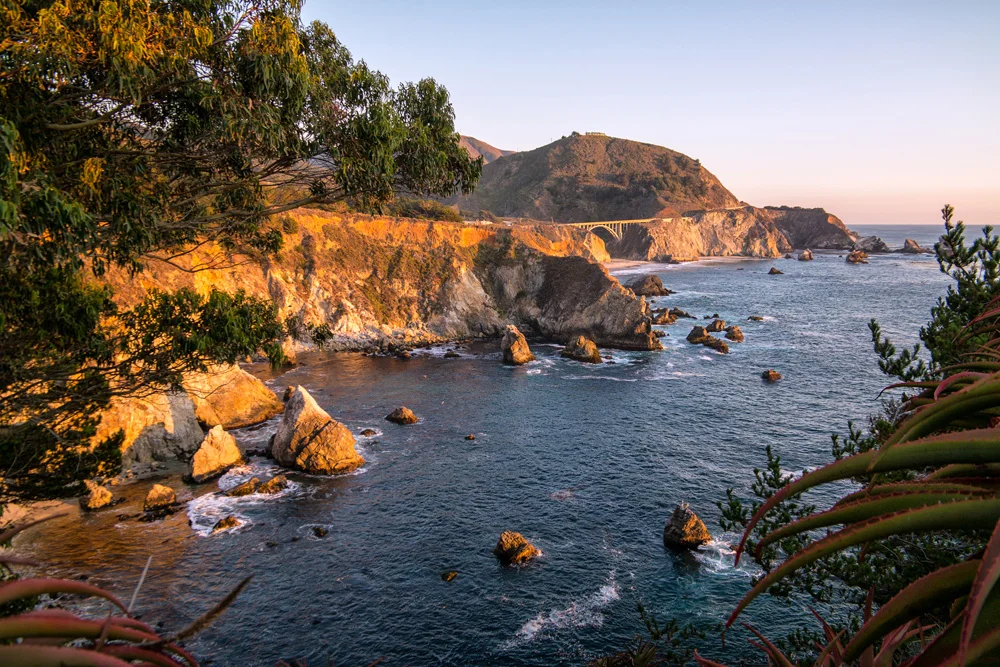
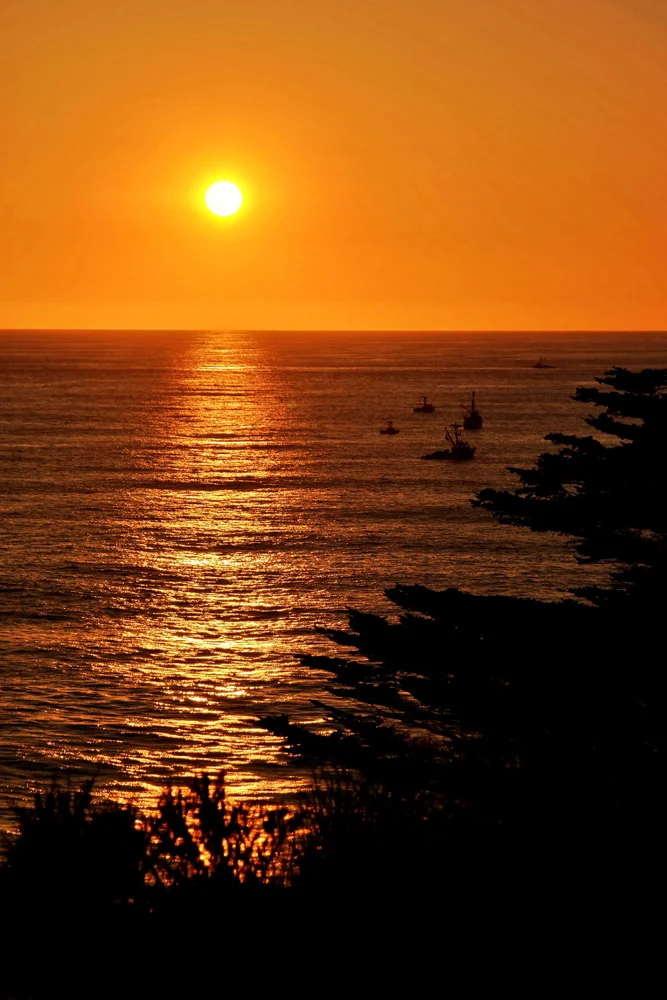
    Luck would so have it (yes, all luck, no planning or rushing to break down the equipment and get out of the city by a certain hour of course), that we made it back to the infamous Bixby Bridge in time to find a few vantage points to get some solid sunset shots. What are the chances?

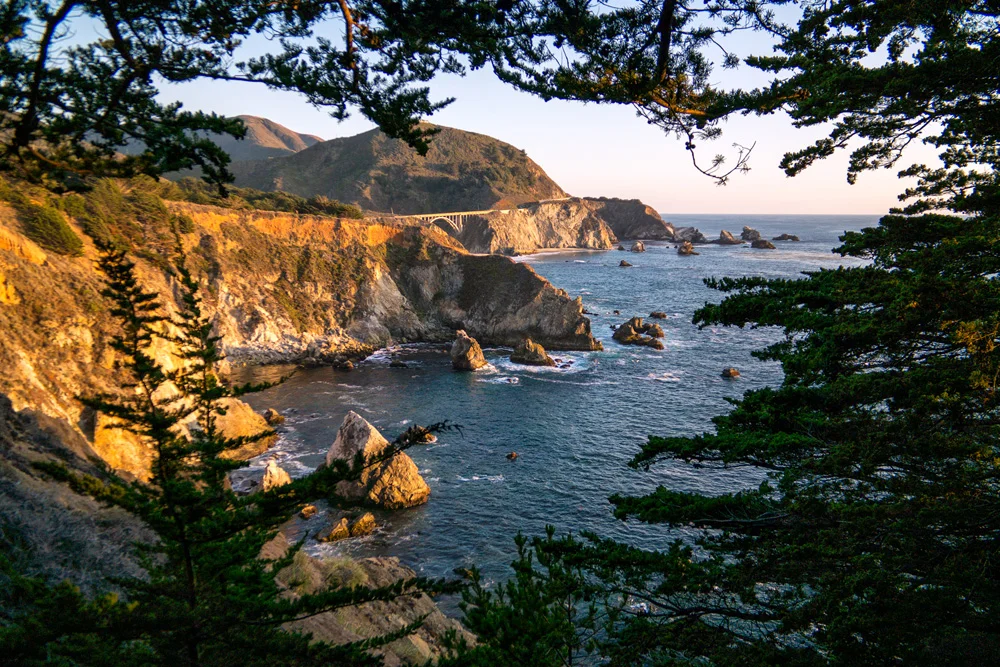
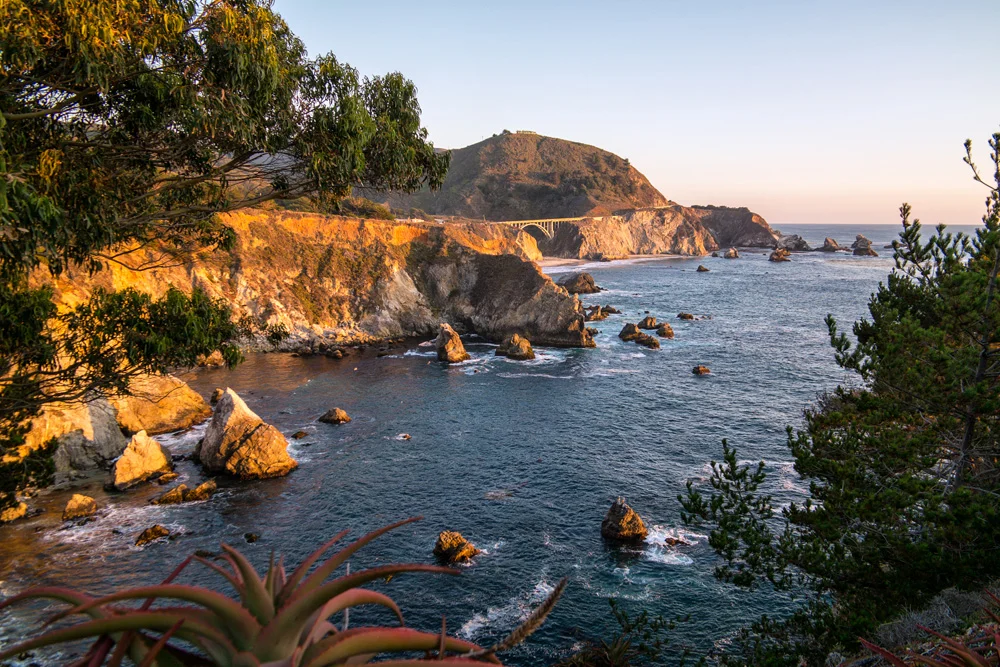
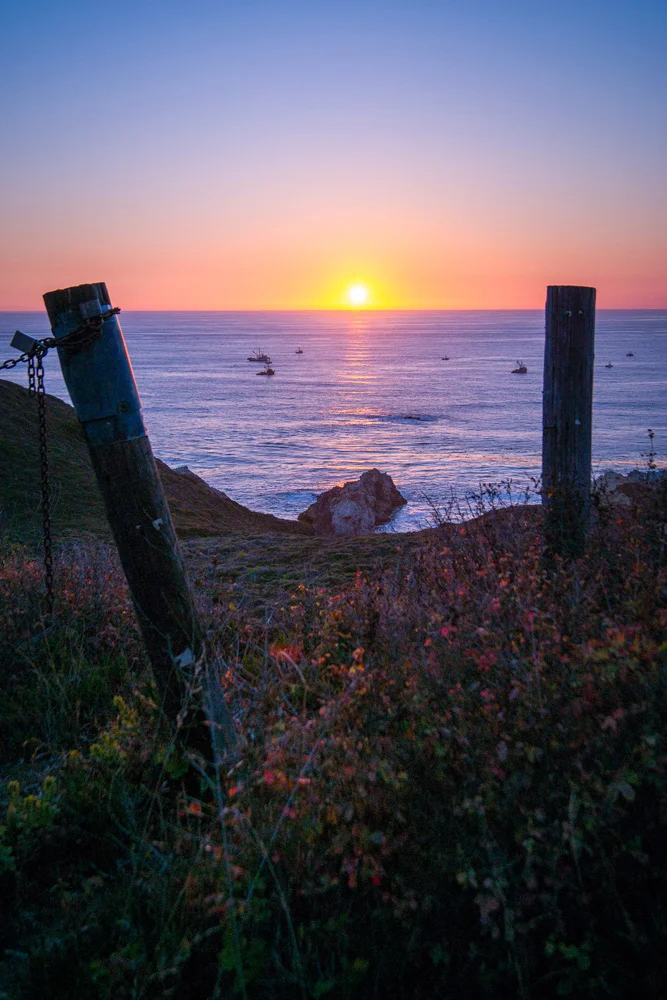
    We pulled along the side of the road at Rocky Point Restaurant, managed to get a few good shots and angles, not a difficult task in a location like this, but something still told us that we should continue on. So we did, and about a mile further down the PCH, we found a small turnout to park alongside what seemed to be a candidate for a perfect overlook. We took a trail along the bluff (extremely careful to avoid the poison oak that seemed to be in full bloom), which ended at the edge of an abandoned property that we didn’t realize until we were already on it. The boarded up house and remains of an old firepit gave it away. But when we turned around, there was no way we were backing off right away.

    This.

    View.

    Was.

    Perfect.
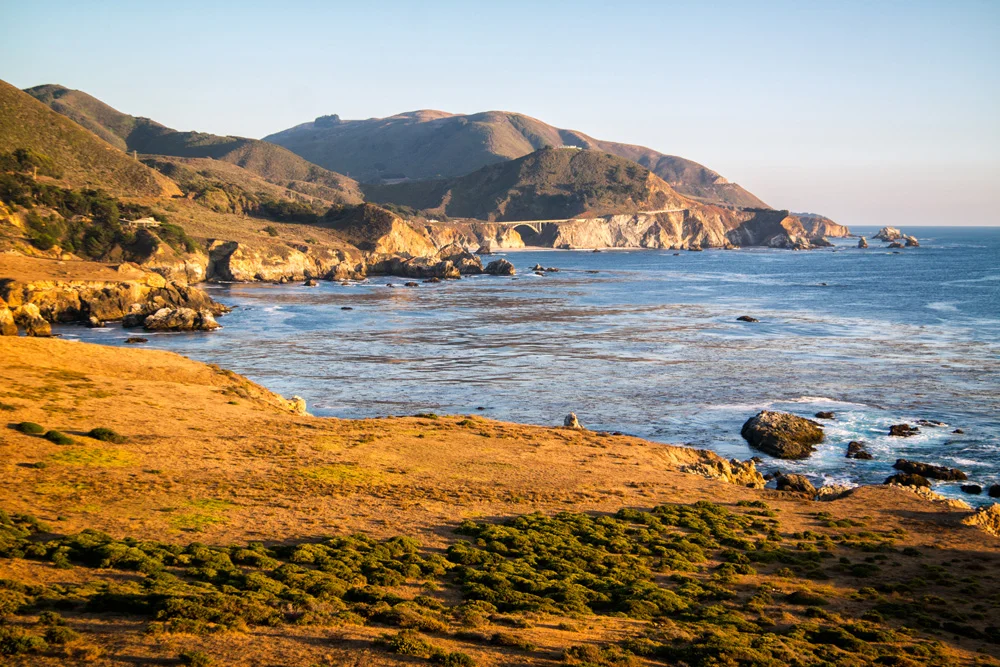
    Image asset

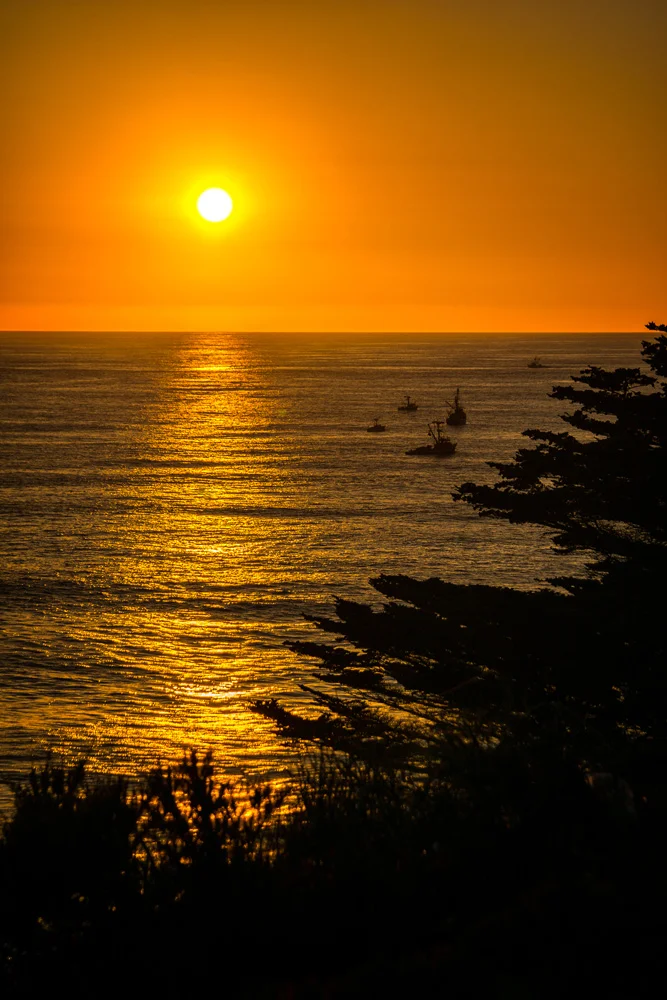
    We spent the next 15 to 20 minutes capturing the last rays of sunlight over the Pacific and shining onto the coastline hugging the Bixby Bridge, turned towards each other with a knowing “that’s why we do this” smile, and walked back to the car.

    Hungry.

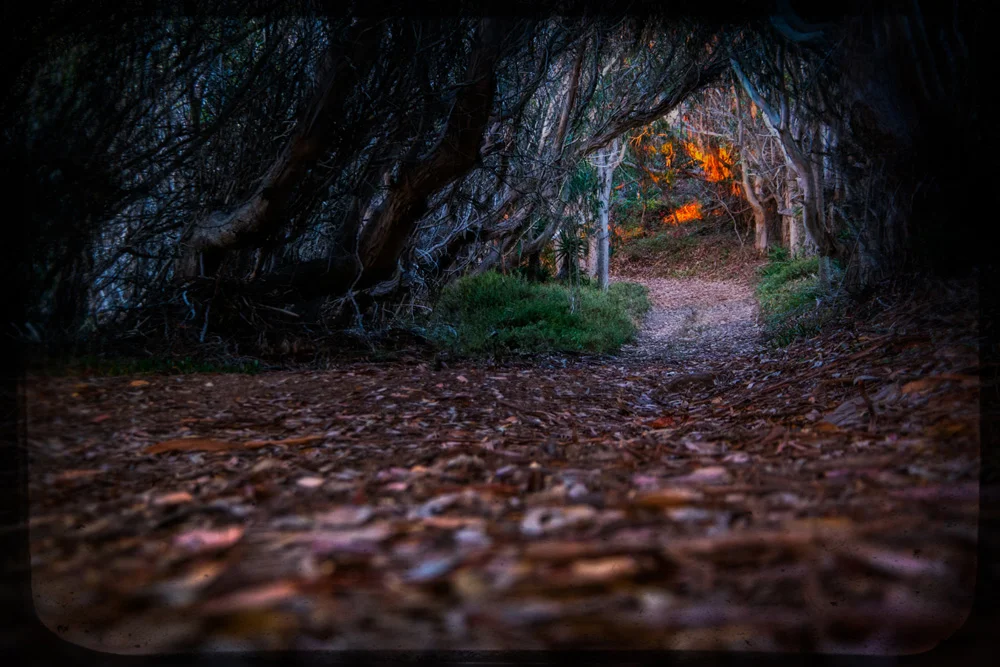
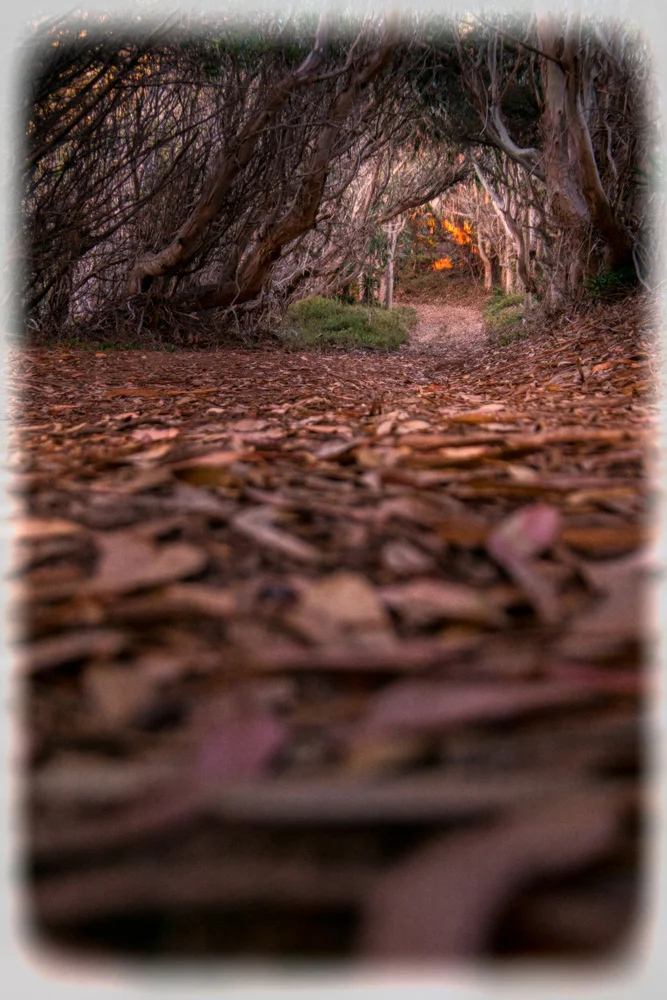
    We finally pulled up to Andrew Molera State Park, hiked through a 1/2 mile tree canopy into our campsite where the rest of the family was waiting, burgers already grilling, beers already poppin,’ and hence began our stay in Big Sur.

    Check out the gallery of images from that day and evening below, taken on Samsung NX3000 and NX30 mirrorless cameras.

    Click here for the next part, Part 3: More Big Sur

    And if you missed it, here’s Part 1: Morro Bay

    And for more of my madness, including additional images and edits from this very trip:
    Instagram: @wasimofnazareth
    Google+: www.Google.com/+WasimMuklashy
    Facebook: www.Facebook.com/WasimOfNazareth
    Ello: www.Ello.co/WasimOfNazareth
  • I’ve Finally Assembled My Perfect Hiking And Backpacking Camera Kit

    I’ve Finally Assembled My Perfect Hiking And Backpacking Camera Kit

    Wasim Muklashy Photography_Camera Kit_Backpacking_Hiking_-SAM_3011-Edit

    If you’ve ever gone on an extended hike or backpacking trip, you know that every single ounce of weight counts. An extra strip of beef jerky may not seem like a lot sitting in your pocket at home, but you WILL notice and feel every single gram of it as the sun-scorched miles move beneath your boots. So when you’re packing for such a trip, weight and consideration and bare essentials are a constantly compromised necessity, and, obviously, for photographers, food and clean socks come in a distant second to camera gear. Lucky for us photographers, the new breed of mirrorless systems has changed EVERYTHING. Gone are the days of having to trudge 10-15 pounds of DSLR gear and lenses to get solid professional high-quality images. Now you can make top-shelf images AND pack an entire bag of beef jerky.
    As I prepared to pack for a 5-day, 45-mile backpacking excursion into the Sierras, I was absolutely thrilled at how much lighter my pack already was since last year’s adventures through 3 National Parks, and especially the year before that, when I lugged around that same full Nikon D7000 kit through 22, 104-degree Grand Canyon miles on the way into Havasupai, Arizona. Ouch. Ouch. OUCH! While, unfortunately, this month’s Sierra backpacking trip got cancelled due to unforeseen circumstances in the group, I still thought it’d be valuable to share what I had already packed and was prepared to take.

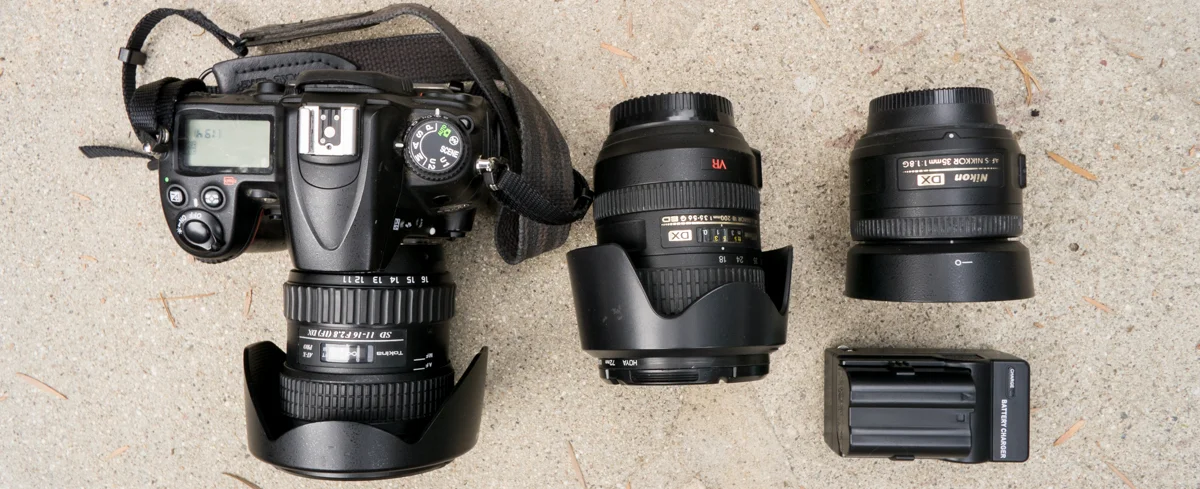
    Wasim Muklashy Photography_Hiking_Backpacking Camera Kit_Nikon D7000

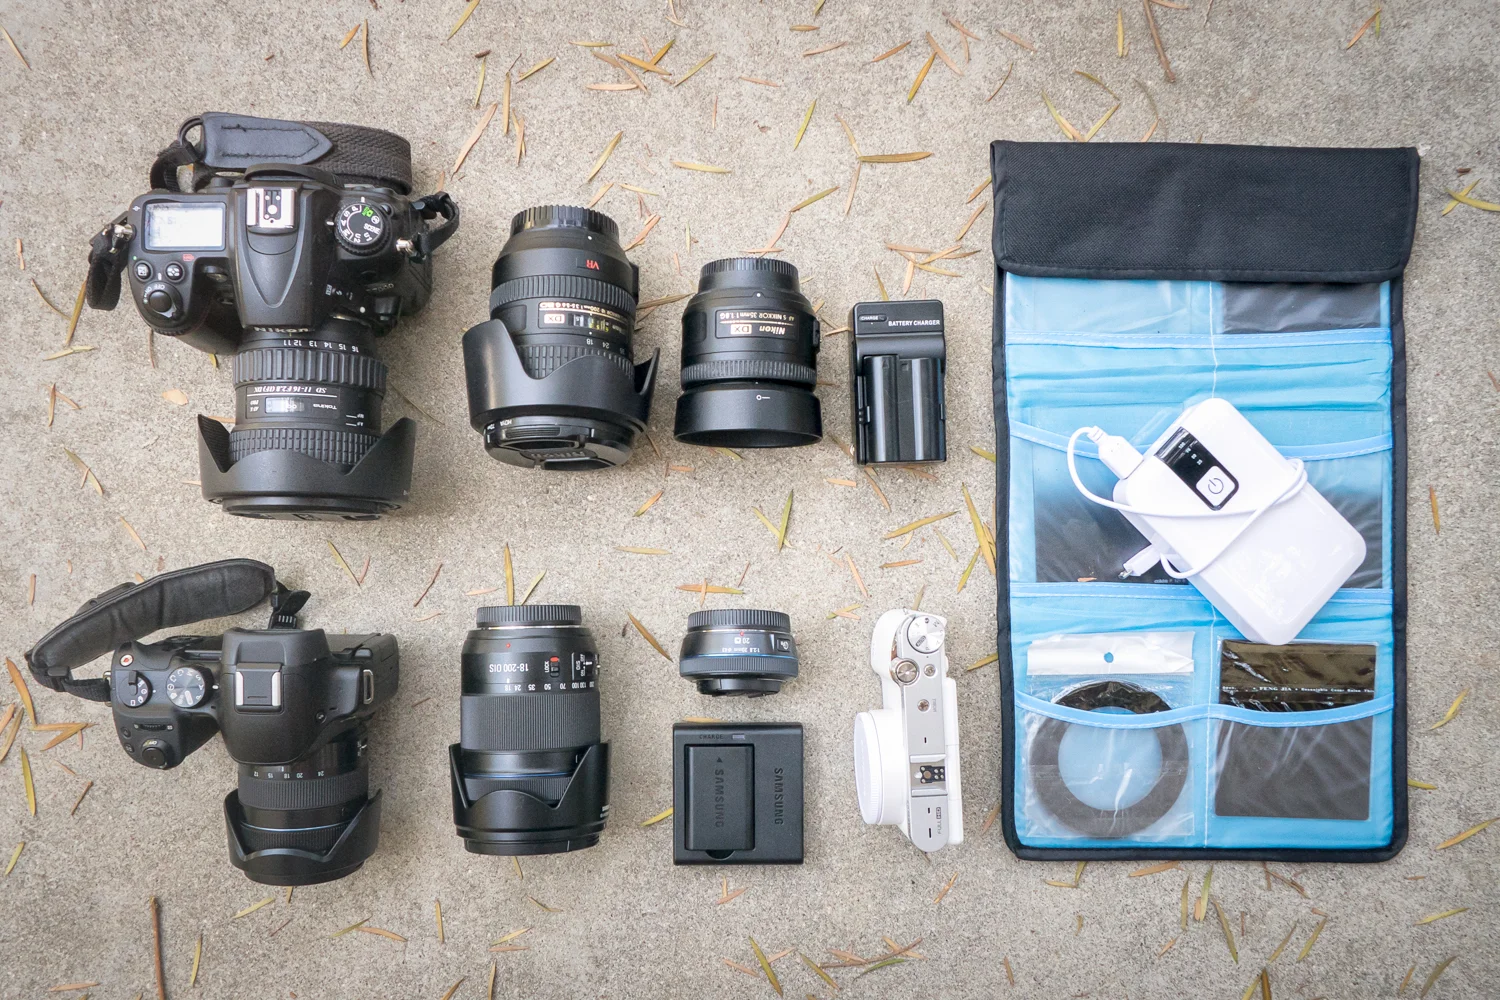
    First, here’s the bulk of the Nikon D7000 kit that I had with me both for the Havasupai trip and for the National Park trip. Basically, the kit I’ve been used to traveling with:

    Nikon D7000 Body (APSC CMOS Sensor): 1 lb, 8 oz.

    Nikkor 18-200 Lens: 1 lb, 4 oz.

    Nikkor 35mm Lens: 7 oz.

    Tokina 11-16mm Lens: 1.2 lbs

    Manfrotto 190xb Tripod with Manfrotto 486RC2 Ballhead: 5 pounds

    Filters, Filter Holders, Extra batteries, USB charging brick: 1 pound

    TOTAL: 10.5 LBS.

    Wasim Muklashy Photography_Hiking_Backpacking Camera Kit_Samsung NX30

    Now, for comparison’s sakes, here’s what I had packed this time:

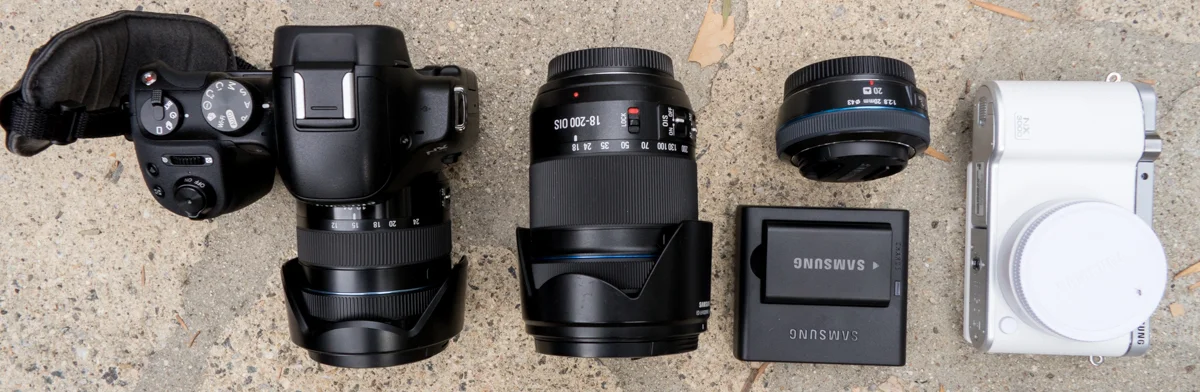
    Samsung NX30 Body (APSC CMOS Sensor): .8 pound

    Samsung NX3000 Body (APSC CMOS Sensor): .5 pound

    Samsung 18-200mm lens: 1.27 pounds

    Samsung 12-24mm lens: 7.3 oz

    Dolica TX570B150SL Travel Tripod: 2.5 pounds

    Filters, filter holders, extra batteries, USB charging brick: 10 oz.

    TOTAL: 6.1 LBS.

    And here they are side by side, with the respective lenses mirroring each other. Look at the size differences alone in the Samsung kit on the bottom row versus the Nikon kit on the top row, especially in the lenses and the bodies:

    Wasim Muklashy Photography_Camera Kit_Backpacking_Hiking_-SAM_1161-Edit

    So as you can see, that is not only literally a savings of almost half the weight, but it also includes AN EXTRA CAMERA BODY. Heck, both camera bodies together weighed less than the single DSLR. Granted, the tripod alone also saved me 2.5 pounds on it’s own. So yeah, needless to say, between this revelation, and my recent mirrorless-only trip to the Pacific Northwest, my DSLR traveling days are well behind me. Add the benefit of bright OLED displays and Wifi capabilities on the Samsung NX30 and Samsung NX300, allowing me to use my phone as a trigger or high res monitor as well, and there’s really no reason left to go back.

    Adapt or die…or, at the very best, adapt or suffer through a bad back…orrrrr better yet…suffer through that bad back by packing an extra 4 pounds of jerky!

    Mmmm…jerky

    For more of my madness:
    Instagram: @wasimofnazareth
    Twitter: @wasimofnazareth
    Google+: www.Google.com/+WasimMuklashy
    Facebook: www.Facebook.com/WasimOfNazareth
    Wasim Muklashy Photography_Camera Kit_Backpacking_Hiking_-_1WM1511-Edit_2400sfwJT

  • A Monday Motivational Kick In The Yahoo – August 18, 2014

    A Monday Motivational Kick In The Yahoo – August 18, 2014

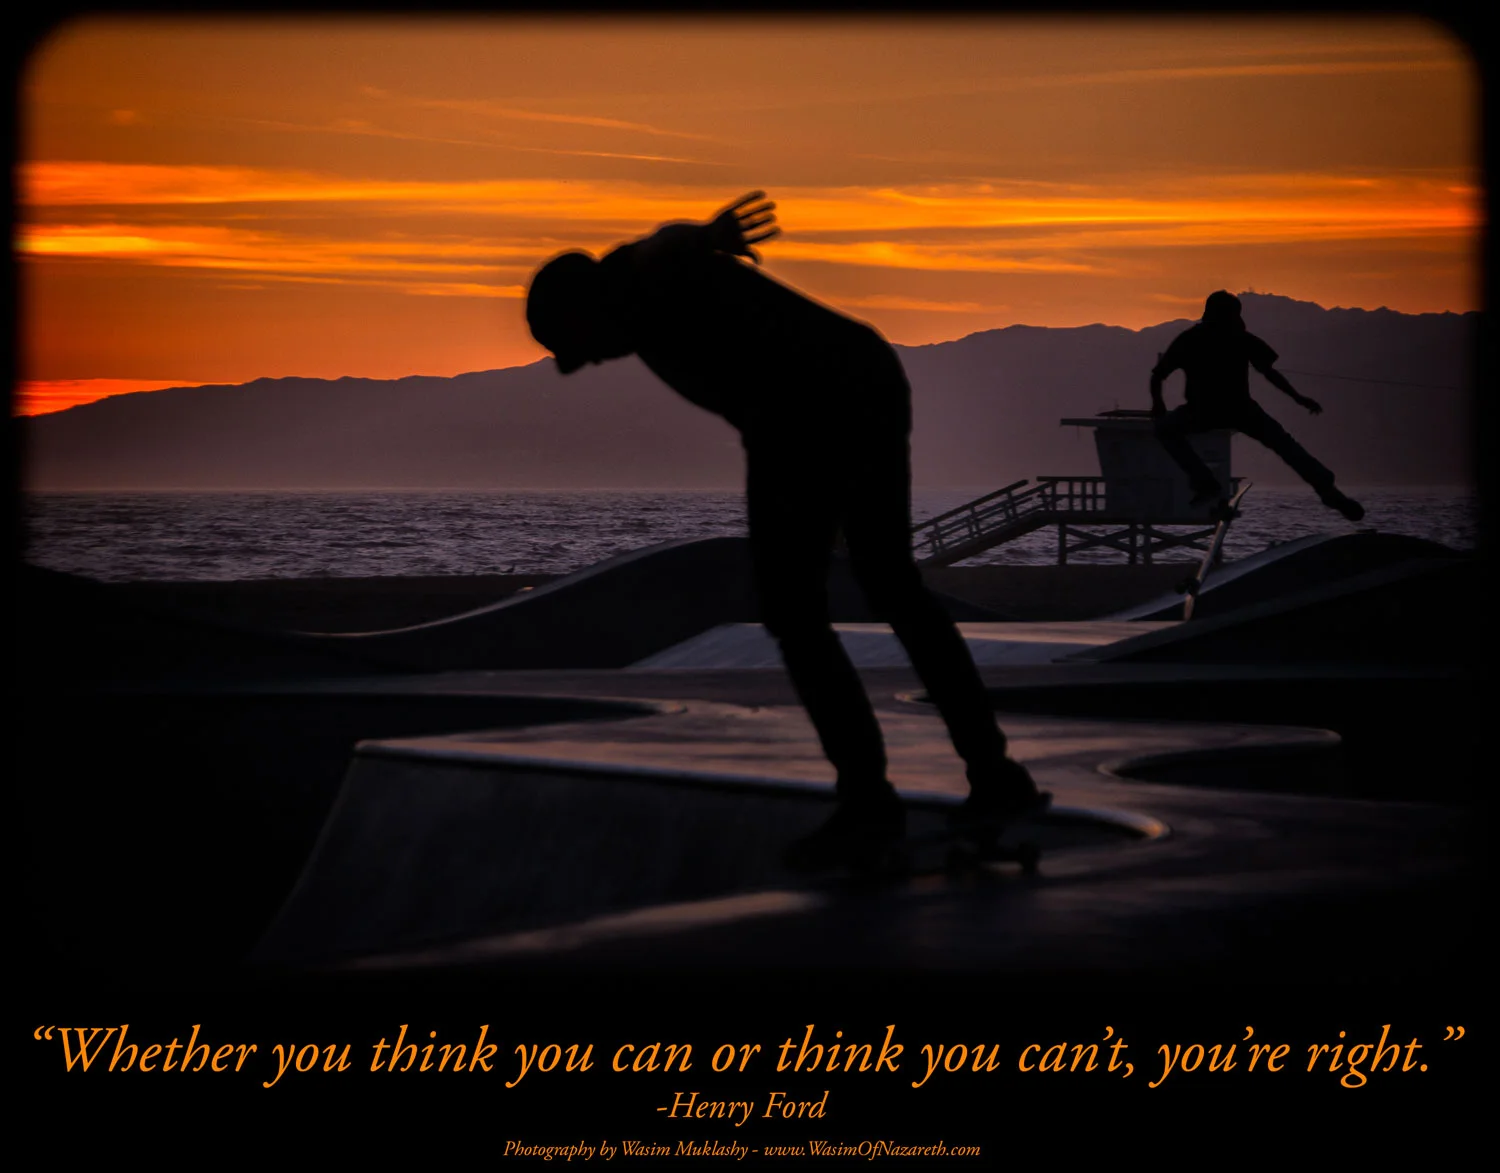
    Wasim-Muklashy-Photography_NX30_Venice_CA_Skateboarding_Monday Motivational
    Wasim-Muklashy-Photography_NX30_Venice_CA_Skateboarding_Monday Motivational

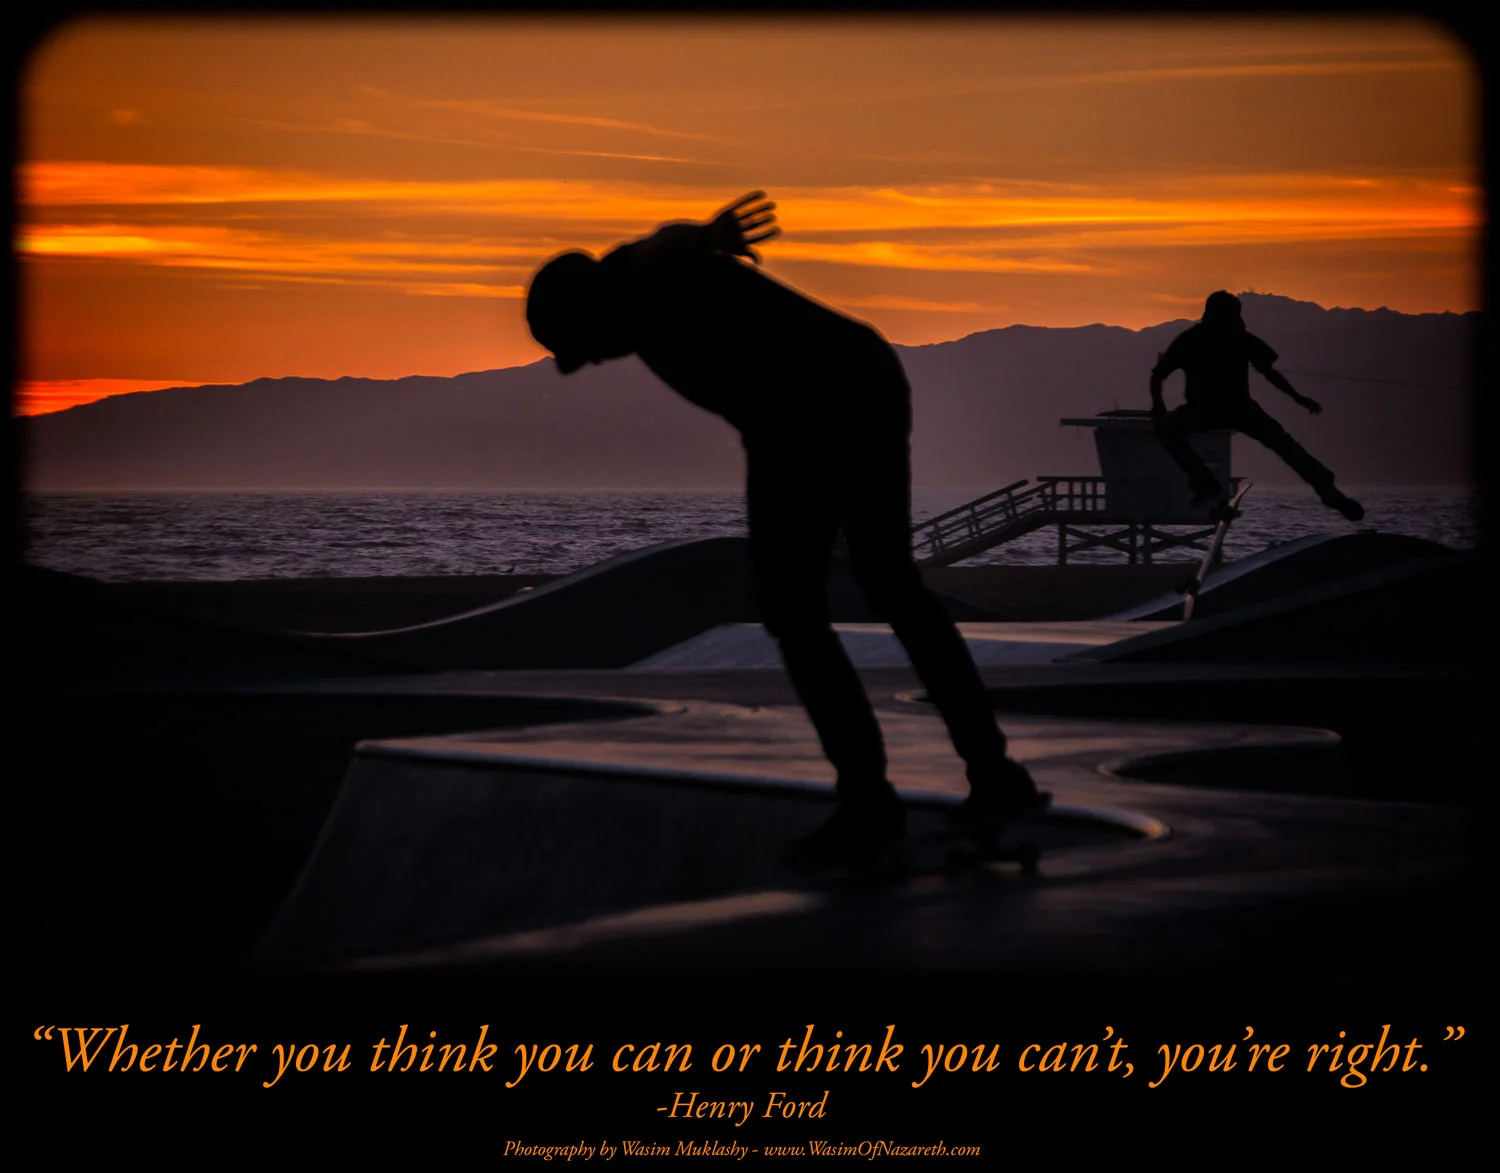
    “Whether you think you can or think you can’t, you’re right.” -Henry Ford
    **
    From me to you, There’s This Week’s Monday Kick In The Yahoo!
    **
    Move Mountains!

  • A Surprise Journey Through The Range Of Light – The Eastern Sierra Nevadas – Part 3: Mono Lake

    A Surprise Journey Through The Range Of Light – The Eastern Sierra Nevadas – Part 3: Mono Lake

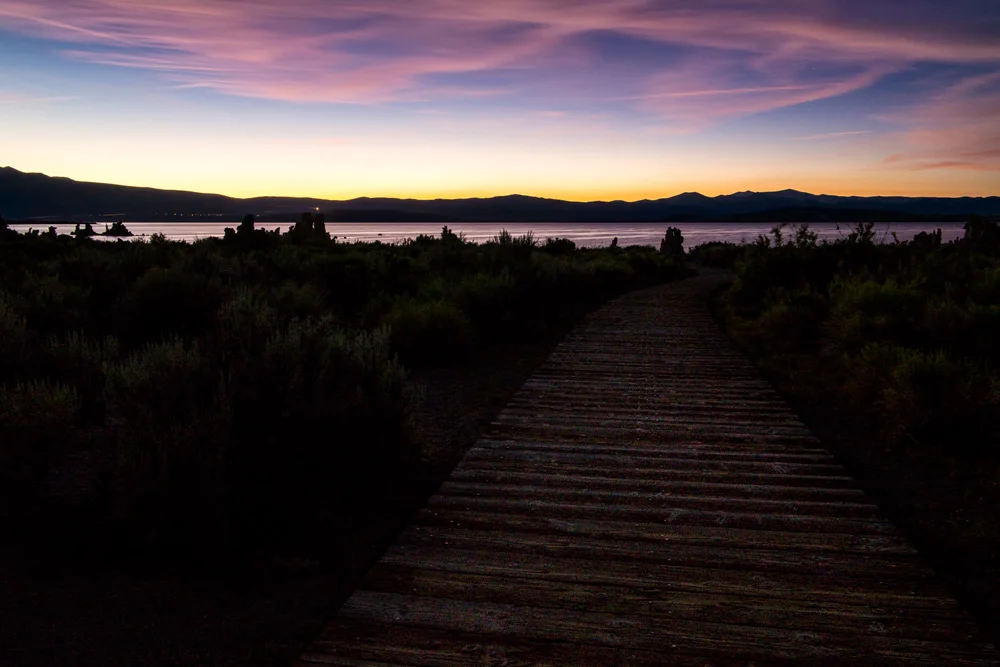
    Wasim Muklashy Photography_Mono Lake_California_Samsung NX30

    Day 3 of this unplanned impromptu journey into the Eastern Sierras thing was a tough choice. While I was happy with what I got in Yosemite’s Tuolumne Meadows yesterday, now that I knew the lay of the land a bit better, it couldn’t hurt to head back again, which I would have been absolutely HAPPY to do. However, I was also dangerously close to Mono Lake, California, another one on the bucket list, so I had to decide whether to turn this into 2 days of Tuolumne or 1 day of each, Tuolumne and Mono Lake, both of which, in my opinion, would have been WIN! I know, I know, tough decisions… But ultimately, the side of me that loves new things chose Mono Lake, figuring that, since the job got botched, I’d most likely be back up here again soon, so I’ll get another shot (major pun intended).

    Wasim Muklashy Photography_Mono Lake_California_-SAM_1480_1800

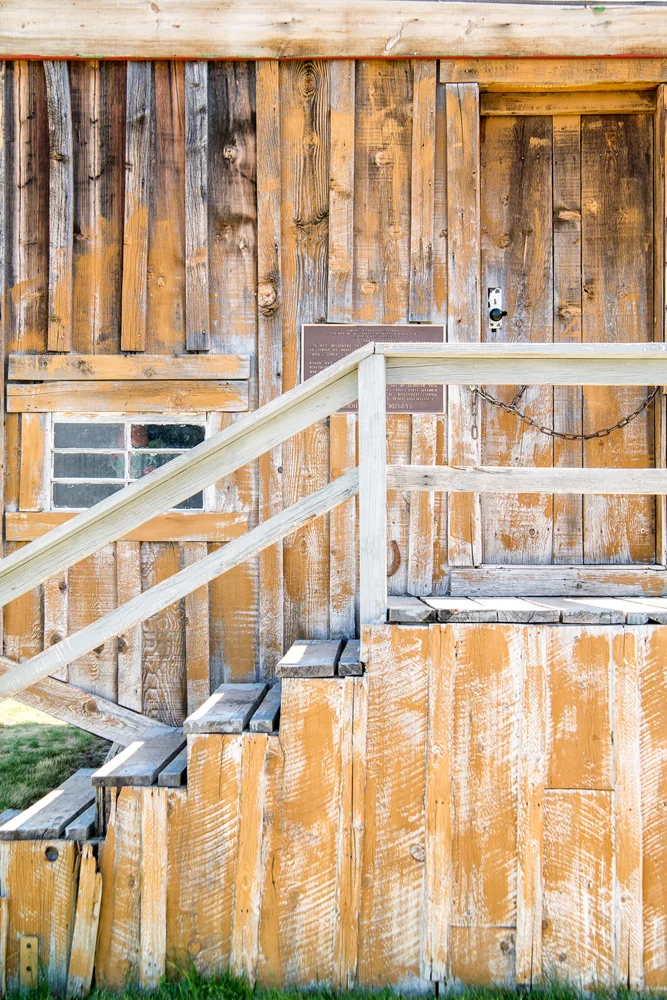
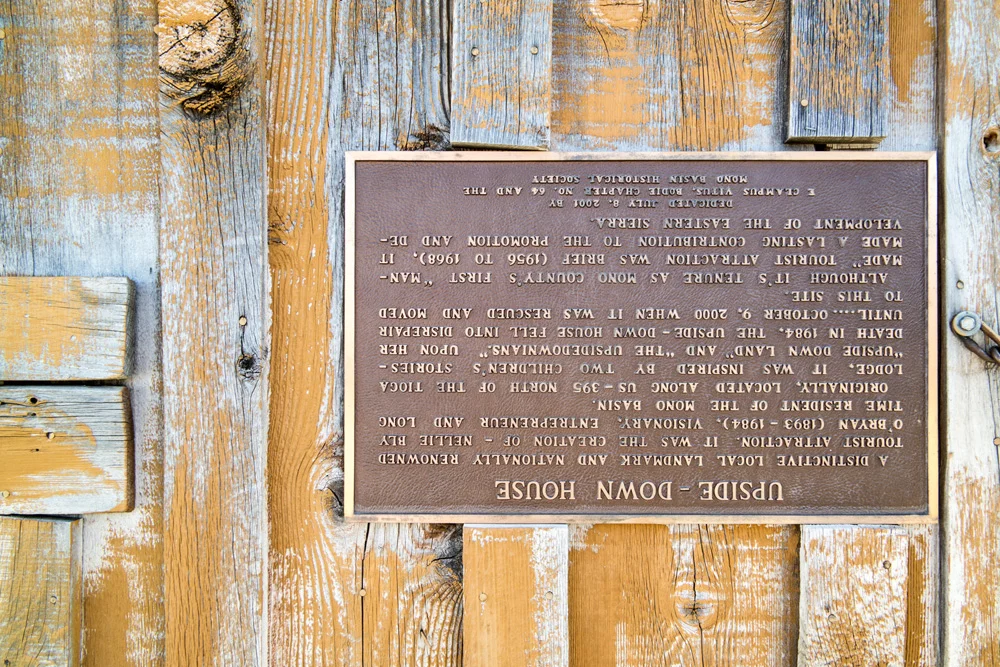
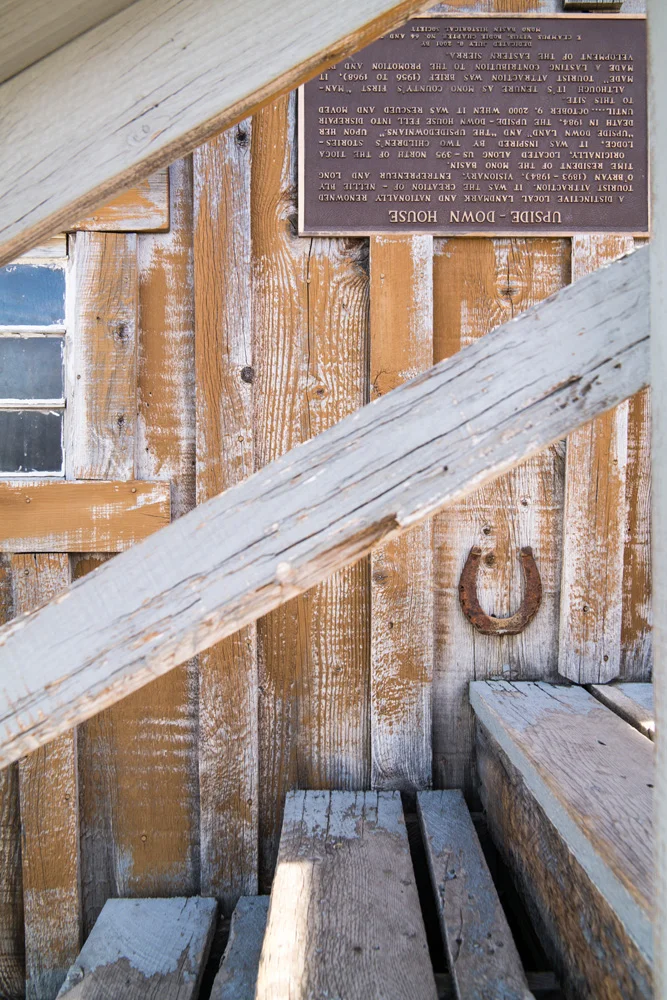
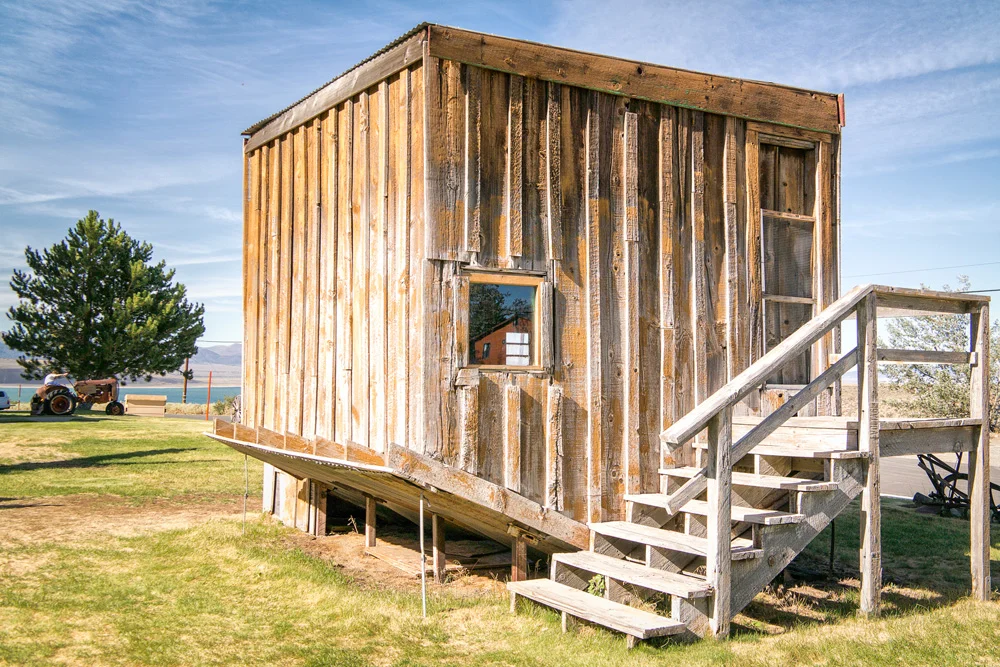
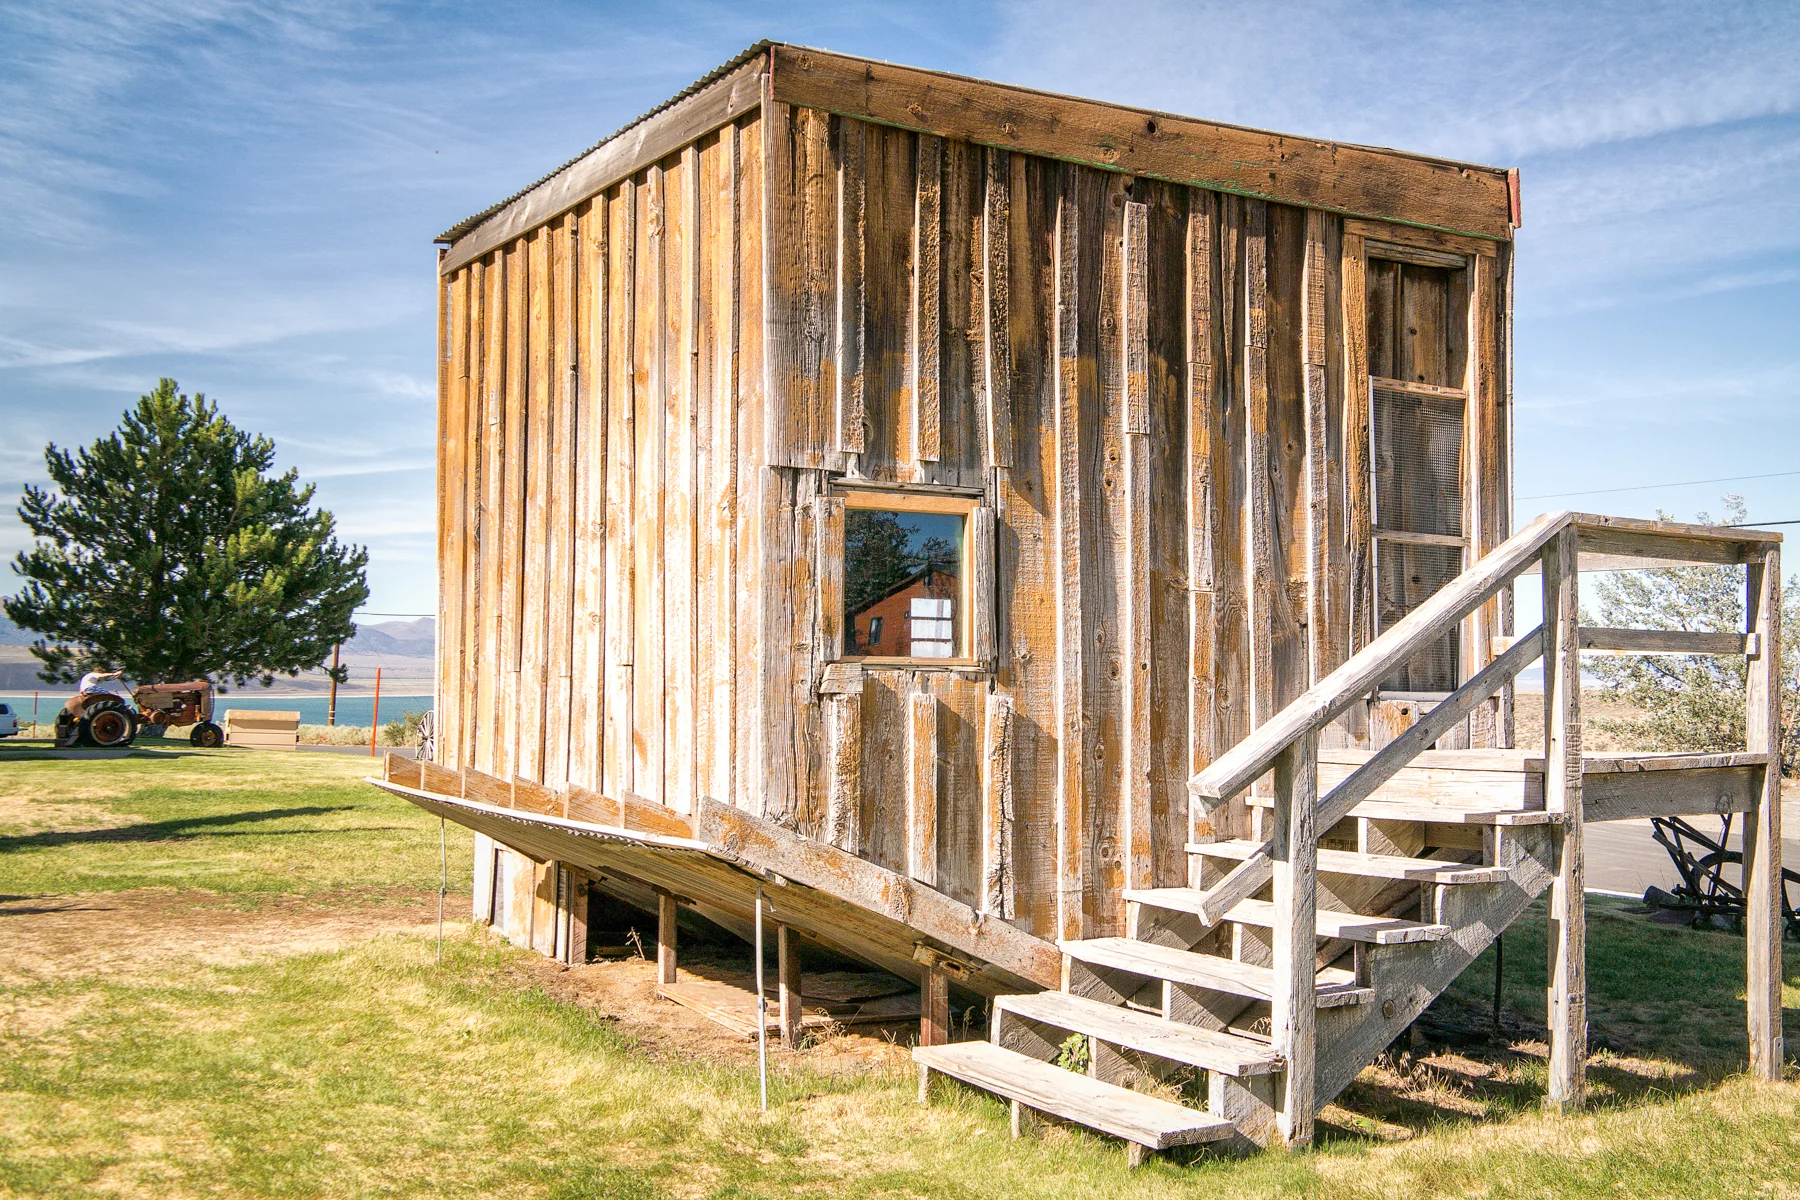
    Once again, I left the motel in Mammoth Lakes around 4. Seeing as how Mono Lake was only about 30 minutes from Mammoth, I figured I’d have a solid 2 hours to get the lay of the land, find my shot, set up, and hang out. I drove through Lee Vining, stopped at the visitor center to find out how to get to the Tufas, the landmark landscape of the lake, made a mini-detour to the ‘Upside Down House,’ (don’t ask…here’s the photo and the sign, which I haven’t even read…kinda don’t want to ruin the desert rat mystique of this one…), and drove the 10 or so miles to the section of the lakeside I was going to call home for the next several hours.

    Wasim Muklashy Photography_Mono Lake_California_Samsung NX30_-SAM_1579_1500B

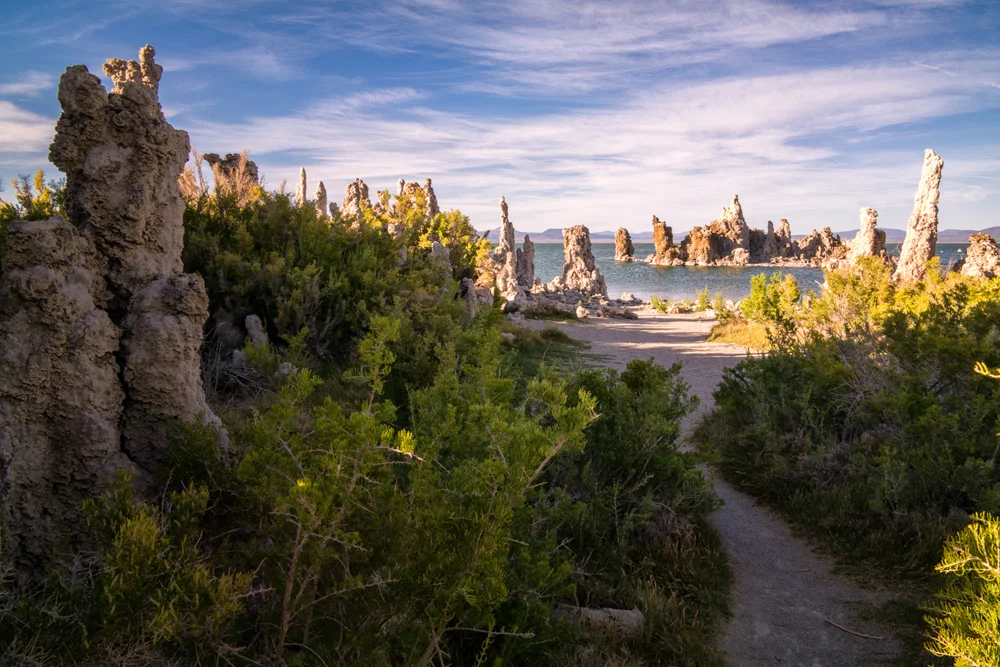
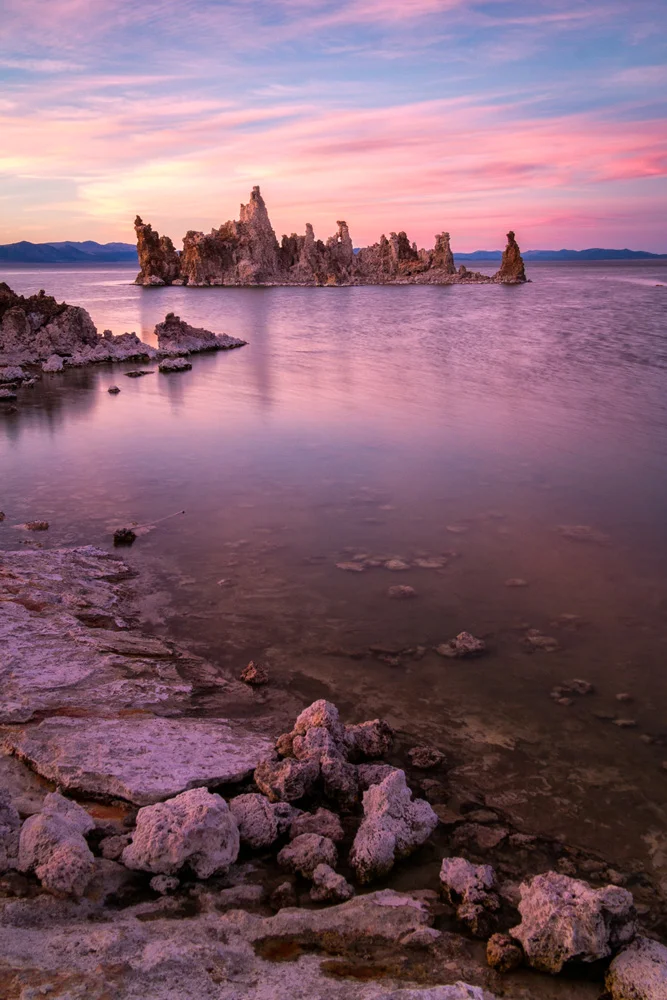
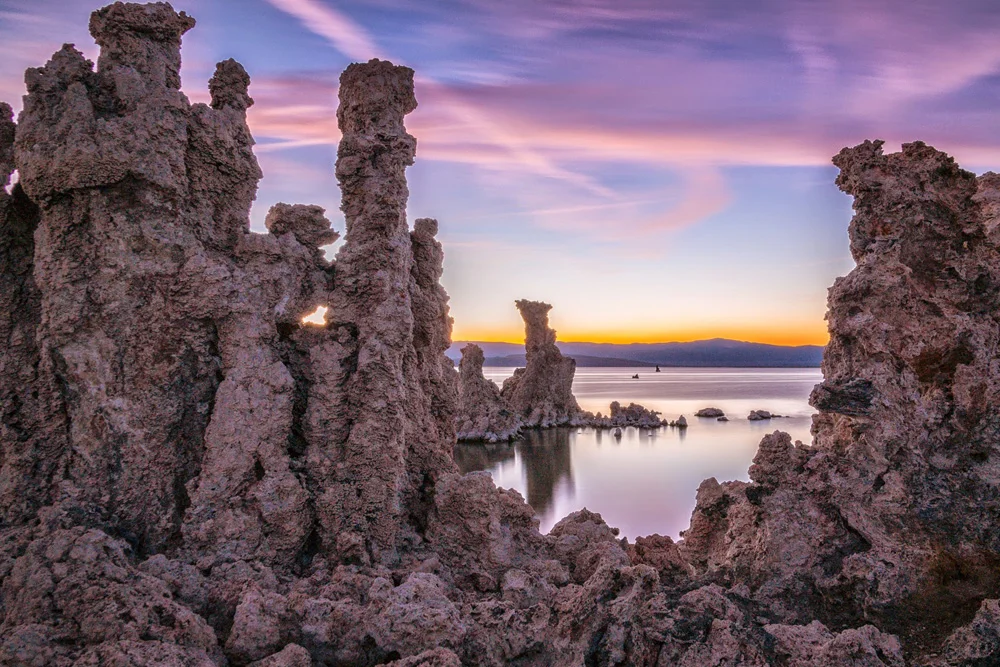
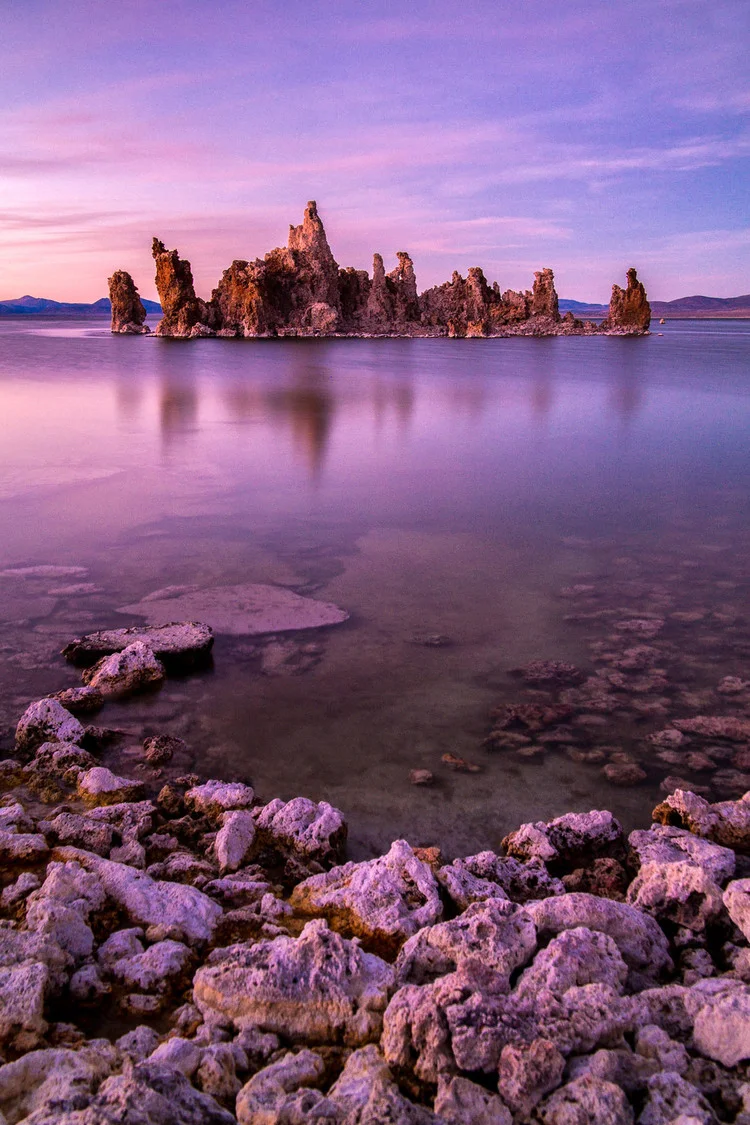
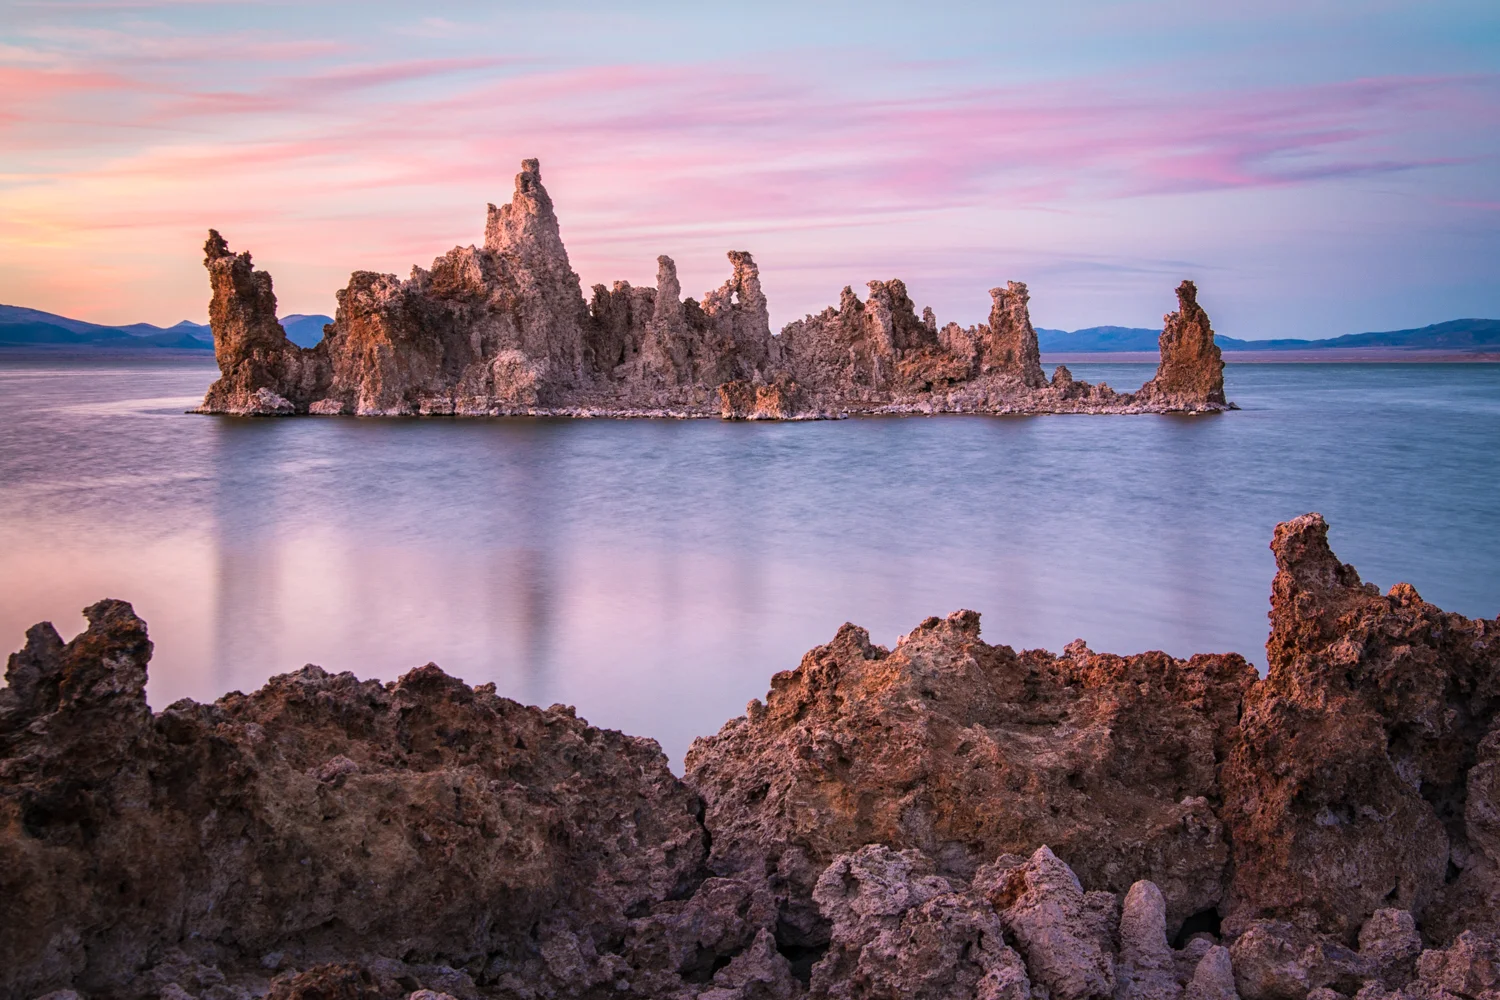
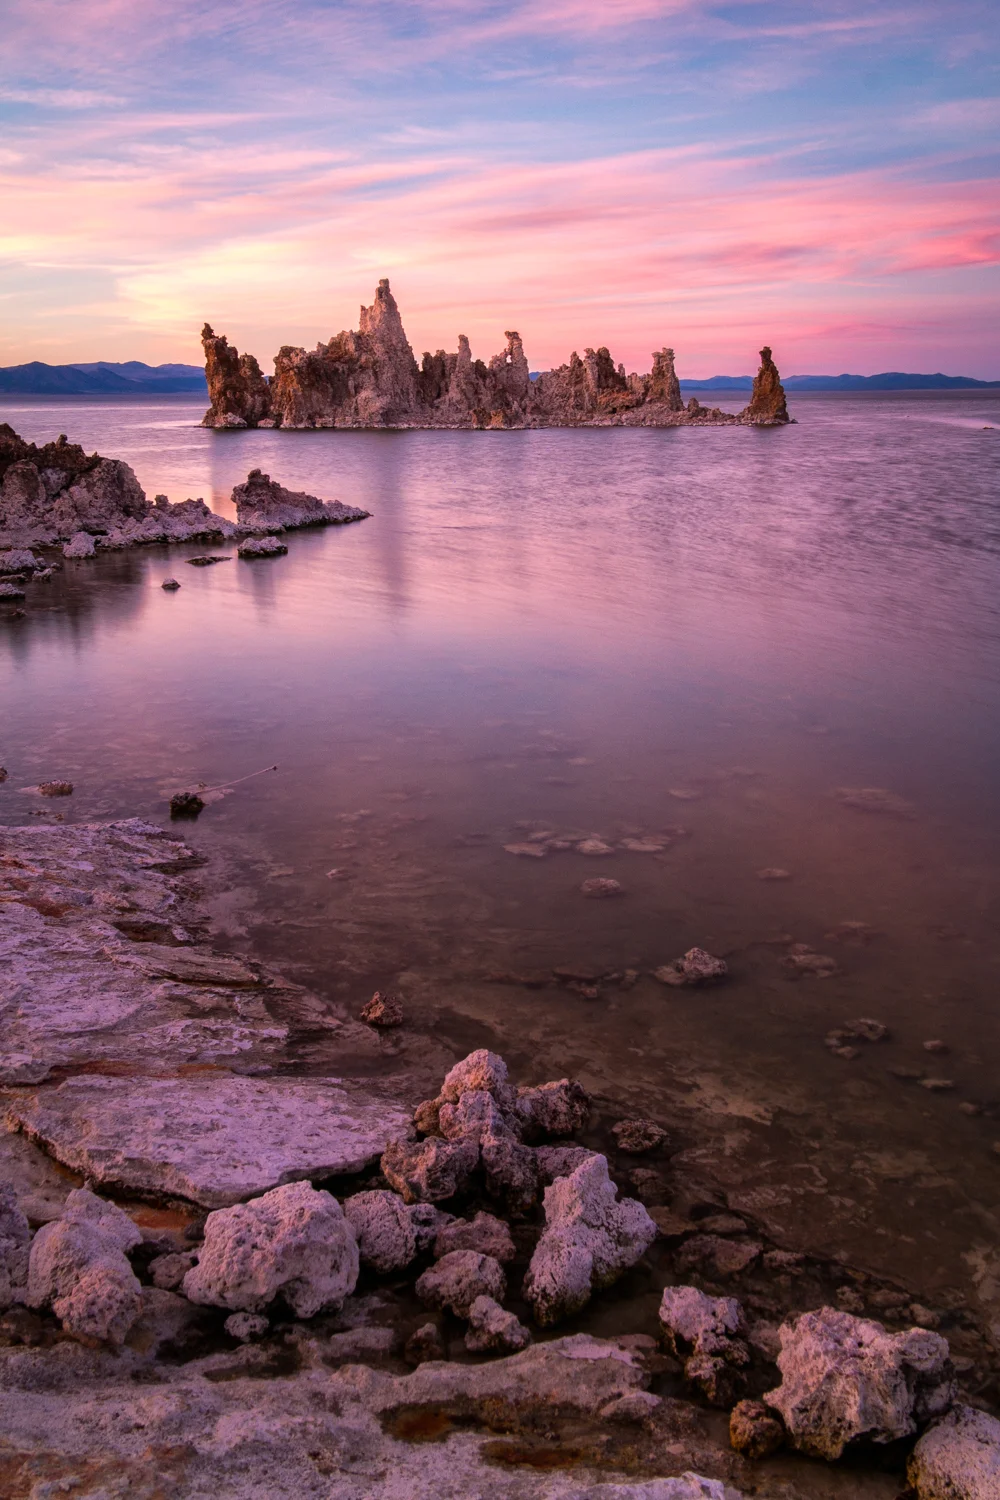
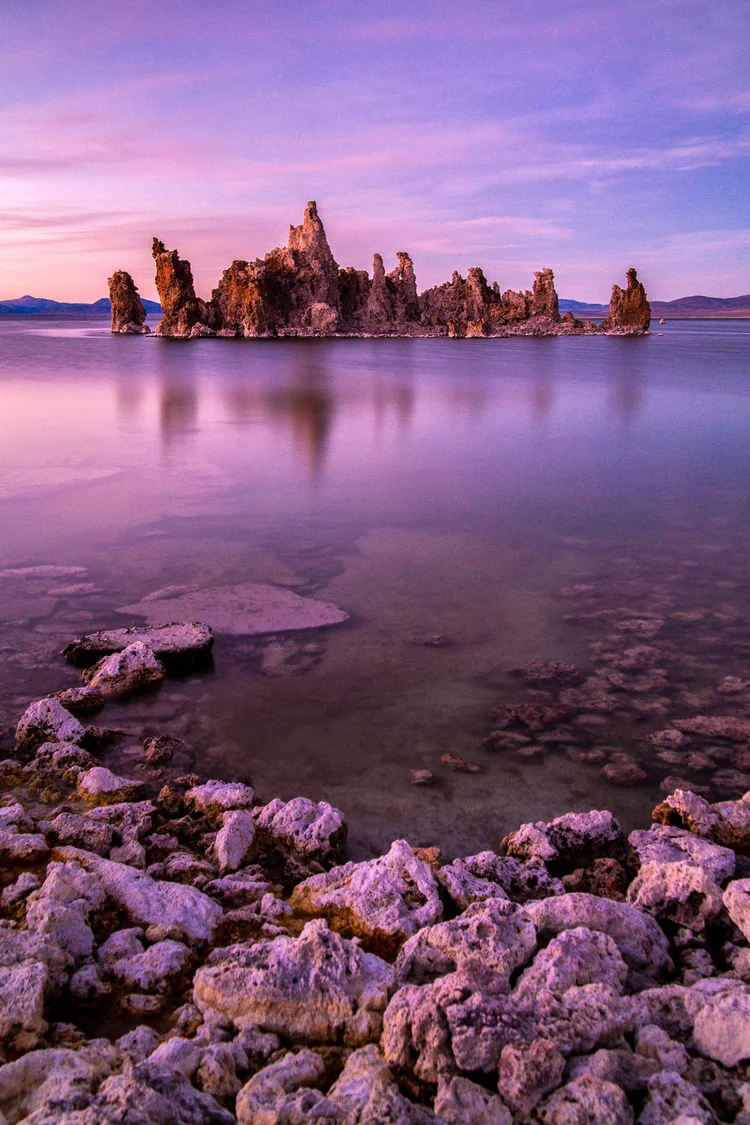
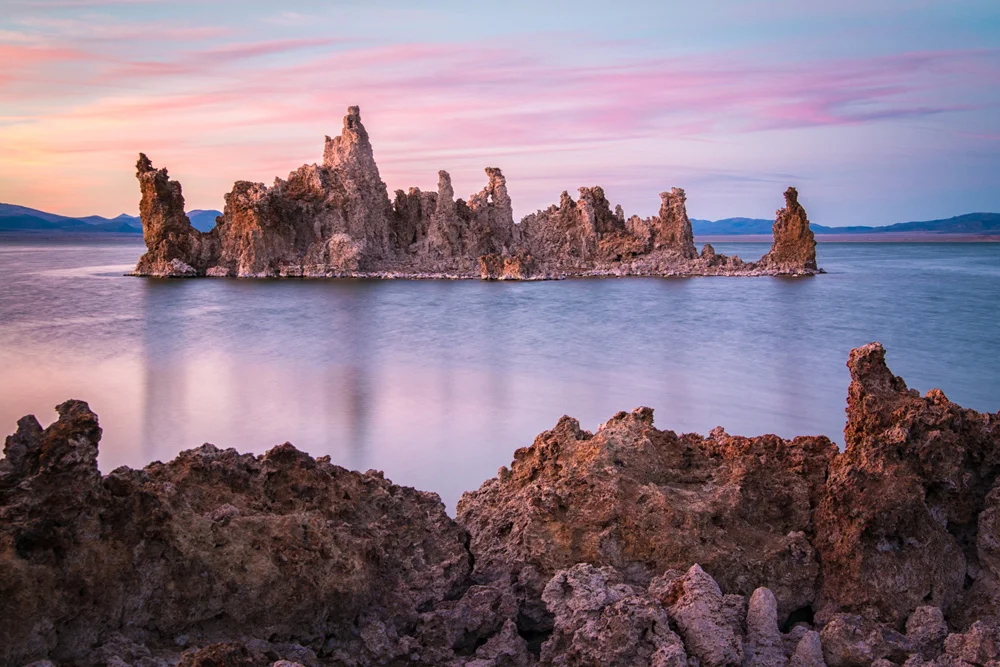
    I parked in the lot, and started walking down the path towards the shore, and the closer I got, the weirder everything started to get. There was a moment there where the wooden footpath ended, and the sand began, and it literally seemed like that one step took you from Earth, to Mars. These geological formations were the weirdest fricking things I’ve ever seen with my own eyes. I thought the hoodoos in last years trip to Bryce Canyon were from another planet, but these things just took things to a whole ‘nother galaxy.

    Apparently what they are are dried up hot springs. The calcium-rich springs come out of the ground, pushing through the limestone, mixes with calcium carbonate, creating what are essentially, underwater hot spring volcanoes that eventually calcify and leave these…things…behind. While they’re naturally created over millennia, and happen underwater, the water level at Mono Lake has dropped so much since water diversions began in 1941, that it has exposed the wonders of the tufas for the world to see.

    And those, my friends are what grace the top of this post and the gallery below. All of those images were also shot on a Samsung NX30 using a Samsung 18-200mm lens.

    I hope you enjoyed my posts from this random trip at least a fraction of how much I enjoyed making them.

    If you missed the first two parts, here they are:

    Part 1: Mammoth Lakes
    Part 2: Tuolumne Meadows, Yosemite National Park

    And for more of my madness: Instagram: @wasimofnazareth Twitter: @wasimofnazareth Google+: www.Google.com/+WasimMuklashy Facebook: www.Facebook.com/WasimOfNazareth
  • A Surprise Journey Through The Range Of Light – Part 2 – Tuolumne Meadows, Yosemite National Park

    A Surprise Journey Through The Range Of Light – Part 2 – Tuolumne Meadows, Yosemite National Park

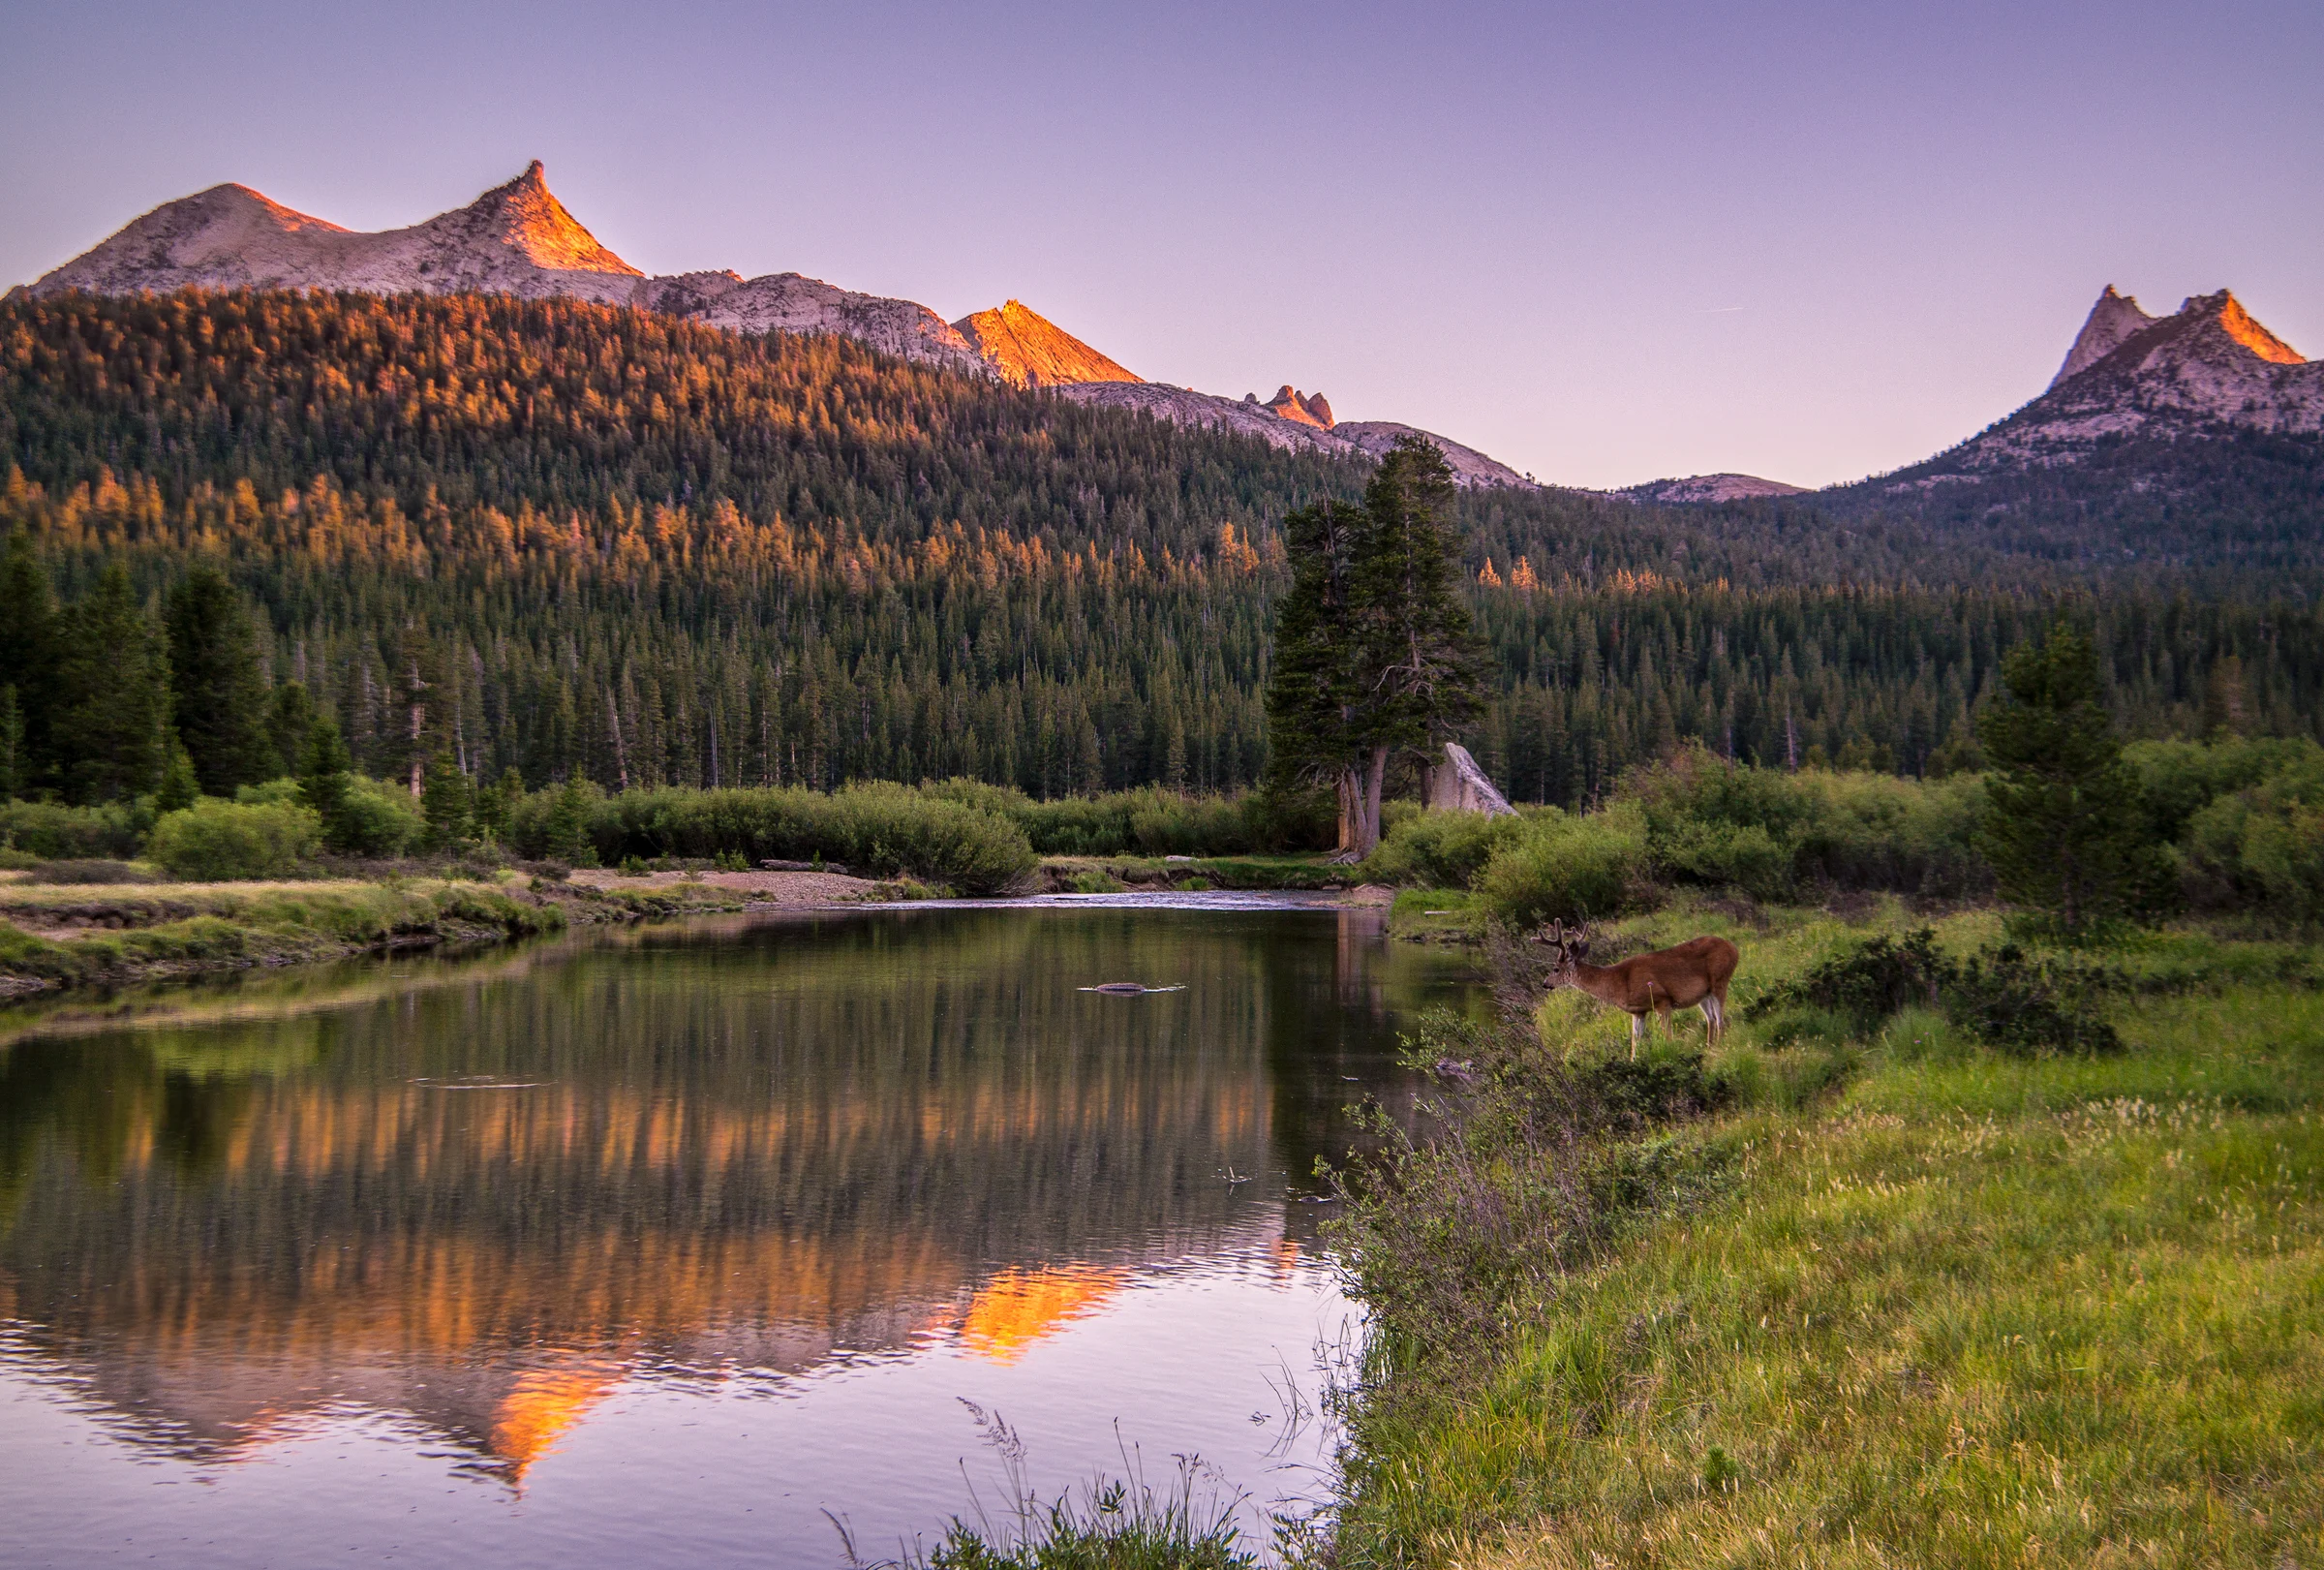
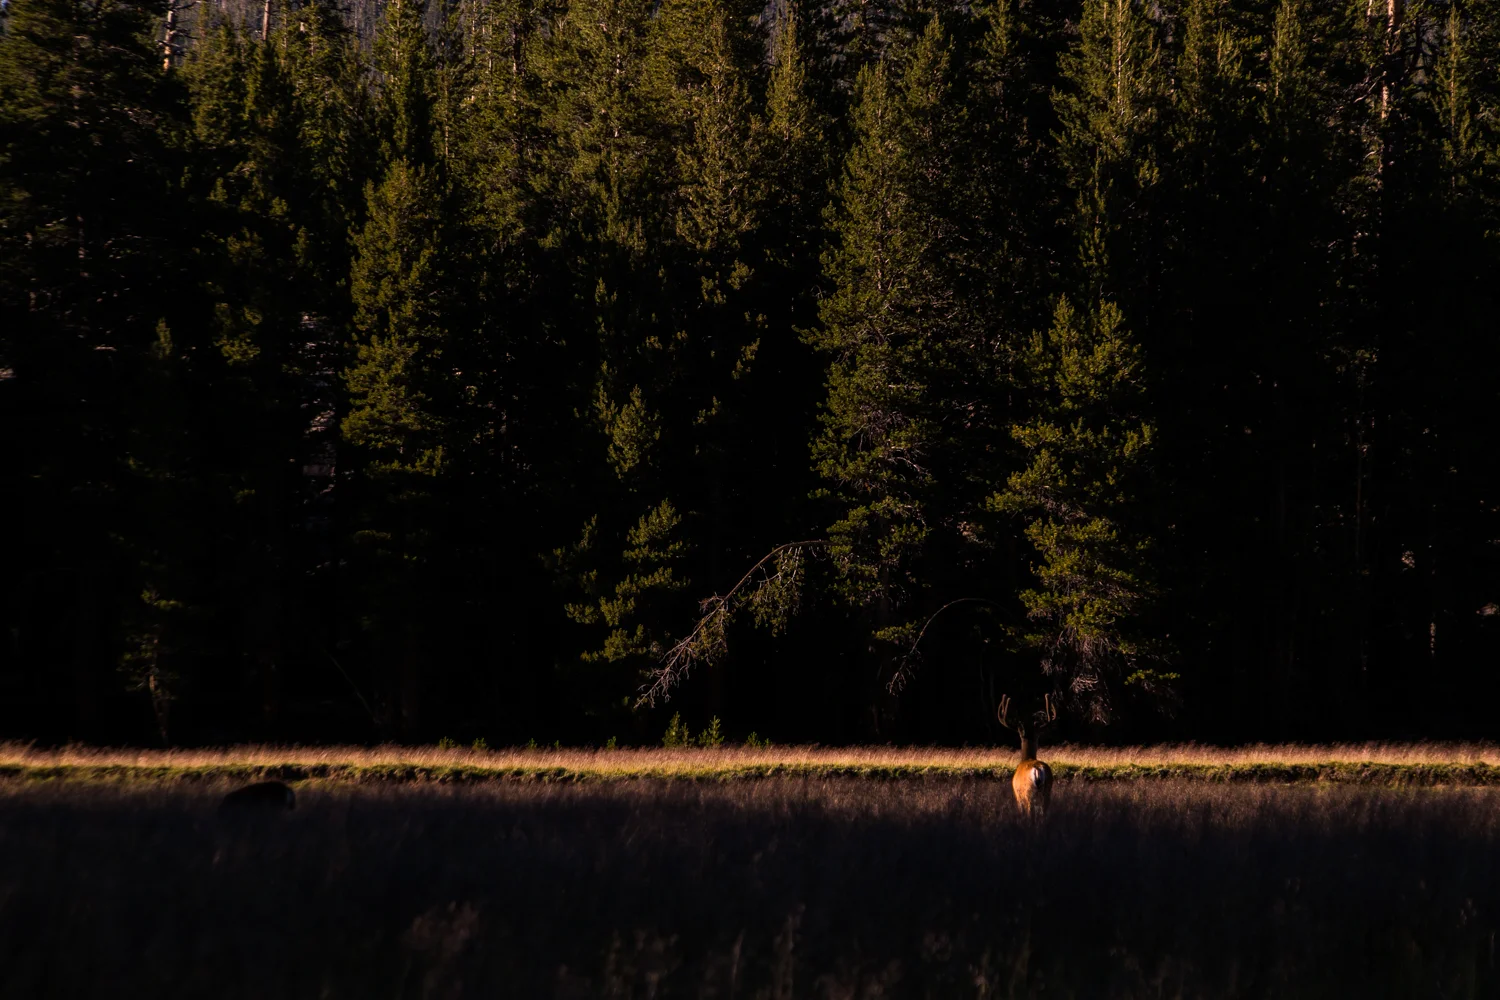
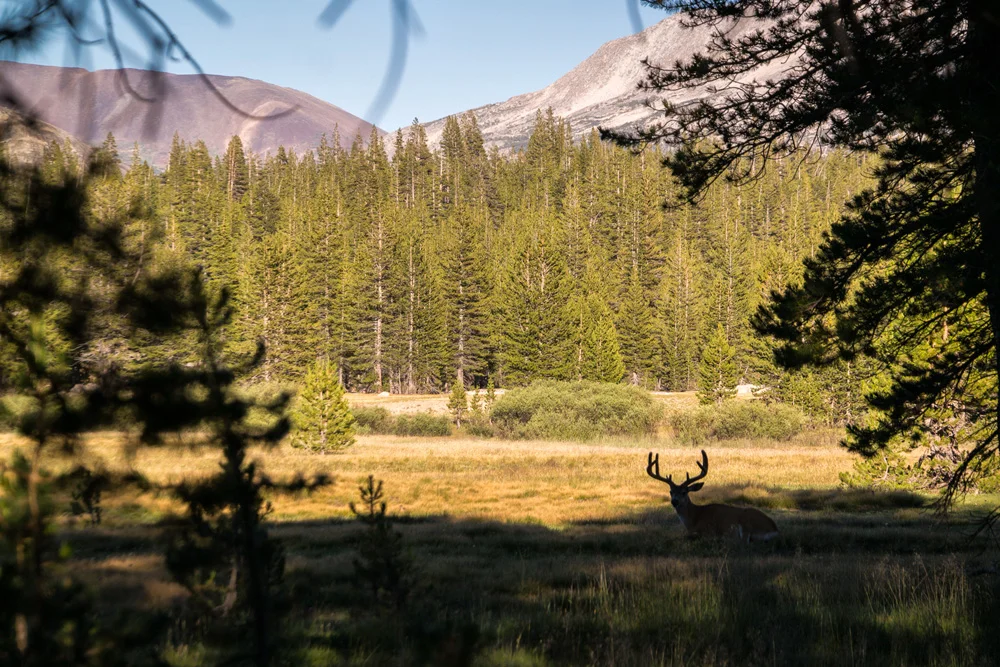
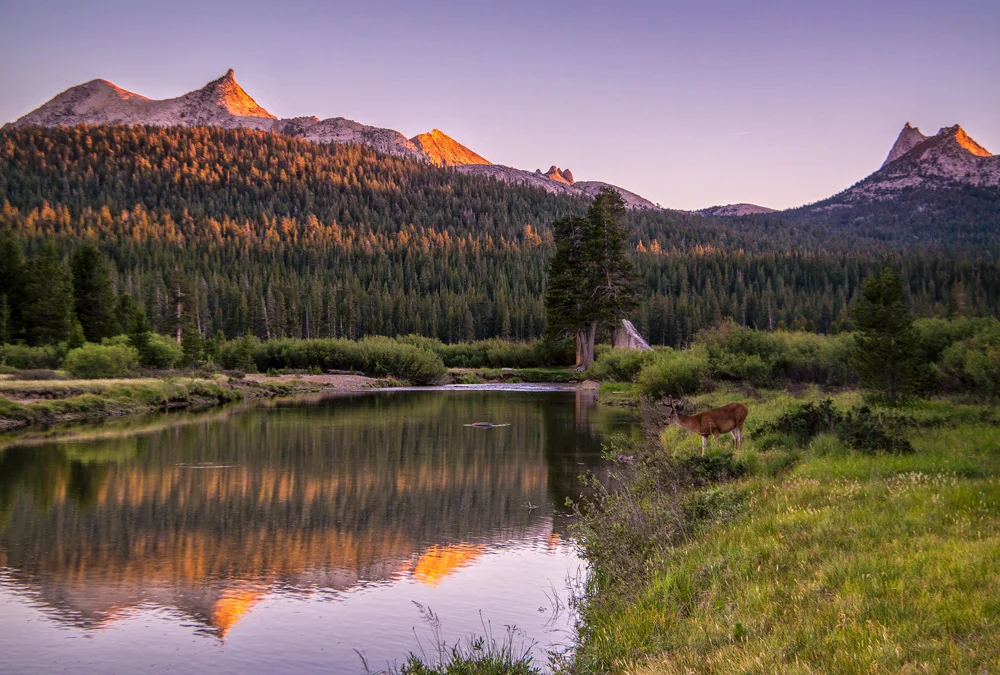
    Wasim Muklashy Photography_Tuolumne Meadows_Yosemite National Park_California_A Deer Pops in For A Drink

    This is just one of those places. You hear about it, you see pictures of it, you read about it, and if you’re a nature-lover or photographer, or better yet, both, you’d be hot damned if you that’s the one you didn’t get to cross off your bucket-list.

    Tuolumne Meadows, Yosemite National Park.

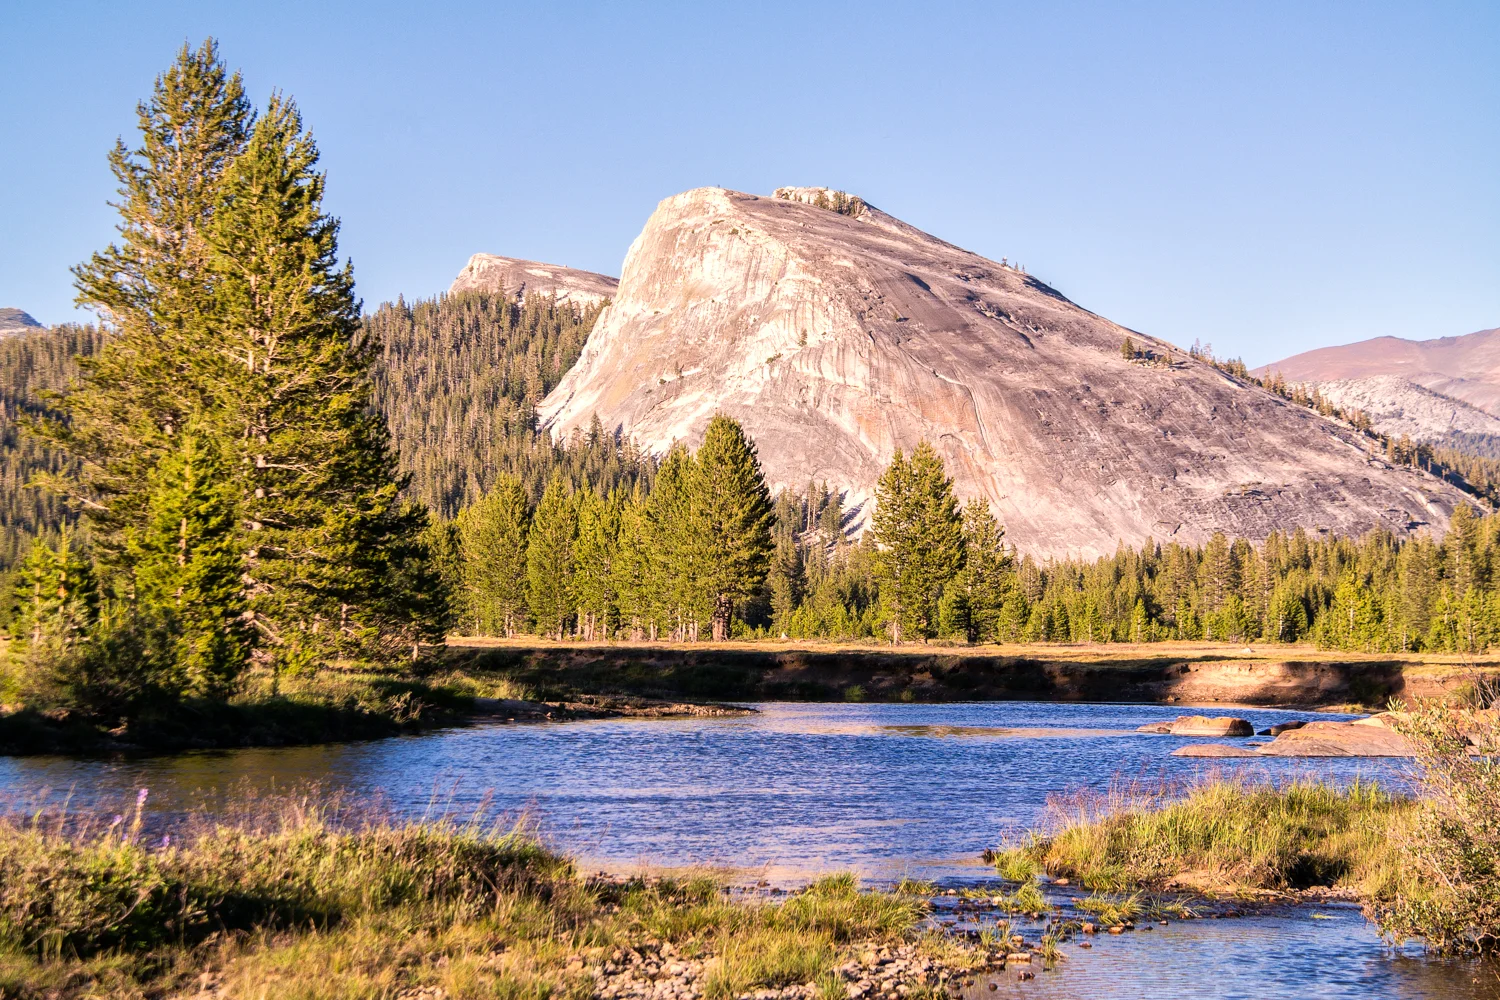
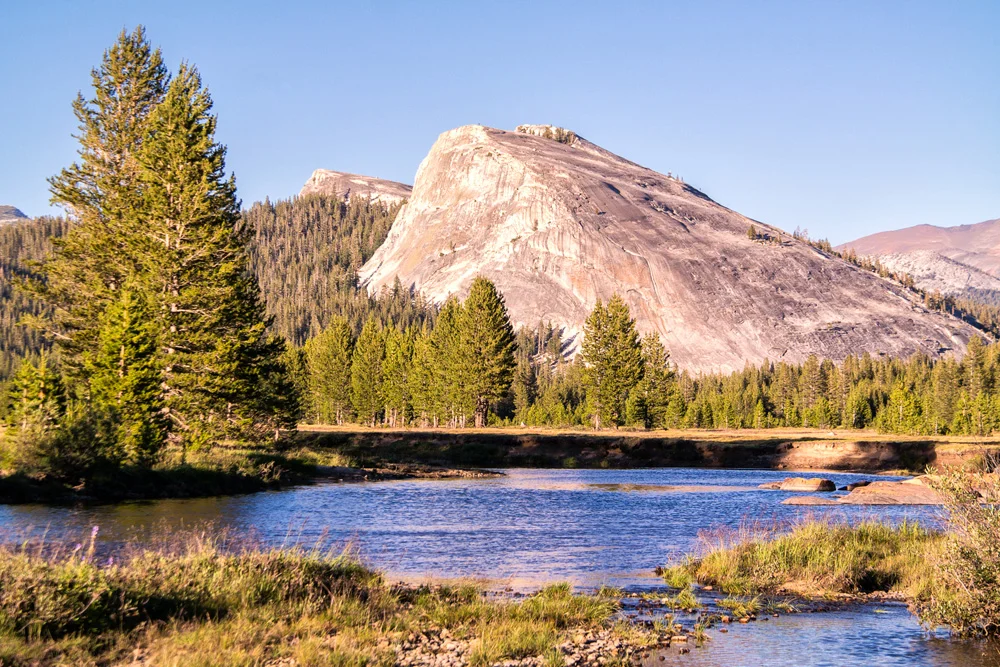
    The mystique around this place runs high. It’s been called a ‘photographers paradise,’ as well as one of ‘the most difficult places to photograph.’ The thing about it is, it’s closed off most of the year. The picture-perfect gentle alpine meadow bordered on all directions by soft granite domes and spires, and blanketed in pines and wildflowers and berries and natural grass, lies in the highest of high countries in the Sierra Nevada Mountains, so Tioga Road, the only one that passes through, is snowed in on average of 7 months a year, and on top of that, the meadows are ‘meadowed’ for only about 3 months of the year (as a local park guide so eloquently put it). Furthermore, those 3 months just so happen to be the absolute busiest months of Yosemite National Park’s schedule, but, as stated in Part 1 – Mammoth Lakes, there was no way I was not going to seize this unexpected and completely spontaneous opportunity to make my way to this alleged garden of Eden.

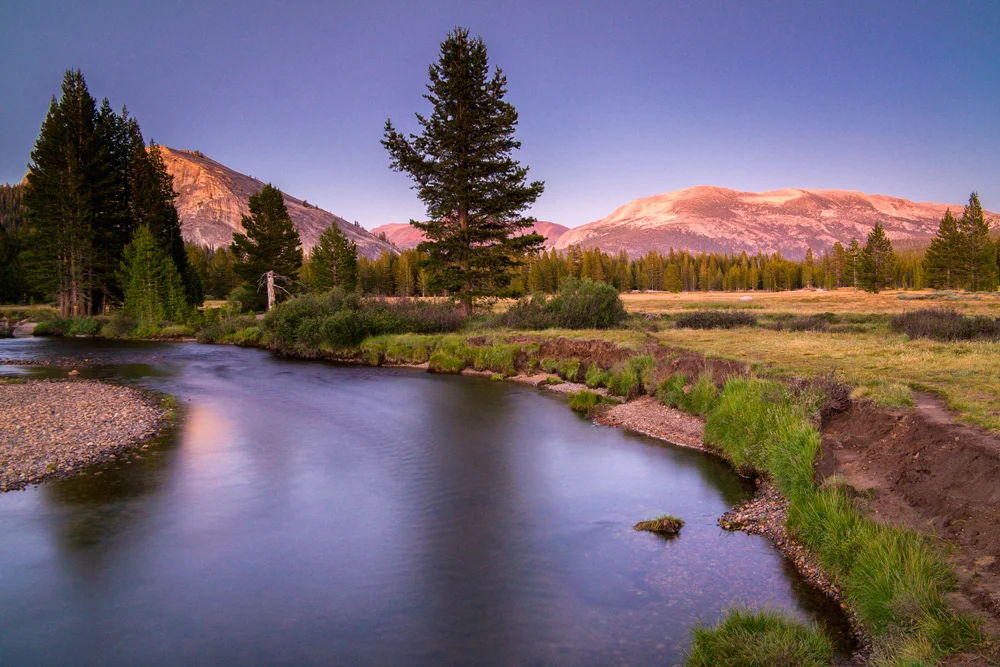
    Tuolumne Meadows, Yosemite National Park, California. Summer 2014.

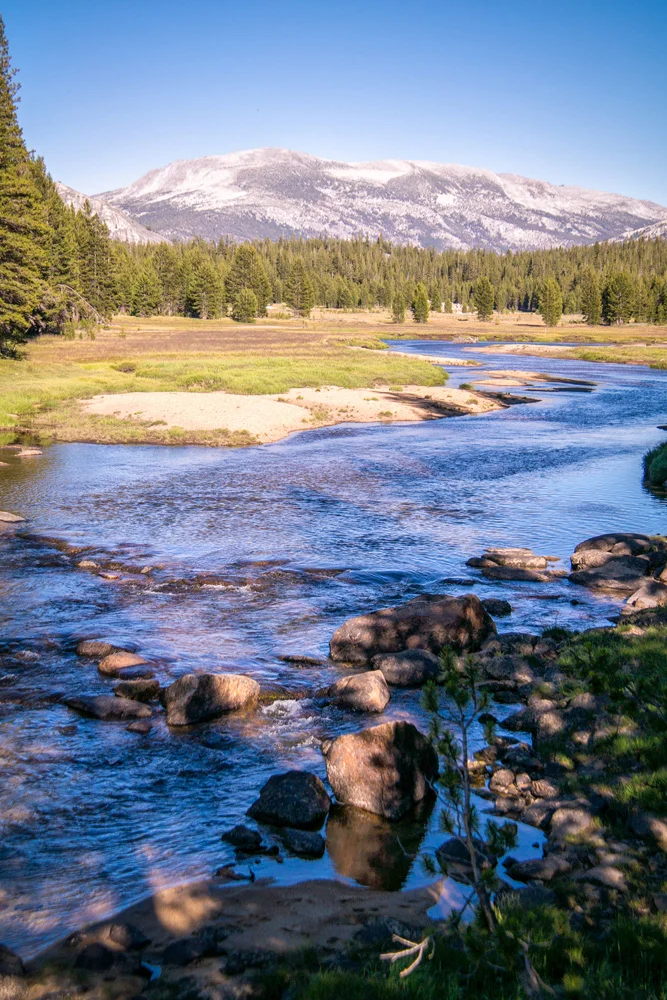
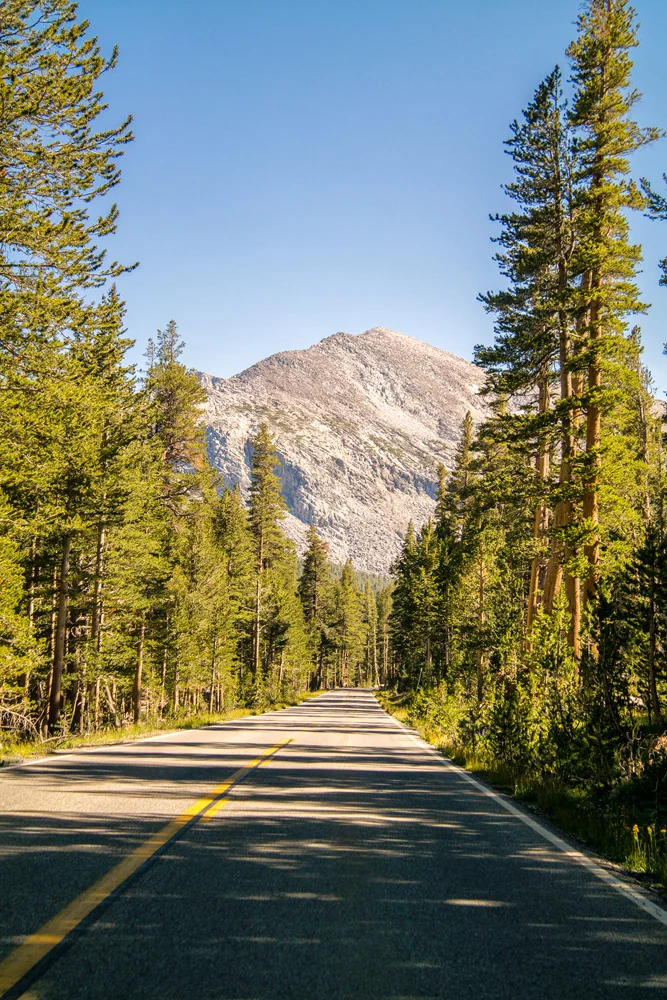
    I pulled onto Tioga Road at about 4pm, with about 4 hours before sunset, which I figured was enough time to at least explore a bit and find a place I was going to call camp for sunset. As I wind my way up and through the Tioga pass from Lee Vining on the Eastern Sierra side, I slowly rolled through the sort of landscape that dreams and fantasies are made of, the kind of place you thought only existed in cartoons and psilocybin – crystal clear sky blue cascading streams and rivers snaking their way through saturated green grasses and tress of various sizes and varieties, flanked by sun soaked rolling hills comprised of rolling granite domes and lodgepole pines.

    As I drove through at about 10 miles per hour, I literally found a tear in my eye – I was in absolute awe of some of the most striking, insanely unreal scenes that would trump a psychedelia-soaked dream. I won’t lie. I was overwhelmed. How the hell was I going to only spend 5 hours here?

    I figured since I only had this afternoon, I’d stop by the visitor center and ask for a few tips. The nice lady was hesitant at first to give out one of her favorite spots and secrets, but after she found out I was a State Park volunteer, she figured she was in safe territory and loudly ‘whispered’ a tip. I thanked her kindly, and went to follow her tip as I made my way around a particular dome. I hiked in for about 35 minutes before realizing I had no flashlight to get back out, and this was bear country, and I was finding myself in a maze that wouldn’t be ‘fun’ to try to scramble out of after dark. While the landscape was absolutely breathtaking as I followed the river through a forested part of the meadow, I had a scene in my mind  and this was taking me away from it. I wasn’t going to be able to get the sunset colors with the snaking stream through the meadow I had envisioned. After a quick glance at the clock, I had to make a decision quick as I was less than an hour from sunset. I hastily decided to hike back out, and head down the road to a more open part of the meadow and just hope I can find something I’d be happy with.

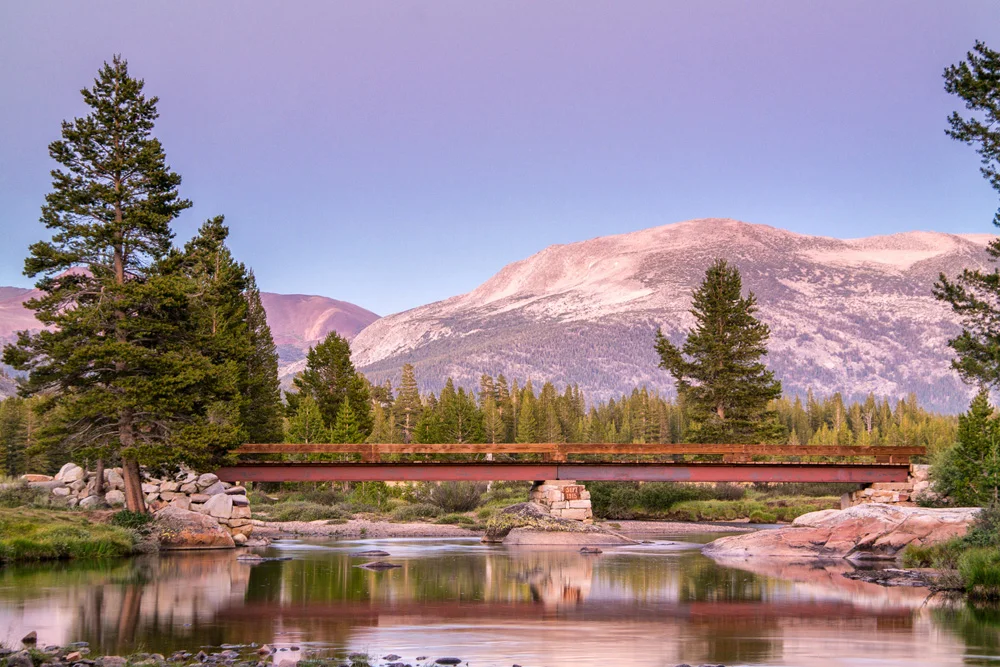
    Tuolumne Meadows, Yosemite National Park, California. Summer 2014.

    I truly felt so overwhelmed, that I was absolutely certain that I wasn’t going to get a shot because I made the fatal mistake of running around looking for the best one, but made peace with it when I just figured I’d come back the next day now that I have a bit of the lay of the land. And I certainly wasn’t going to cry about that. Plus, I may not get the shot I had envisioned, but, I’m in Tuolumne Meadows at sunset, I’m sure as heck not walking out with nothing!

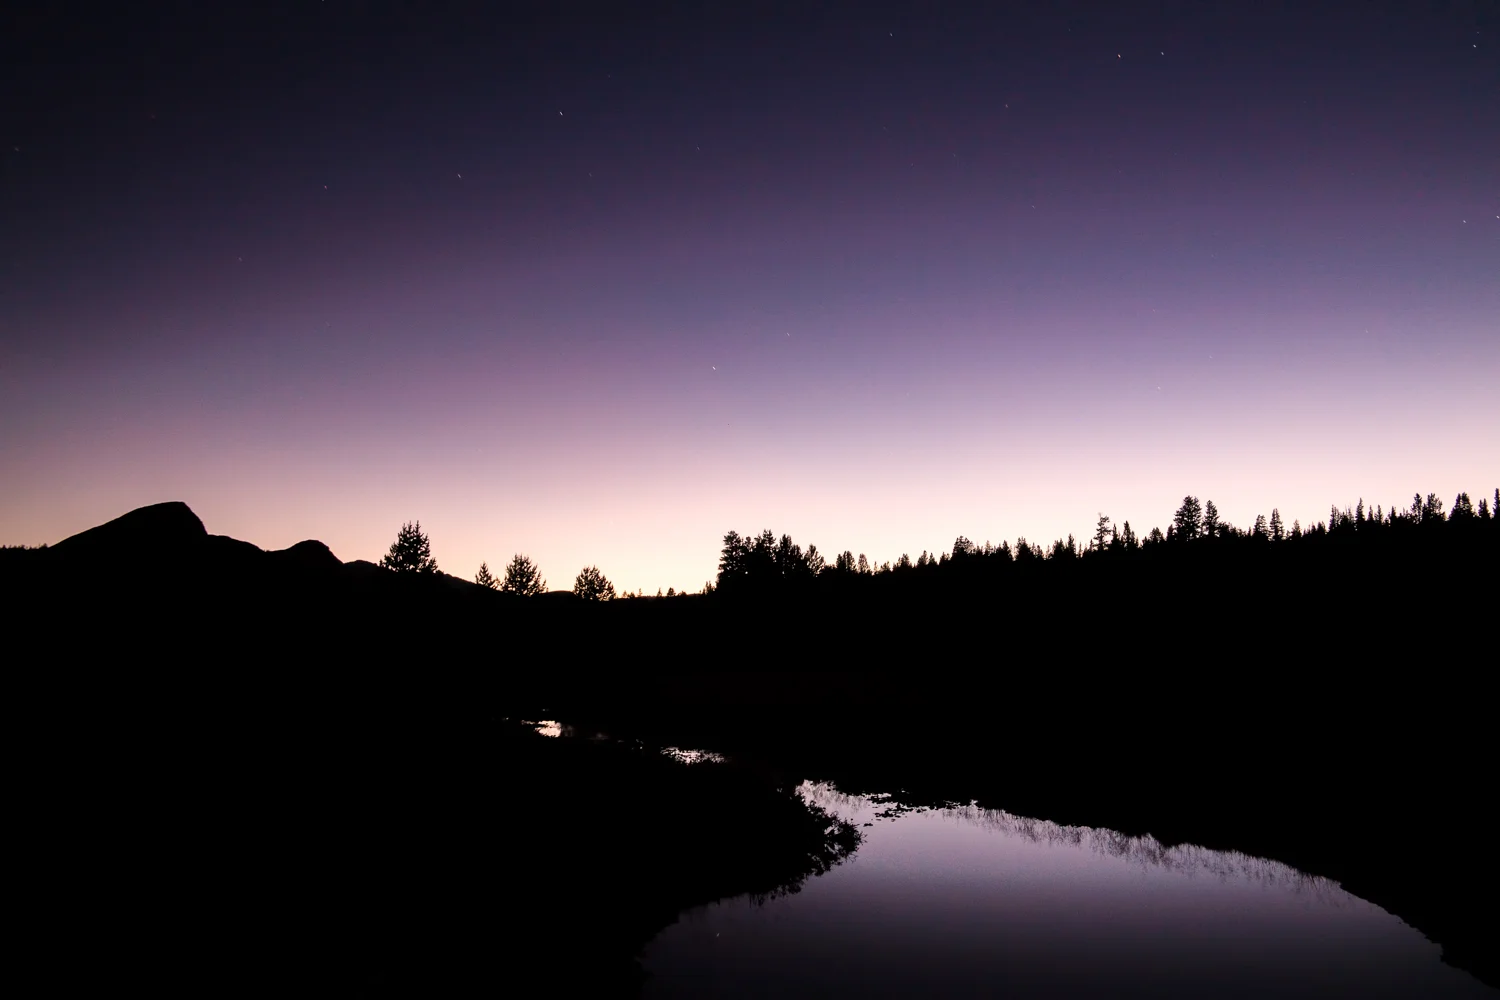
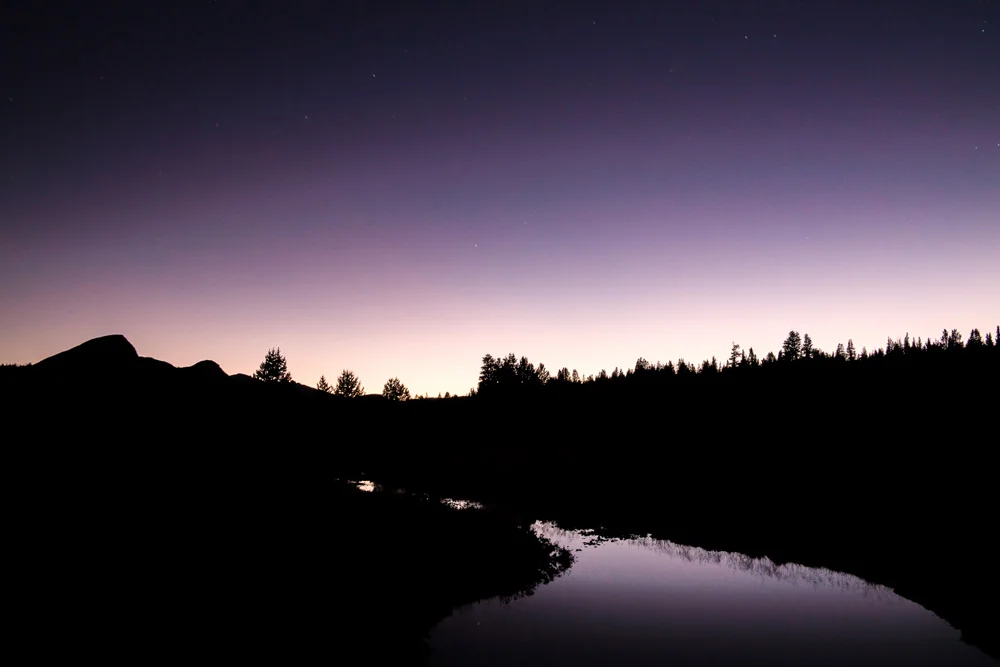
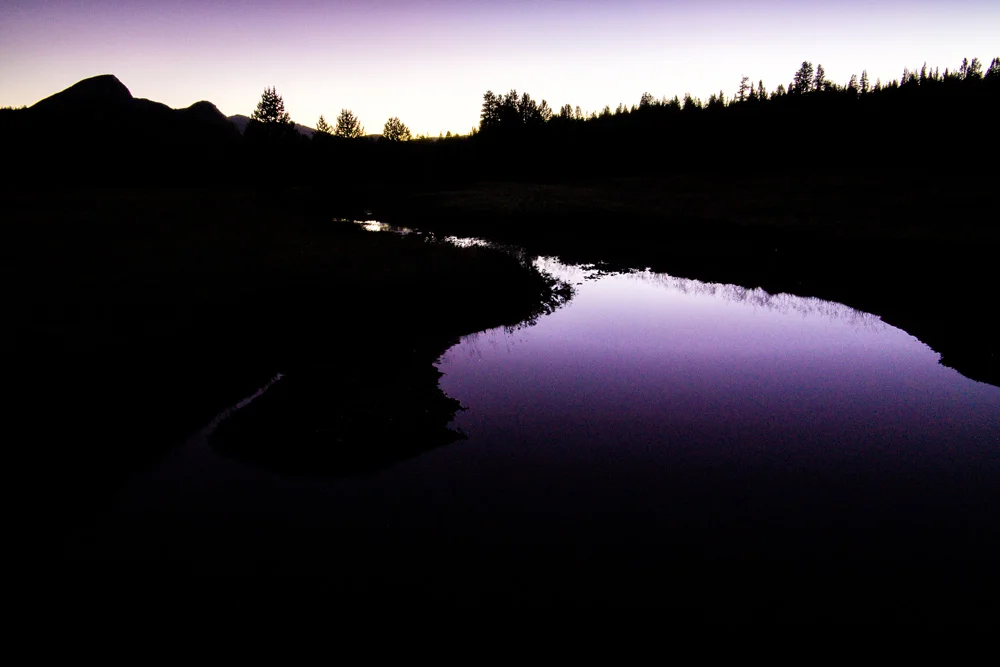
    So I slowed my roll, took a breathe, and decided I was just going to enjoy this one. I hiked into the riverbank, sat on a rock to soak in this paradise, and right at that very moment, is when I found and saw my shots. All within striking distance of where I started walking around like a crazed half-bearded madman. The most surprising was a shot that ended up being one of my favorites, it was well after the sun had set, and I had already packed my gear and was using my phone’s flashlight to find my way back out to the road. That’s when I ran across the purple twilight light reflecting in a small pond and playing with the shadows of the landscape just off the path. I had to do it – I pulled out my gear, set up, and spent about another 30 minutes after dark playing right there in that area.

    Twilight Over Tuolumne, Tuolumne Meadows, Yosemite National Park, California. Summer 2014.

    So here’s a bit of a gallery of my favorite images from that afternoon, all of which were shot on a Samsung NX30 using a Samsung 18-200mm lens.

    For Part 3, Mono Lake, click here.

    And in case you missed A Surprise Journey Through The Range Of Light – Part 1 – Mammoth Lakes, click here.

    And for more of my madness: Instagram: @wasimofnazareth Twitter: @wasimofnazareth Google+: www.Google.com/+WasimMuklashy Facebook: www.Facebook.com/WasimOfNazareth
  • A Surprise Journey Through The Range Of Light – Part 1 – Mammoth Lakes

    A Surprise Journey Through The Range Of Light – Part 1 – Mammoth Lakes

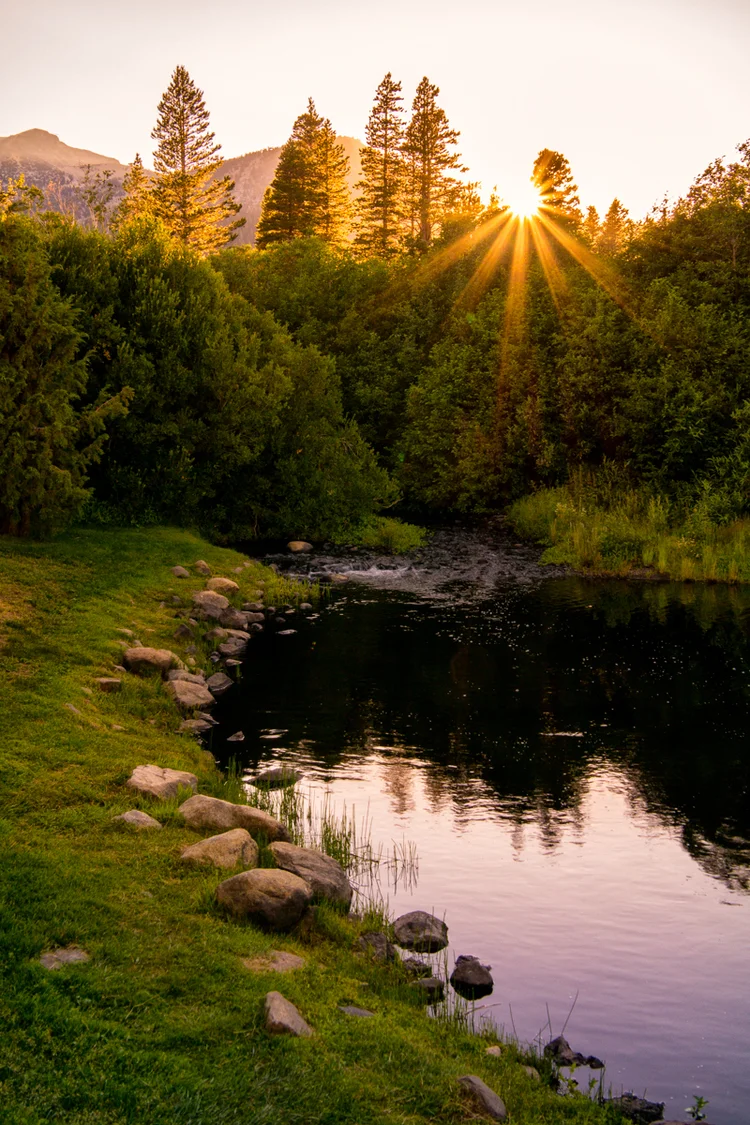
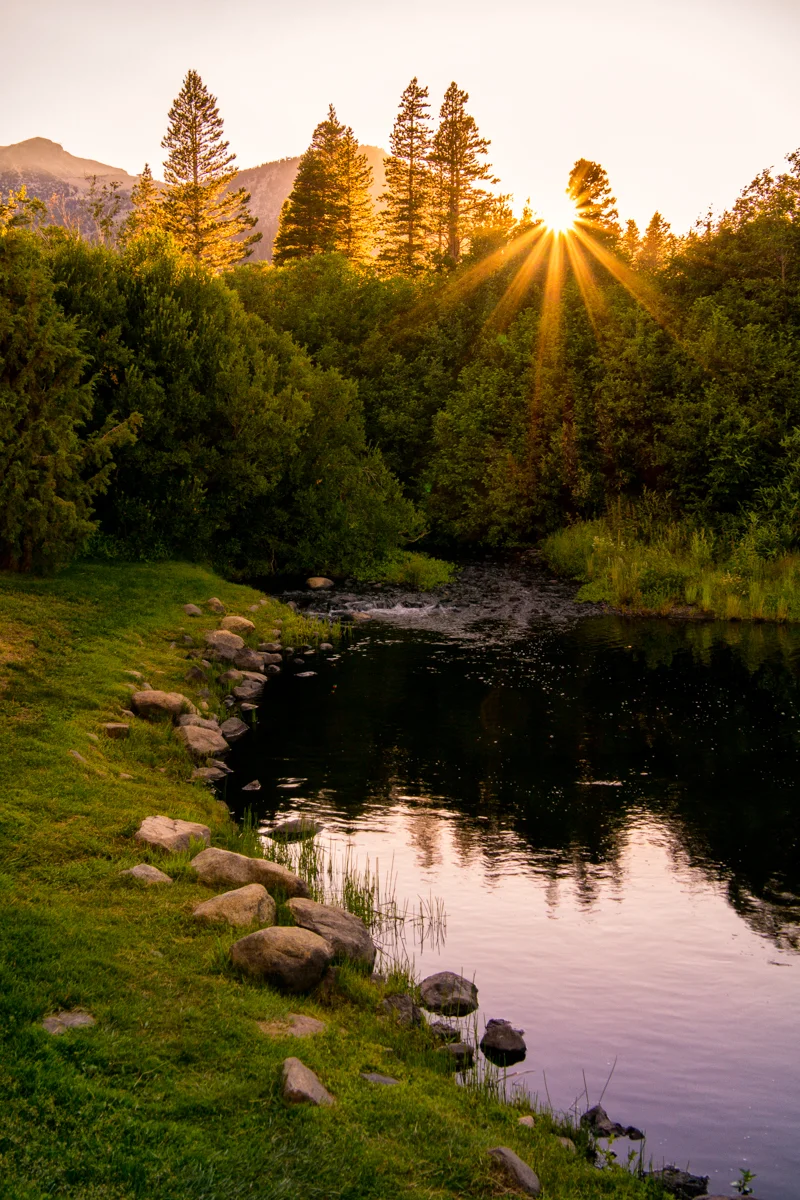
    Wasim Muklashy Photography_Mammoth_Condo_Sunset_Samsung NX30_SAM_1212_1200

    So this is what was supposed to happen. My landlord’s friend has a condo up in Mammoth. He wanted new pictures of it in order to prepare rental listings for the coming winter season. It hasn’t been rented in several months, so I figured this would be a good week to go. I got the green light from him, from the landlord, and off I went, driving along the Eastern Sierras of California…the ‘Range of Light.’ A relatively painless drive to spend a few days in a part of California I’ve never been to, take some pictures, get some writing and some work done in the solitude of the Sierra Nevadas for a few days, and then head back home.
    Well, let’s just say, that got derailed in a big way, spontaneously turning this into much more of an adventure than I expected.

    I showed up to the condo, and was immediately taken aback by how beautiful it was. How this wasn’t being rented, I’ll never know. Three immaculate bedrooms, a gorgeous living area, and it was big. I walked out the back patio door and it lie RIGHT on a river looking up at the sunset. I grabbed my tripod, slammed the camera on there, scarfed down my now cold meatball sandwich from John’s Pizza Works, and started snapping away. As the sun dipped behind the Sierras, I noticed that the light was going to make for a spectacular twilight shot of the condo. It was essentially isolated, with a river running by it’s side, and the golden pink skies were beginning to turn that lust-worthy shade of deep blue. I set up my tripod for the shot, ran in the house to turn on all the lights, and…(insert record scratch sound here…) a woman was standing inside.

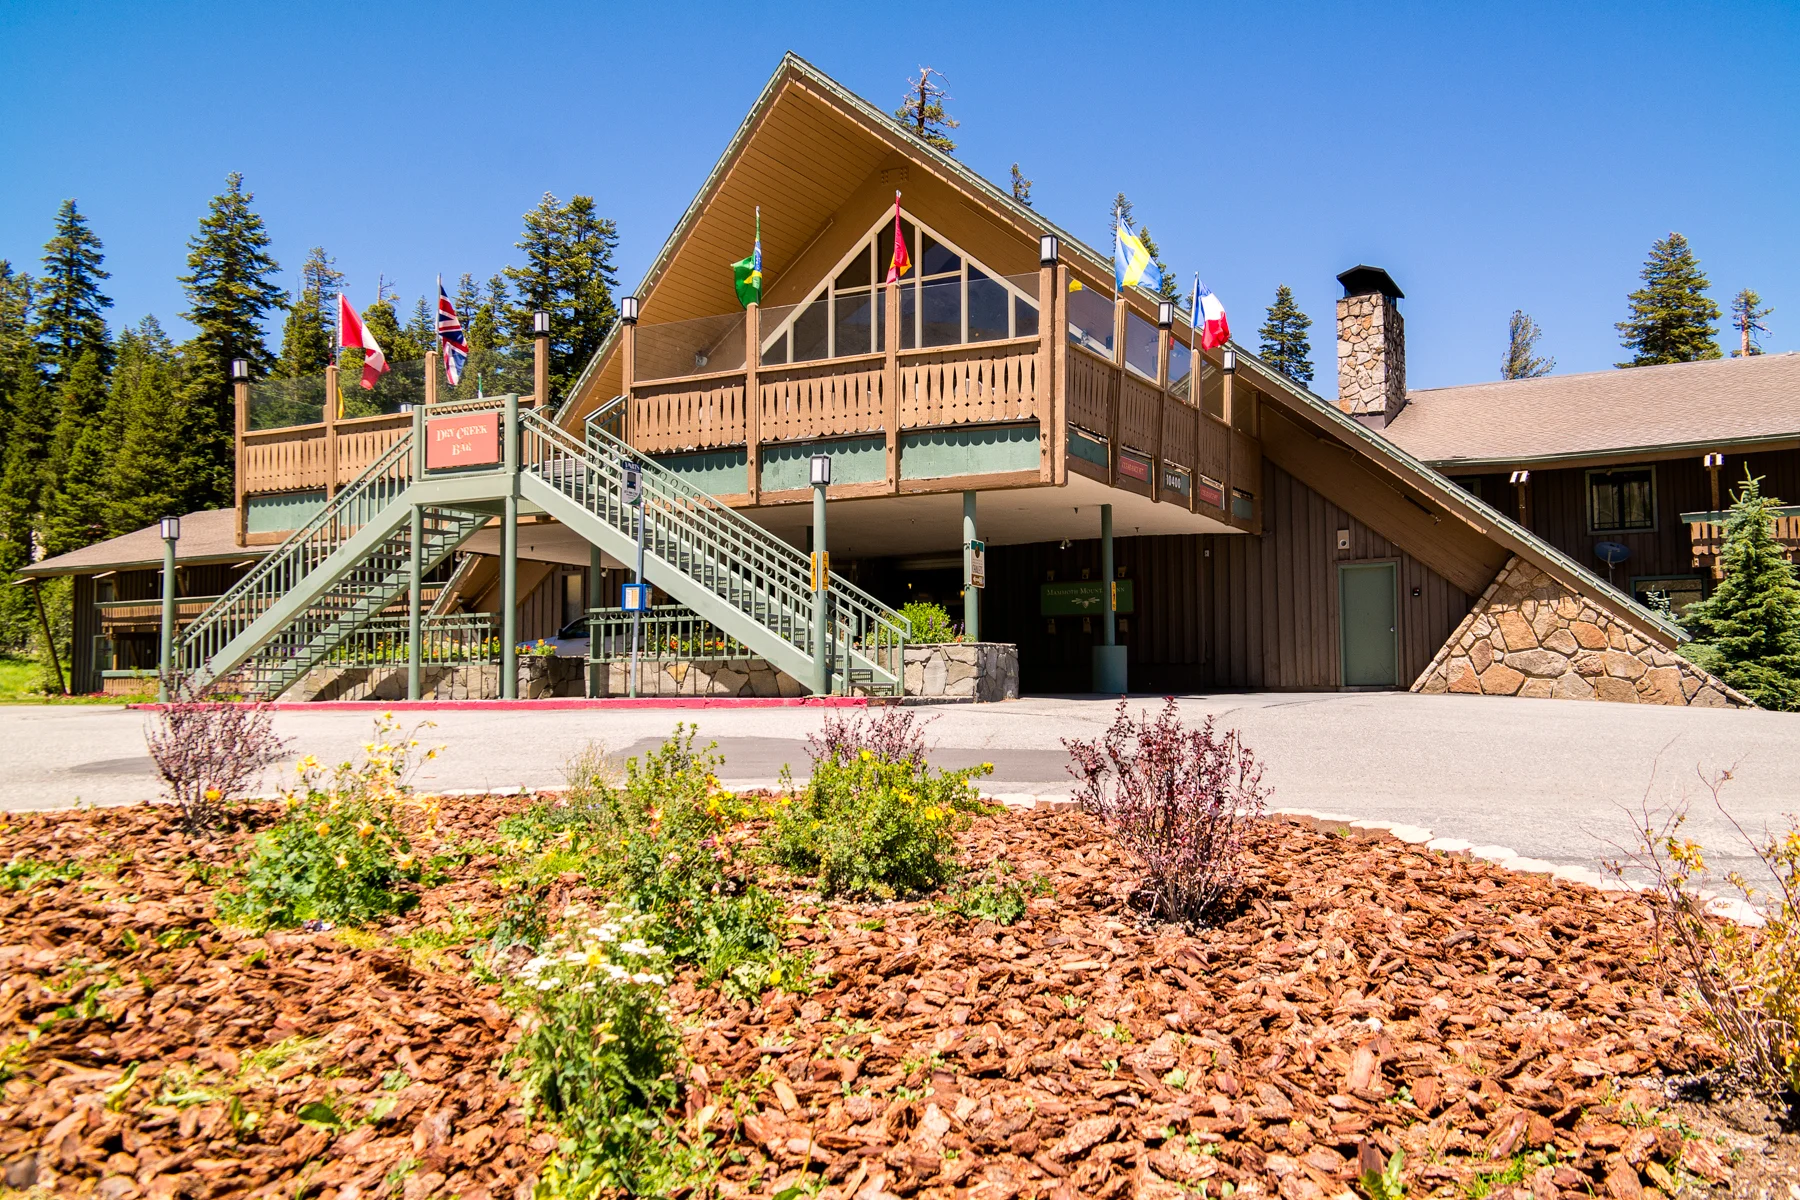
    Apparently she had the place booked with her family, and for some reason, the owner didn’t know, and the property management company failed to notify him of that. Who knows what kind of tomfoolery is going on but, well, that’s neither here nor there. What’s here is that I was just thrown out into the streets of Mammoth with nowhere to go. As I was cursing my luck and wondering if I’d killed someone in a past life, I sat in a parking lot, debating whether or not to make the 5-hour drive back to Los Angeles. I was finally able to get a hold of my landlord, the one who helped set it all up, who was just as surprised as I was. They agreed to get me a room at the Mammoth Mountain Inn for the night so we can get things sorted in the morning.

    As I checked into the hotel, I noticed a flyer for Yosemite’s Tuolomne Meadows on the front desk, so I grabbed it. I’ve been trying to make it there for years as the roads are only open a few months out of the year (they’re snowed in most of the year as it’s the high country). When I asked the desk agent how far it was from where I was standing, he said no more than an hour.

    Done.

    Was NOT planning on this, but I’ll be hot damned if I’m 60 minutes from a place I’ve been trying to make my way to for almost a decade and NOT turn this into an impromptu trip to Yosemite National Park’s Tuolomne Meadows.

    Wasim Muklashy Photography_Wasim Of Nazareth_Mammoth Lakes_-SAM_1236_1800

    In any case, here I sit, room 114 at the Mammoth Mountain Inn, getting more and more excited for whatever the next few days have in store for me. I forgot how nice it is to just let go and see what happens. This should be interesting. And above? The only shot I was able to snap before being sent to the streets.

    For Part 2: A Surprise Journey Through The “Range of Light” Part 2 – Tuolumne Meadows, Yosemite, click here.

    And to find out how to get sunset and star-burst shots like the one above, click here.

    All images in this series were taken with a Samsung NX30 and a Samsung 18-200mm lens.

    And for more of my madness: Instagram: @wasimofnazareth Twitter: @wasimofnazareth Google+: www.Google.com/+WasimMuklashy Facebook: www.Facebook.com/WasimOfNazareth
  • How Instagram’s Cheesy Photo Filters Have Made Us More Creative

    How Instagram’s Cheesy Photo Filters Have Made Us More Creative

    I know.

    I was one of those people.

    But after rediscovering Instagram the past few months since deleting my original account two years ago as a futile act of defiance after the billion dollar Facebook acquisition, I’ve come to realize, that couldn’t be further from the truth. It’s far from cheating and it’s actually quite the contrary, it’s incredibly liberating…which just so happens to be a prerequisite for the most creative of all art!

    Basically, here’s my take: just because I don’t know how to make something look like an old western scratched sepia photo print in Photoshop, or I don’t have an old western camera with old western film and old western chemicals and an old western darkroom to process in, doesn’t mean I shouldn’t be allowed to express a vision that happens to be in the style of an old western scratched sepia photo print. If I had to learn how to do it, or save up to buy all them old western stuffs, I’d end up spending hours, if not days, or perhaps even months, detracting from continuing to engage the original spark of that imagination by developing the story or idea. When I see something and want to see it in an old western scratched sepia photo print sorta way, I can do it with the tap of a button, allowing me more energy to concentrate on refining the overall vision. This, consequently, allows me to be more creative without the fear of technical gibberish slowing me down.

    Essentially, with the quick one step filters we actually have tools to help us express a creative vision that runs quicker and closer to the speed that our mind conjures it up. In many cases, it even gives us ideas that we wouldn’t have had before, conjuring up certain emotions and feelings based on how that image looks based on how we decided to treat it. Our imagination becomes something that stays ‘on’ at all times, allowing us to visualize and create and refine and build upon the wily creative spark when the elusive bugger decides to actually show up. Moreover, in my case, it’s allowed me to retool and re-envision many images I already have, and present them to an entirely new audience who may never have seen them otherwise.

    And I think we’re all starting to catch up with these sorts of thoughts. Yes, when these ‘toys’ were first brought to market, it was easy to dismiss them as meaningless and short-lived and a ‘fad’ and all that gobbledegook. But heck, we didn’t know any better because we’ve never quite seen anything like that on a mass consumed scale. But since then, even institutions that have prided for over a century about the quality of their images and media output, like National Geographic and Smithsonian and Getty Images, have adopted Instagram and Twitter accounts, and in National Geographic’s case, even has a section in their digital publication format surrounded by that iconic yellow border, dedicated to the Instagram feeds of their photographers in the field. And some of my favorite professional photographers have embraced the mediums as well. In a short 4 years, Instagram has become an institution in itself – creating celebrity Instagrammers that have led to extremely profitable small businesses based on their feeds, while simultaneously building a rabid fan base large and influential enough to command a billion dollar pricetage by Facebook. And, well, if Facebook bought a toy, well, it was a damn expensive one!

    Additionally, the fact that most ‘professional’ and ‘prosumer’ cameras these days are equipped with built-in wifi, like the Samsung NX30 and Samsung NXMini I’ve been using lately as part of the Imagelogger program, allows you to immediately take a high quality photo and transfer it to your mobile device for processing and sharing…an idea that seemed preposterously foreign just 5 years ago.

    Anyhow, I suppose what I’m getting at here is that I’m finally beginning to let go of the idea that things need to stay the way they are or the way they’ve ‘been.’ After all, in reality, nothing at all has ever stayed the way it’s ‘been.’ Ever. And heck, who would really want it to!? So if I, as a creative, don’t adapt and embrace the tools (and toys) that are available to us in these insanely exciting days, then, well, I’m just gonna end up left by the wayside, while everyone else has all the fun.

    Screw that. I wanna have some fun too!

    For more of my madness: Instagram: @wasimofnazareth Twitter: @wasimofnazareth Google+: www.Google.com/+WasimMuklashy Facebook: www.Facebook.com/WasimOfNazareth
  • The Proof Sheet – Photography News In Review For The Week of July 7

    The Proof Sheet – Photography News In Review For The Week of July 7

    The-Proof-Sheet_July-7

    Welcome to the inaugural edition of The Proof Sheet, where each week I’ll post some of the more notable photography news in sweet, chewy, bite-sized, easily-digestible morsels. Click the Read More for this week’s stories.

    final_influencers_infographic_thumb_crop

    EyeFi, the makers of those wonderful wifi enabled SD cards for you DSLR, along with influencer marketing agency Evolve!, apparently did some research together, the results of which were released this week – an infographic that displays what they consider to be “The Top 30 Most Socially Influential Photographers.” Jeremy Cowart, Joe McNally, and Peter Klesken top the list, followed closely by Chase Jarvis, Adam Bouska, and Jimmy Chin. As expected Scott Kelby, Trey Ratcliff, and Thomas Hawk made the list. Click here to check out the entire infographic.

    front

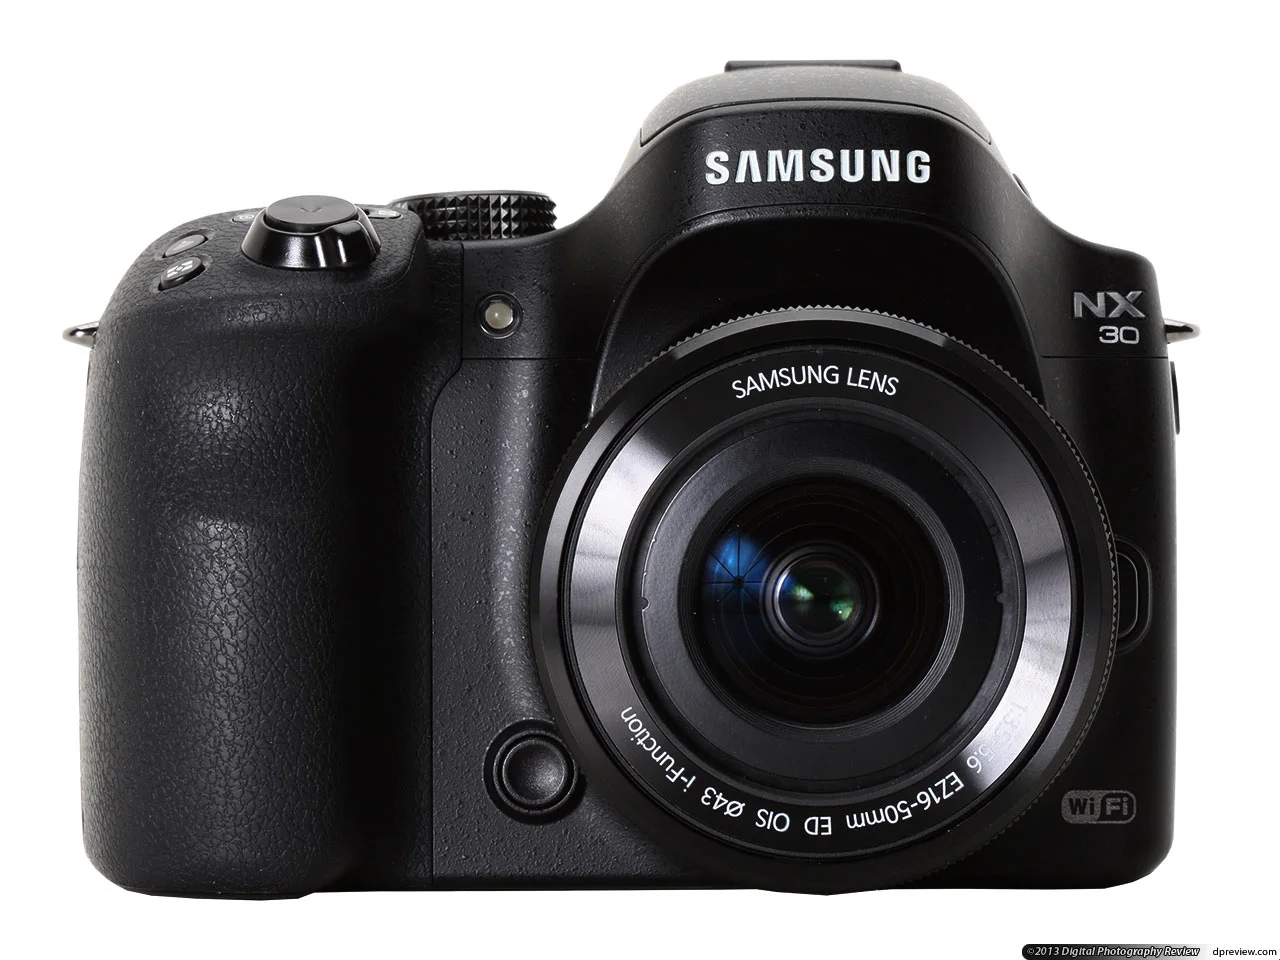
    Building on the success of their #DitchDay event in NYC last month in which Samsung gave away thousands of their NX30 mirrorless cameras, they’ve now partnered up with Amazon for their own version of that DitchTheDSLR event, this one called SamsungNXLive. On Monday, July 14 at 10am Pacific, head over to this link, where, accompanied by a live photography training session, you’ll be able to trade in any of your DSLRs for $250 dollars off of a Samsung NX30 or NX300.

    village8_Herman Damar

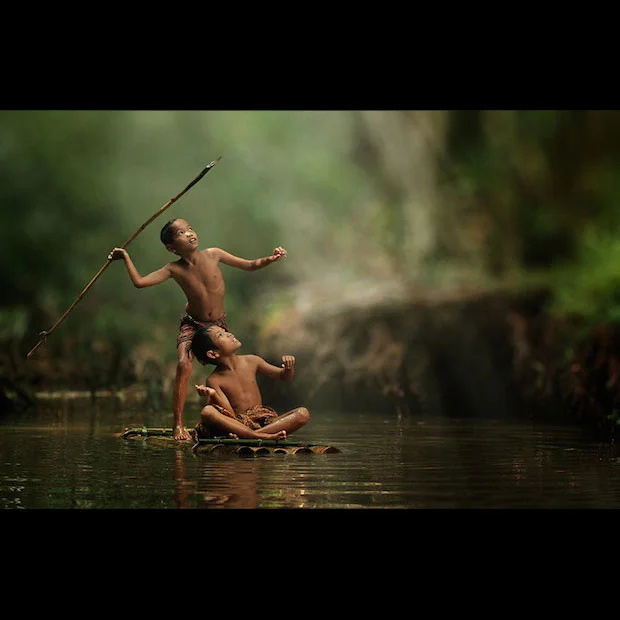
    Indonesian photographer Herman Damar captures some of the most idyllic, charming, joyfully warm images of everyday children in everyday village life in Indonesia. What you see are moments that seem like they’re plucked straight out of a fantasy or fairytale, making them even that much more difficult to believe that they’re real. But they are. And if you don’t check ‘em out, you’re certainly missing out. Click here to view them all over on PetaPixel.

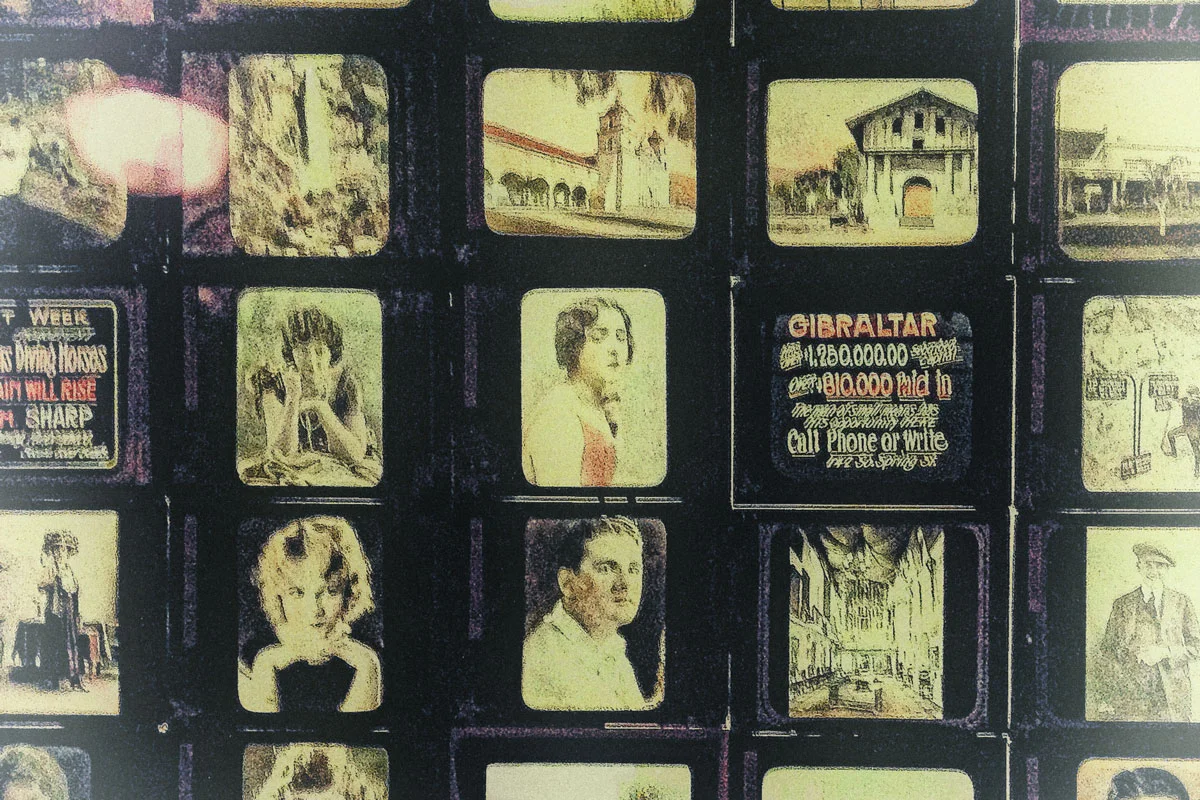
    96958A9C93819688E1E29AEA828DE2E3E2E5E0E2E3E6E2E2E2E2E2E2-DSXBZO7360928001072014000001-PB1-17-1

    Japanese website Nikkei leaked an image this week of what is supposedly the first image taken with Sony’s new curved sensor, one that apparently closer mimics the way the human eye works. The technology behind it aims to eliminate vignetting and soft pixels in the corners that is typical of images from the camera sensors we’ve grown to know and use. Click here for the leaker and the image.

    Calrec_BBC_Academy

    Perhaps in an effort to combat the inane Idiocracy-esque state of our mainstream media, the BBC College of Journalism decided to blow the door open on their journalism training resources for the next year, letting the public in on all their courses and sessions and documents that they use to train their own journalists (yes, I know it’s surprising, but in some parts of the world, journalism actually requires more than a miniskirt and a microphone). Some of the topics include smartphone journalism, ethical journalism, secret filming, and documentary making. Click here to get edumacated.

    V2511-frontleft-NEW_6.23.14

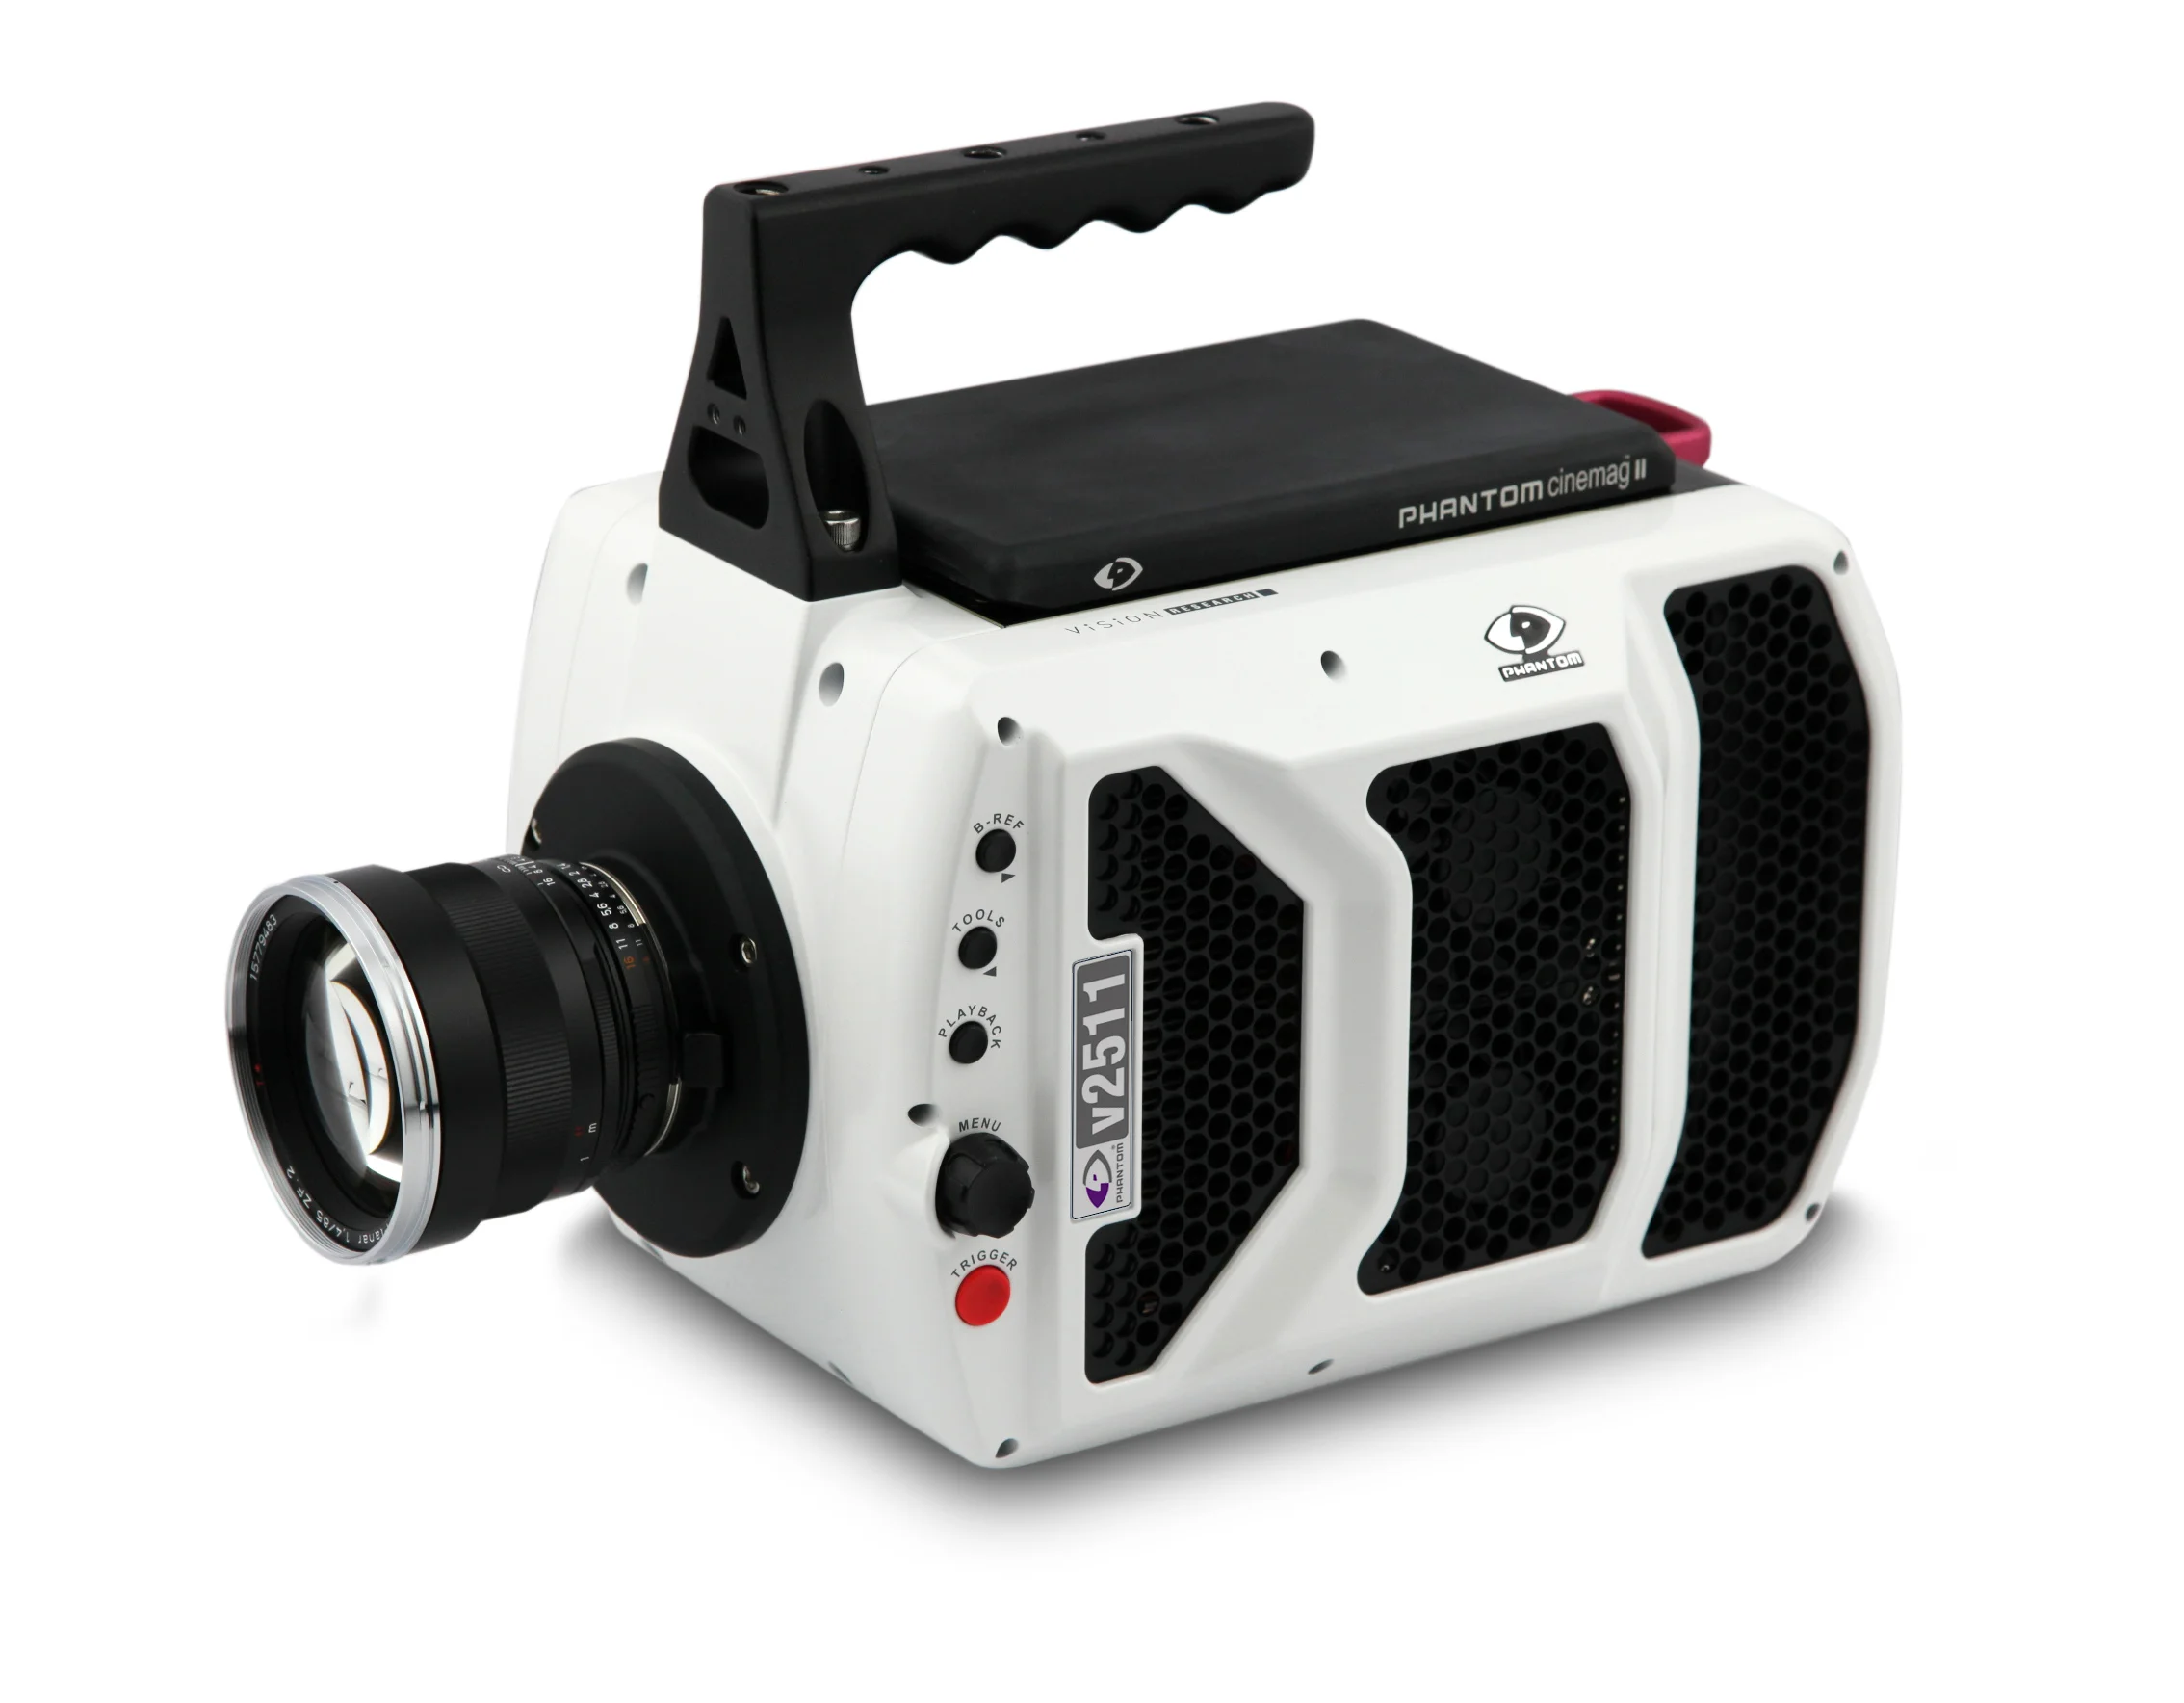
    PopPhoto.com reported this week that Vision Research releases “the fastest camera on the market,” The Phantom v2511. Apparently this beast is capable of moving through 25,600 frames per second. Um…yeah! Madness. Click here to read more about it at PopPhoto.

  • 6 Travel Photography Lessons Learned On My Recent Trip To The Pacific Northwest

    6 Travel Photography Lessons Learned On My Recent Trip To The Pacific Northwest

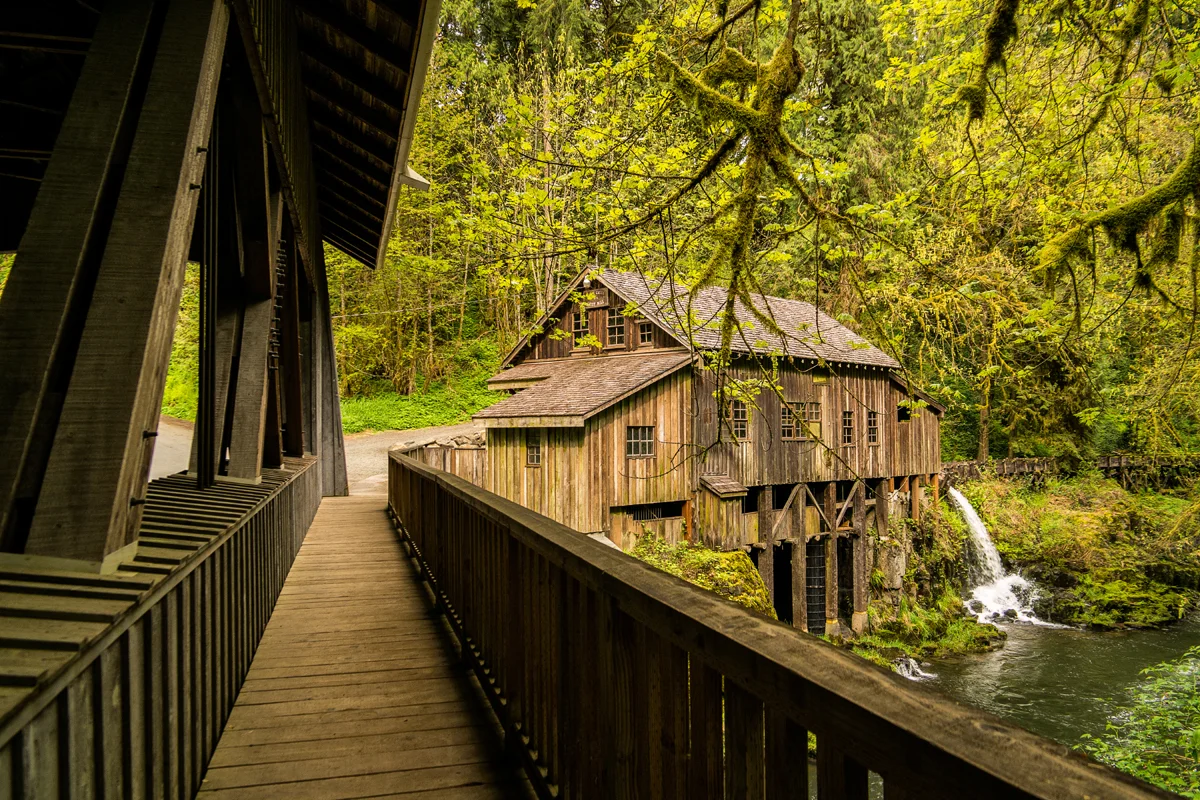
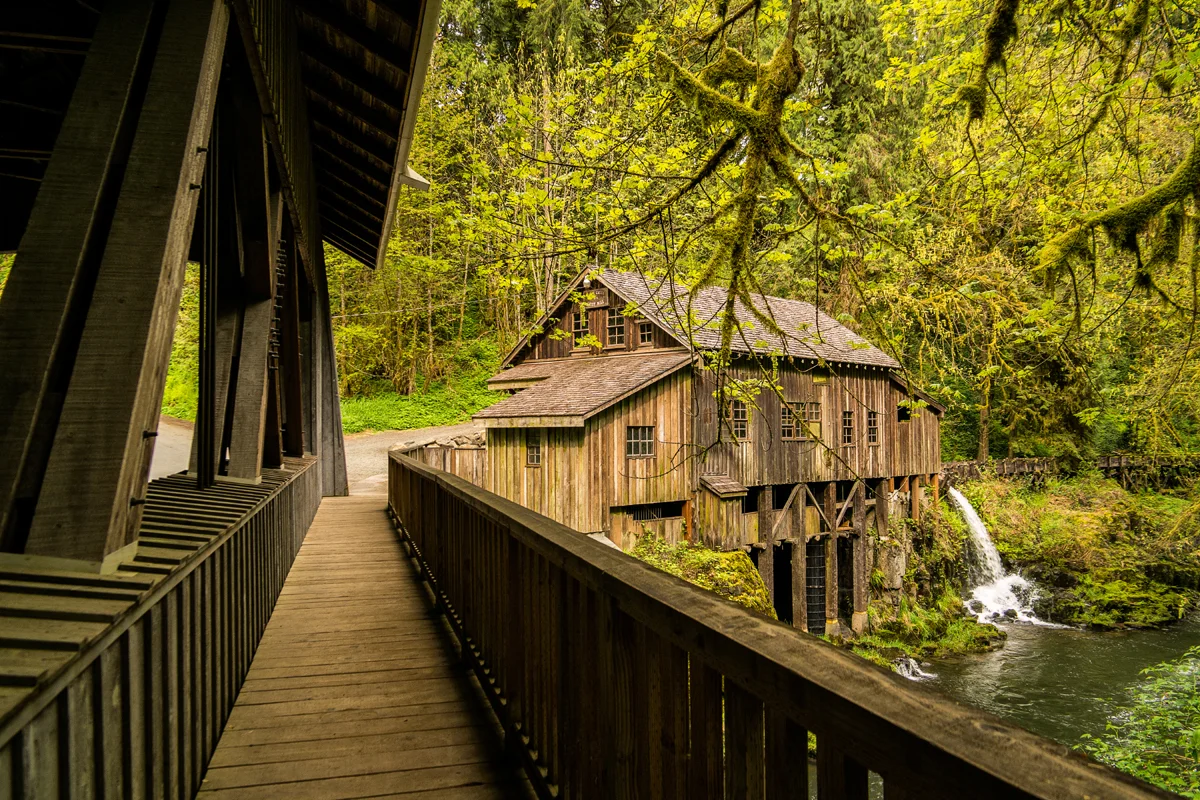
    Wasim Muklashy Travel Photography_Pacific Northwest_Cedar Creek Grist Mill_Washington

    So as many of you know, I embarked on a nature and travel photography trip this past Spring to the Pacific Northwest, and I’ve shared all those pictures here and all my social outlets. This so happened to be my first photo trip in which I left the DSLR behind and employed mirrorless cameras exclusively, namely, the Samsung NX30. While this post will forgo all the reasons behind that (click here if you want to see those posts of that journey), now that the dust has settled and some time has passed, I’ve been able to reflect a bit on the incredible experience, which has proven to be a personal milestone in many ways in my photographic journey. So I figured I’d take this opportunity to share with you a few of the lessons I learned on that trip:

    1. Make A List – It always seems like a good idea to make a list of the shots and images you’d like to come back with. When you’re planning for a trip, especially if it’s somewhere you’ve never been, it would do you good to do a bit of research, whether you Google the location, or visit sites like 500px and Google Plus to search for images from that location. It’ll give you a great idea of what to expect, what to look for, how the weather can alter the look of the images, what you like, what you don’t.

    2. Throw That List Out – The main reason for me making that list was basically to get it out of my system. It’s almost like pre-visualizing a conversation with someone – it’s impossible, and more often than not, it doesn’t go at ALL the way you had it in your head. It’s great to have the ideas and a foundation in your head to work from, but once you’re on location, your eye is going to dart around and see things you never planned for. And this is a good thing. I mean, do you really want to return with the same images you already saw all over those sites? Really?

    3. Work It – Never EVER settle on the first shot or angle. In other words, yes, trust your eye in the sense that something made you stop and look. Something was behind whatever it was that caught your attention. And sure, stop, set up, take the shot. Indulge. But no joke, every time I found myself in front of something that caught my attention for whatever reason, it was NEVER the first shot that I took that ended up being my favorite. I ducked, dodged, leaned in, got on the ground, climbed a tree, switched positions, got behind bushes, wrestled with spider webs, balanced on an unbalanced rock, everything I could to make whatever it was that caught my eye even more attention grabbing. Sometimes you don’t have the luxury of time on your side, but in most cases, if you can find time to snap one shot, you can usually find time to try at least try 2 or 3 different angles or approaches. If you’re with people that get annoyed by your practicing your ‘art,’ surprise them later with a beer at dinner. You’ll see how quickly they get over it.

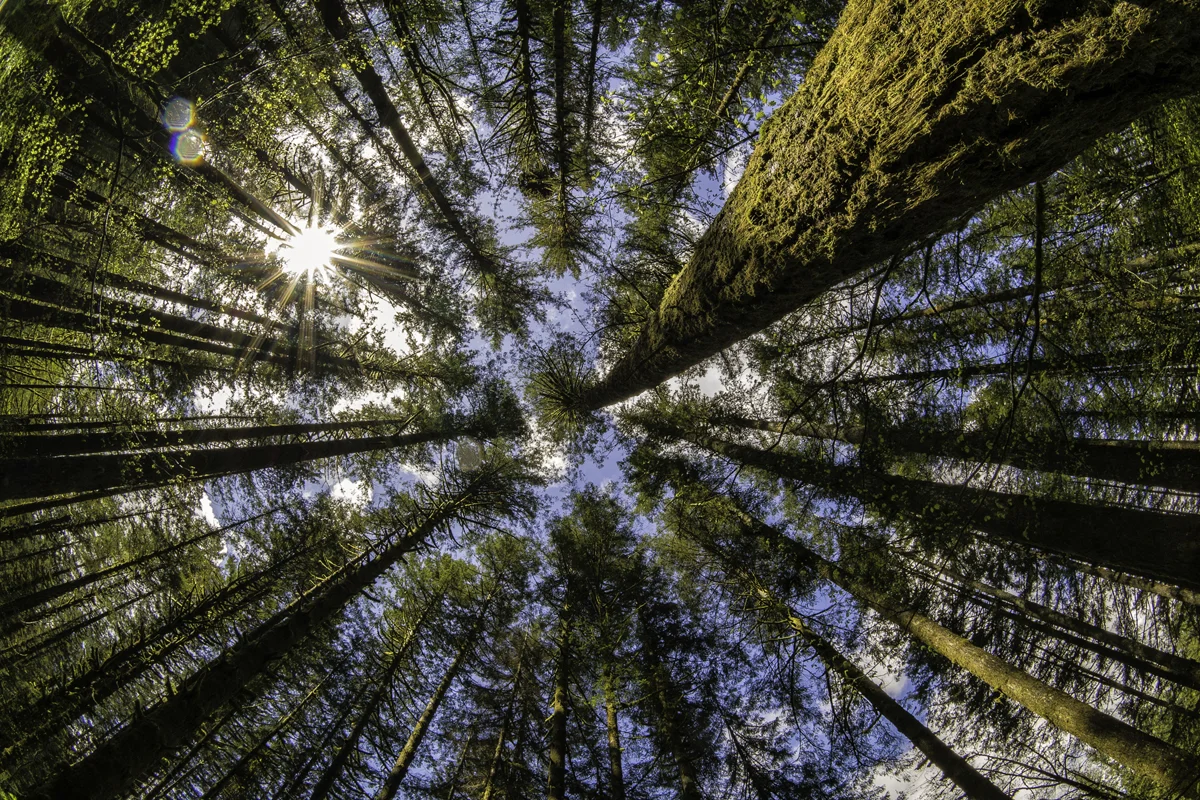
    Wasim Muklashy Travel Photography_Pacific Northwest_Washington_Tree Canopy

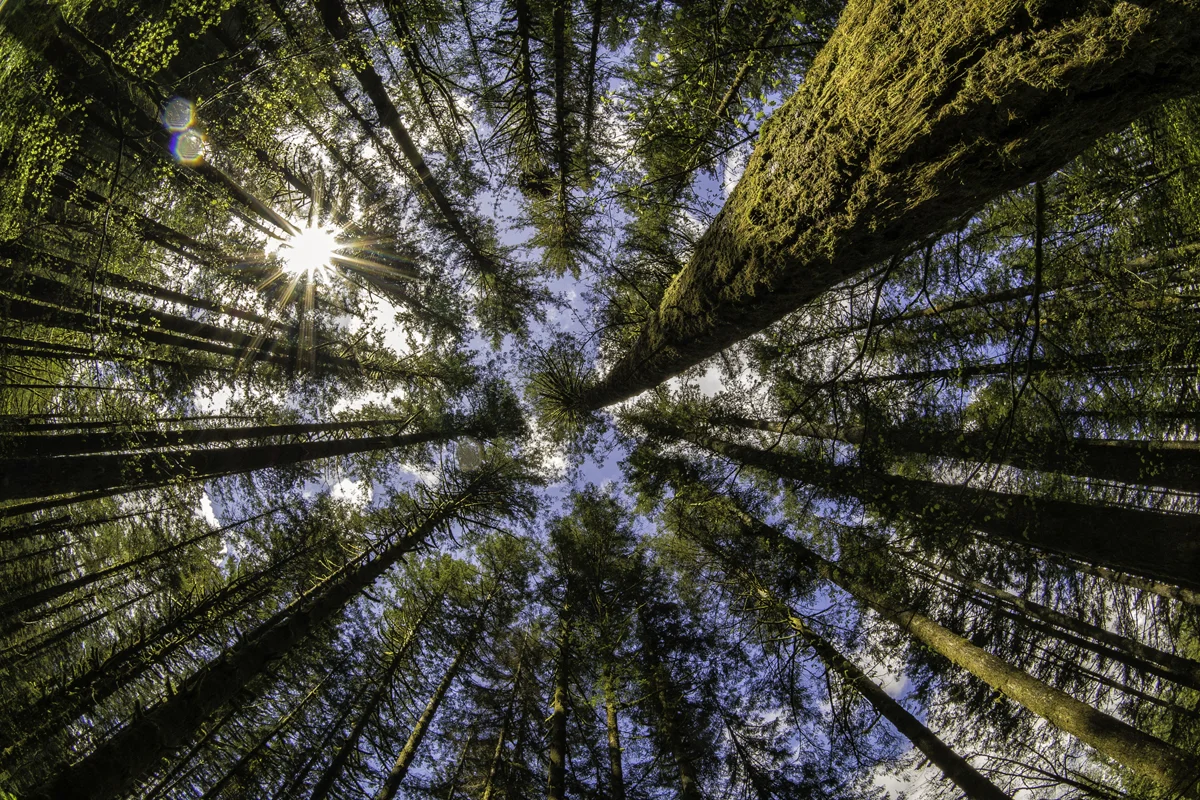
    4. Marinate – Let the images come to you. Just because I’m somewhere with a camera does not mean I need to make a picture. As a matter of fact, it was when I just sat back and soaked in my environments that I was truly able to get the best feel for the location we were in. Sure, I’ll usually spend the first few minutes antsier than a flock of fleas, but once that part passes, you almost get into a meditative, relaxed state in which your mind goes out of its way to tell you ‘it’s ok.’ And you can’t help but agree. It is OK. The tree canopy above ended up being one of my favorite images from the entire trip and this wouldn’t have happened if I didn’t take a break, put down my camera, and take a mini-catnap on a picnic bench in the middle of the forest.

    5. Have Fun! – Don’t forget why you’re doing this to begin with – fun. Don’t lose sight of that. You’ll get caught up in it and at times frustration will set in and it’ll feel like the world revolves around that very shot or not getting it right or why can’t I get this? Well, it doesn’t. The world truly doesn’t give a hot nor a cold damn. It’s just you. Only you. No one else but you. After all, no one, other than yourself, even knows that image doesn’t exist yet because, well, it doesn’t! So you’re literally stressing out over nothing. Literally. Stop, breath, meditate on the mantra ‘have fun’ for a few minutes. After all, who the hell wants to work?

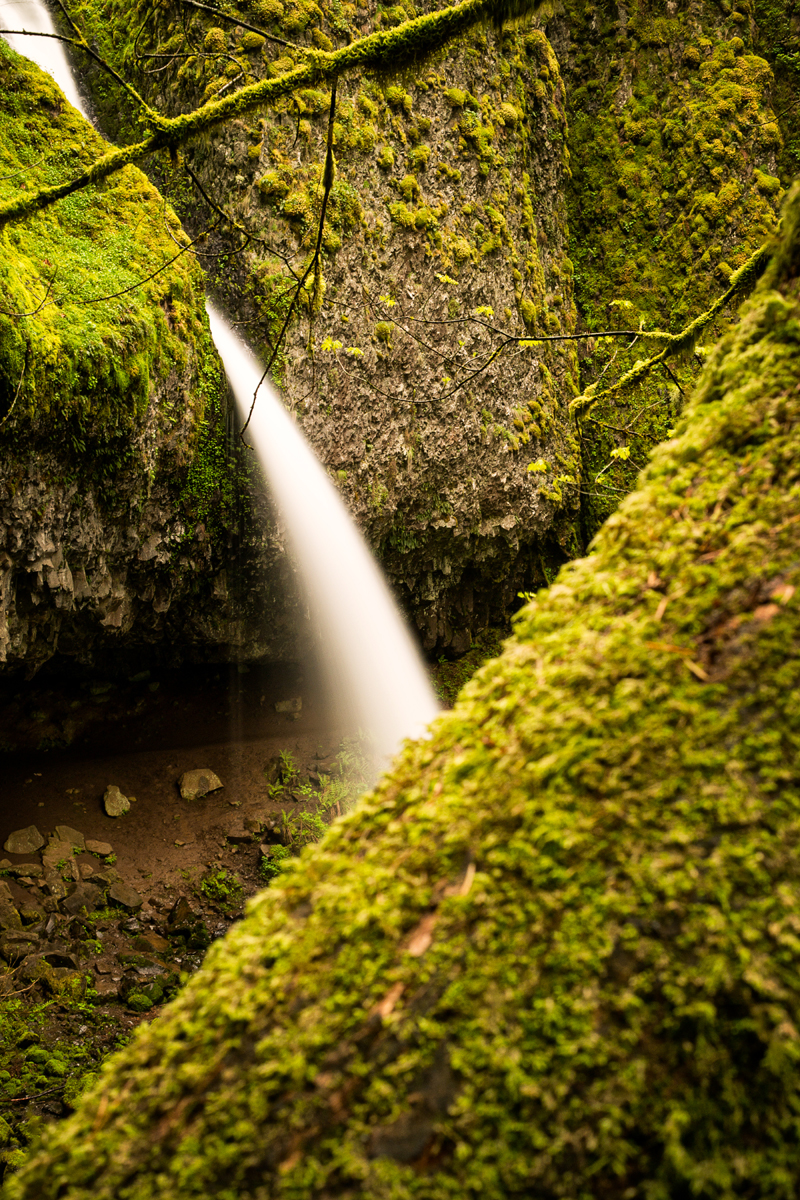
    Wasim Muklashy Travel Photography_Pacific Northwest_Ponytail Falls_Washington

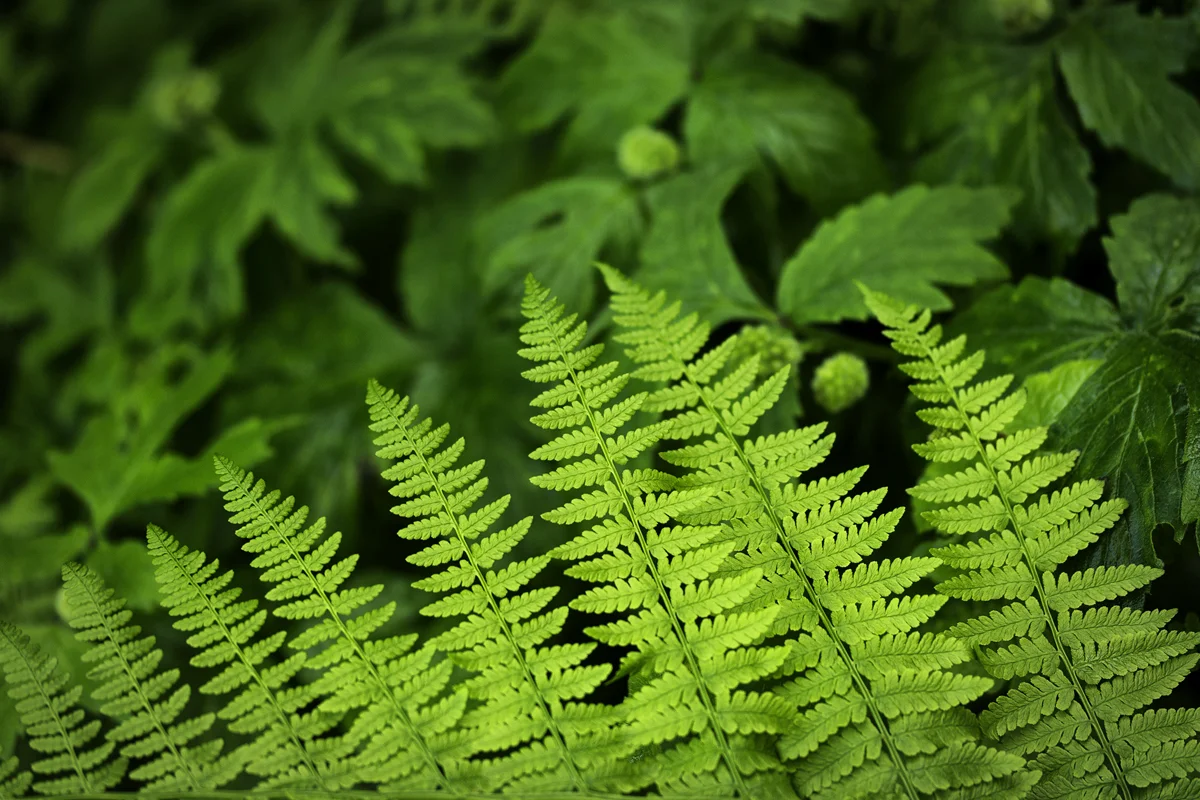
    Wasim Muklashy Travel Photography_Pacific Northwest_Washington_Fern

    6. Details! Don’t forget the details! It’s easy to get overwhelmed by big scenes and subjects, especially if it’s your first time around them. Instinct seems to dictate to try to capture on your sensor as much of that scenes as possible. I want the river with the trees with the mountains with the rock with the acorns with the elk with the other tree and oh…oh…oh…that barn! Oh that barn!! Well, that’s all fine and dandy, and, as expressed in tip #3, shoot it! But don’t settle on that. Now that you got that off your shoulders, get creative. Move in, focus just on the details. If I got that shot as described above, chances are high that once you (or someone else) viewed the image, you wouldn’t know where to rest your eyes. If you just get the elk next to the barn, or the river with the tree, or the hinges on the barn door, the focal points become much clearer, providing a much more pleasant, and imagination-inducing viewing experience. A great example is the fern in the image above. It was surrounded by a picture perfect waterfall and a cave and a cliff and gorgeous moss-covered trees, but once it came down to it, it was the fern that really had my attention, so once I focused solely on that, I was happy with the shot. The rest of it came in a different shot, the one on the right, which, again, focused on the detail of the moss covered tree and the waterfall behind it.

    So I hope you were able to get something out of this. It all might seem like common sense, but once you’re out in the field, especially in unfamiliar locations, every single one of your six senses (yup, six, I’m one of those guys) hits overdrive and all common sense is typically thrown out the window bit by byte. But if you just focus on these six things, Make A List, Throw That List Out, Work It, Relax, Have Fun, and Details, you’re bound to come back with several keepers that you’ll be proud to share.

    Feel free to share your experiences below and what works for you and what doesn’t.

    For more of my madness:
    Instagram: @wasimofnazareth
    Twitter: @wasimofnazareth
    Google+: www.Google.com/+WasimMuklashy
    Facebook: www.Facebook.com/WasimOfNazareth
  • How To Photograph Sunsets, Silhouettes And Starbursts For Your Summer Snaps!

    How To Photograph Sunsets, Silhouettes And Starbursts For Your Summer Snaps!

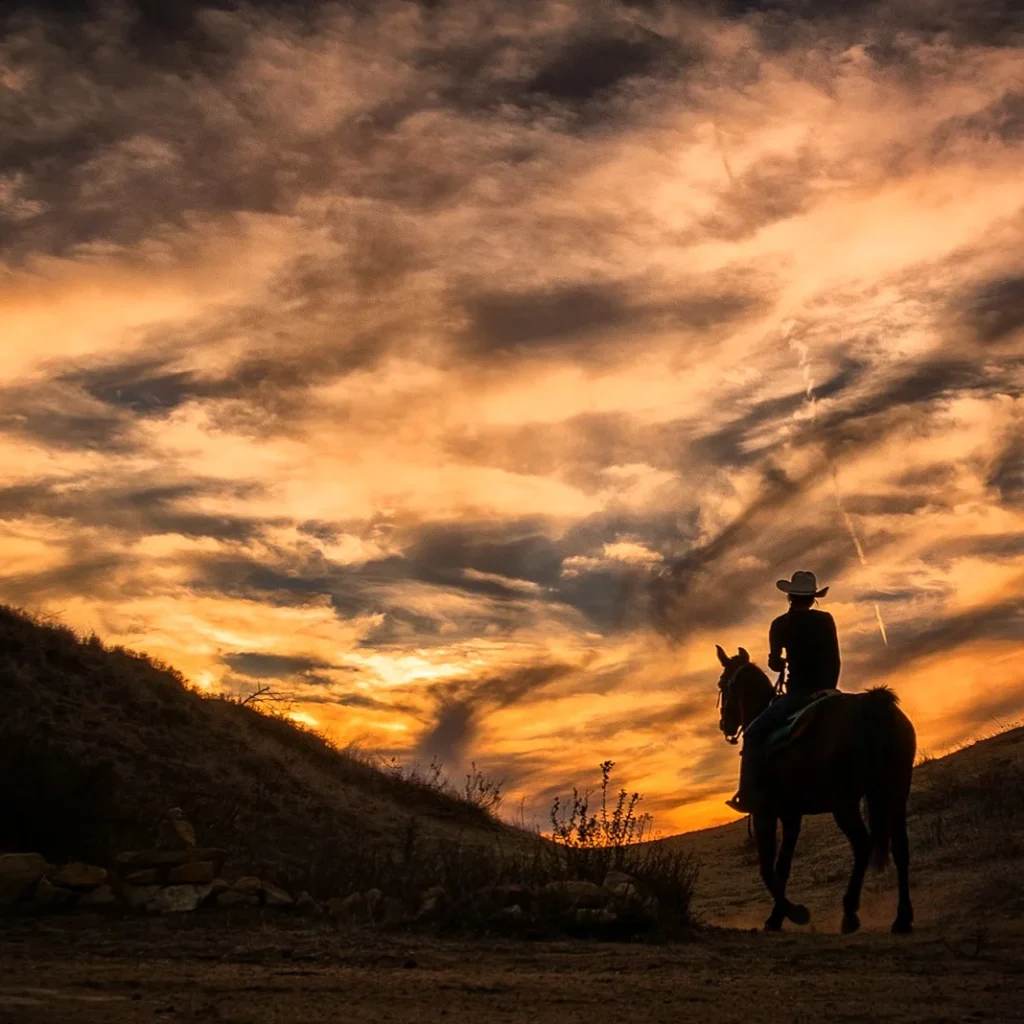
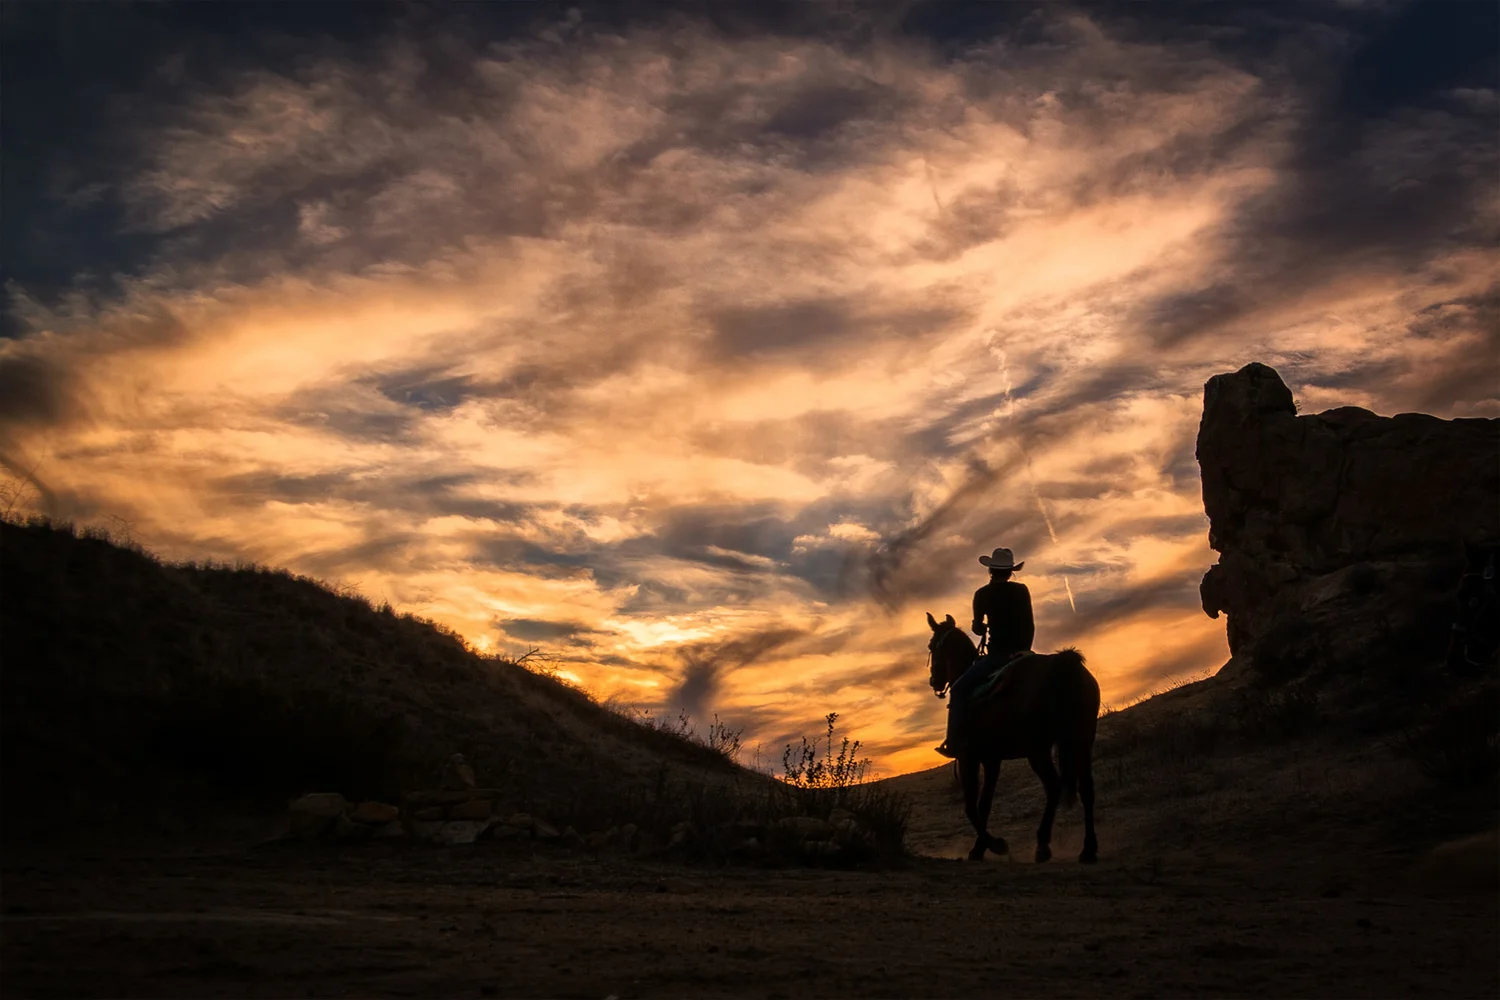
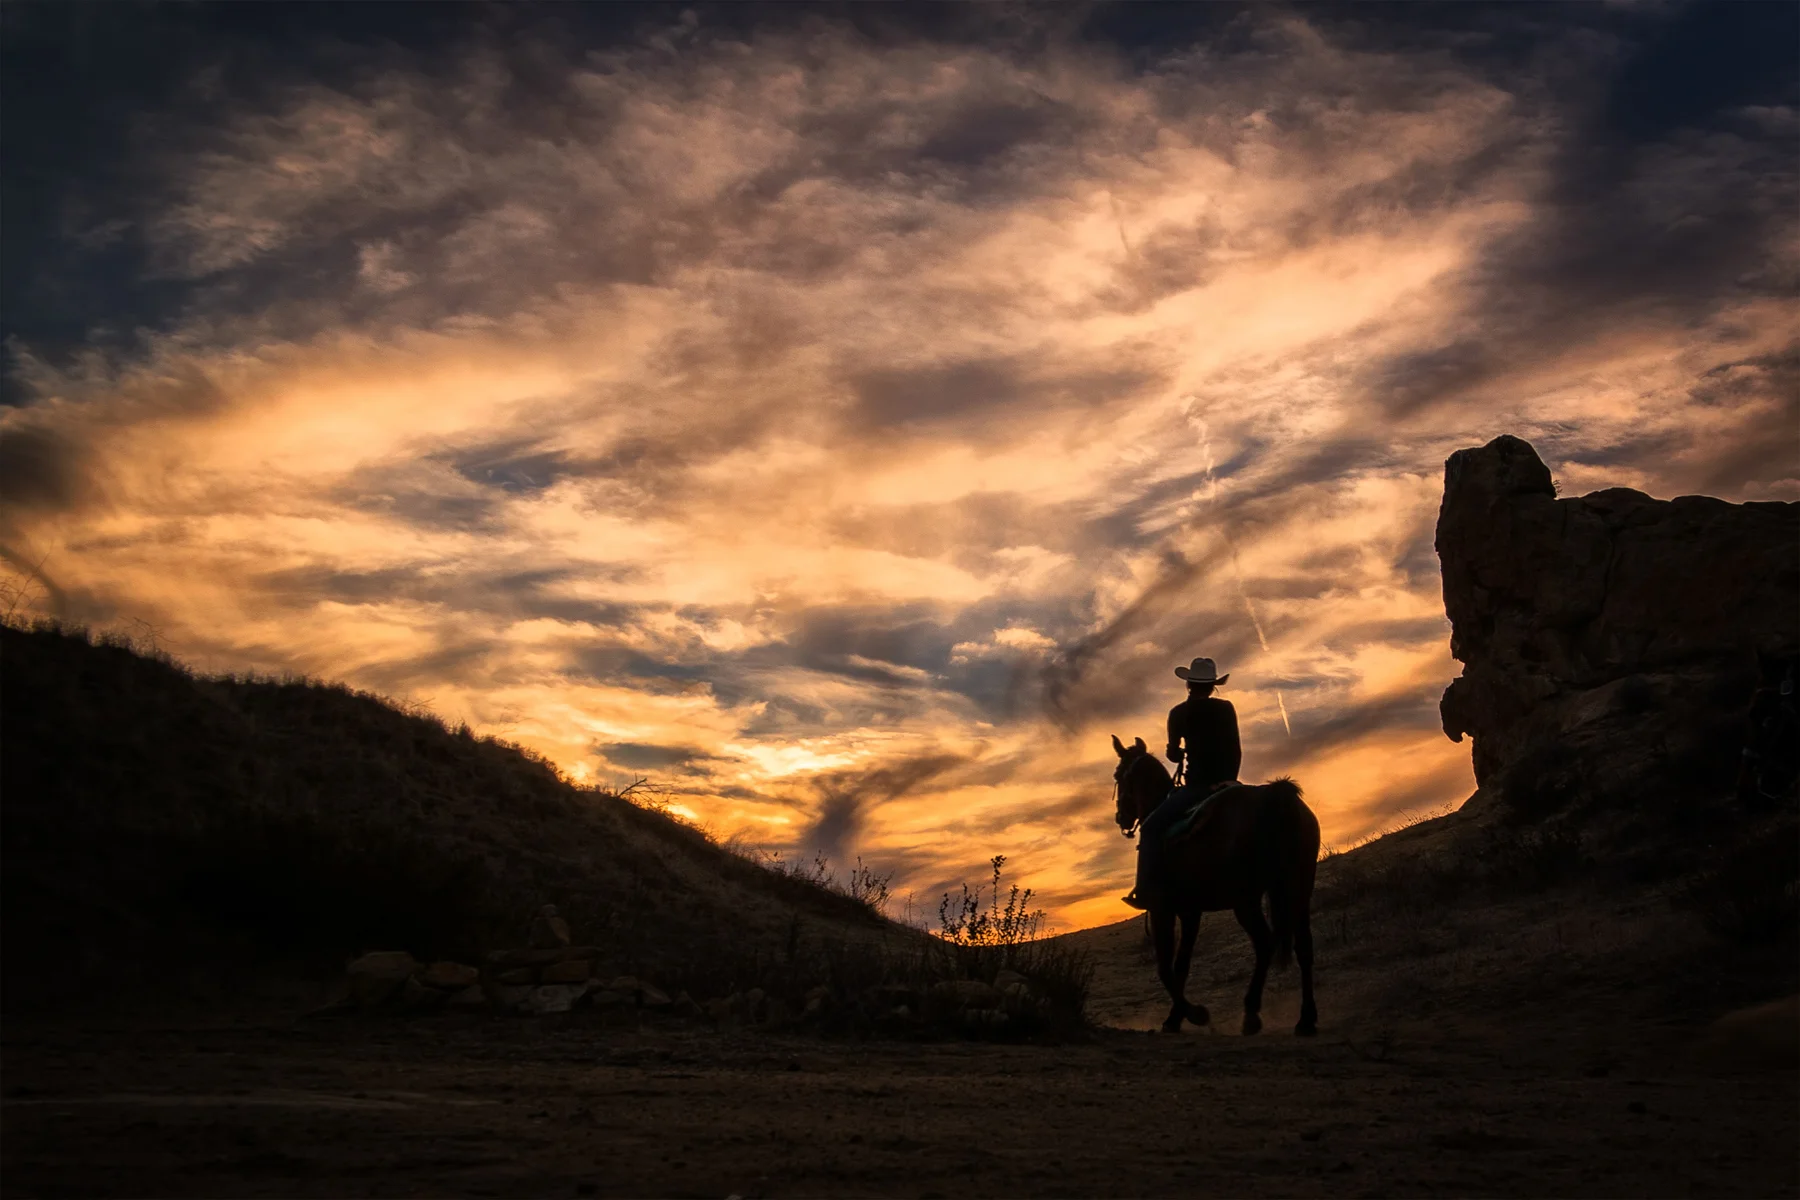
    Wasim_Muklashy_Cowboy_Topanga_Sunset_Photography_Silhouette

    Being in Southern California, we get a lot of wonderful light during the final hours of most days, so naturally, a lot of my photography happens during that time. Consequently, I find myself in position to photograph sunsets a lot, many of which can prove to be quite spectacular, and one of my favorite effects is to catch sun stars (also called starbursts) and silhouettes during this time. I’ve been asked more than a few times what my methods for sunset photography are, so figured I’d share a few tips to help you catch those perfect sun shots during your summer adventures. Click past the break here to see the tips.

    How To Photograph Sunsets, Silhouettes And Starbursts For Your Summer Snaps!

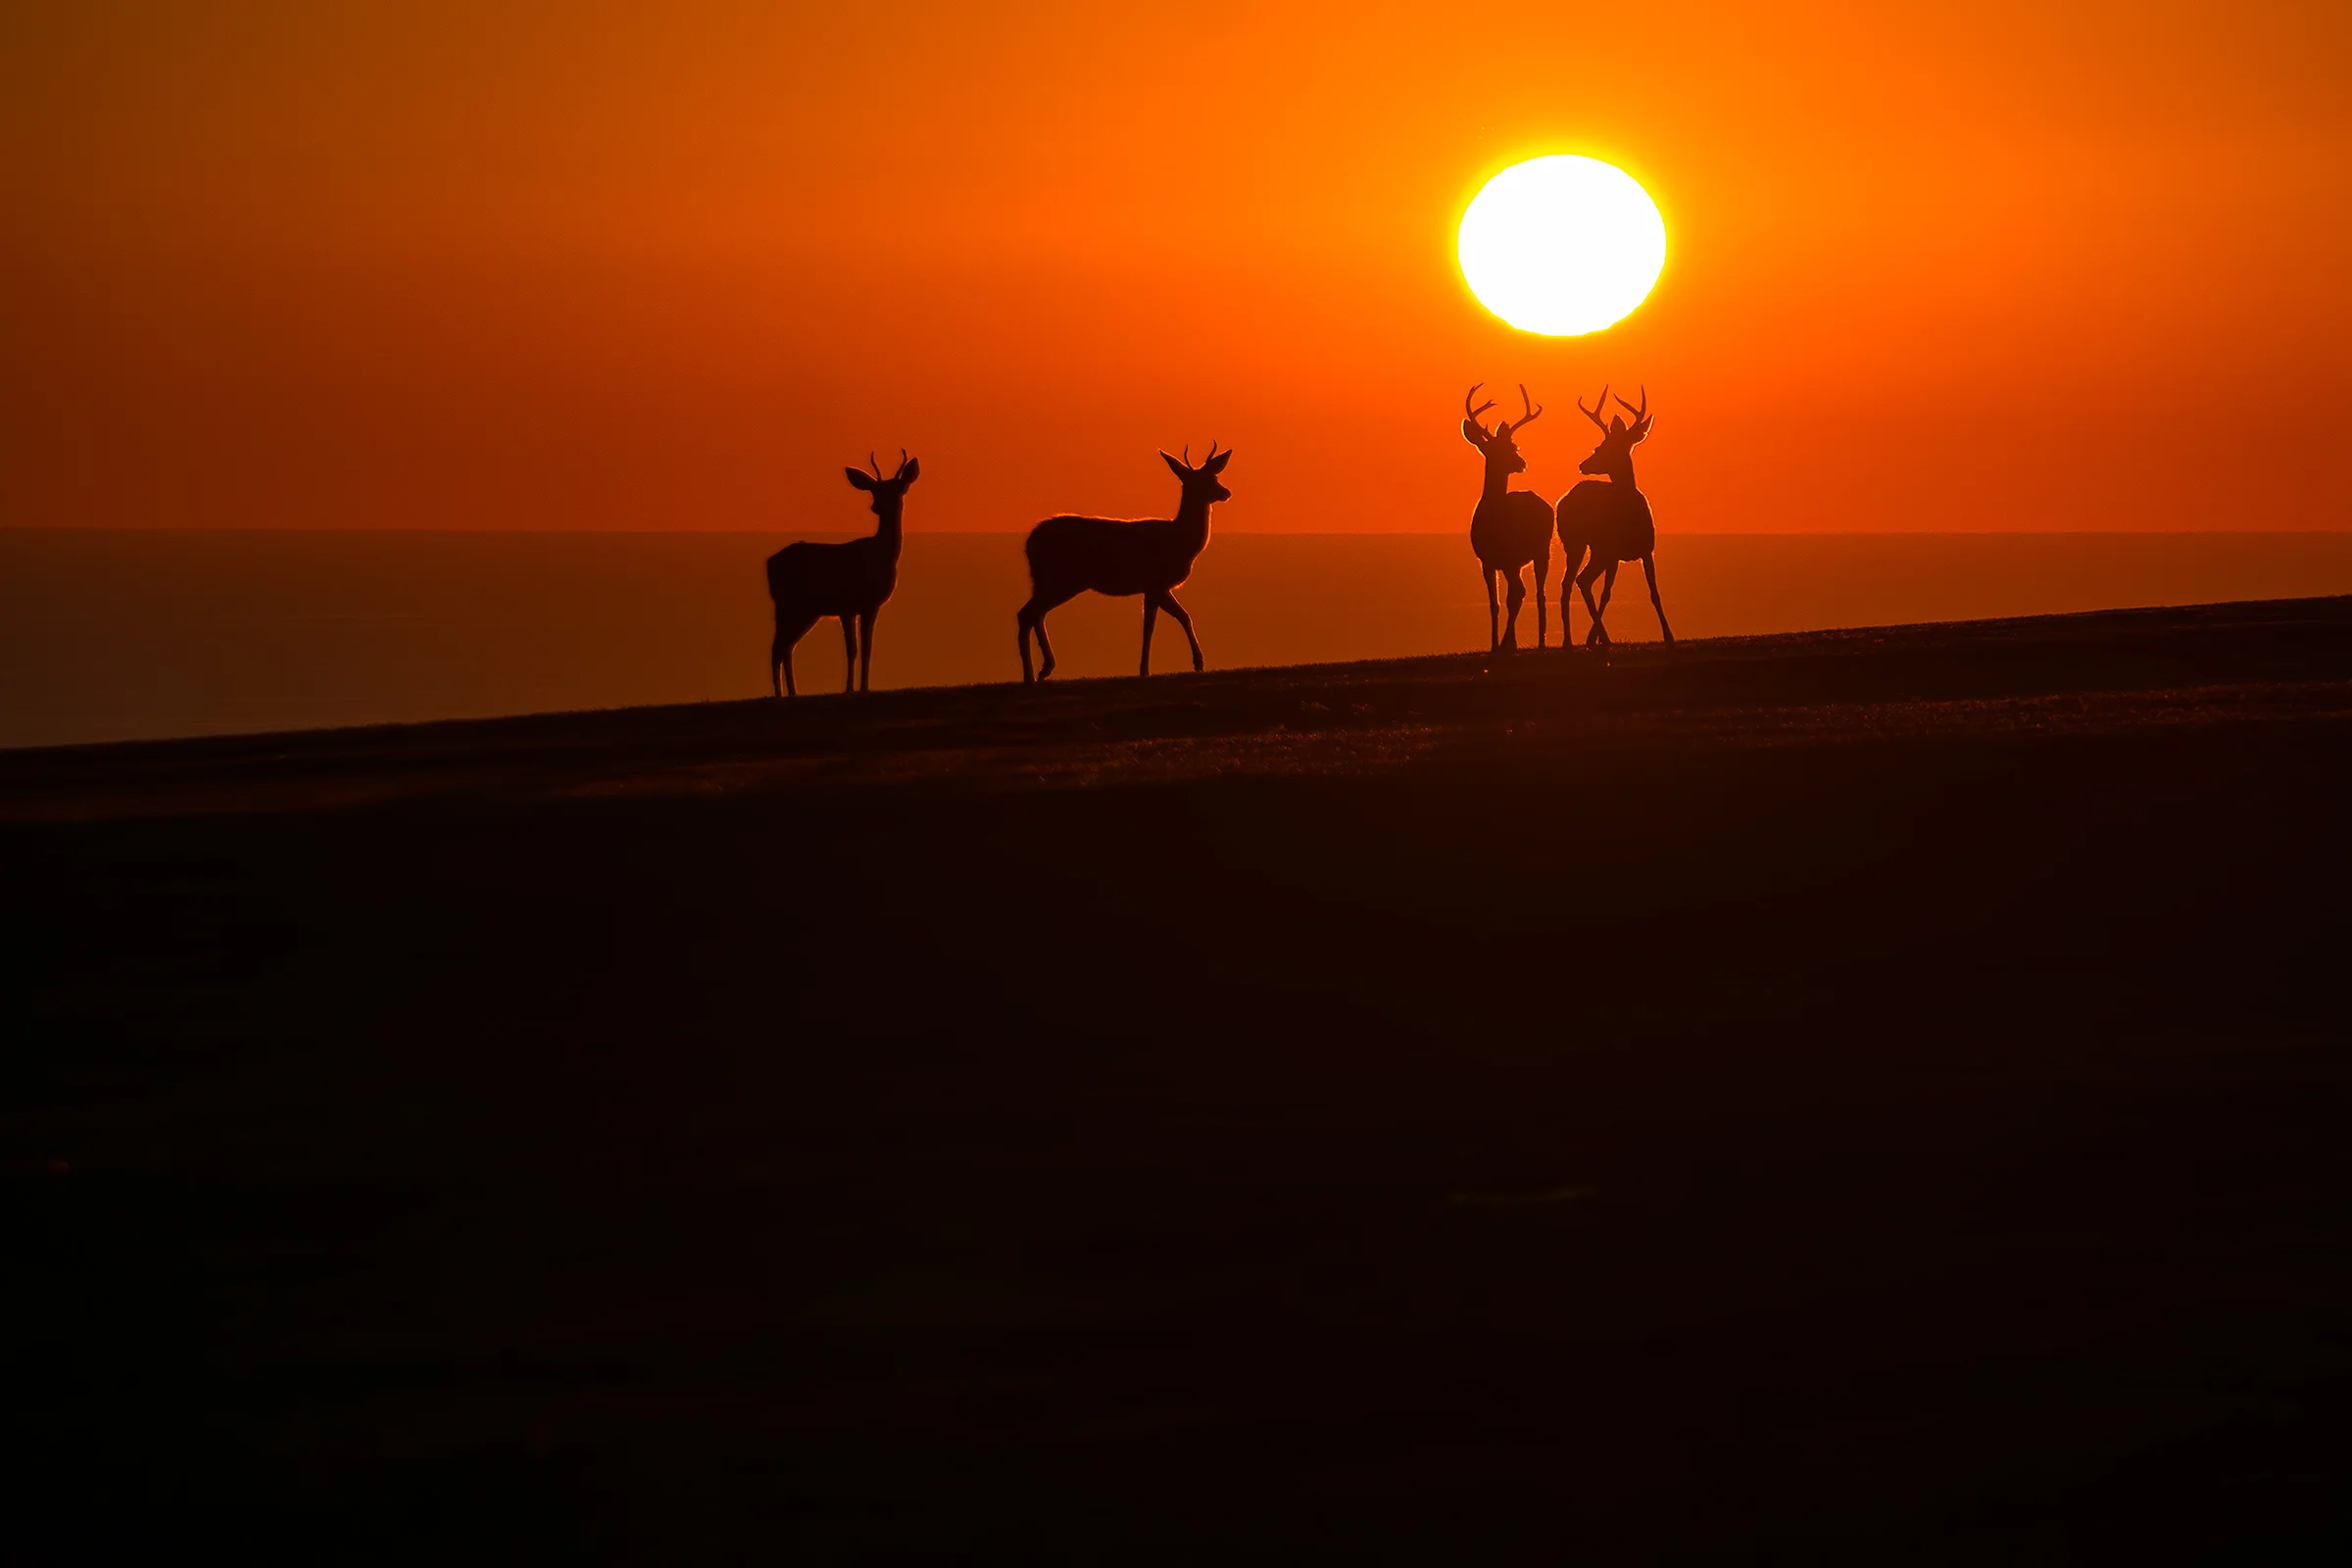
    1. Silhouettes – If it’s a silhouette that you’re trying to capture, such as the deer along the ridge in the image above, or the palm trees in the foreground of that sunset sky in the image in this link, then I usually shoot in Aperture Priority mode and meter for the brightest spot on the scene, usually the sky just around the sun. I’ll then use exposure compensation, the little button that with the +/- symbol that normally looks something like the one below here, to underexpose the image by about a stop, sometimes even two full stops, and if I’m feeling particularly crazy, sometimes up to 3 full stops, depending on how bright the light happens to be that day or time of day.

     Exposure Compensation Button
    Exposure Compensation Button

    I do this so that the bright light isn’t obscenely overexposed to the point you lose all detail. Finally, if necessary, I”ll bring up some of the details in post in Lightroom using the shadow and highlights sliders to taste. Remember…this is art.

    Wasim_Muklashy_WA_NX30_Sunflare_Starburst_Photograph_Sunsets

    2. Starbursts – If I’m looking to get the starburst effect such as in the image of the tree canopy above or the Topanga Canyon sunset in the image in this link, it’s best to stop up to f16 or even smaller, usually best at about f18 or f22. Then I’ll frame the shot so the sun is partially obstructed by a tree/hillside/ridgeline/building/leaf/something. Shooting at that small aperture is what will give you that starburst you see in some of them. The effect is a result of what is called light diffraction. In essence, this is when light waves bend around something in their way, causing the waves to spread out. In this case, the ’something in their way’ are the diaphragm blades in the lens. The number of blades inside your particular lens will dictate how many points you get in your starbursts. Typically, the higher end lens will give you more points and a cleaner starburst, but these days, pretty much any lens will give you more than satisfactory results.

    Wasim_Muklashy_051814_Malibu_CA_NX30_SAM_4249_Edit_2400C

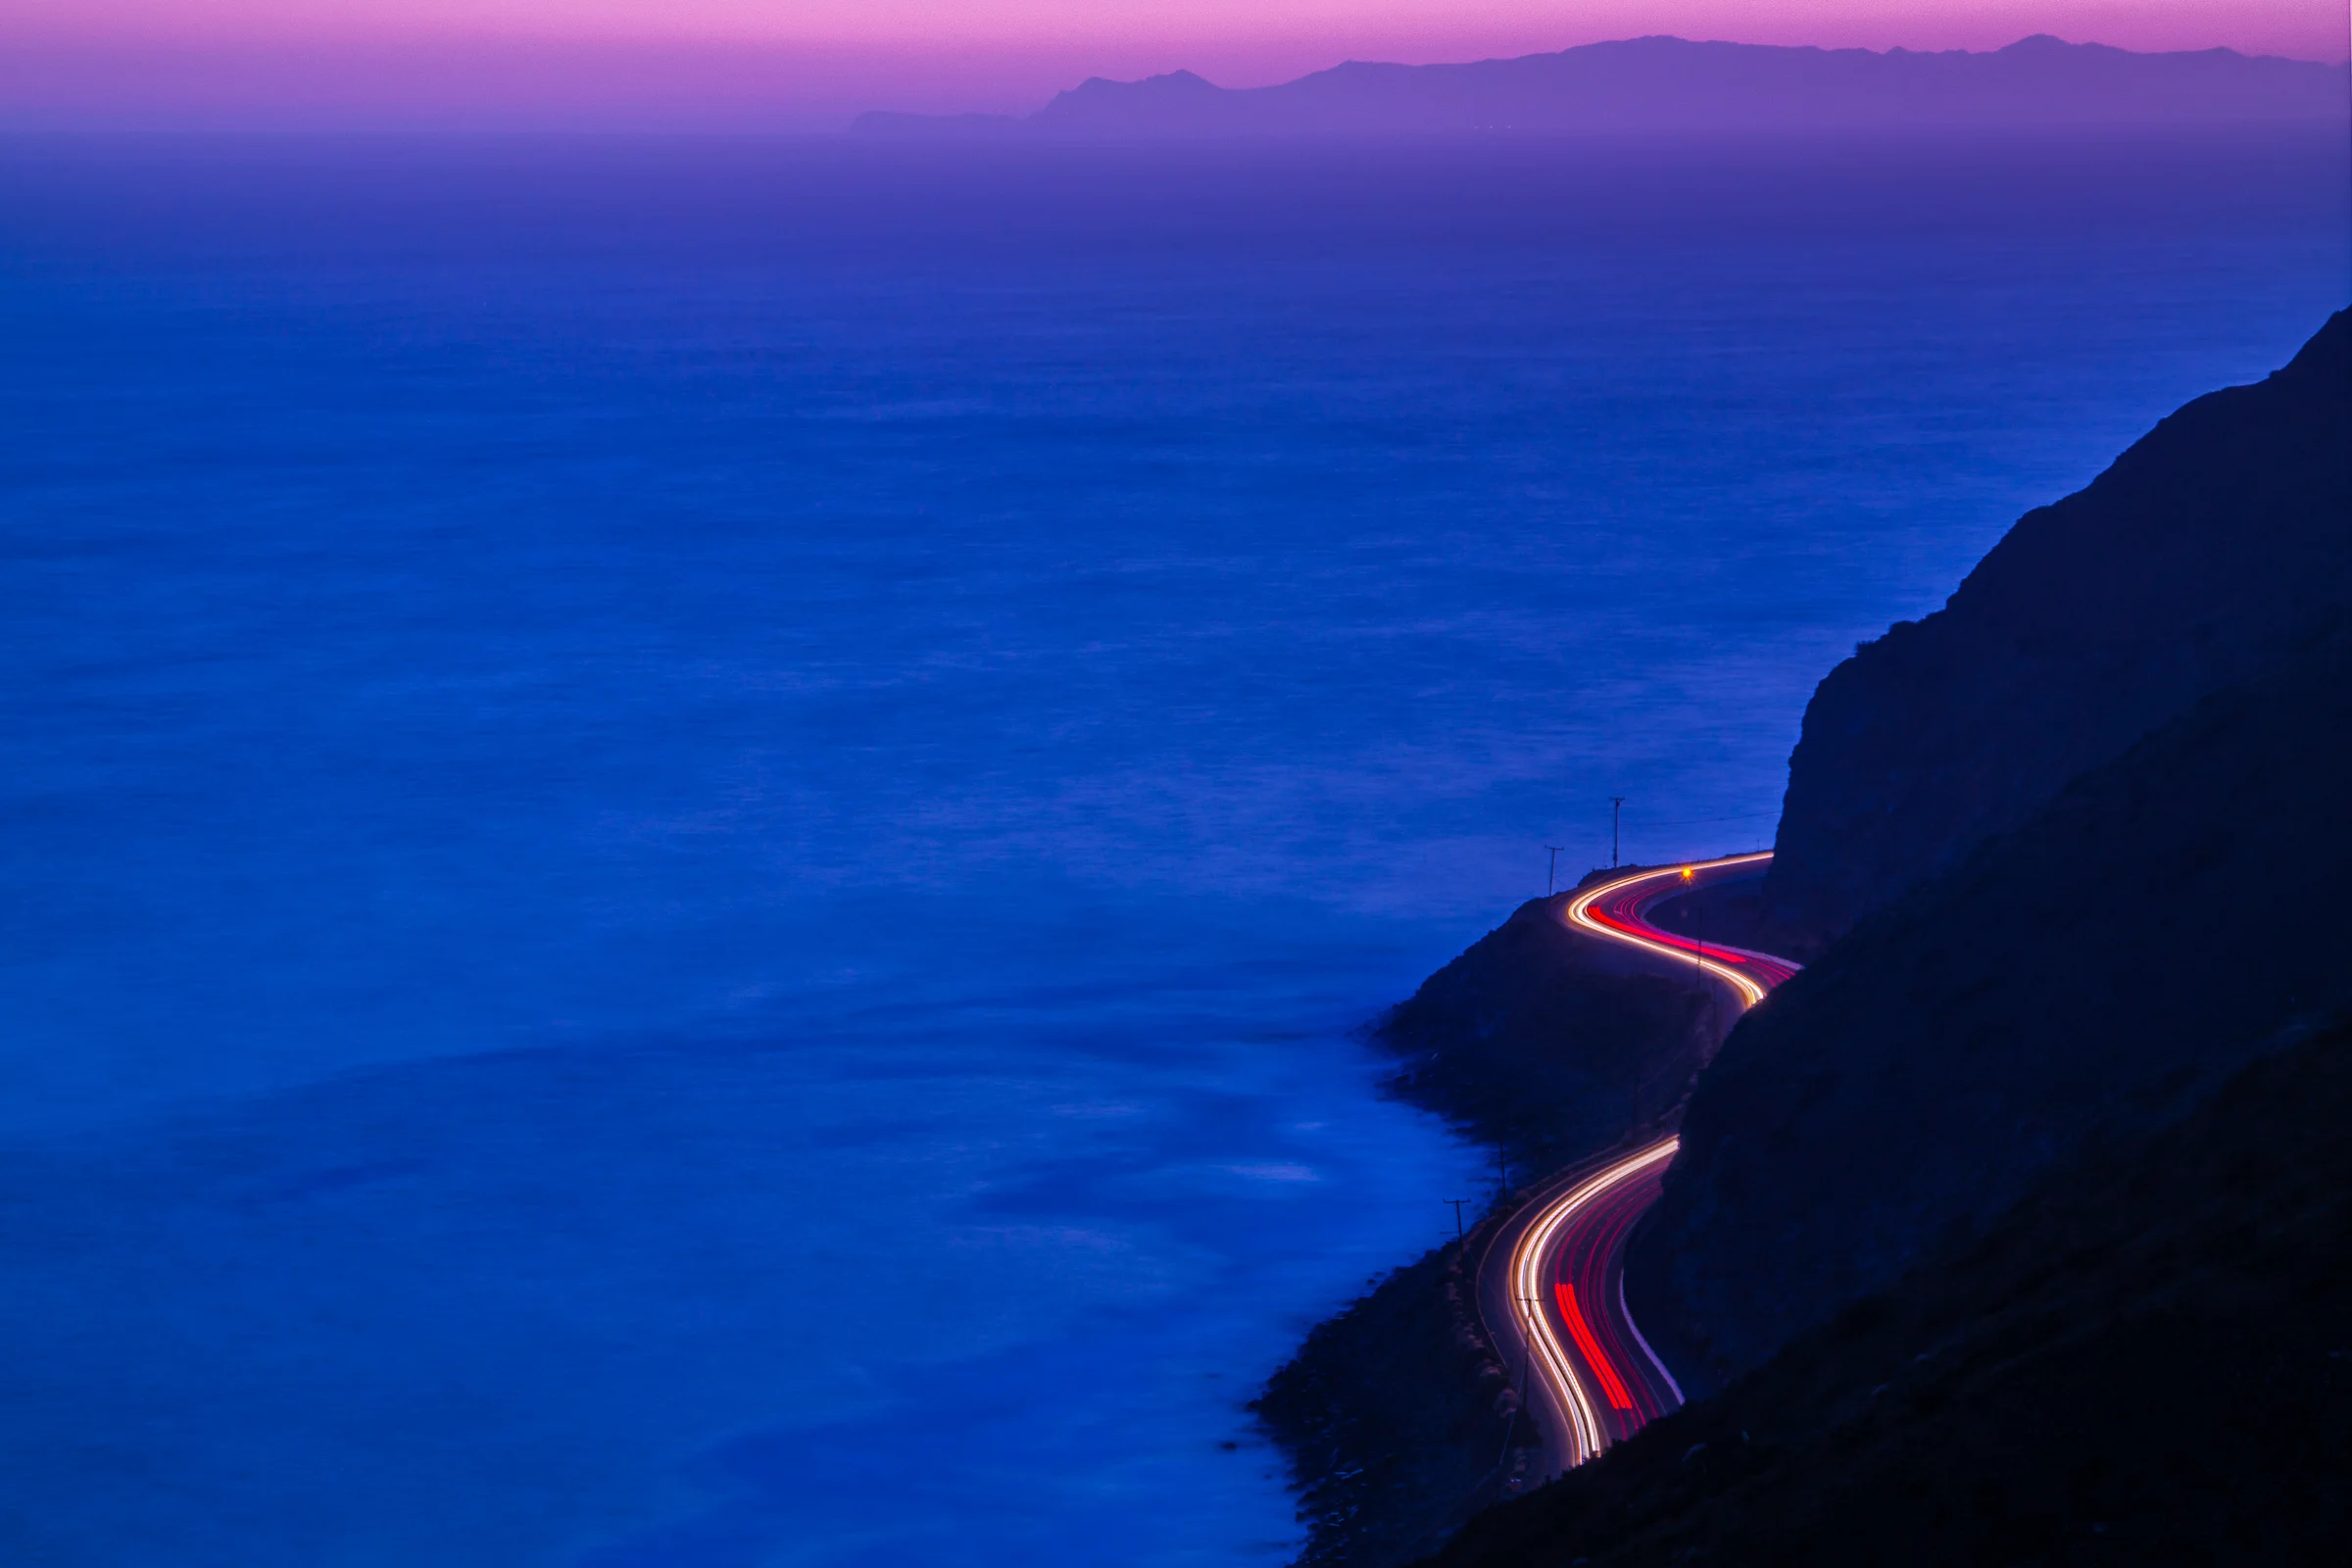
    3. Dusk/Twilight – If the sun isn’t directly in the shot, but you’re looking to capture the dusk/twilight light like the one of the Pacific Coast Highway you see above, then I typically expose for the sky if I’m looking to silhouette or darken the mountains/landscape. Conversely, I might decide to expose for the mountains to get some detail in there, and then use exposure compensation to stop down about a stop or so in order to not blow out the sky too much, still preserve some visible detail in the mountains, and still be able to capture those surreal colors that happen in those 15-20 minutes of perfect twilight after the sun sets behind the horizon. I’ll often also set the white balance to ‘cloudy’ even if it’s not cloudy as it helps warm up the scene and saturates the colors a bit. A few minimal tweaks of the shadow, highlights, and sometimes the contrast and vibrance sliders in Lightroom, and you’ve got yourself some awfully purty colors!

    One final tip is to make sure your lens is clean, especially when shooting images where the sun is a major component such as lens flare or starburst shots. Otherwise, you WILL get very visible unwanted dust specks and artifacts in your images.

    Well, I hope those tips help you during your summer adventures. Let me know if they help you capture some fun shots. I’d love to see them!

    By the way, all the shots you see above were shot on either the Samsung NX300 or the Samsung NX30, both of which are mirrorless cameras and provided to me as part of the Samsung Imagelogger program. Both of which I absolutely highly recommend and have turned into my primary cameras. If you decide to purchase through Amazon, try the links above! They’ll take you directly to the cameras I used and they’ll show me a bit of love for sending you that way…

    For more of my madness: Instagram: @wasimofnazareth Twitter: @wasimofnazareth Google+: www.Google.com/+WasimMuklashy Facebook: www.Facebook.com/WasimOfNazareth