Tag: landscape

  • A Spontaneous Excursion Up Pacific Coast Highway – Part 2: Big Sur

    A Spontaneous Excursion Up Pacific Coast Highway – Part 2: Big Sur

    Image asset

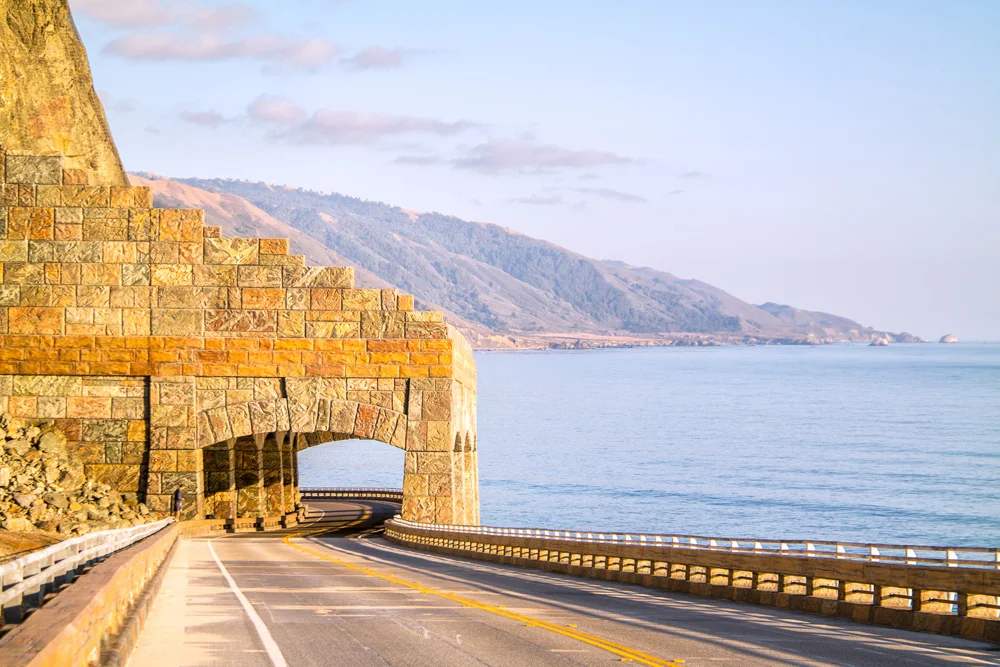
    So after the kayak melee in Morro Bay, it was time for Stephen Chiang, the photographer I was assisting, and I to drive up north to San Francisco for the job the next morning. Put two photographers in a car, give them the choice between A. a straight and direct, but boring route, and B. a windy, curvy, 2-hours-longer scenic route through Big Sur, and, well, you can guess which one they’re going to choose 11 times out of 10. So up the curvy Pacific Coast Highway we went, absolutely one of the most beautiful and scenic drives in the country. As we made our way through Cayucos, then Cambria, we stopped for lunch before PCH opened up along the Pacific Ocean for good from the lowlands of San Simeon (best known for Hearst Castle), all the way up the jagged picture-perfect sparsely populated Central California coastline to and through the majesty that is Big Sur. We pulled over and admired for a while, excited at the fact that just 24 hours from now, we’ll be back here to spend the rest of the week making the tough decisions of frolicking around the grand vistas overlooking the Pacific, or splashing around in this, the largest of the world’s 5 oceans.

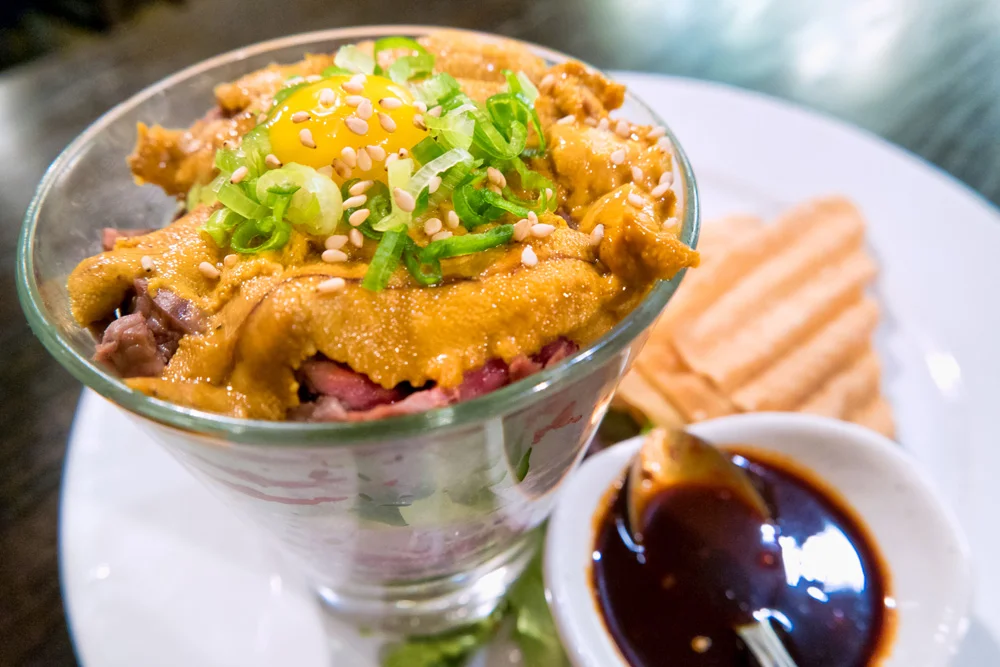
    But first, we had the task of finding dinner and a place to rest our heads for the night in San Francisco for the job in the morning, so we crossed over the famous Bixby bridge, rolled past Monterey and Carmel, made a pit stop in San Jose for my first experience with Yakitori at Gaku Yakitori in San Jose (I ate sea urchin!!! Anthony Bourdain would be proud!). There we used Airbnb.com, found ourselves a place to stay for the night, so after dinner, rolled into San Francisco around midnight. We woke up the next morning to fresh coffee from our host, who just so happened to be the photo editor for Via Magazine, an edition of the Automobile Club publications covering the western states, so, well, naturally, we all immediately clicked. (BTW kind Airbnb host, if you’re reading this, I have a feeling you’ll be hearing from us…)
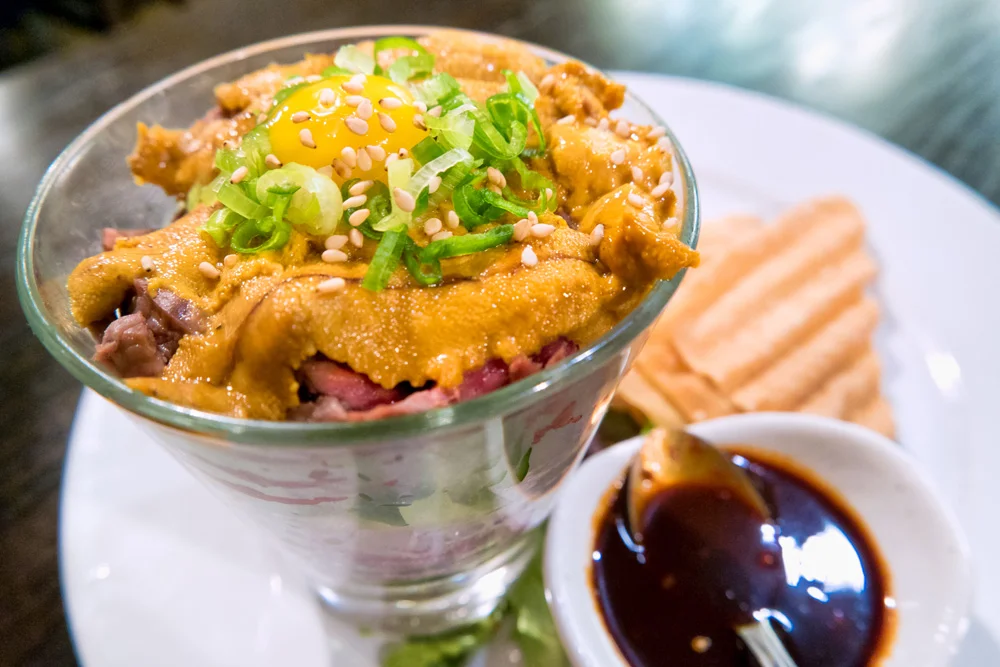
    Image asset

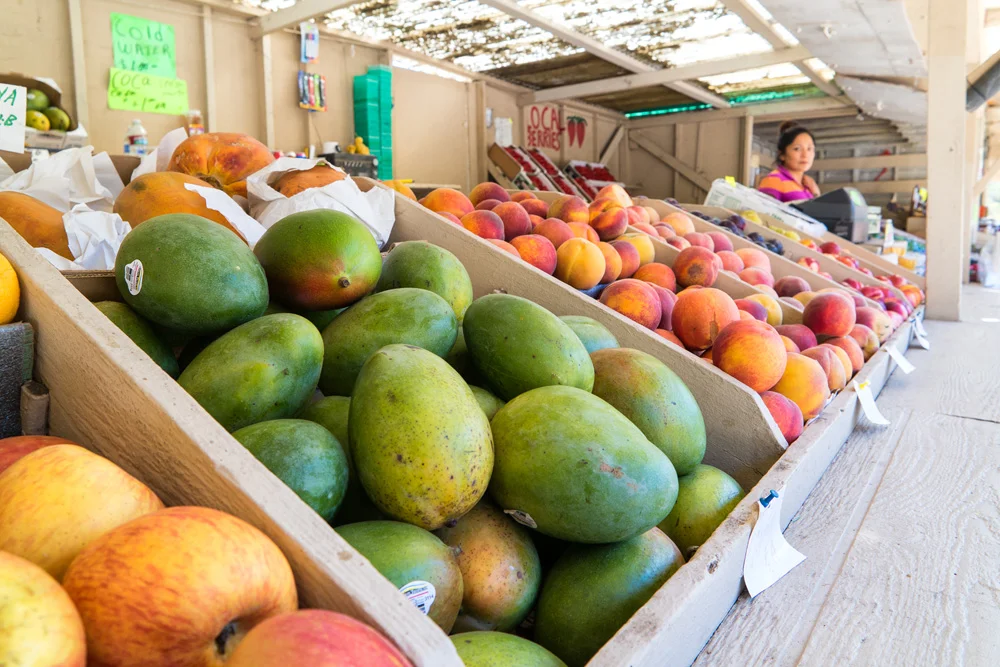
    The work day went suspiciously smoothly. It was a corporate headshot job, and we were in by 10am, out by 3pm. We didn’t even bother to stay in the city, opting to immediately get out, back along the coast, stopped in Pacifica at a roadside fresh produce stand for some snacks and supplies, and proceeded on down to Big Sur, where we were to meet my cousin, my aunt, and the family for dinner at Andrew Molera State Beach campground, our home for the next few days.
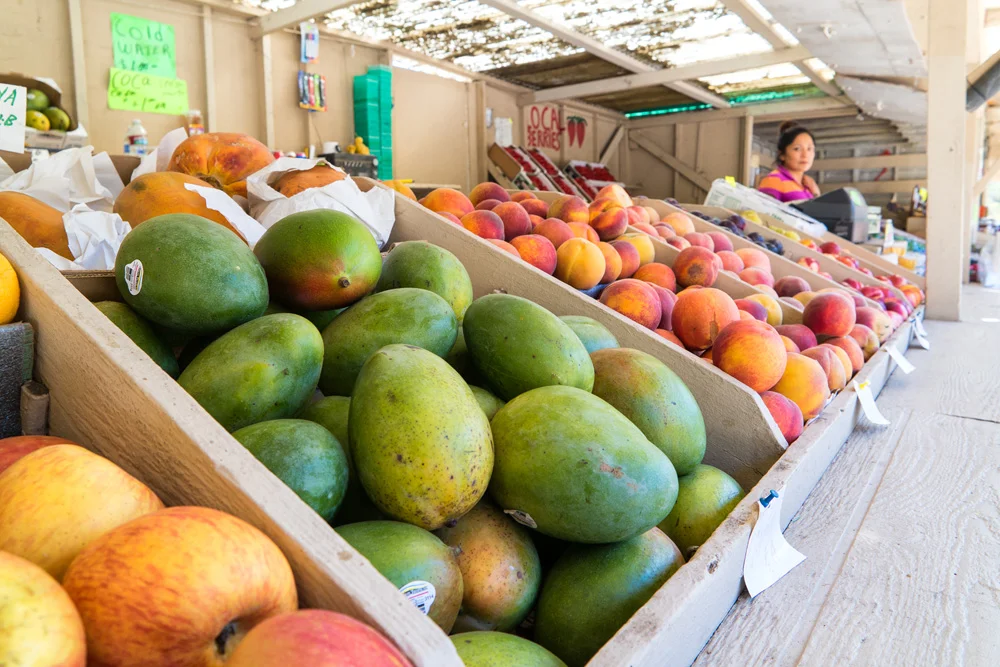
    Image asset

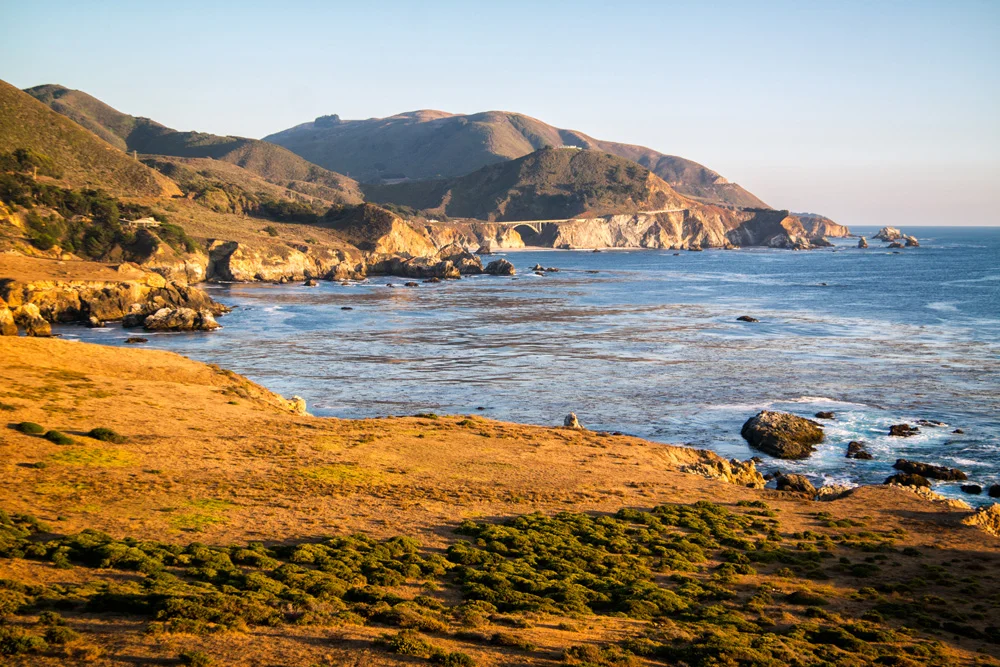
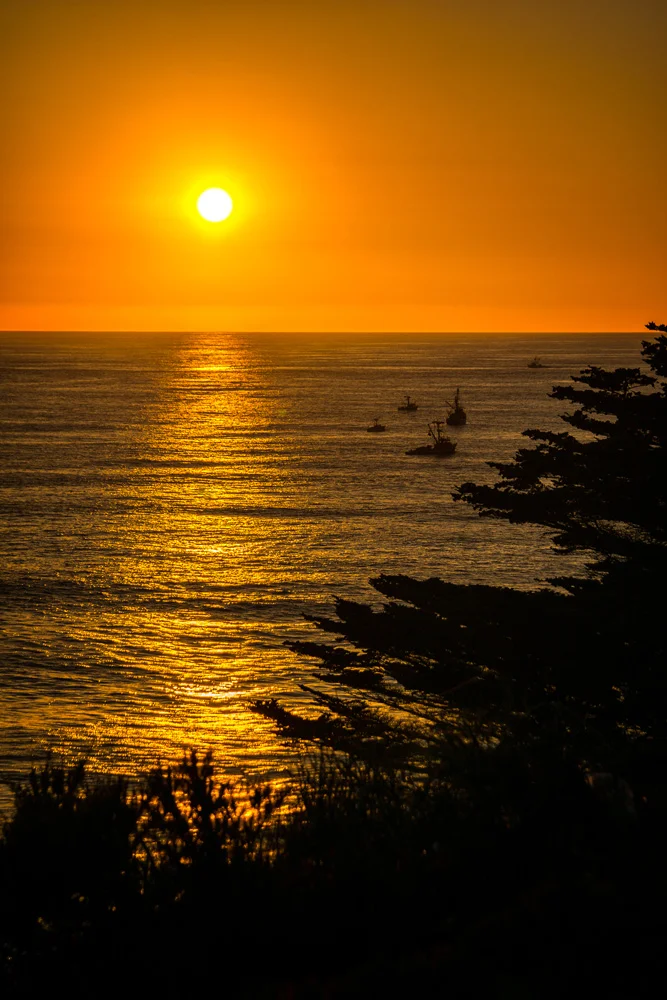
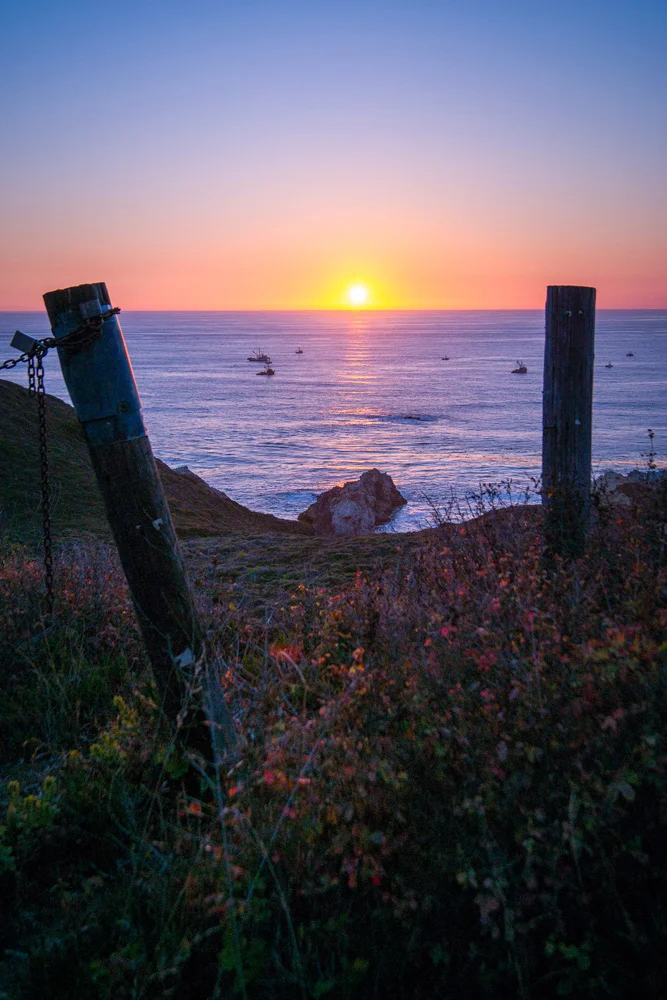
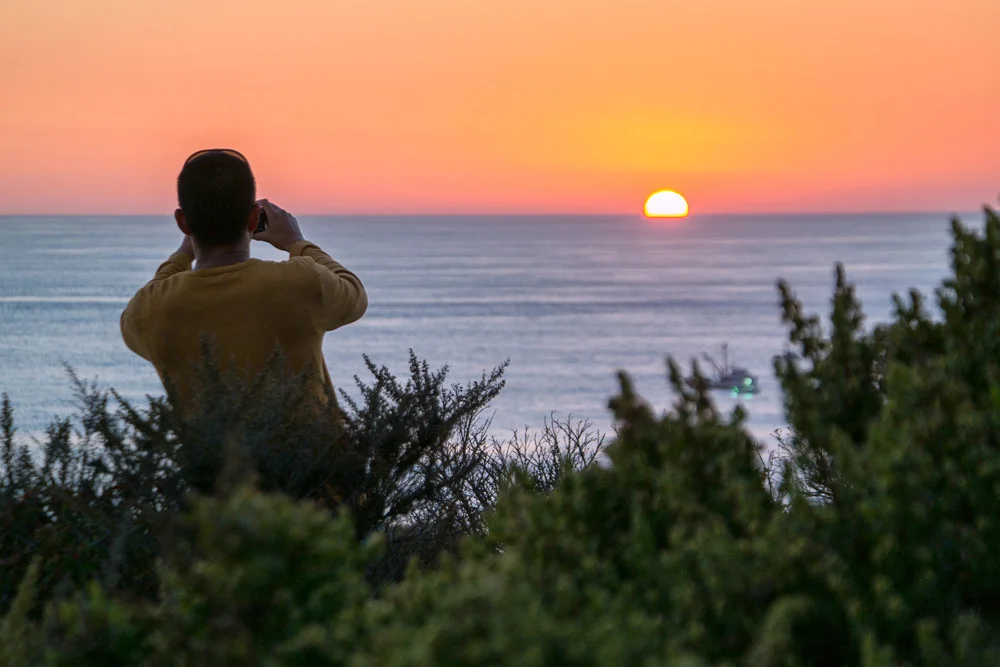
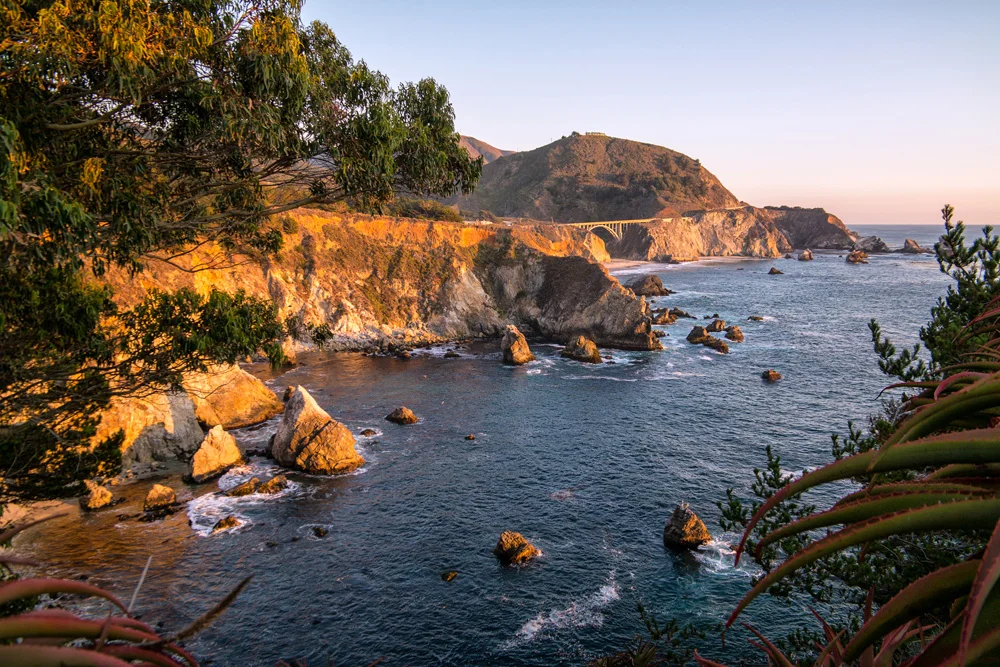
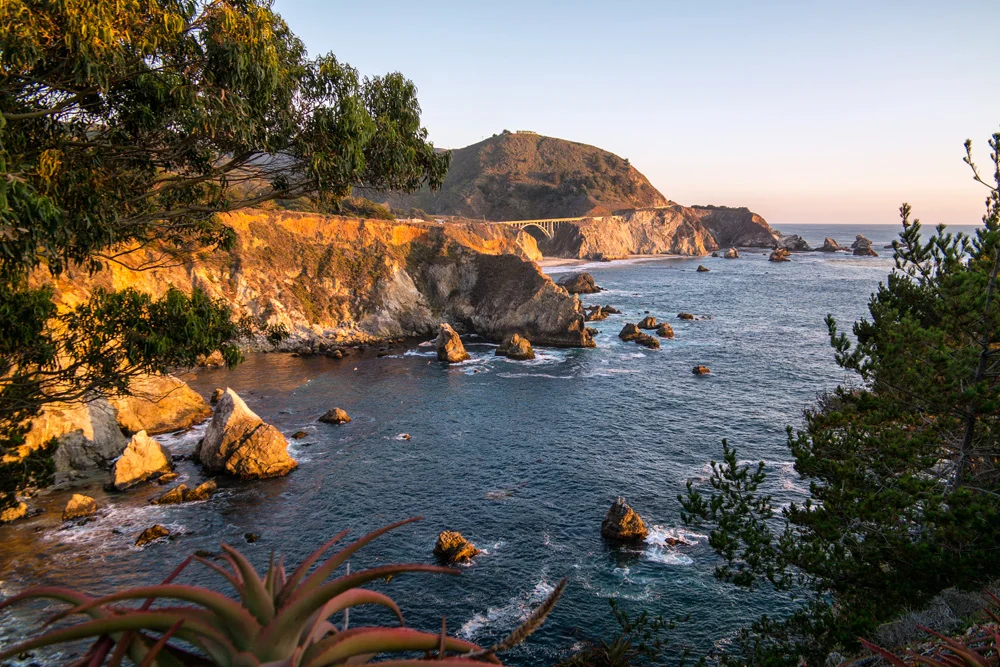
    Luck would so have it (yes, all luck, no planning or rushing to break down the equipment and get out of the city by a certain hour of course), that we made it back to the infamous Bixby Bridge in time to find a few vantage points to get some solid sunset shots. What are the chances?

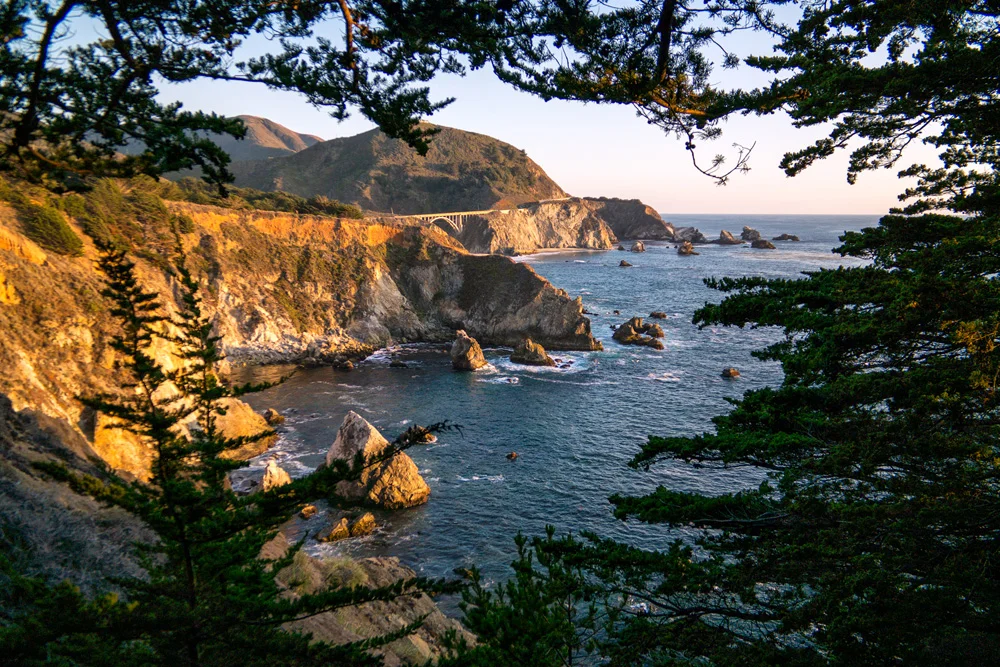
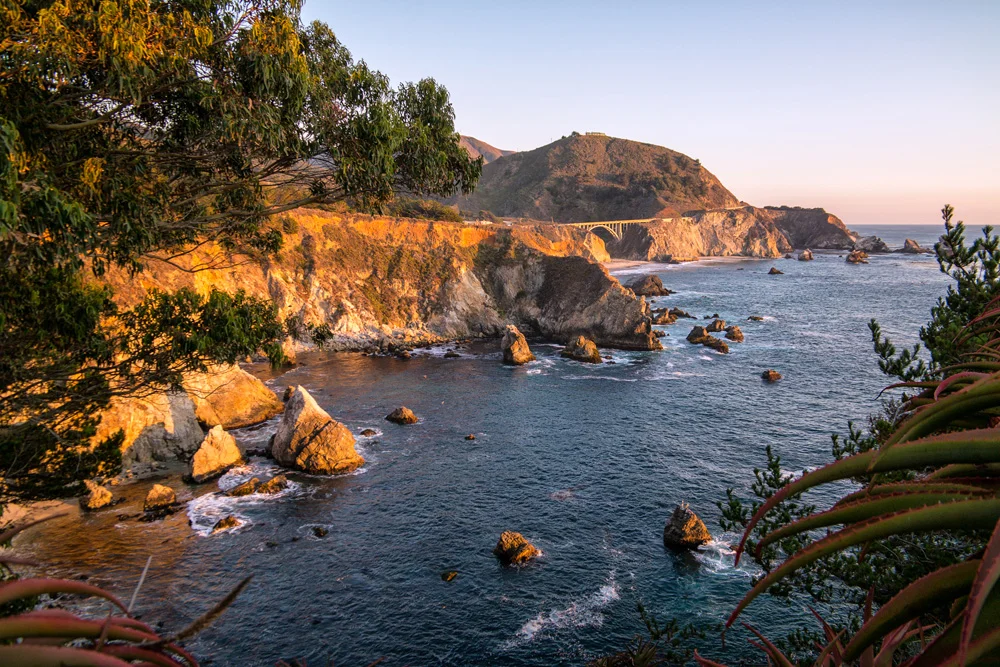
    We pulled along the side of the road at Rocky Point Restaurant, managed to get a few good shots and angles, not a difficult task in a location like this, but something still told us that we should continue on. So we did, and about a mile further down the PCH, we found a small turnout to park alongside what seemed to be a candidate for a perfect overlook. We took a trail along the bluff (extremely careful to avoid the poison oak that seemed to be in full bloom), which ended at the edge of an abandoned property that we didn’t realize until we were already on it. The boarded up house and remains of an old firepit gave it away. But when we turned around, there was no way we were backing off right away.

    This.

    View.

    Was.

    Perfect.
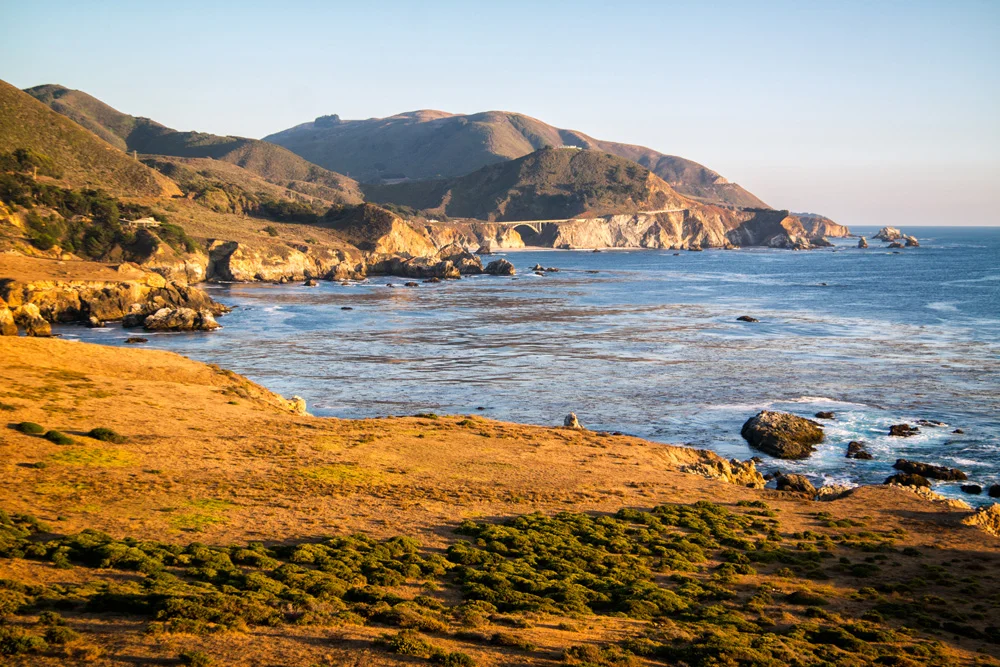
    Image asset

    We spent the next 15 to 20 minutes capturing the last rays of sunlight over the Pacific and shining onto the coastline hugging the Bixby Bridge, turned towards each other with a knowing “that’s why we do this” smile, and walked back to the car.

    Hungry.

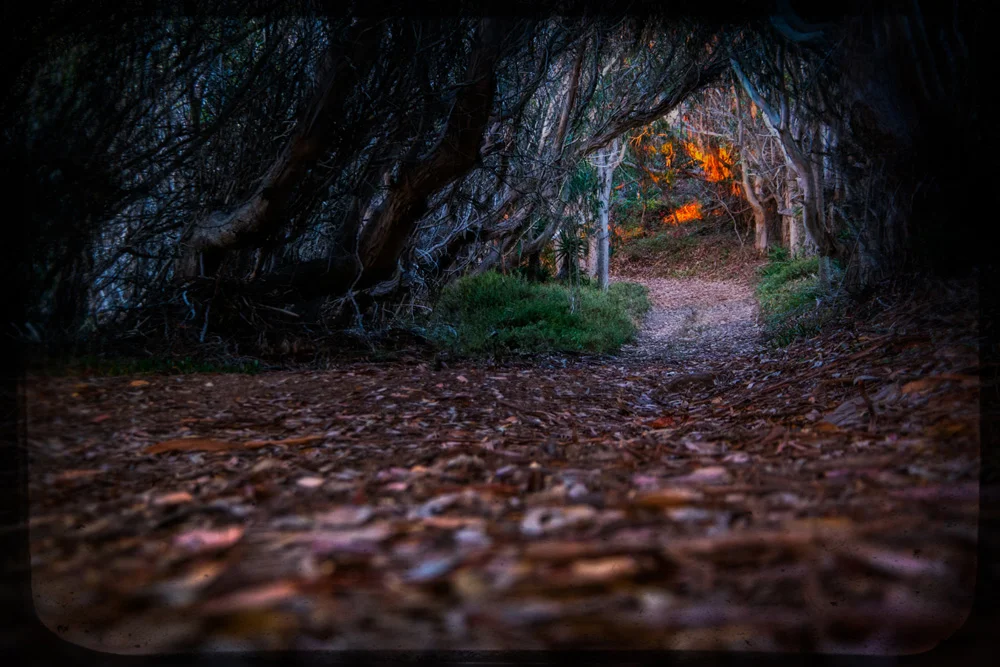
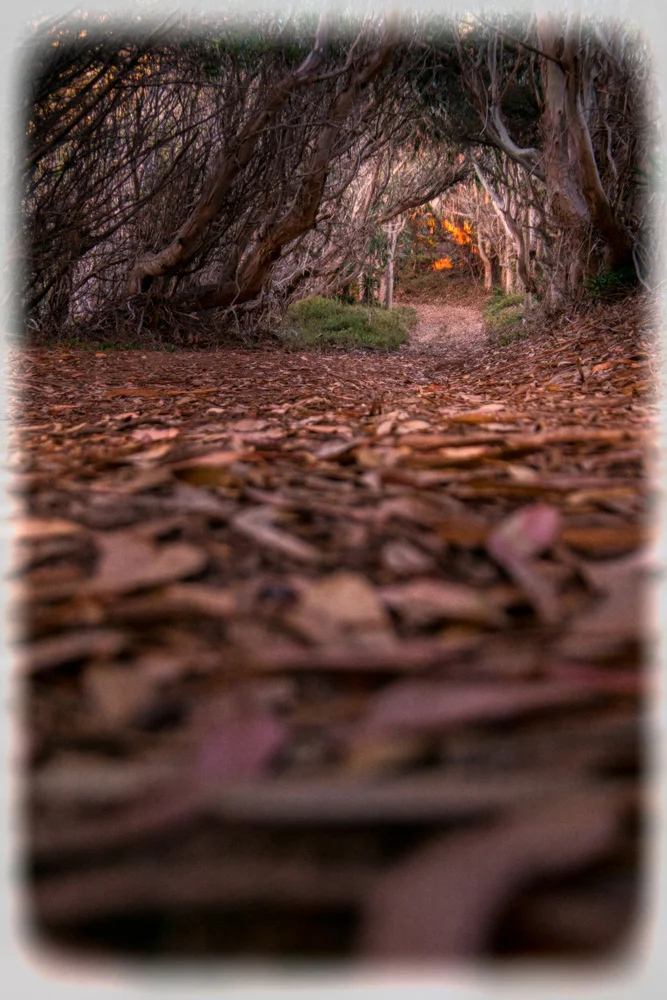
    We finally pulled up to Andrew Molera State Park, hiked through a 1/2 mile tree canopy into our campsite where the rest of the family was waiting, burgers already grilling, beers already poppin,’ and hence began our stay in Big Sur.

    Check out the gallery of images from that day and evening below, taken on Samsung NX3000 and NX30 mirrorless cameras.

    Click here for the next part, Part 3: More Big Sur

    And if you missed it, here’s Part 1: Morro Bay

    And for more of my madness, including additional images and edits from this very trip:
    Instagram: @wasimofnazareth
    Google+: www.Google.com/+WasimMuklashy
    Facebook: www.Facebook.com/WasimOfNazareth
    Ello: www.Ello.co/WasimOfNazareth
  • A Spontaneous Excursion Up Pacific Coast Highway – Part 1: Morro Bay

    A Spontaneous Excursion Up Pacific Coast Highway – Part 1: Morro Bay

    Pacific Coast Highway PCH Morro Bay California Part1 07formatoriginal

    It began as a work trip. Well, sort of. I’m finding more and more and more these days I’ll fish for any excuse to leave Los Angeles…just the thought alone gets me excited. So when Stephen Chiang, a photographer friend that I occasionally assist mentioned he needed an assistant for a gig in San Francisco, I jumped at it. When he mentioned it would begin with a night of camping in Morro Bay State Park, and end with 4 nights of camping in Big Sur, that wasn’t just the icing on the cake, that WAS the cake.

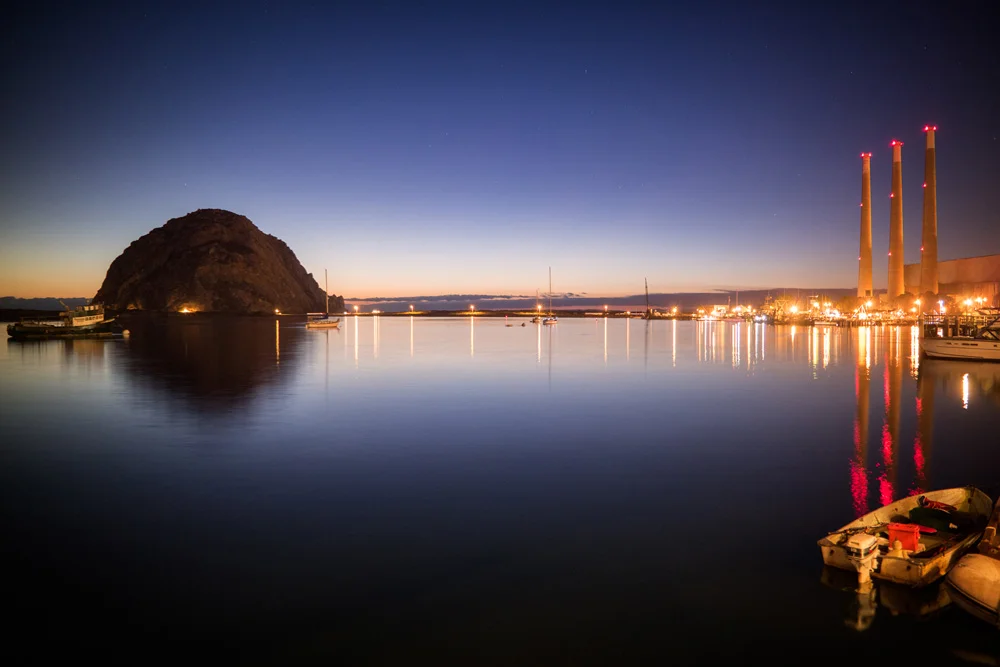
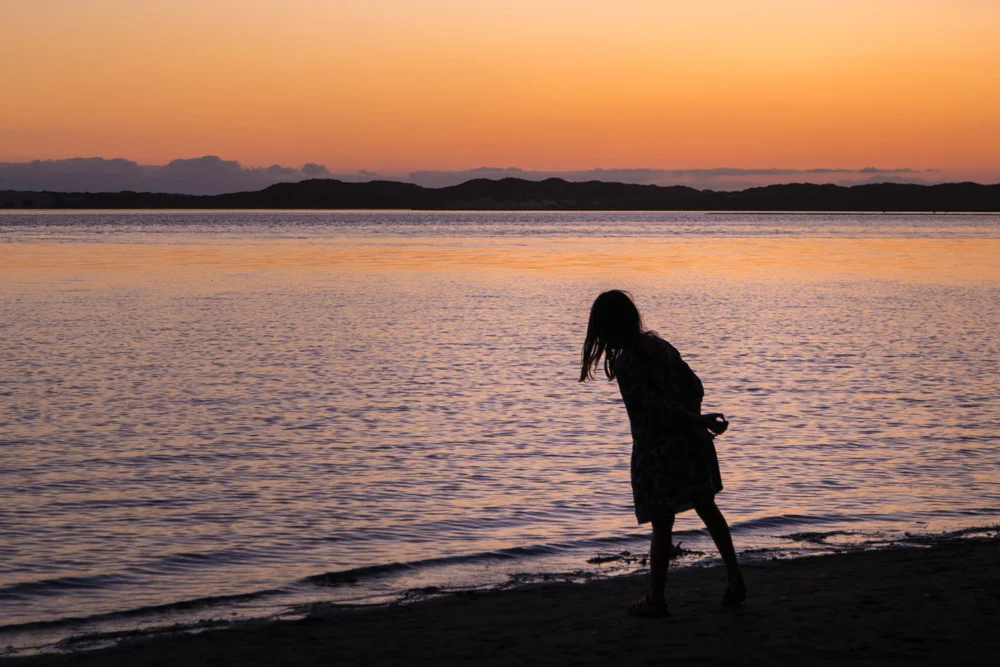
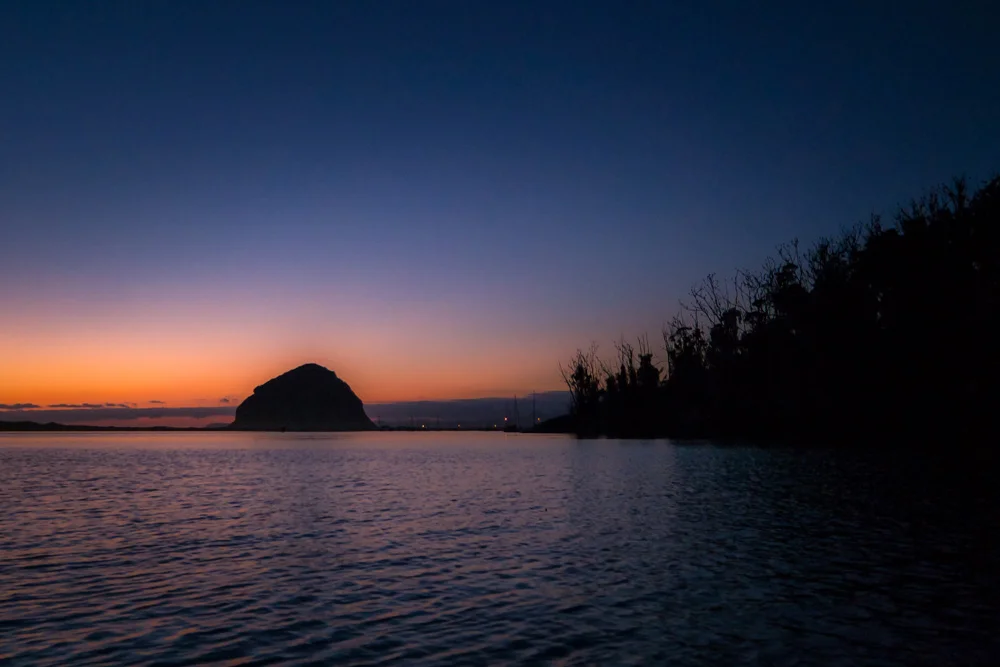
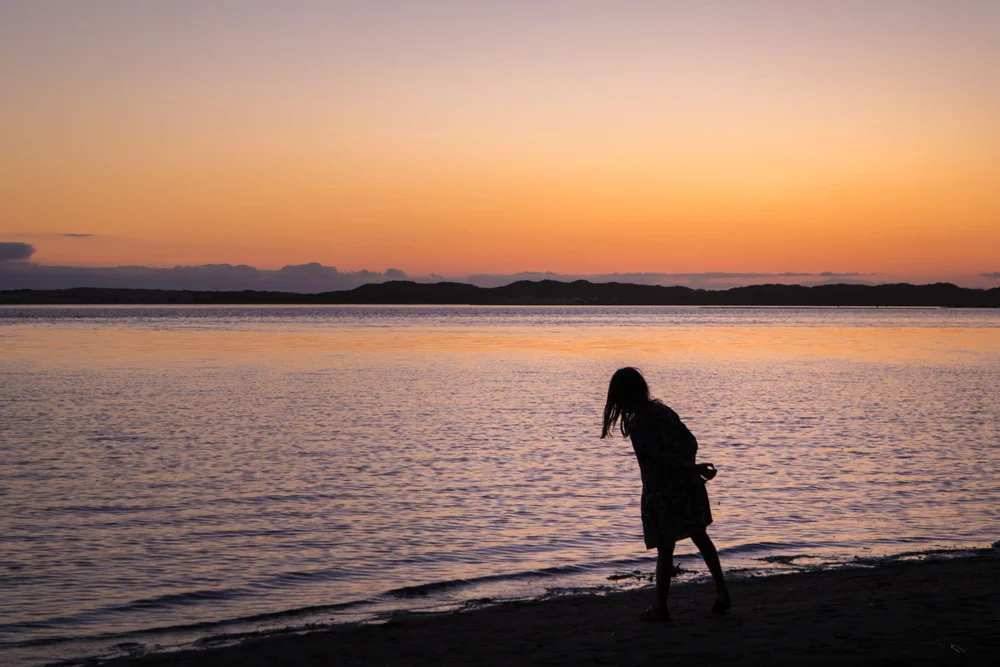
    We hit the road on the Sunday before Labor Day, caravanning with his family (his wife, who happens to be my cousin, their kids, and my aunt), got to Morro Bay, took a walk along the shore for the first sunset of the trip, and then headed down to the village for a seafood dinner at The Galley. Afterwards, we headed back to camp, lit the campfire, shared some scotch and stories, and crashed.

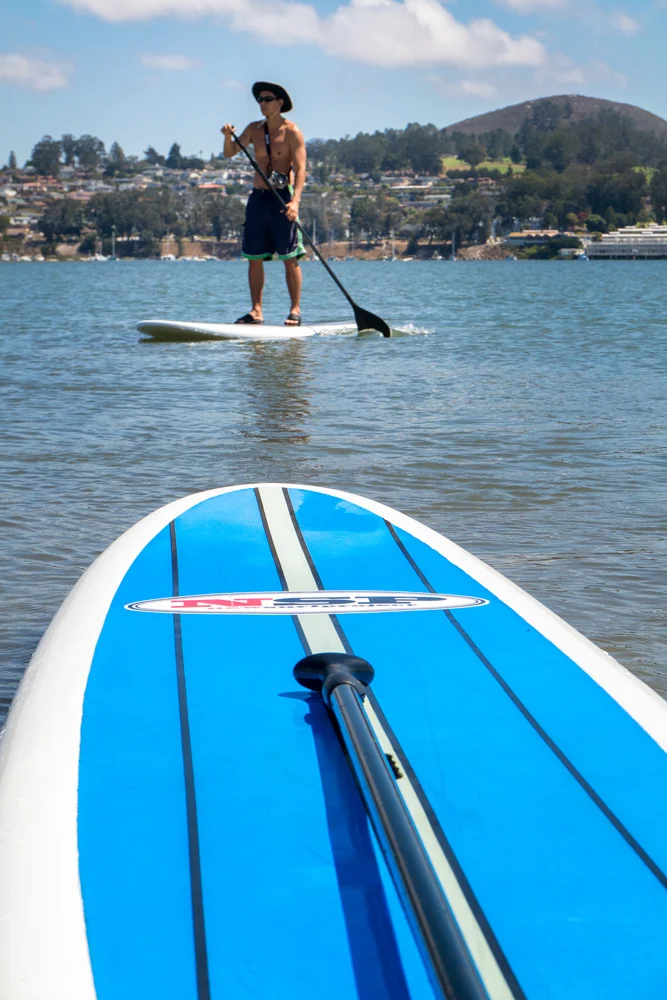
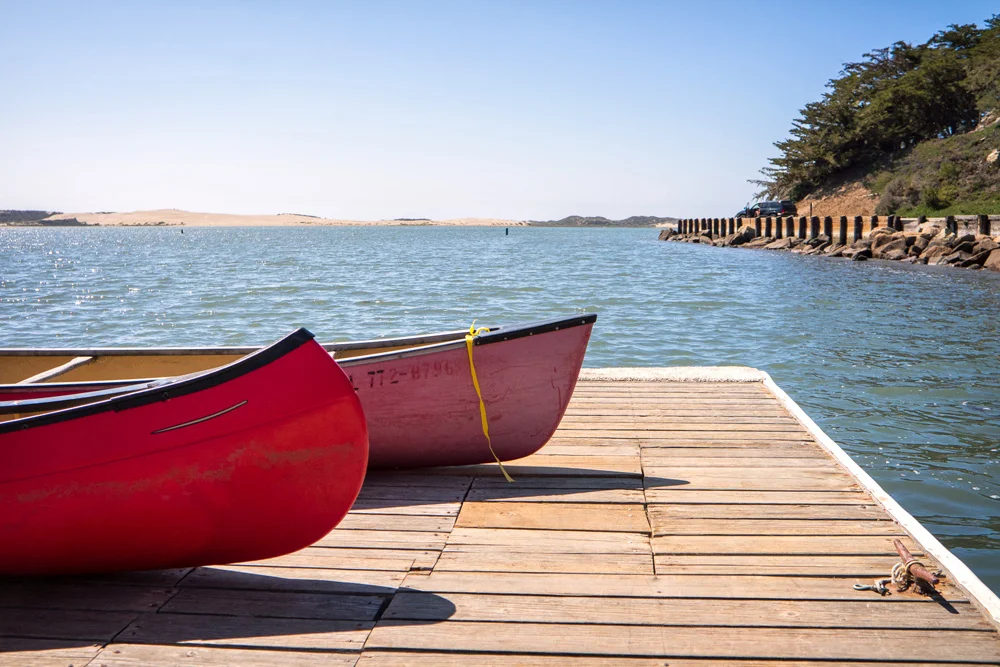
    The next day was an adventurous and activity filled one. It also ended up being the first time I’ve ever entered and operated a kayak. My cousin and one of her kids hopped on a paddle board, her husband and the other kid hopped on another paddle board, and my aunt and I jumped into the kayak – both rookies mind you, and it was immediately apparent. It took a few twists, turns, and devising a system to coordinate our left from our right, but eventually, we got the hang of the bugger…for now.

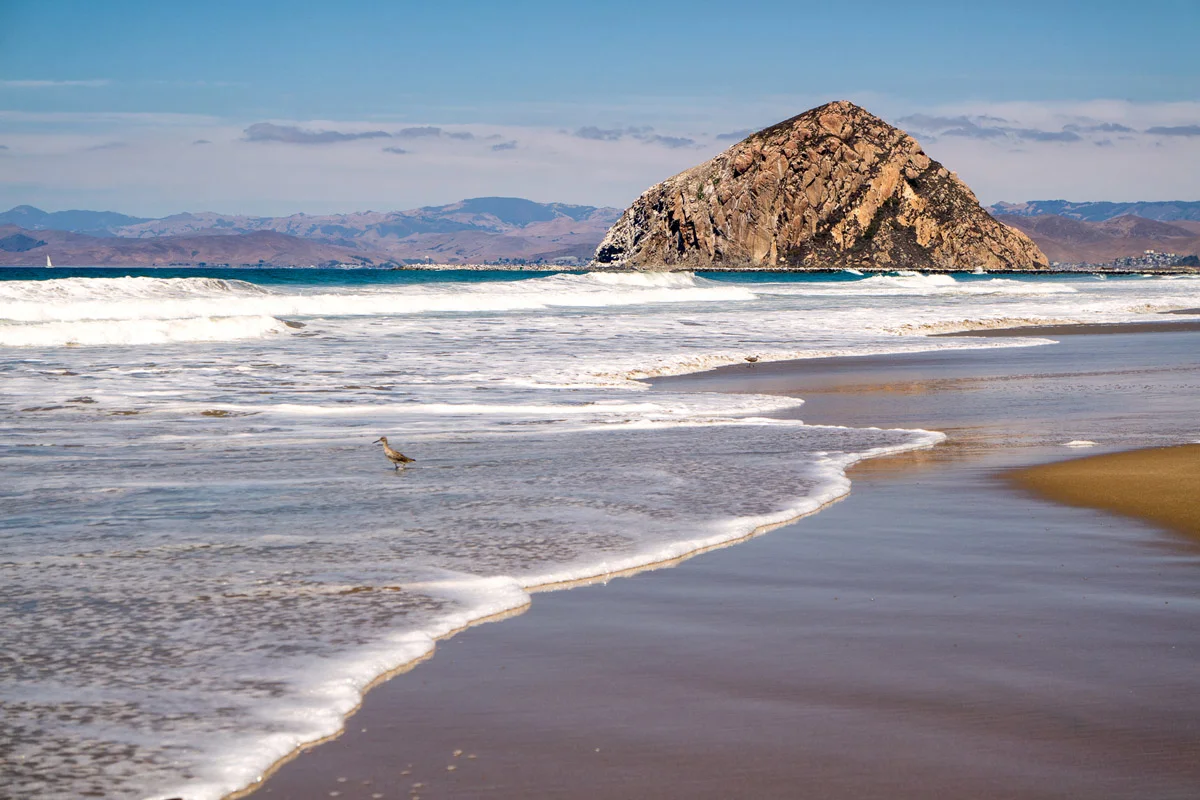
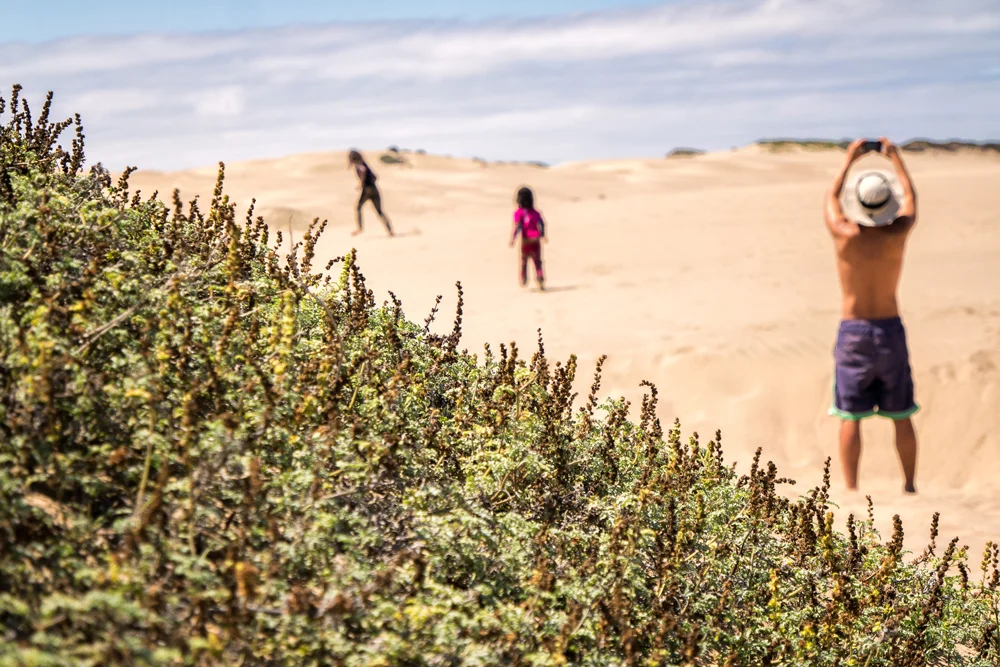
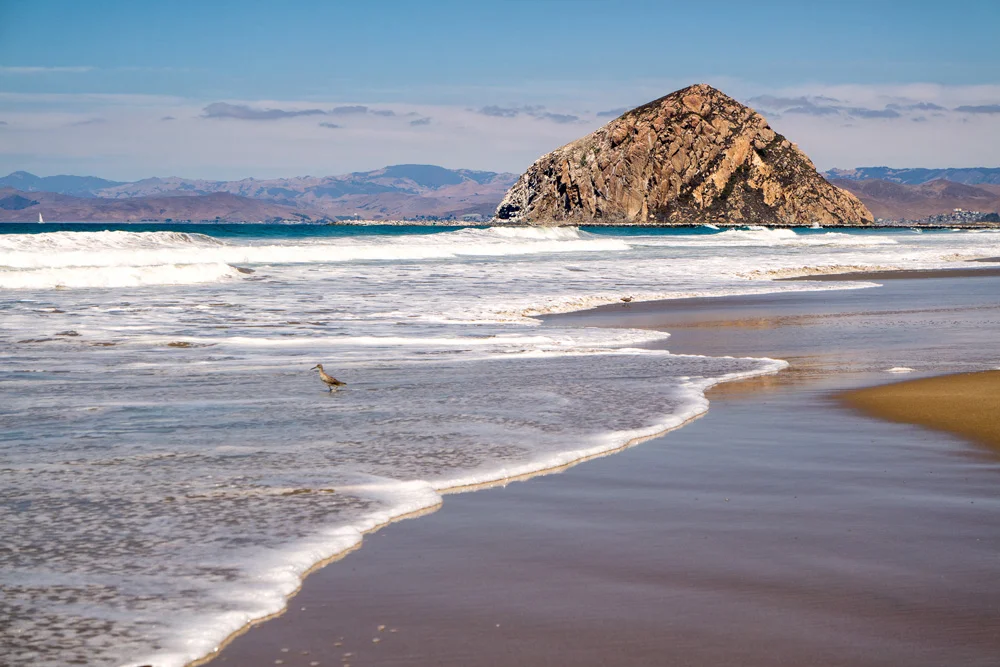
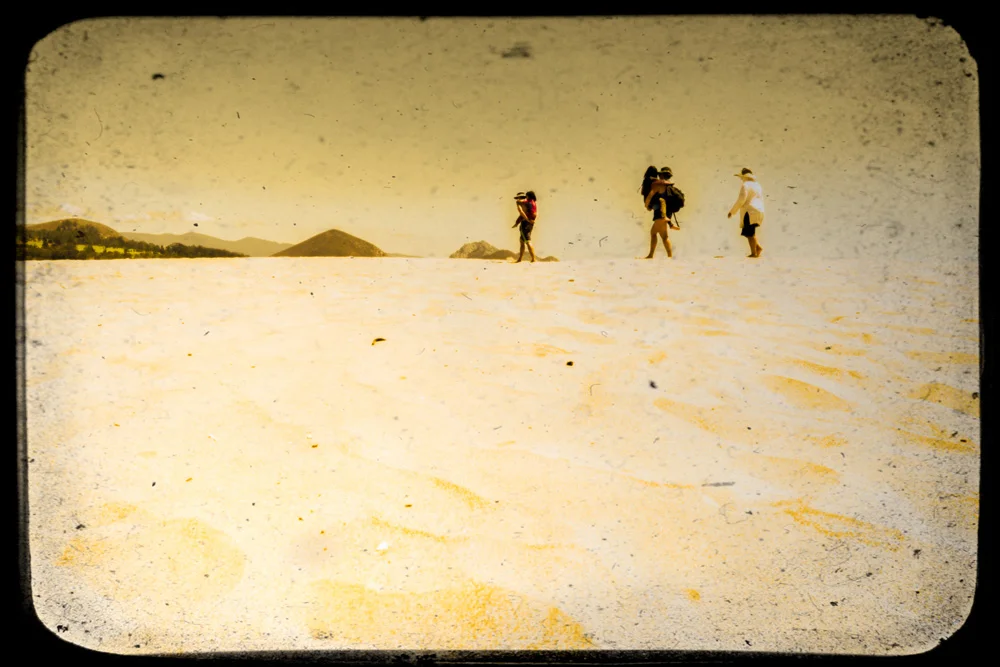
    We made it across the bay to peninsula on the western side of the bay that ran along the Pacific coast towards the icon of the town, Morro Rock. The sandbar was about a half mile wide and covered with sand dunes that we traverse to get to the beach side. We spent a couple hours in the sun, had a packed lunch, and then made our way back over the sand dunes to our ‘transportation.’

    The return trip was not NEARLY as easy as we had anticipated. No matter what we did, all we could manage was to spin around in circles while the undercurrent pulled us further and further away from the direction we were trying to go in. Apparently the tide has dropped and we were trying to kayak through 12” deep water. Well, needless to say…that didn’t work out too well. We ended up spinning around in place while the current was pulling us in the wrong direction almost snapping the paddles as we dug them into the sand to try to stay put. No bueno. I’m partly embarrassed to admit we ended up holding onto the back of my cousin’s paddle-board as she towed us in…

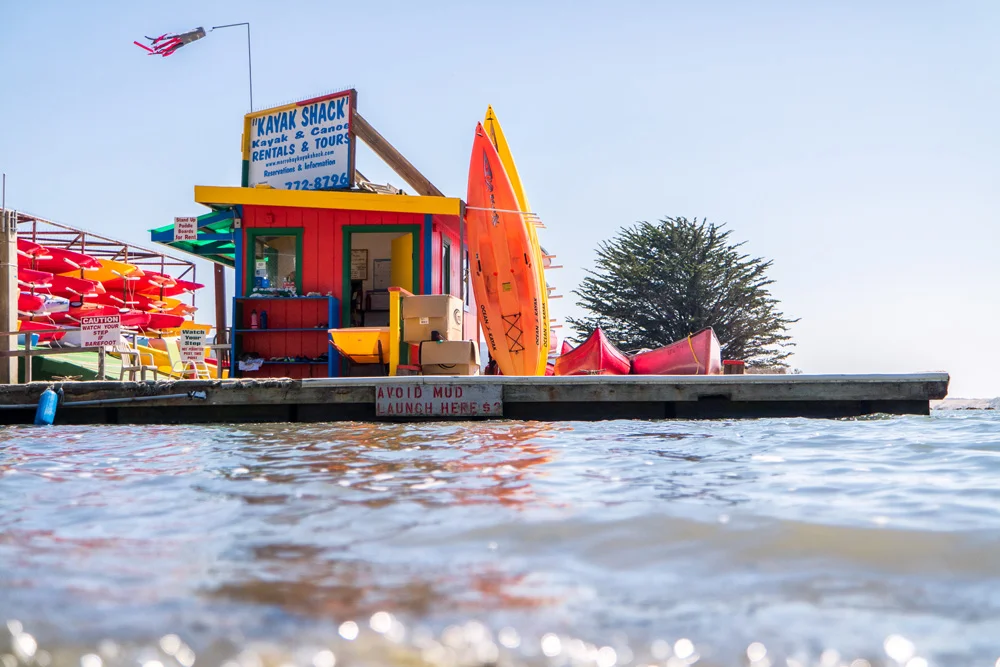
    And since I feel compelled to find a way to make you forget about that last sentence and focus on something else, here are a few images from that first day in Morro Bay, all of which were taken with a Samsung NX3000 mirrorless camera…

    If you’re ready for Part 2: Big Sur, click here.

    Finally, for more of my madness:
    Instagram: @wasimofnazareth
    Google+: www.Google.com/+WasimMuklashy
    Ello: www.Ello.co/WasimOfNazareth
  • A Surprise Journey Through The Range Of Light – The Eastern Sierra Nevadas – Part 3: Mono Lake

    A Surprise Journey Through The Range Of Light – The Eastern Sierra Nevadas – Part 3: Mono Lake

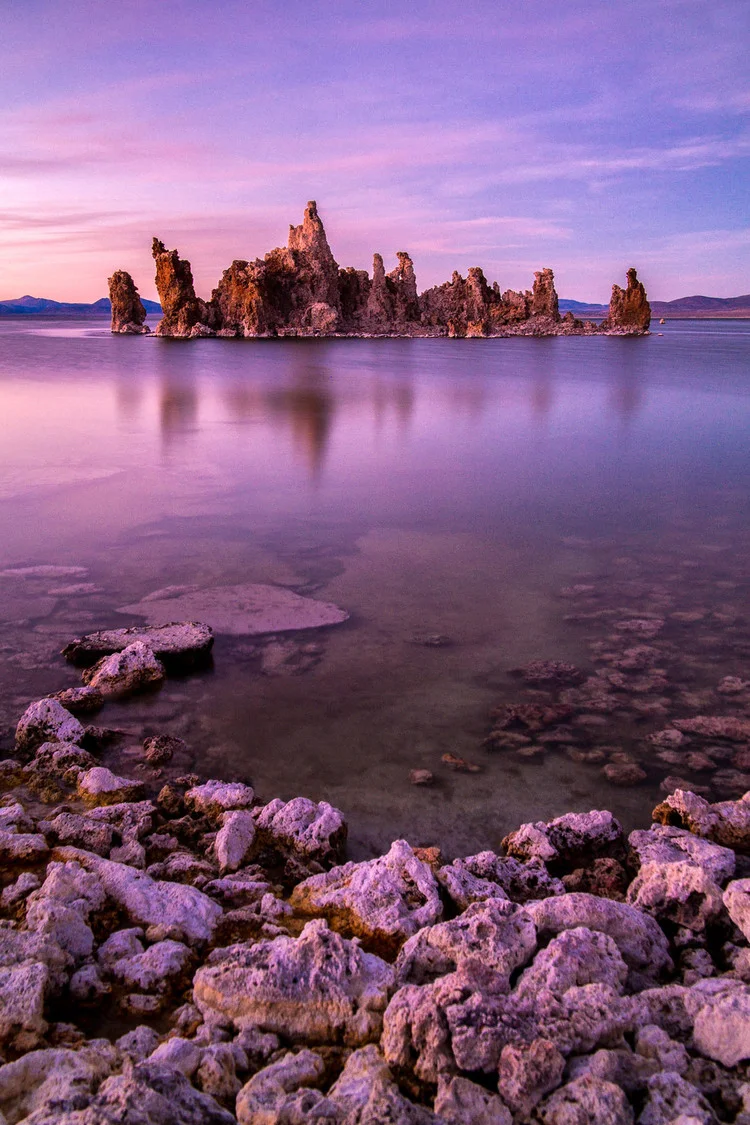
    Wasim Muklashy Photography_Mono Lake_California_Samsung NX30

    Day 3 of this unplanned impromptu journey into the Eastern Sierras thing was a tough choice. While I was happy with what I got in Yosemite’s Tuolumne Meadows yesterday, now that I knew the lay of the land a bit better, it couldn’t hurt to head back again, which I would have been absolutely HAPPY to do. However, I was also dangerously close to Mono Lake, California, another one on the bucket list, so I had to decide whether to turn this into 2 days of Tuolumne or 1 day of each, Tuolumne and Mono Lake, both of which, in my opinion, would have been WIN! I know, I know, tough decisions… But ultimately, the side of me that loves new things chose Mono Lake, figuring that, since the job got botched, I’d most likely be back up here again soon, so I’ll get another shot (major pun intended).

    Wasim Muklashy Photography_Mono Lake_California_-SAM_1480_1800

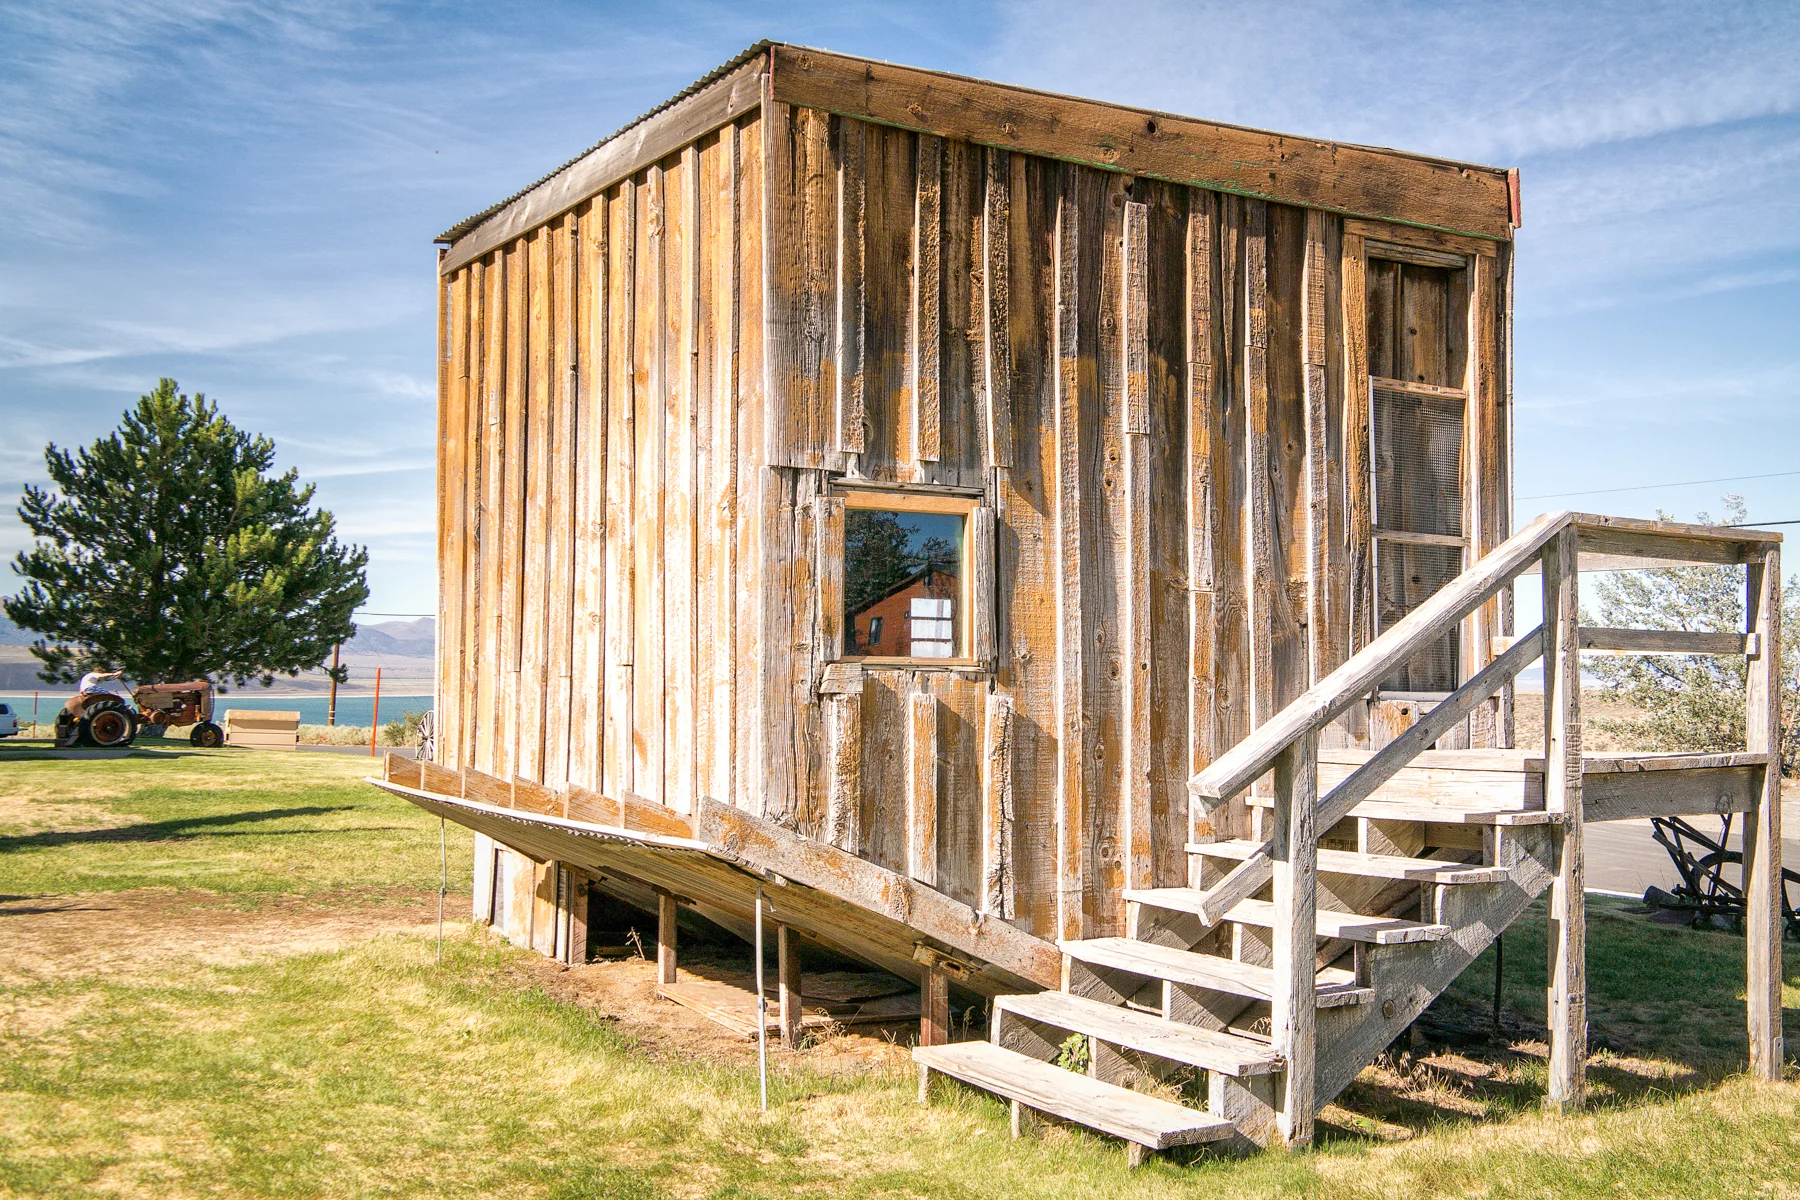
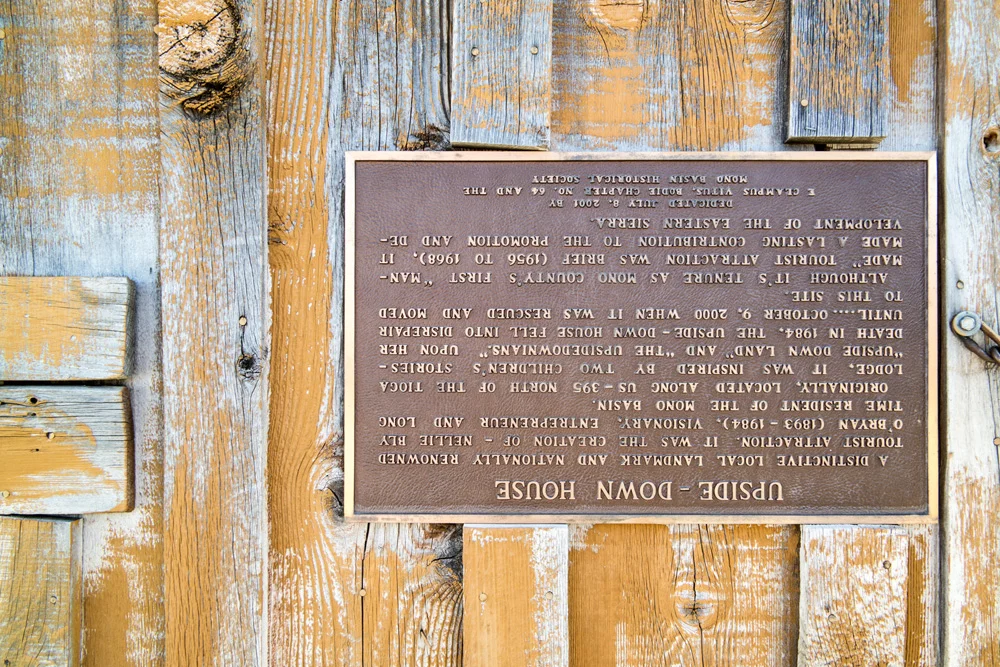
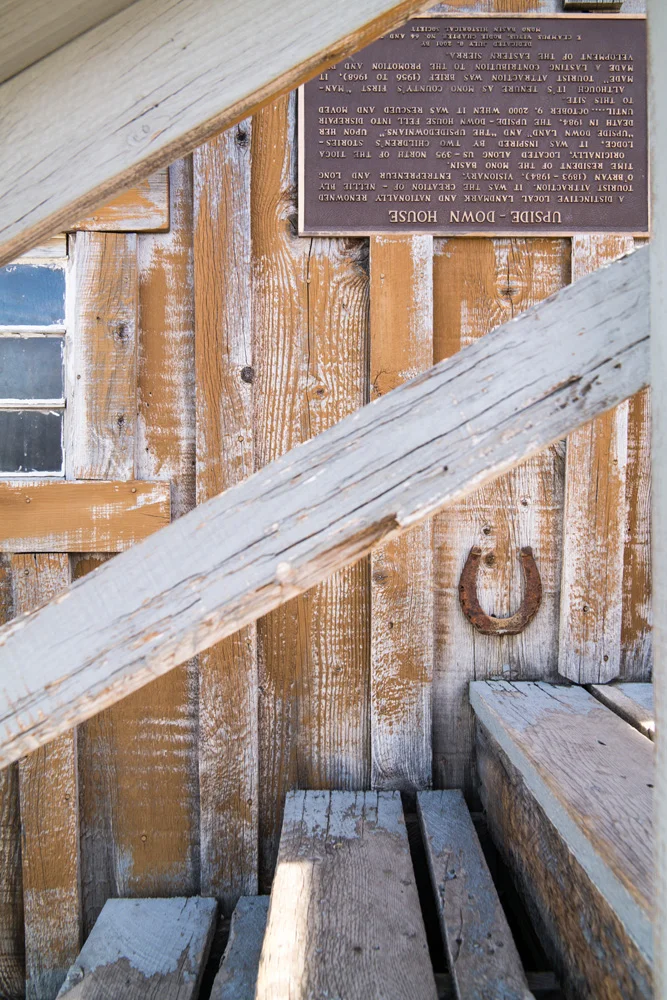
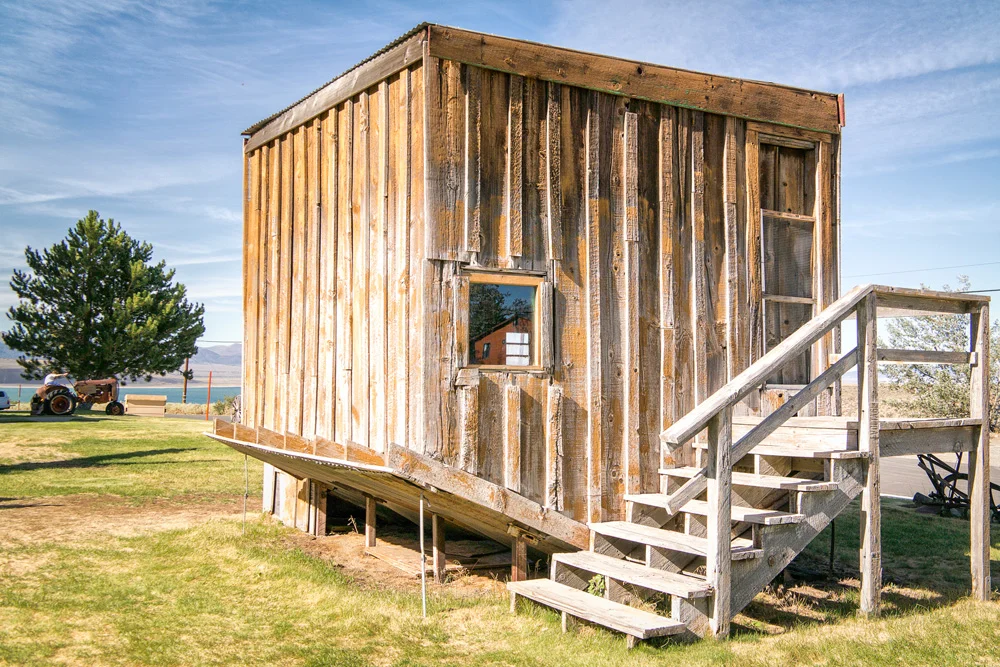
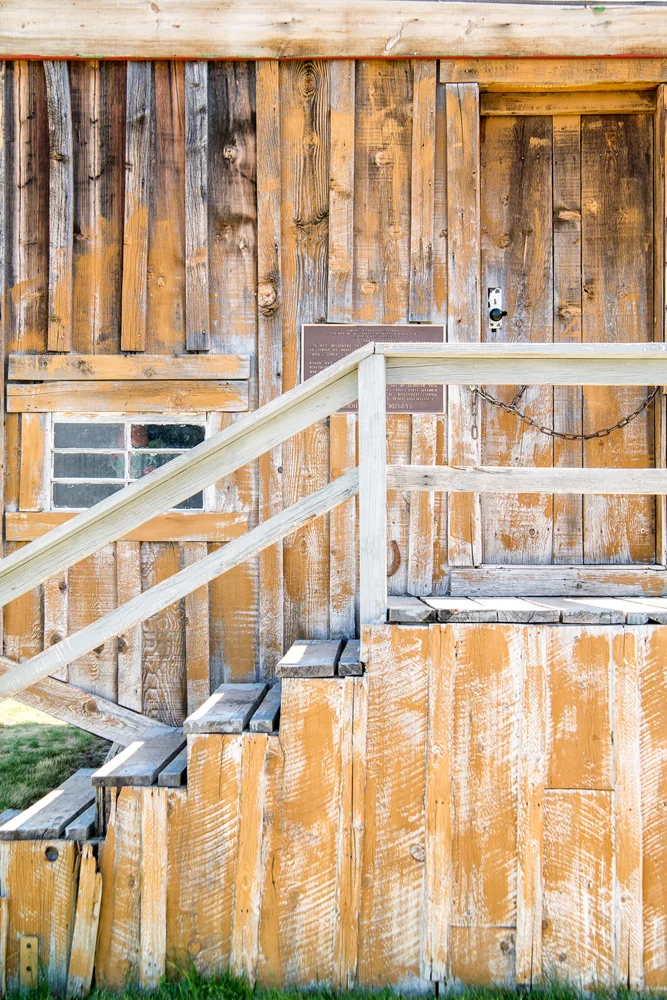
    Once again, I left the motel in Mammoth Lakes around 4. Seeing as how Mono Lake was only about 30 minutes from Mammoth, I figured I’d have a solid 2 hours to get the lay of the land, find my shot, set up, and hang out. I drove through Lee Vining, stopped at the visitor center to find out how to get to the Tufas, the landmark landscape of the lake, made a mini-detour to the ‘Upside Down House,’ (don’t ask…here’s the photo and the sign, which I haven’t even read…kinda don’t want to ruin the desert rat mystique of this one…), and drove the 10 or so miles to the section of the lakeside I was going to call home for the next several hours.

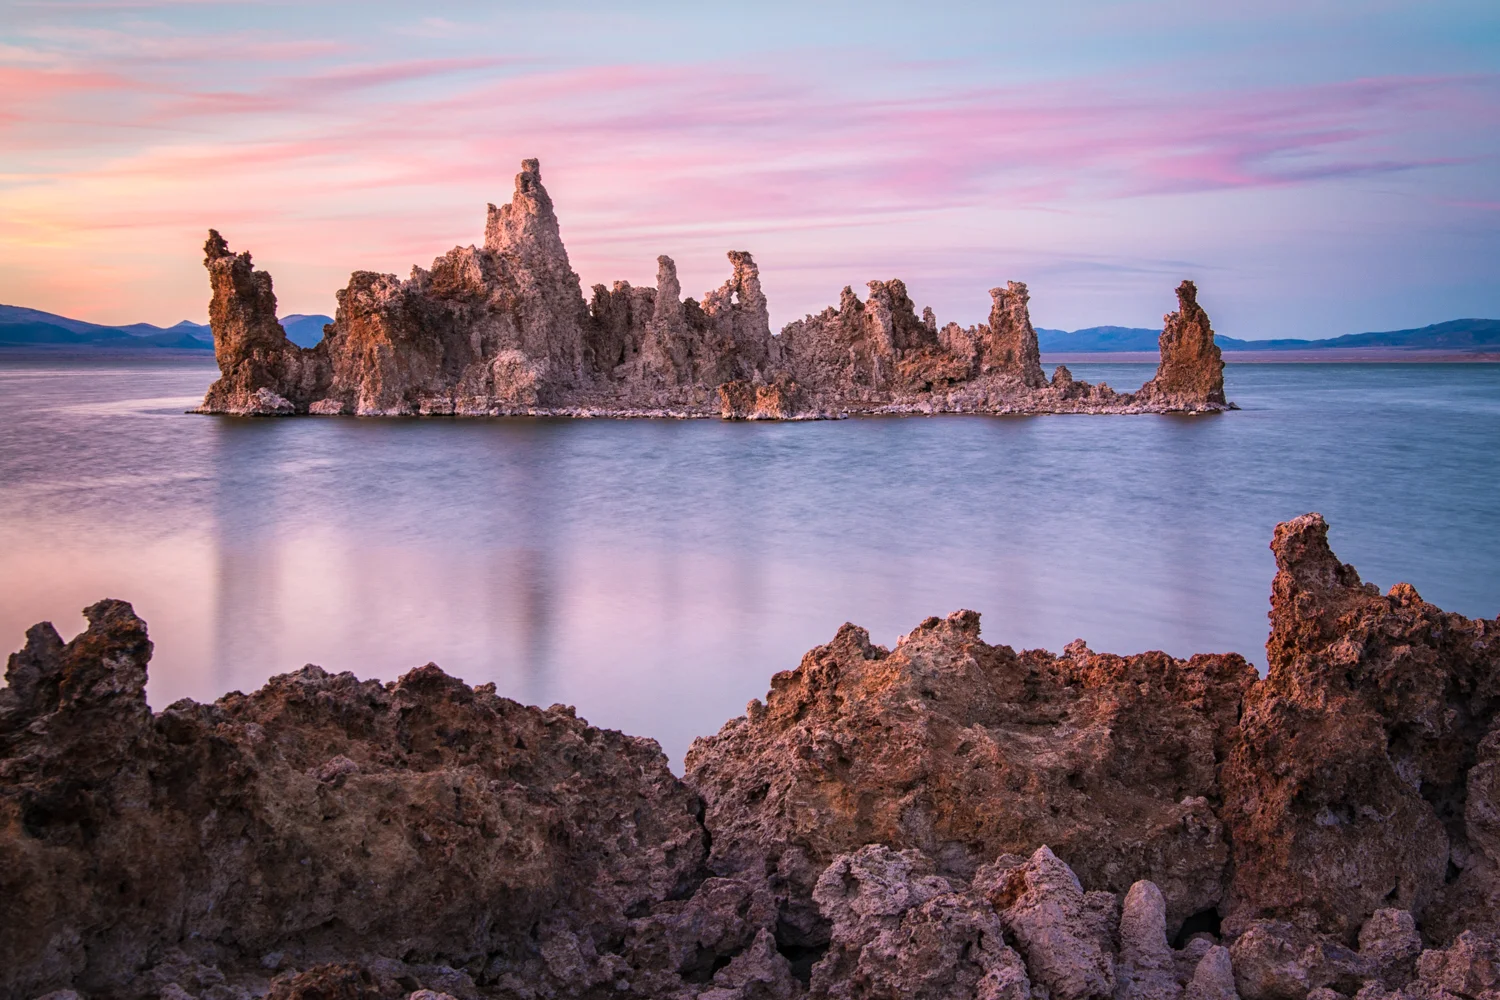
    Wasim Muklashy Photography_Mono Lake_California_Samsung NX30_-SAM_1579_1500B

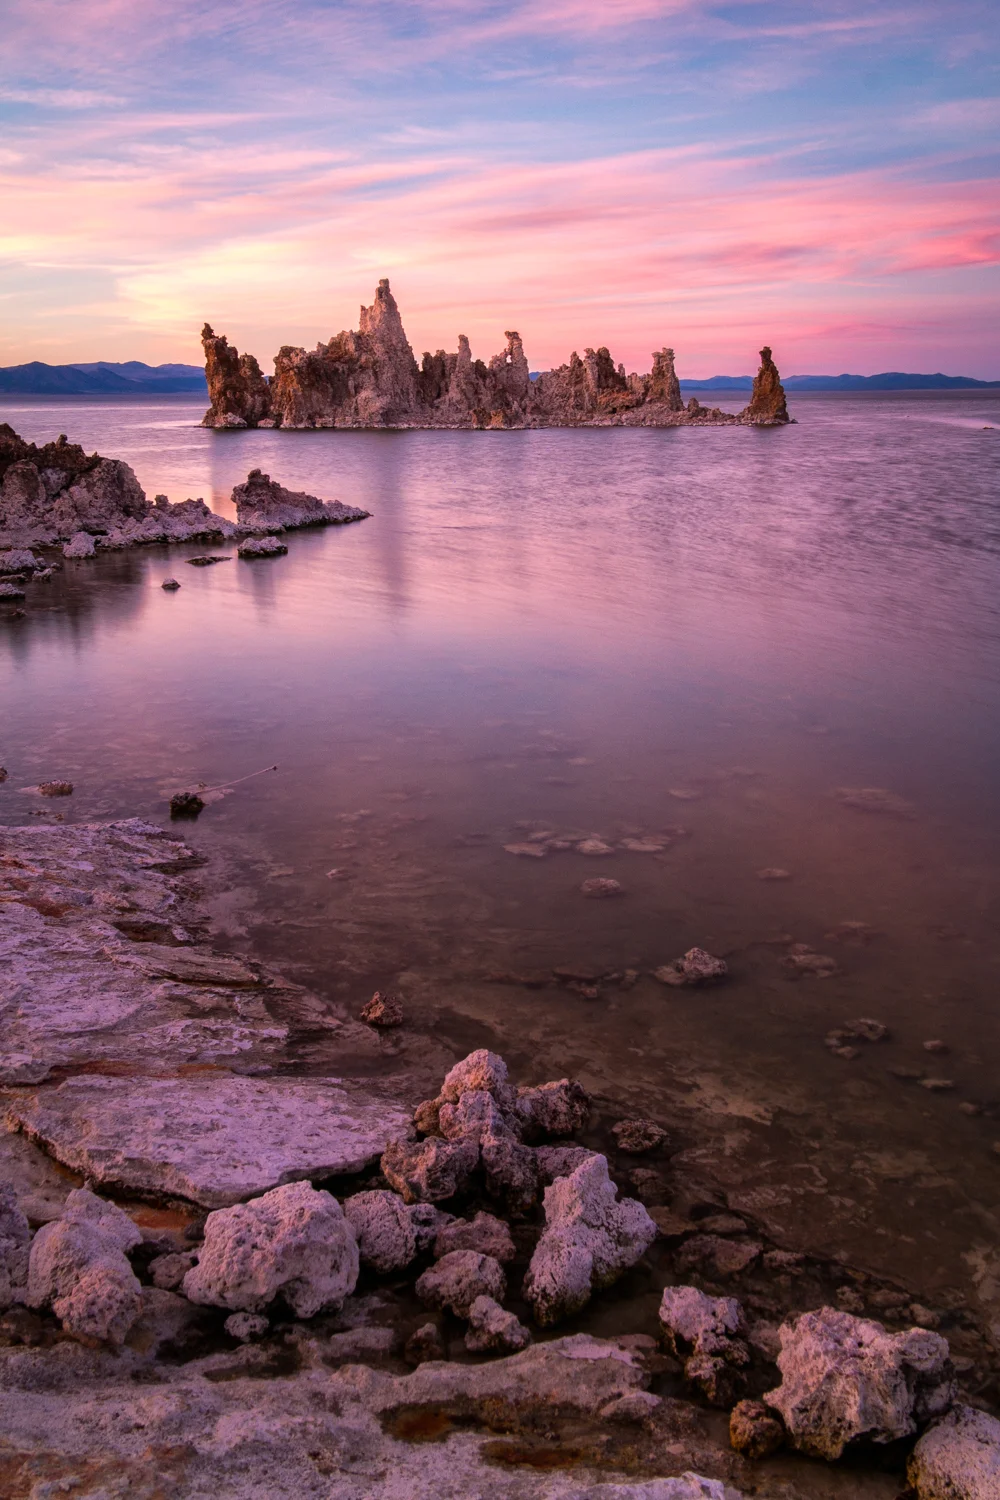
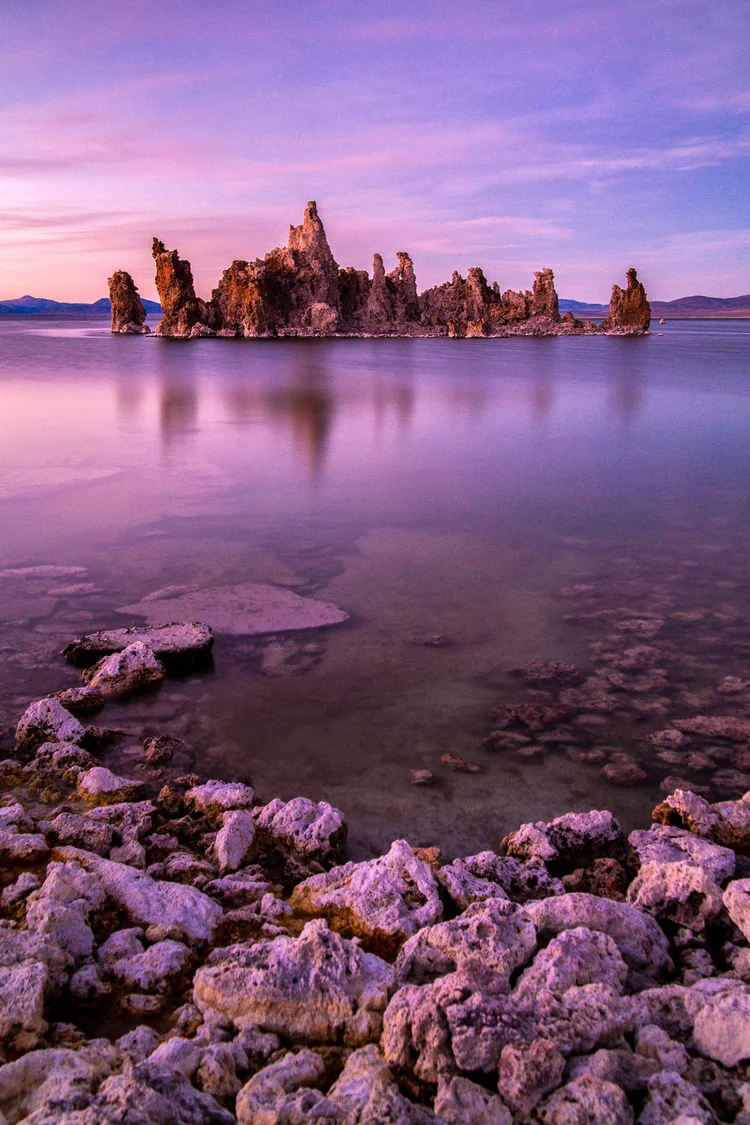
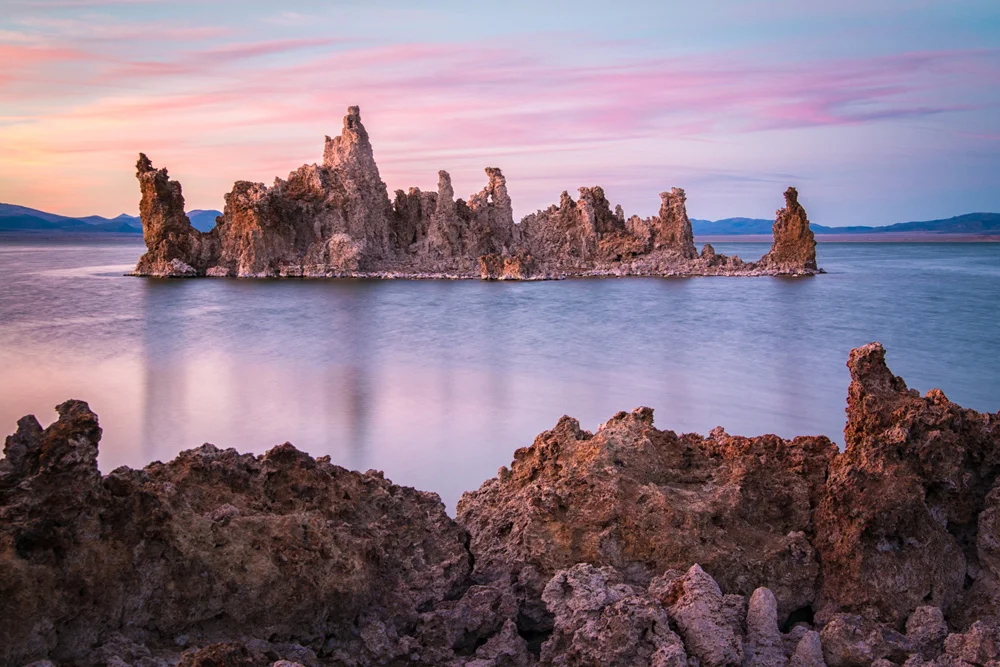
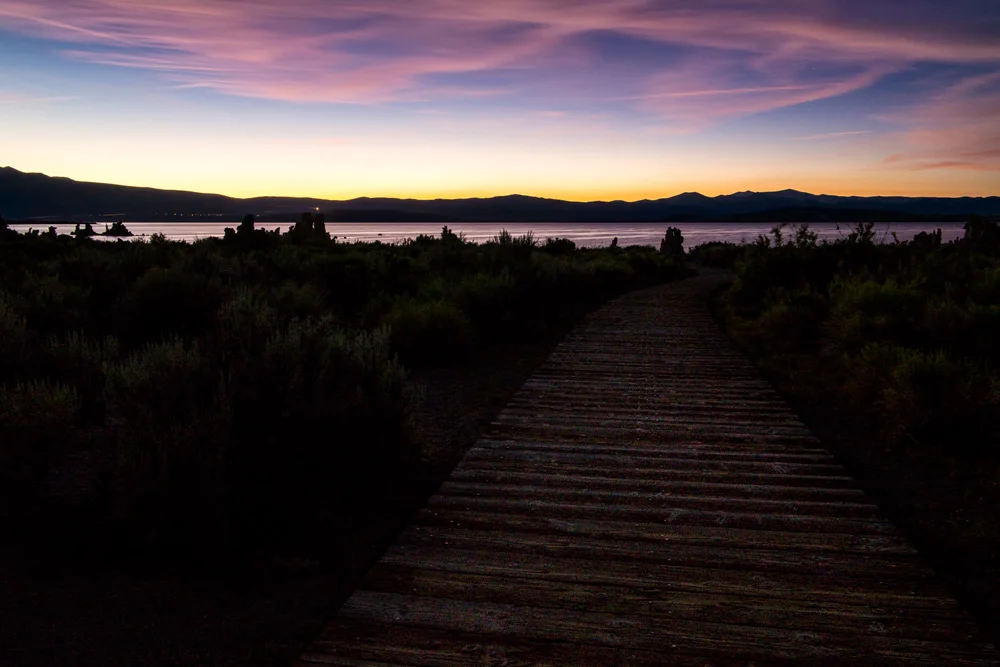
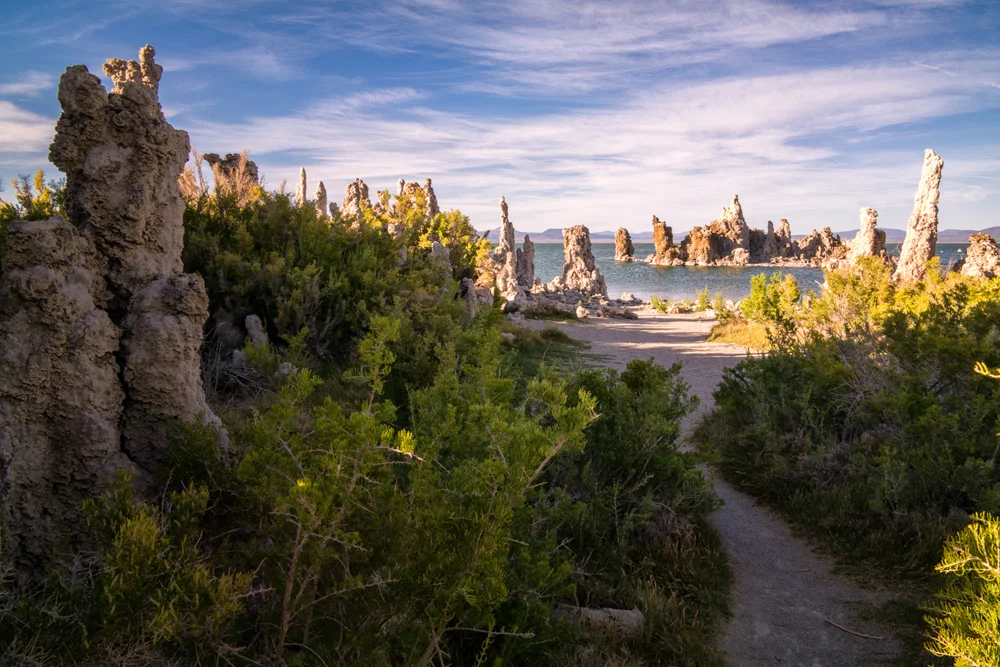
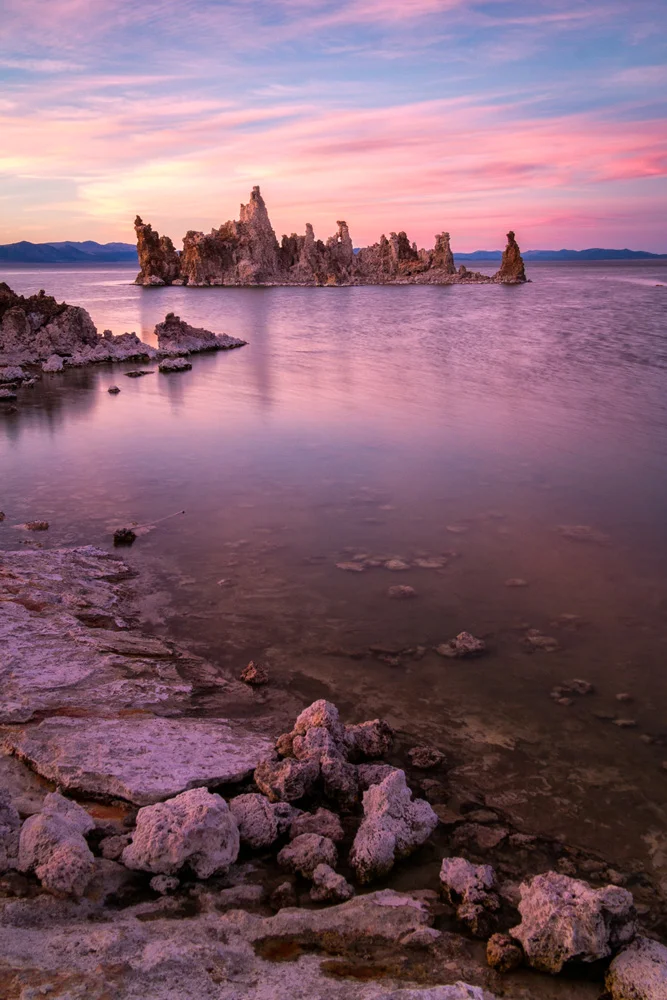
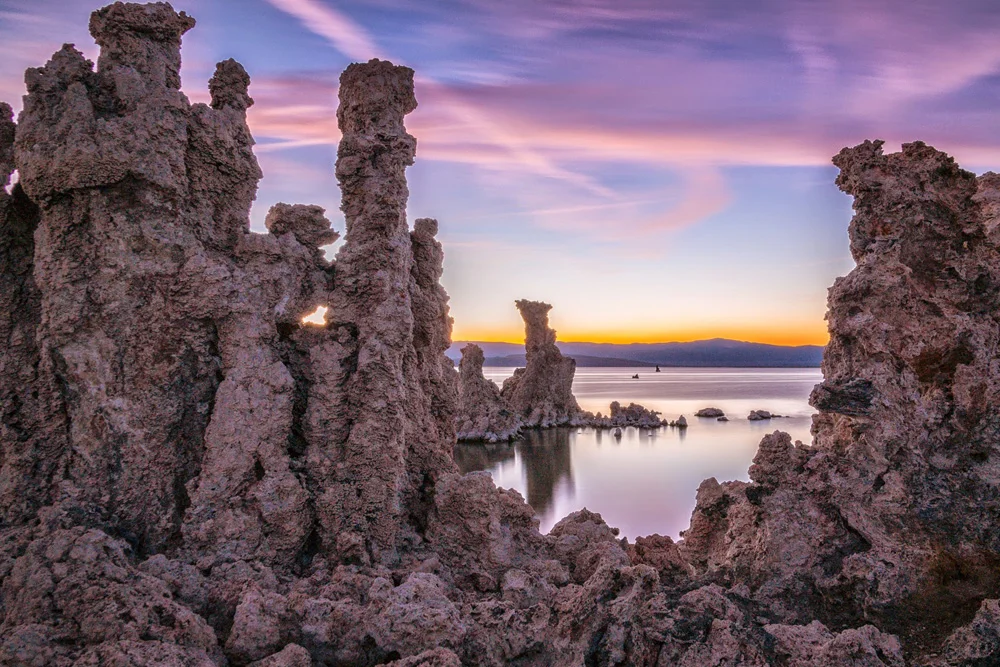
    I parked in the lot, and started walking down the path towards the shore, and the closer I got, the weirder everything started to get. There was a moment there where the wooden footpath ended, and the sand began, and it literally seemed like that one step took you from Earth, to Mars. These geological formations were the weirdest fricking things I’ve ever seen with my own eyes. I thought the hoodoos in last years trip to Bryce Canyon were from another planet, but these things just took things to a whole ‘nother galaxy.

    Apparently what they are are dried up hot springs. The calcium-rich springs come out of the ground, pushing through the limestone, mixes with calcium carbonate, creating what are essentially, underwater hot spring volcanoes that eventually calcify and leave these…things…behind. While they’re naturally created over millennia, and happen underwater, the water level at Mono Lake has dropped so much since water diversions began in 1941, that it has exposed the wonders of the tufas for the world to see.

    And those, my friends are what grace the top of this post and the gallery below. All of those images were also shot on a Samsung NX30 using a Samsung 18-200mm lens.

    I hope you enjoyed my posts from this random trip at least a fraction of how much I enjoyed making them.

    If you missed the first two parts, here they are:

    Part 1: Mammoth Lakes
    Part 2: Tuolumne Meadows, Yosemite National Park

    And for more of my madness: Instagram: @wasimofnazareth Twitter: @wasimofnazareth Google+: www.Google.com/+WasimMuklashy Facebook: www.Facebook.com/WasimOfNazareth
  • How To Photograph The Super Super Moon!

    How To Photograph The Super Super Moon!

    Wasim Muklashy Photography_Wasim Of Nazareth_Full Moon_Continental Divide_Rocky Mountain National Park_Colorado_-_1WM2334_2400

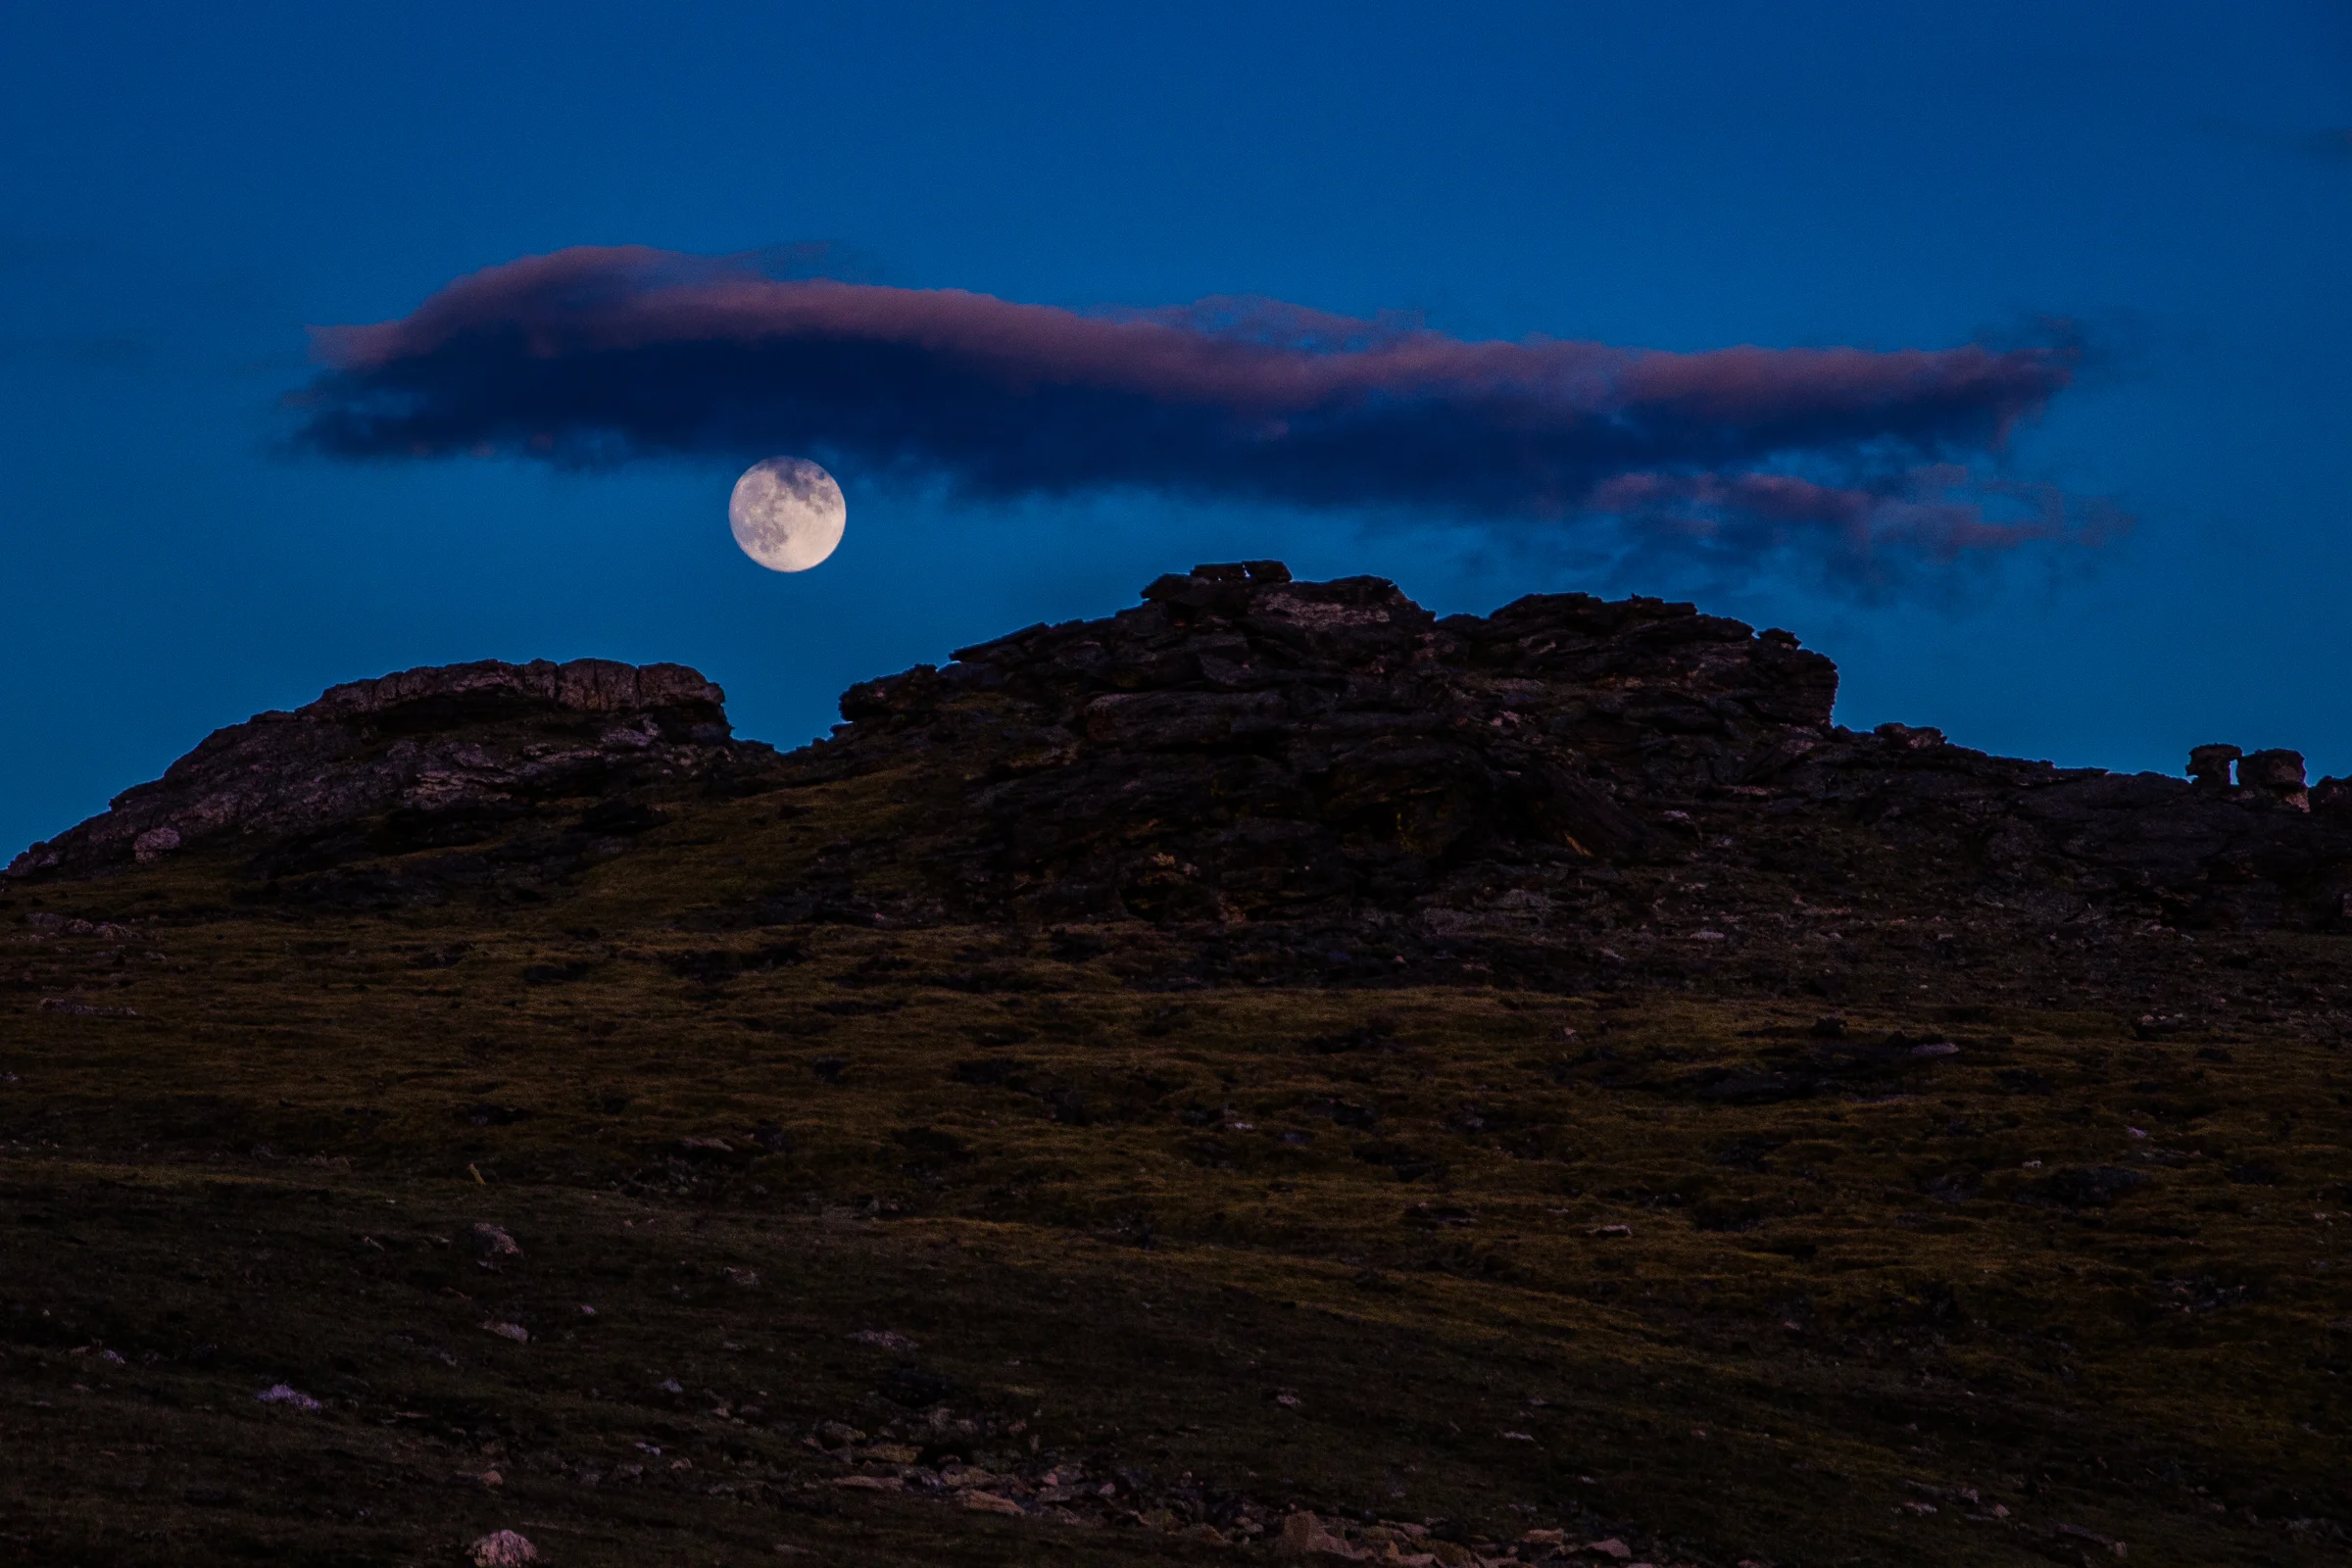
    So all that hype about the ‘super moon’ that we’ve heard not only this month but last month and sometime back earlier this year as well? Well, this is more of it! Apparently this weekend, on Sunday, August 10, is the superest of all super moons (at least in 2014). Scientists like to get all loose and crazy and call it a ‘perigee full moon,’ basically meaning it’s the closest the moon will be to earth this year. Anyhow, along with all the hype about the super moon itself, for us photographers, comes all the hype about how to photograph the super moon, so here are my obligatory tips on how to photograph the super super moon.

    1. TRIPOD!! USE A TRIPOD!!! This is one you can’t get away from.

    2. Tighten Up! Use as tight a focal length as you have (or can afford). At the very least you’ll want to use a 200mm (remember on a crop sensor, that’s roughly 300mm). If you can get away with it (and your wife /husband or boy/girlfriend won’t kill you, or your creditors aren’t already hot on your tail), get yourself a 400mm or even longer lens.

    3. Spot Meter!!! Only Spot Meter!! The moon is quite the bright bugger, meaning, the camera will have a hard time metering properly as the big bright thing surrounded by darkness will confuse it, making the moon completely washed out, causing your shot to miss out on the details, the contours, the lines, the mountains, the valleys, the moon men curiously pondering the mars rover tracks, wondering if there’s other life ‘out there.’ This is also where you might want to use exposure compensation. Take a few test shots, and if the camera still isn’t metering properly, drop the exposure compensation by a stop or two to -1 or -2 (manually underexposing) to make up for what the camera thinks it’s seeing.

    4. How Low Can You ISO? Use the lowest ISO you can get away with, which, if you refer to tip #3, can be the lowest ISO your camera supports. Shoot using an aperture between f5.6 and f11. That should allow sufficient light to hit the sensor while giving you a crisp image of the moon’s surface, as the middle apertures tend to give you the sharpest images.

    5. Augment Your Reality! Grab an app like PhotoPills or Sun Seeker or Rick Sammon’s Photo Sundial or for Android, there is Sun Surveyor. These are essentially augmented reality apps that you can point at the sky and know exactly where the moon is going to be at exactly what time on exactly what date. Kind of handy eh?

    6. Size Matters! Try to find a foreground, like a hill or a tree or a structure for a sense of scale. Even if it’s just a silhouette of that foreground object. Otherwise it can look just like any other full moon, and when the super moon is essentially called that because of the considerable size difference in comparison to other full moons, it would be pointless. This is easiest achieved with timing, as you’ll want to capture the moon just as it begins to rise above the horizon. If you wait until it’s directly overhead and there are no other elements in the image, it’s just another moon…

    7. Look Up! Don’t forget to look away from the camera. As a photographer, it’s easy to get caught up with what’s inside that little frame of yours, easily forgetting everything surrounding that frame. Stop for a few minutes. Just breathe. Soak it in. At the very least, it’s a nice reminder of you why you do what you do.

    When you’re all done, moon me! Post links to them suckers here, would love to see ’em!

    And for more of my madness:
    Instagram: @wasimofnazareth
    Twitter: @wasimofnazareth
    Google+: www.Google.com/+WasimMuklashy
    Facebook: www.Facebook.com/WasimOfNazareth
  • A Surprise Journey Through The Range Of Light – Part 2 – Tuolumne Meadows, Yosemite National Park

    A Surprise Journey Through The Range Of Light – Part 2 – Tuolumne Meadows, Yosemite National Park

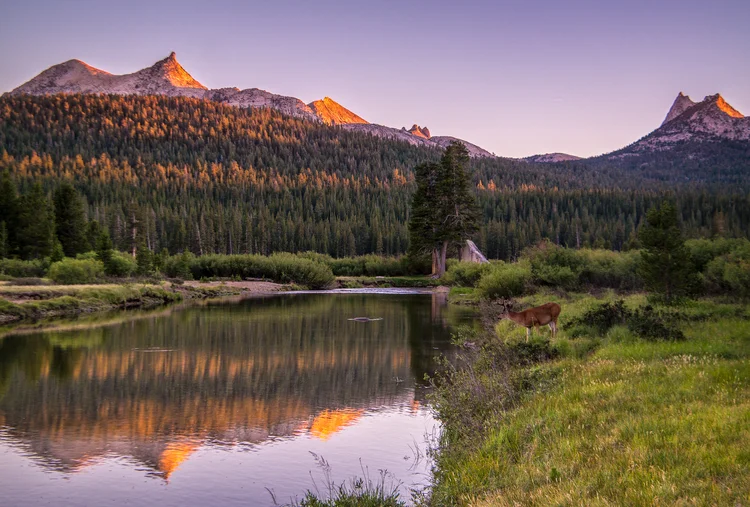
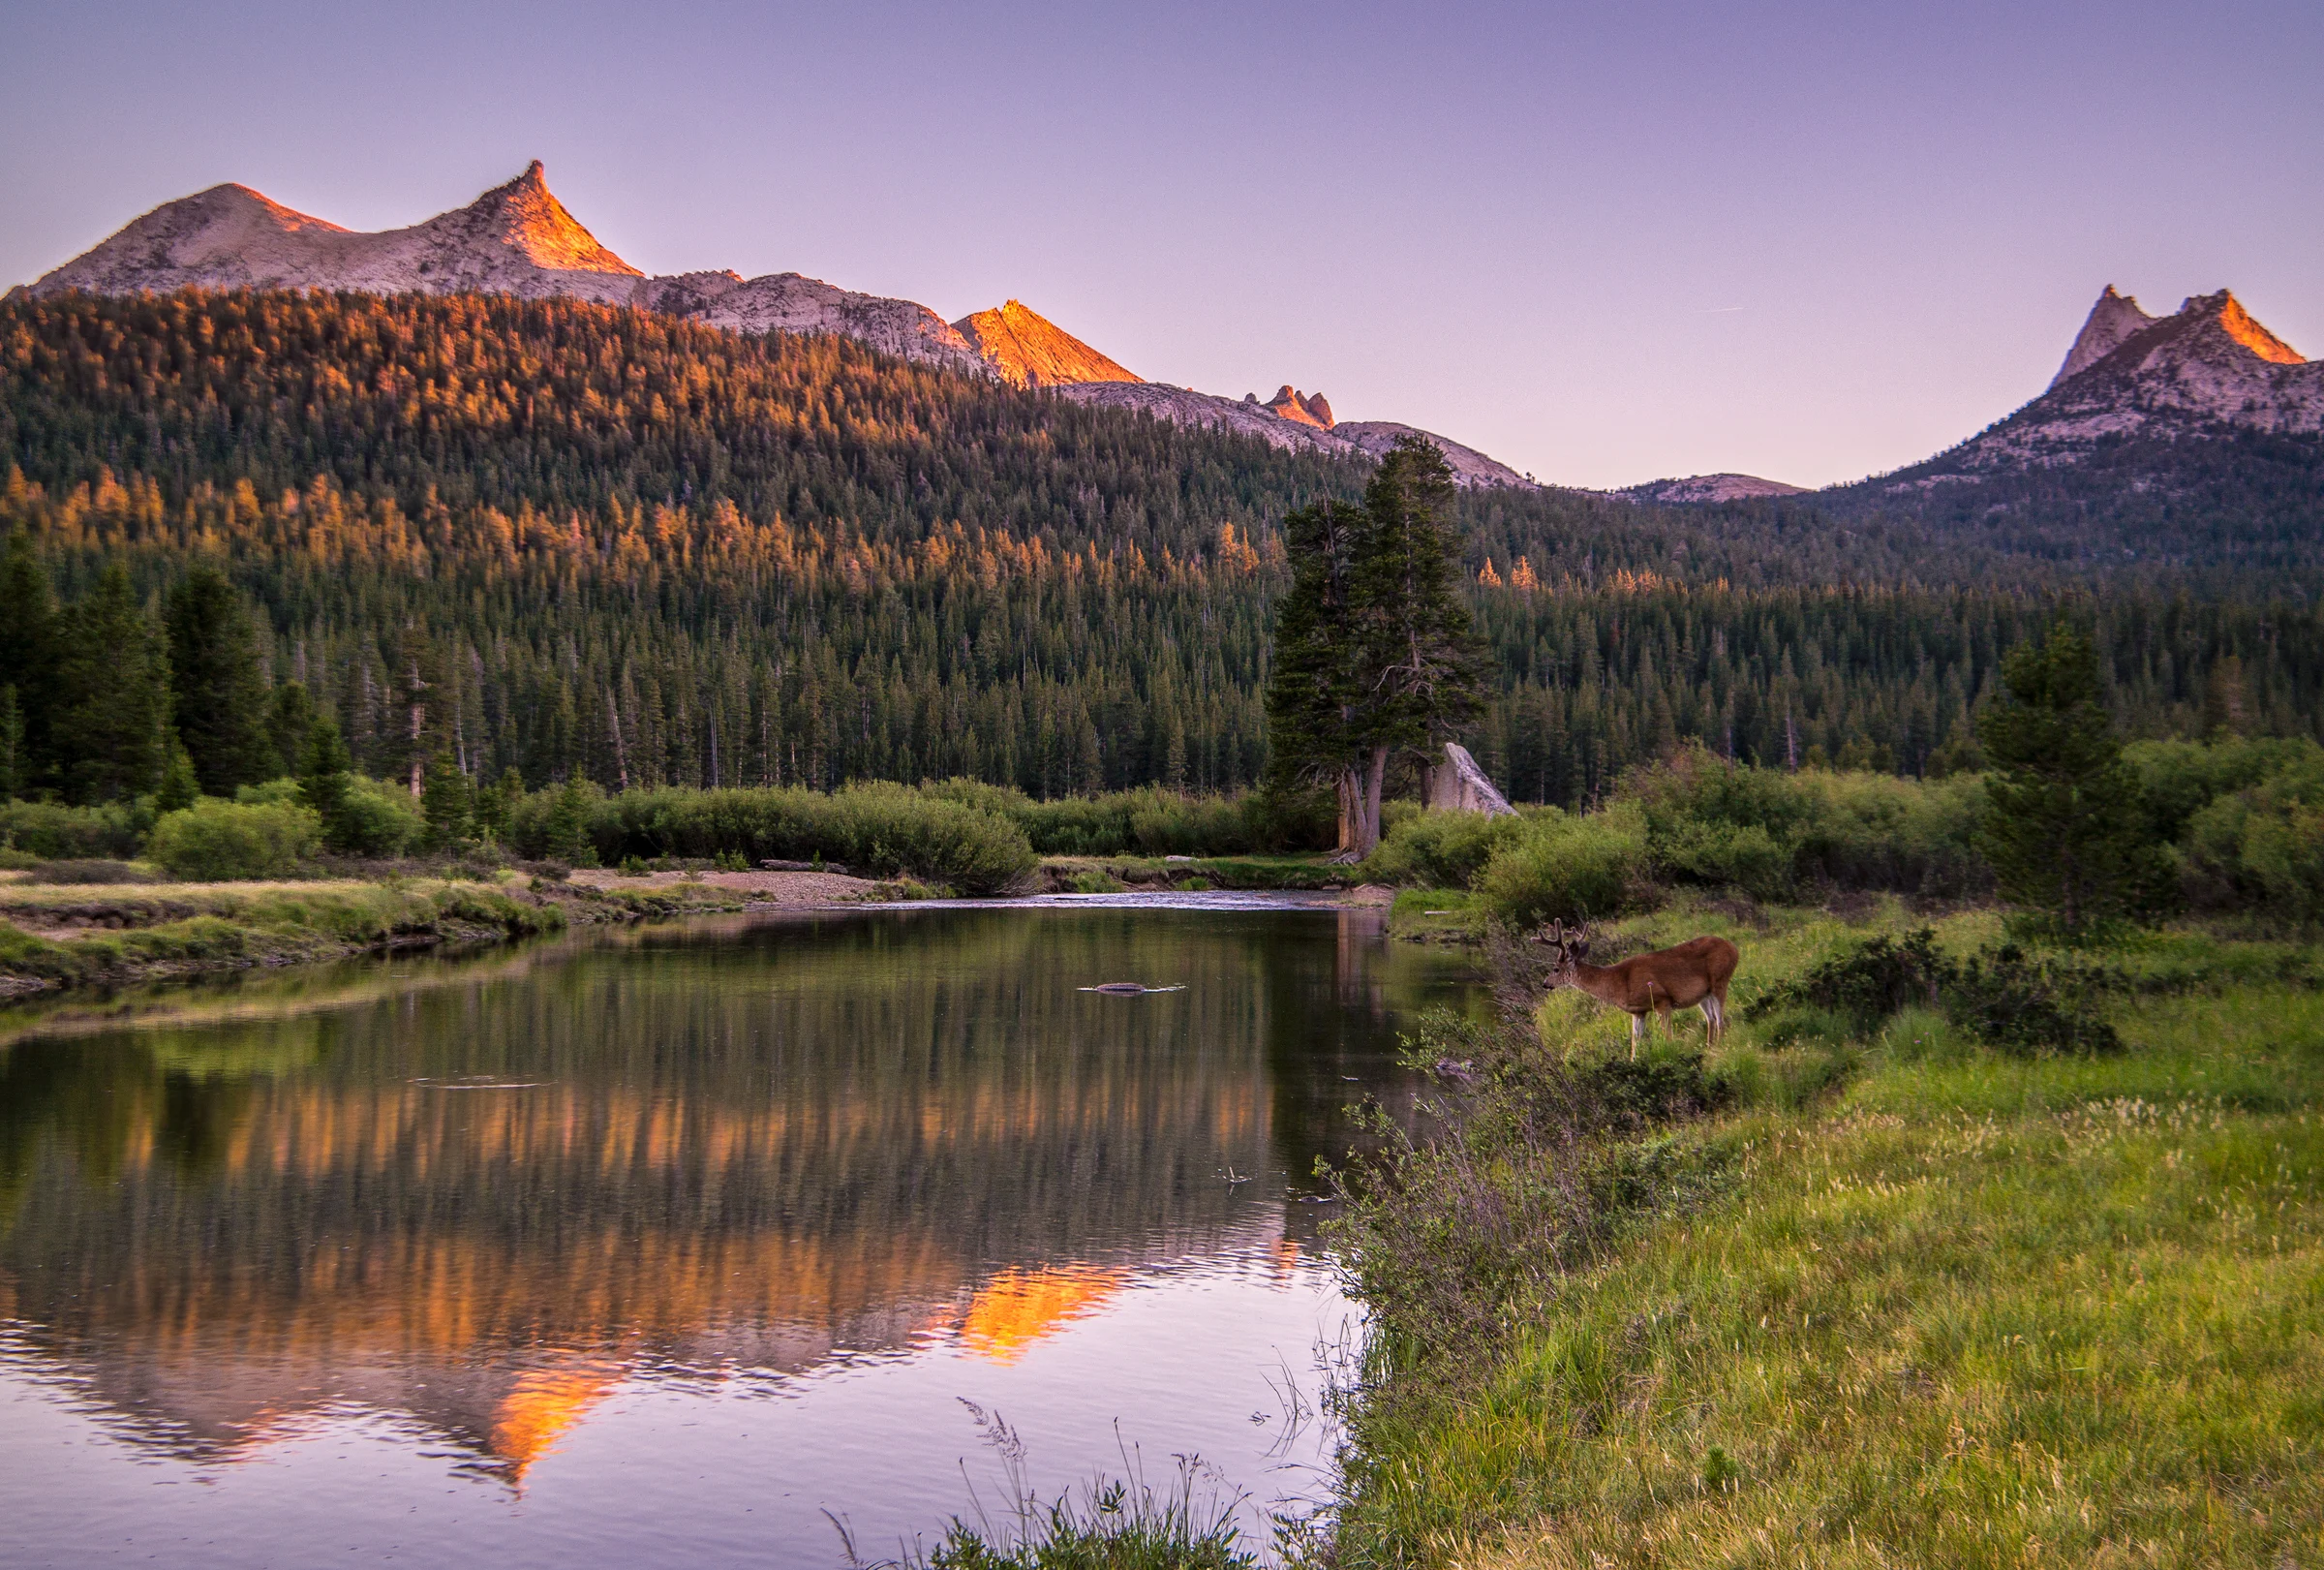
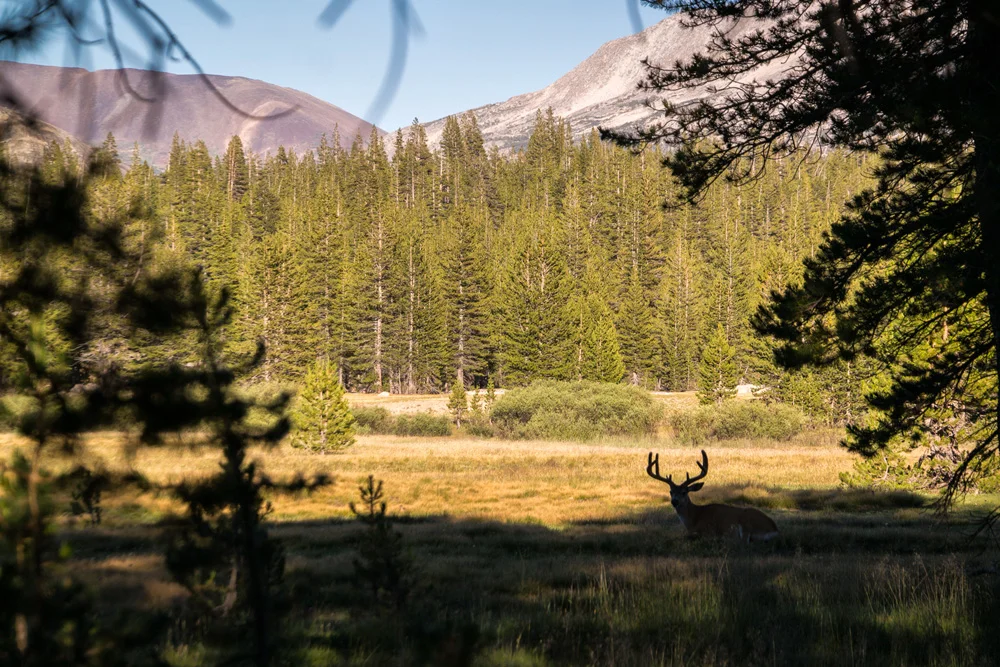
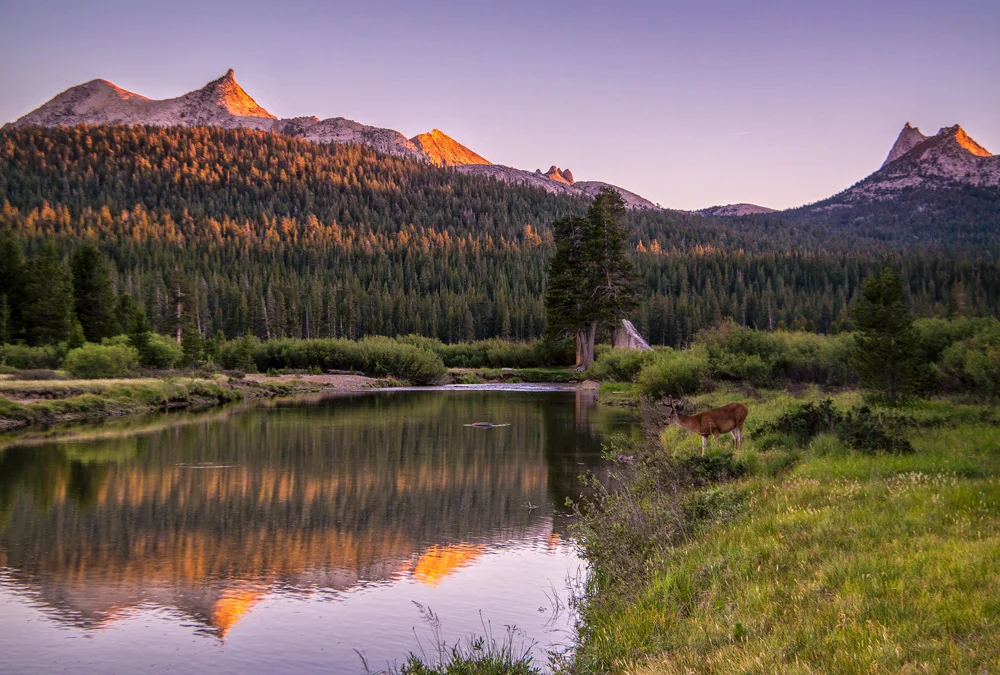
    Wasim Muklashy Photography_Tuolumne Meadows_Yosemite National Park_California_A Deer Pops in For A Drink

    This is just one of those places. You hear about it, you see pictures of it, you read about it, and if you’re a nature-lover or photographer, or better yet, both, you’d be hot damned if you that’s the one you didn’t get to cross off your bucket-list.

    Tuolumne Meadows, Yosemite National Park.

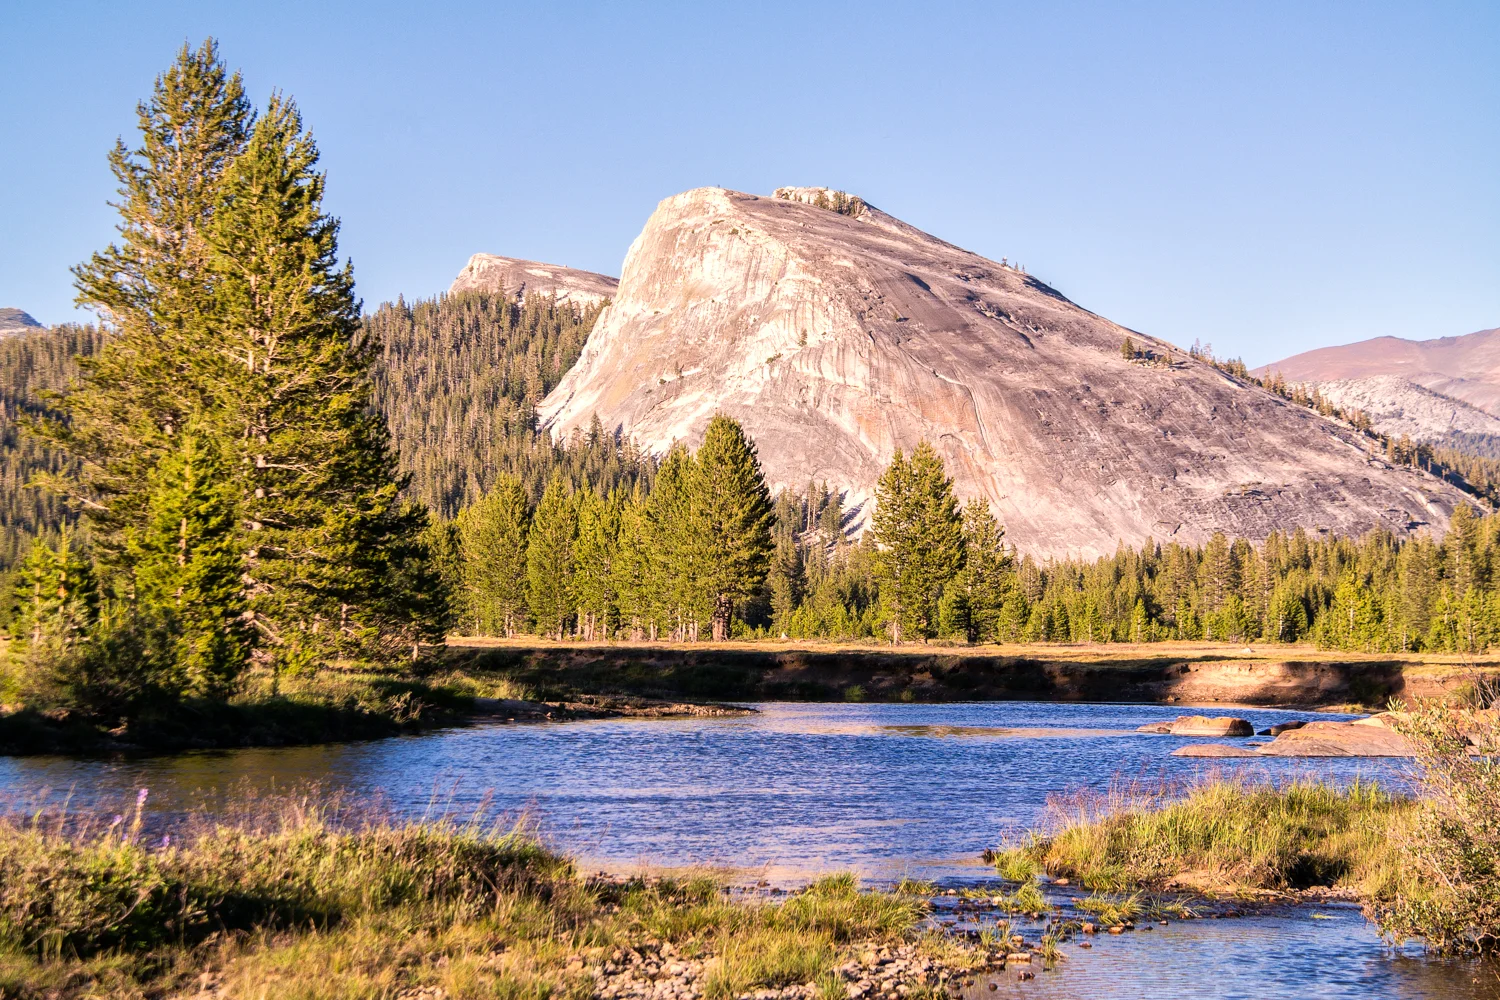
    The mystique around this place runs high. It’s been called a ‘photographers paradise,’ as well as one of ‘the most difficult places to photograph.’ The thing about it is, it’s closed off most of the year. The picture-perfect gentle alpine meadow bordered on all directions by soft granite domes and spires, and blanketed in pines and wildflowers and berries and natural grass, lies in the highest of high countries in the Sierra Nevada Mountains, so Tioga Road, the only one that passes through, is snowed in on average of 7 months a year, and on top of that, the meadows are ‘meadowed’ for only about 3 months of the year (as a local park guide so eloquently put it). Furthermore, those 3 months just so happen to be the absolute busiest months of Yosemite National Park’s schedule, but, as stated in Part 1 – Mammoth Lakes, there was no way I was not going to seize this unexpected and completely spontaneous opportunity to make my way to this alleged garden of Eden.

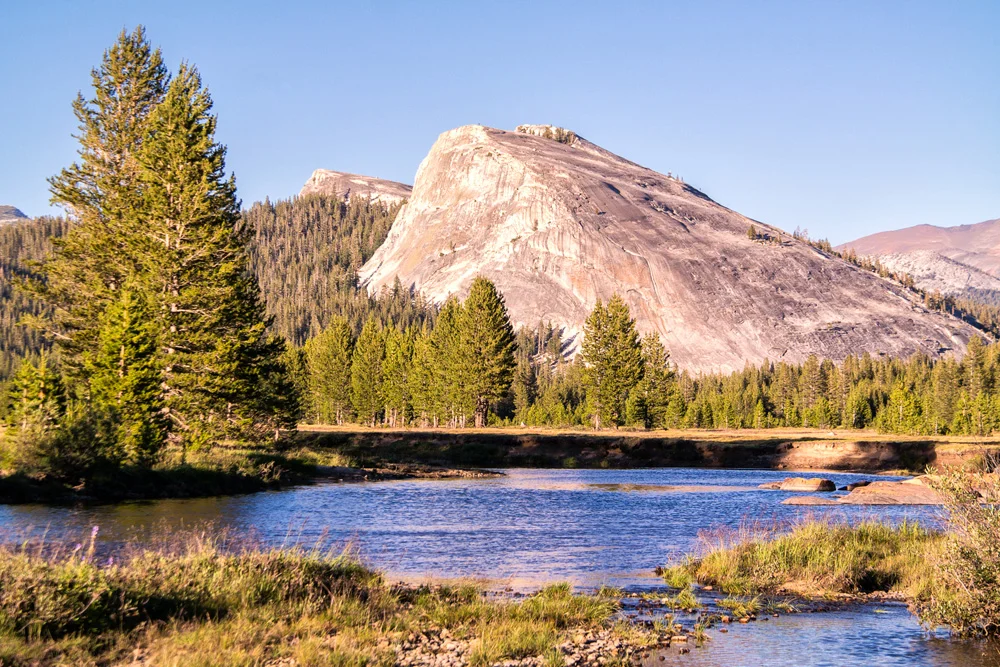
    Tuolumne Meadows, Yosemite National Park, California. Summer 2014.

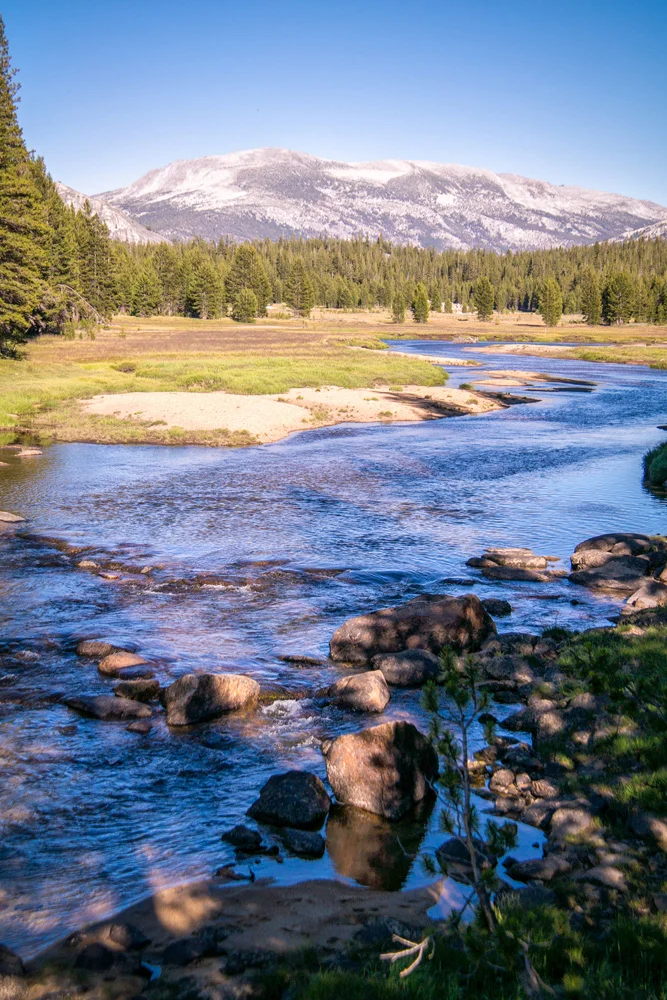
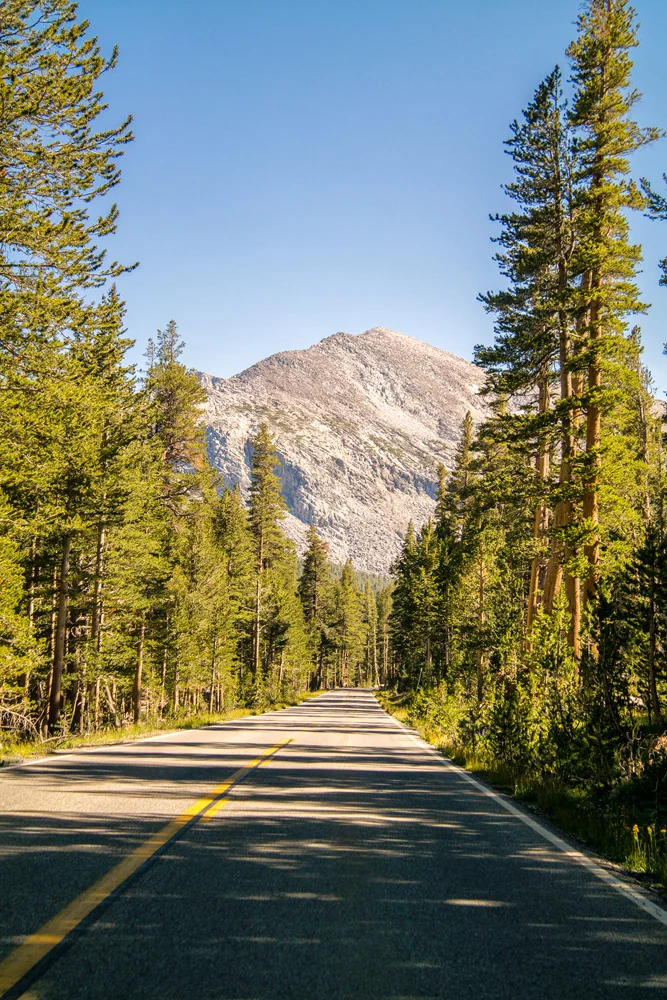
    I pulled onto Tioga Road at about 4pm, with about 4 hours before sunset, which I figured was enough time to at least explore a bit and find a place I was going to call camp for sunset. As I wind my way up and through the Tioga pass from Lee Vining on the Eastern Sierra side, I slowly rolled through the sort of landscape that dreams and fantasies are made of, the kind of place you thought only existed in cartoons and psilocybin – crystal clear sky blue cascading streams and rivers snaking their way through saturated green grasses and tress of various sizes and varieties, flanked by sun soaked rolling hills comprised of rolling granite domes and lodgepole pines.

    As I drove through at about 10 miles per hour, I literally found a tear in my eye – I was in absolute awe of some of the most striking, insanely unreal scenes that would trump a psychedelia-soaked dream. I won’t lie. I was overwhelmed. How the hell was I going to only spend 5 hours here?

    I figured since I only had this afternoon, I’d stop by the visitor center and ask for a few tips. The nice lady was hesitant at first to give out one of her favorite spots and secrets, but after she found out I was a State Park volunteer, she figured she was in safe territory and loudly ‘whispered’ a tip. I thanked her kindly, and went to follow her tip as I made my way around a particular dome. I hiked in for about 35 minutes before realizing I had no flashlight to get back out, and this was bear country, and I was finding myself in a maze that wouldn’t be ‘fun’ to try to scramble out of after dark. While the landscape was absolutely breathtaking as I followed the river through a forested part of the meadow, I had a scene in my mind  and this was taking me away from it. I wasn’t going to be able to get the sunset colors with the snaking stream through the meadow I had envisioned. After a quick glance at the clock, I had to make a decision quick as I was less than an hour from sunset. I hastily decided to hike back out, and head down the road to a more open part of the meadow and just hope I can find something I’d be happy with.

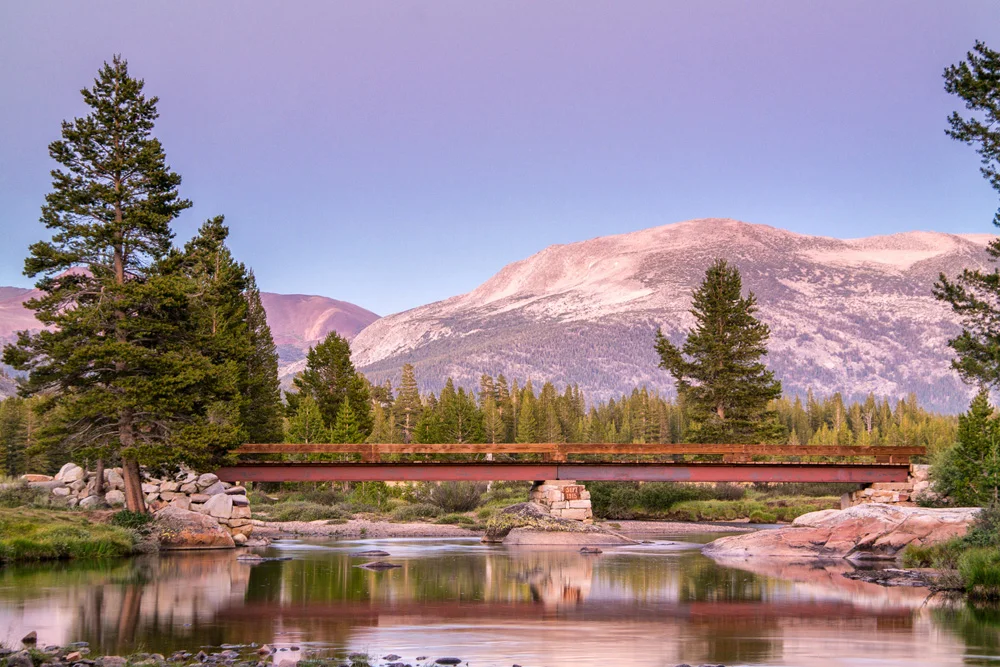
    Tuolumne Meadows, Yosemite National Park, California. Summer 2014.

    I truly felt so overwhelmed, that I was absolutely certain that I wasn’t going to get a shot because I made the fatal mistake of running around looking for the best one, but made peace with it when I just figured I’d come back the next day now that I have a bit of the lay of the land. And I certainly wasn’t going to cry about that. Plus, I may not get the shot I had envisioned, but, I’m in Tuolumne Meadows at sunset, I’m sure as heck not walking out with nothing!

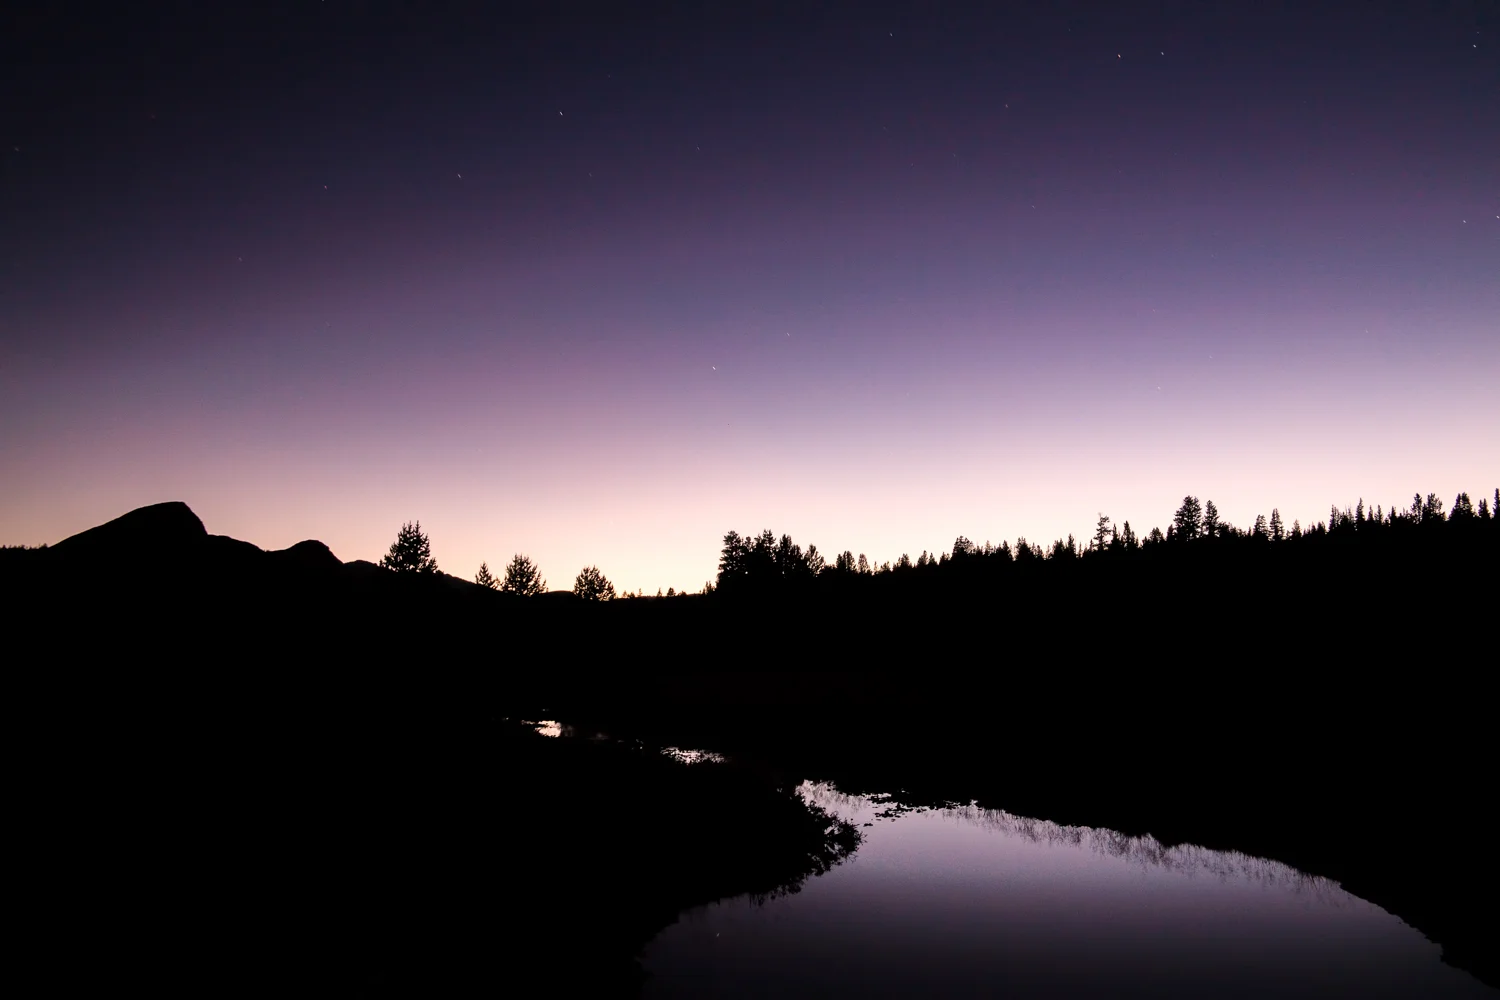
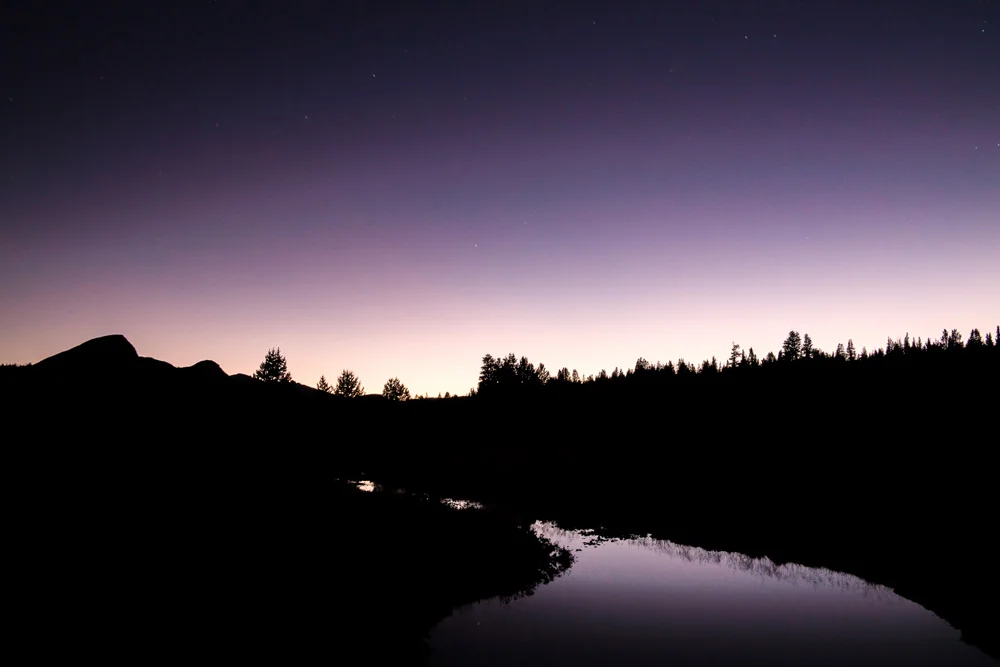
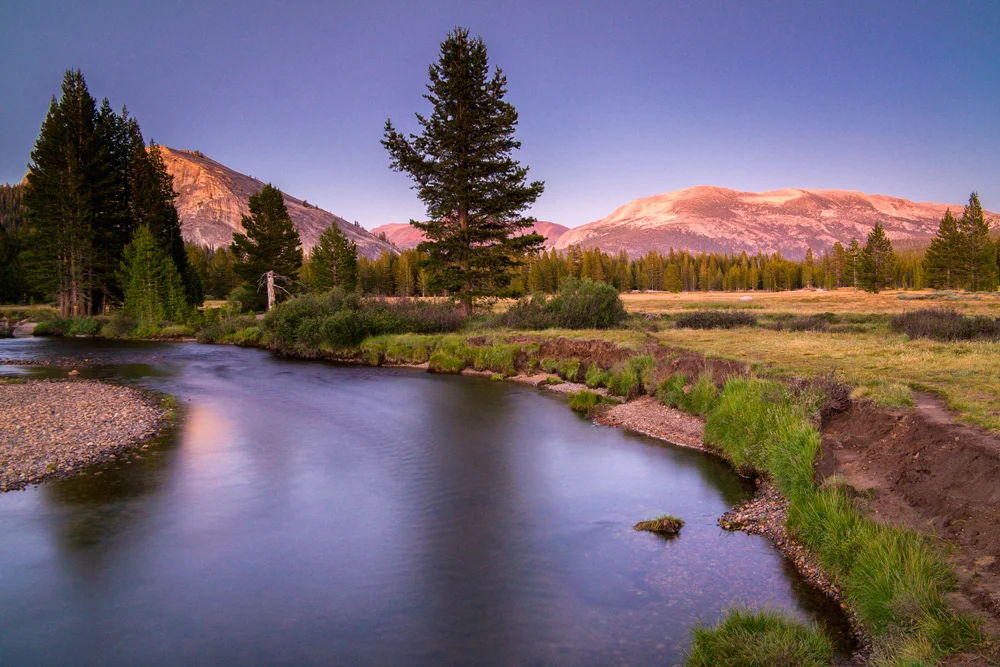
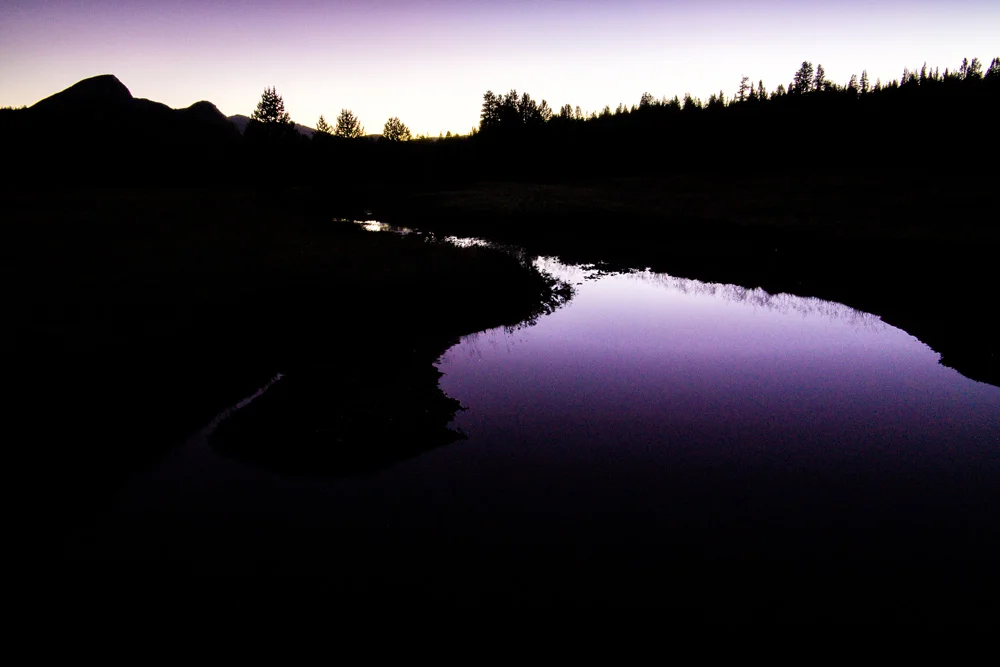
    So I slowed my roll, took a breathe, and decided I was just going to enjoy this one. I hiked into the riverbank, sat on a rock to soak in this paradise, and right at that very moment, is when I found and saw my shots. All within striking distance of where I started walking around like a crazed half-bearded madman. The most surprising was a shot that ended up being one of my favorites, it was well after the sun had set, and I had already packed my gear and was using my phone’s flashlight to find my way back out to the road. That’s when I ran across the purple twilight light reflecting in a small pond and playing with the shadows of the landscape just off the path. I had to do it – I pulled out my gear, set up, and spent about another 30 minutes after dark playing right there in that area.

    Twilight Over Tuolumne, Tuolumne Meadows, Yosemite National Park, California. Summer 2014.

    So here’s a bit of a gallery of my favorite images from that afternoon, all of which were shot on a Samsung NX30 using a Samsung 18-200mm lens.

    For Part 3, Mono Lake, click here.

    And in case you missed A Surprise Journey Through The Range Of Light – Part 1 – Mammoth Lakes, click here.

    And for more of my madness: Instagram: @wasimofnazareth Twitter: @wasimofnazareth Google+: www.Google.com/+WasimMuklashy Facebook: www.Facebook.com/WasimOfNazareth
  • What The Heck Are The Different Photography Filters Used For?

    What The Heck Are The Different Photography Filters Used For?

    Wasim Muklashy Photography_Bonzai Rock_Lake Tahoe_California_Graduated Neutral Density Photography Filter

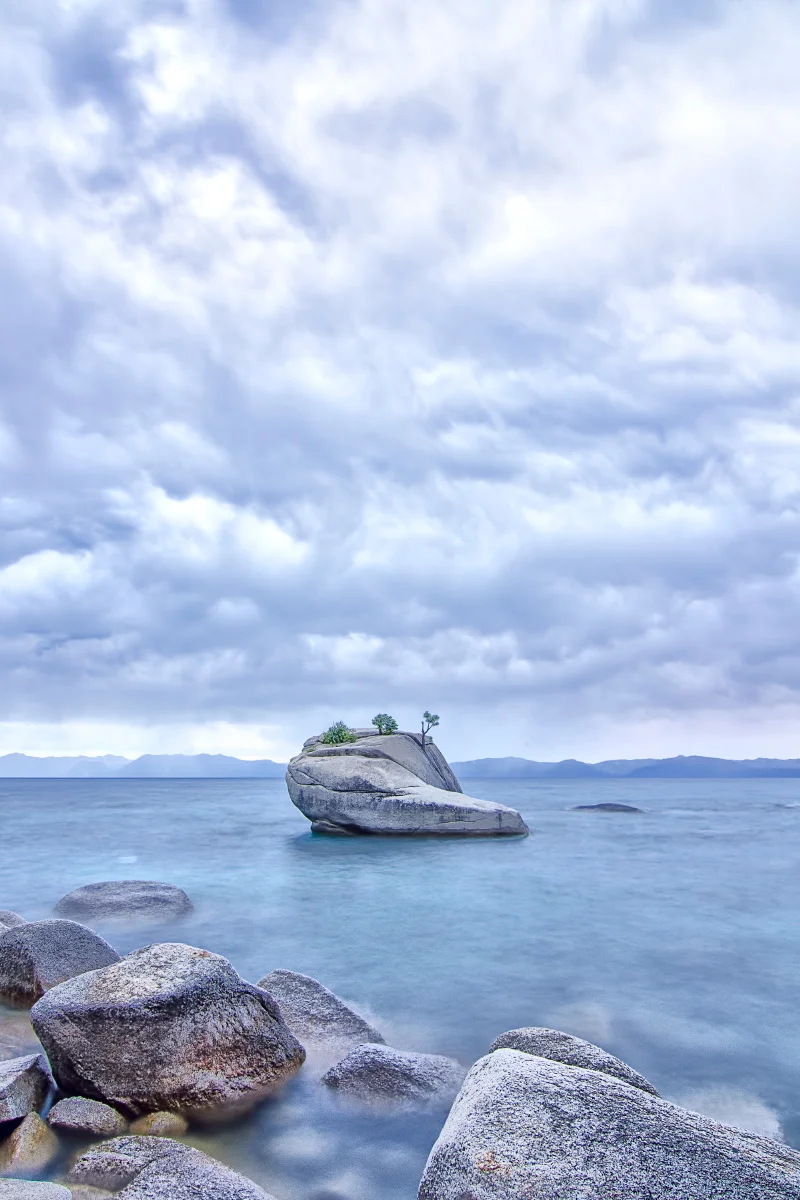
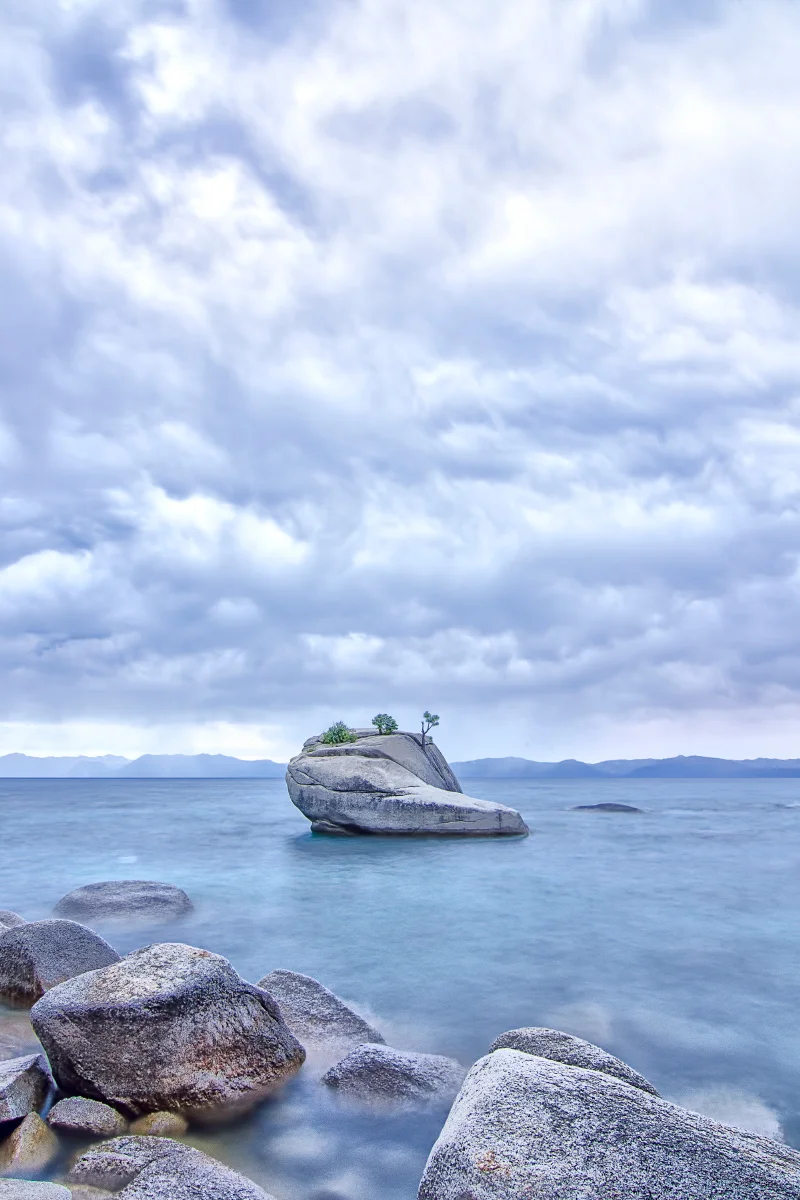
    It eventually happens to every new photographer. You’re out in the field. You’re setting up to make a shot, and you see others around you setting up for a shot, only, some of these people have these strange contraptions attached to the front of their lens. It looks like a huge piece of square glass. You sit there. You stare. You wonder. And when you get back home, you Google ‘square things on lens.’ The first time this happened to me, I was set up to shoot some images of Bonsai Rock in Lake Tahoe, California several years back. It’s a rock about a hundred yards offshore that has miniature trees growing on it as a result of the trees roots not being able to penetrate the rock, effectively stunting their growth. Anyhow, I had my positioning, tripod locked down, and others began to show up and set up, and a few of them set up with these aforementioned chunks of glass. I had to know what they were, so I asked the photographer next to me, who kindly explained what they do and the effect they give. They lent me one, showed me a crude way of using it by holding it front of my lens (they had special holders for theirs) and I was immediately blown away. Everything became so clear to me. All those crazy images I see on 500px.com and around the web with milky smooth water and skye and clouds…I get it now.

    The one they let me use was a Graduated Neutral Density filter, and I explain what that does below, along with the 5 most popular photography filters used by photographers in the field.

    1. UV Filter – This filter does absolutely nothing, yet, it is by far the most popular. Huh? Well, because it does nothing to the image itself, many photographers will have them on their lens to protect the glass. While a lens can be in the thousands of dollars, a basic UV filter can be under 30, so it’s a minimal investment to protect your gear. Plus, it does actually help a little bit in minimizing haze and glare. These come in circular shape and screw onto the front of your lens so you forget it’s even there. They’re sold by the size of the lens, which is demonstrated on the barrel of the lens following the ø symbol. For example, in this image, you’ll see ø67, so the size of filter I’d shop for is 67mm.

    2. Polarizer – Essentially this one is most commonly used to darken and saturate skies, as well as reduce reflections in reflective surfaces such as water and glass. They can also be extremely effective in making colors pop in overcast conditions. Polarizers, like UV filters, also usually comes in the circular screw-on format. Once you screw it on, you can turn it and see the effects immediately through your viewfinder or LCD panel. On sunny days, they work best the closer you are to a 90 degree angle from the sun (when the sun is directly overhead or to either side of you).

    3. Graduated Neutral Density (Grad ND) – It’s basically a piece of glass that gradually moves from no tint to a dark tint, with a discernible line along the middle. What this does is it allows the proper amount of light through the part of the glass where there is no tint, to letting less light in the part of the glass with the tint. Essentially, this makes it so that whatever is under the tint is underexposed, allowing you to increase your exposure time to still get a proper exposure for the scene. Basically, you can decrease your shutter speed, allowing for a longer exposure in the lighter areas without overexposing the full image. For example, in the shot of Bonsai Rock, the sky was much brighter than the water and the foreground in my image, so it would have been impossible to get a good exposure of the entire scene. So I wanted to be able to allow less light into the bright areas while I expose for the darker areas. By placing the filter so that the dark tint is on the top half (or horizon) of my scene and darkening my sky, I am able to get a proper exposure preserving detail in both halves of the scene. These filters typically need a filter holder as explained below.

    4. Neutral Density (ND) – This is almost the same as the graduated neutral density filter described above. The only difference is that on a regular neutral density filter, the entire glass is one tint. They come in various degrees of tints, called stops. This is in relations to your f-stop, so a 3-stop ND filter will allow you to expose for 3 additional f-stops to get a proper exposure, a 6-stop ND will allow you to expose for 6 additional f-stops, and so on (which also applies for the Graduated Neutral Density filters). Neutral Density filters are best used on very bright days when you want to accomplish a long-exposure. This way, the filter darkens the glass, creating the opportunity to keep your shutter open for a longer exposure. Neutral Density filters also usually require a filter holder.

    5. Infrared – Madness! That’s what these create. Essentially, what Infrared filters do is block infrared light while letting through visible light. By blocking out certain spectrums of light, IR filters allow us to view spectrums of light that are normally lost to the human eye. Using an IR-transmitting filter will result in almost monochromatic surreal images with colors that we don’t normally see to the naked eye. The detail the provide can be insane! Click here for a few examples. (Edit: As pointed out by Google Plus user Jonathan Allen, “most cameras have built in infrared filters. Removing the infrared filter is what produces the effects in the photos you linked to under the infrared filter.” He is correct, to a degree. There are actually two things going on here. There is an IR-blocking filter, and an IR-transmitting filter. the IR-blocking filter is what the camera is equipped with in order to block the infrared spectrum from coming to the sensor and making your images unnatural looking. The IR-transmitting filter is what allows the infrared spectrum to hit the sensor, giving that surreal effect. It’s the same effect you’d get if you had the IR-filter that is built into the camera removed).

    So there’s the basic breakdown of five of the more popular filters. The other element here is the filter holder and that depends on your lens. Certain ones are made for wide angle lenses, others are made for more standard focal length lenses. They basically screw onto the front of your lens and then the filter slips into the grooves provided.

    While many manufacturers make them, the ones I use are the Cokin filter holders.

    And some of the best filter brands out there include Singh-Ray, Hoya, and Lee.

    If you’re on a budget and want to affordably play around a bit before committing to the higher-end brands and options, Cokin and Tiffen are worth checking out.

    Samsung NX500 Hawaii Waterfallformatoriginal

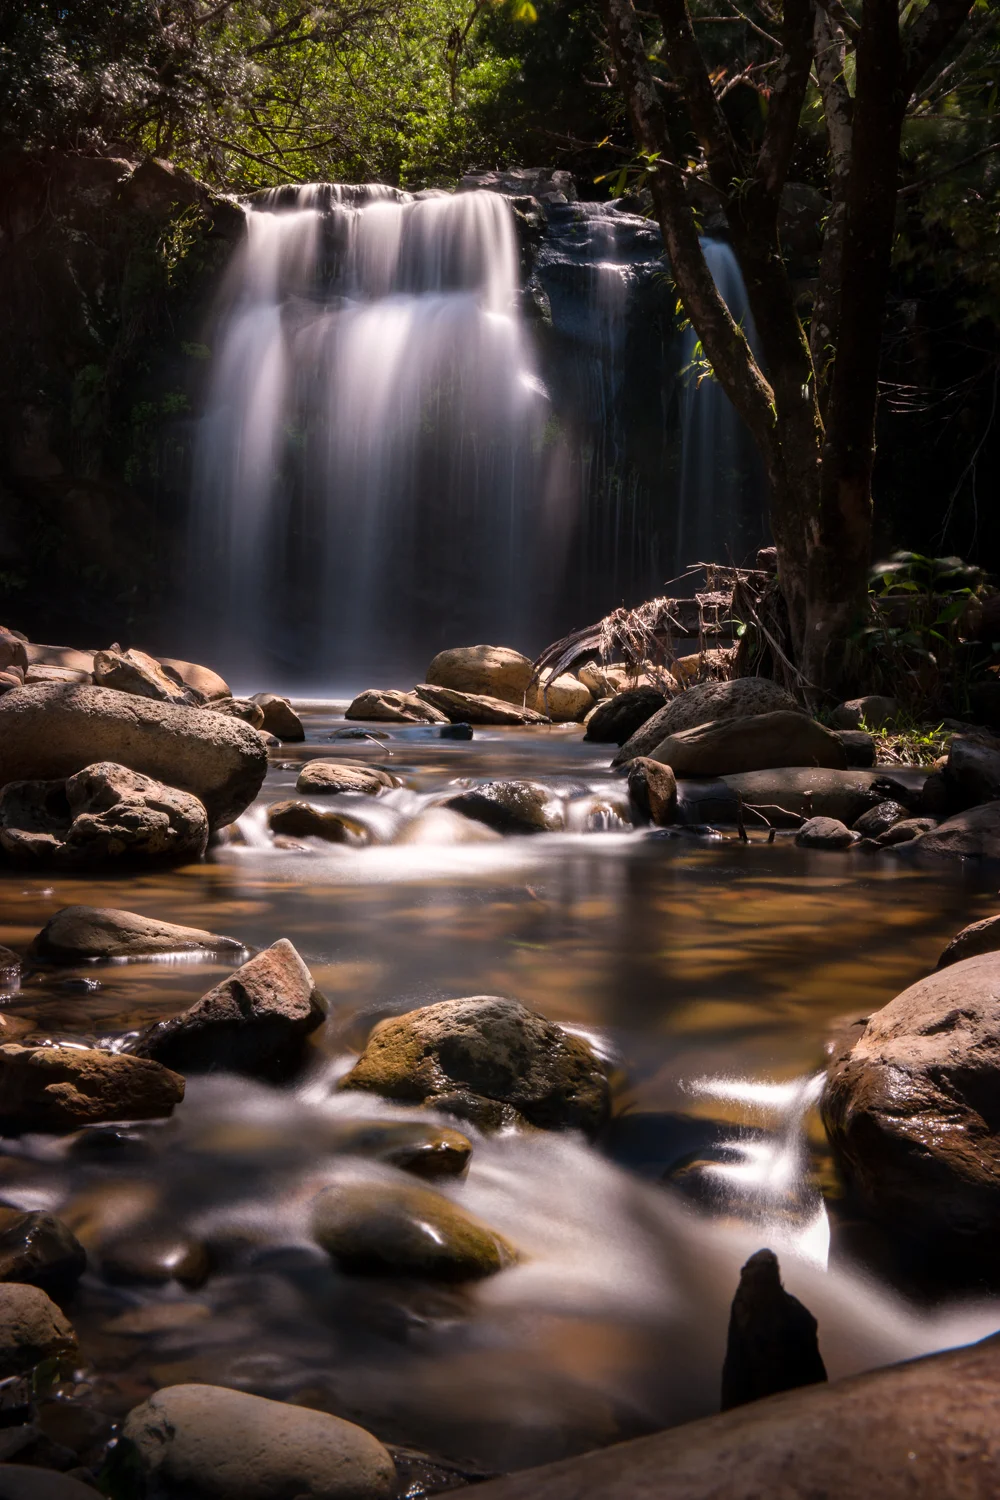
    And recently, I’ve been introduced to Haida, and got myself a 10-stop Neutral Density filter. They’re designed to compete with Lee’s Big Stopper and THEY DO THE TRICK!!! Here’s one, shot in Hawaii, literally at high noon, and I was able to get this gorgeous 30-second exposure shown here on the right.

    Try to stay away from the plastic filters and stick to the glass ones – you WILL notice the difference in quality.

    While I learned the lesson of the power of the filter in the field, that wasn’t the only lesson I learned on that shoot. The other was that no matter how warm the weather, do NOT ever ever EVER wear flip-flops, especially when you have to scale a small cliff to get into position. I tore the sucker on the way down and climbing with photo gear half-bare-foot along a rocky lakeside isn’t…eh…comfortable.

    Regardless, my resulting shot was worth it (or at least I thought so…).

    For more of my madness:
    Instagram: @wasimofnazareth
    Twitter: @wasimofnazareth
    Google+: www.Google.com/+WasimMuklashy
    Facebook: www.Facebook.com/WasimOfNazareth
    Between A Rock And A Busted Flip Flop
    Between A Rock And A Busted Flip Flop
  • Why You Should Stop Paying Attention To The Focal Point Of Your Images

    Why You Should Stop Paying Attention To The Focal Point Of Your Images

    Sunset Photography_Wasim Muklashy Photography

    I recently found myself standing in front of a stunning vista in the Santa Monica Mountains. It was June 21, 2014. The Summer Solstice. And the sun was just about to set behind the mountains, leaving a beautiful show of colors and clouds and reflections and highlights and vivid shadows in it’s wake. There was another group of photographers at the other end of the overlook and they were doing what most photographers first instinct is to do…pay full attention to the focal point of their image, the subject they wish to draw attention to, and everything else came secondary.

    In this case, the focal point was the sun.

    The images they got weren’t bad, they were wonderful images of the sun over the mountain range, but, well, that’s exactly the image that most people would expect to see, meaning, in essence, they weren’t very unique for the situation. For months, I’ve been tackling how to avoid this sort of image and so far my conclusion is, well, to avoid the focal point and subject of my image and, somehow, find a way to make that secondary.

    Make the sun secondary during a sunset shot? Huh? Let me explain.

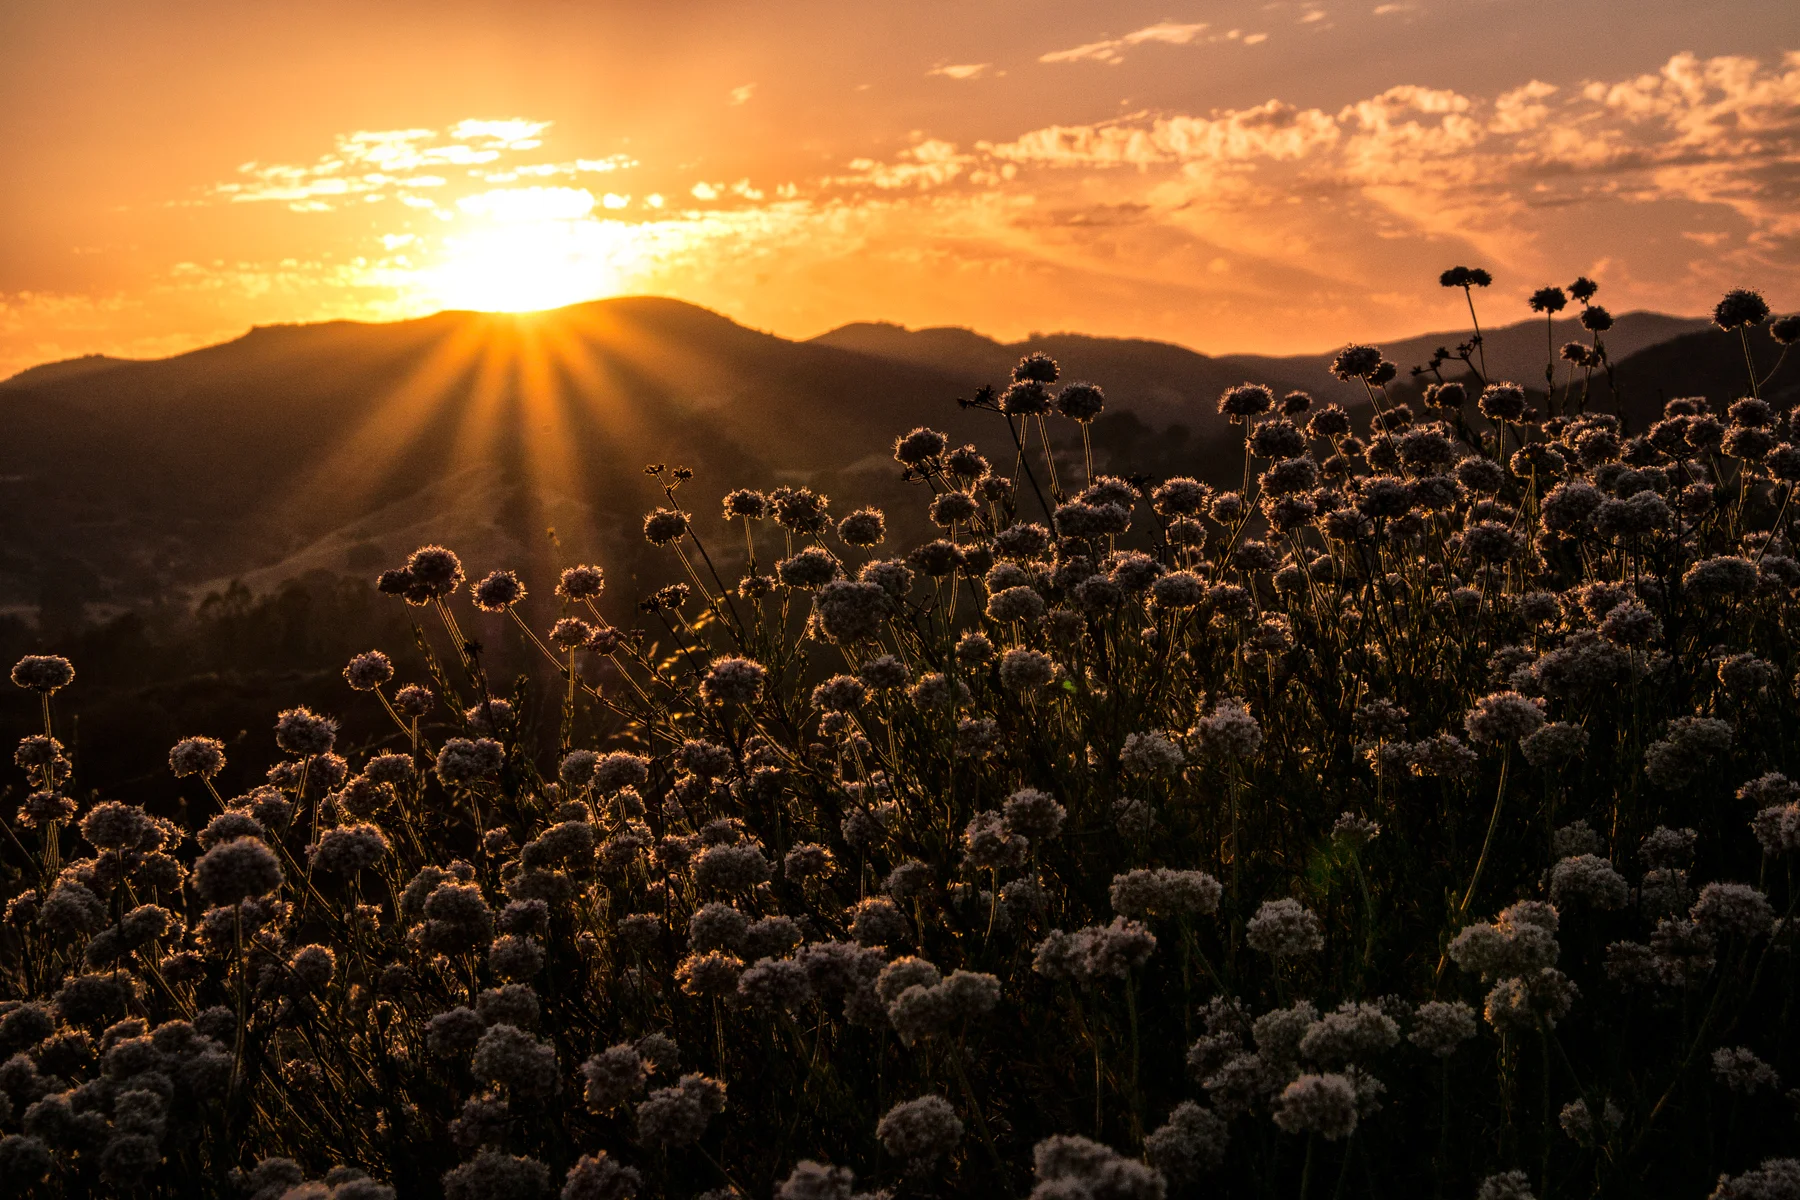
    When I saw that group of photographers standing in a row next to each other, I couldn’t help but distance myself as far from them as possible. As a matter of fact, I went to the complete opposite end of the overlook. That was the first thing I did that I knew would differentiate my image from theirs, for better or for worse. The next thing I did was drop from eye level and look for a foreground subject. As soon as I dropped to ground level, I ran across a sagebush and it was impossible to ignore the highlights bouncing off the tops of the drying buds. They were stunning and I knew immediately this had to be incorporated into the image. This is an aspect of my final image that I would have completely missed had I joined the other photographers, an aspect that all of those standing eye level at the other end of the overlook had no idea even existed.

    I’m not in any way claiming my image was better, or more original than theirs, nor am I claiming that I have any sort of secret to making good images. That’s obviously in the eye of the beholder. All I’m claiming is that by simple physics, the fact that I consciously chose a different vantage point, made my image at least different than the other photographers there. And I personally liked what I came away with. And that’s at least a good first step towards a goal of finding uniqueness amongst a saturated photographer world out there.

    Had I joined the group, yes, no doubt I would have ended up with a very nice Summer Solstice sunset image, it would have been hard not to in that location at that time. But would I have ended up with this one? One I’m MUCH happier with? No. I wouldn’t have. The interplay between the sun setting behind the hills, and the highlights of that final light of the day bouncing off the tips of the sagebrush adding a sense of scale and depth that otherwise would have been missing, are what I feel helps this image stand apart from just focusing on the sunset itself.

    So the point here is basically to not settle for the obvious. You know that option is there, so you can always return to it if all else fails, but don’t be sedentary. Duck and dodge and move and try different things. Try to focus first on finding a foreground or an element that would normally be overlooked – the bark of a tree, the petals of a flower, the dust being kicked up by the wind – whatever other elements exist, are all parts of that landscape, and can all help in adding another dimension to what the main focus of the image was originally supposed to be.

    In other words…play!

    The image above was taken with a Samsung NX30 and a Samsung 18-200mm lens.

    For more of my madness:
    Instagram: @wasimofnazareth
    Twitter: @wasimofnazareth
    Google+: www.Google.com/+WasimMuklashy
    Facebook: www.Facebook.com/WasimOfNazareth
  • A Few More Summer Solstice Gifts From The Hills – A Phone And A Desktop Background

    A Few More Summer Solstice Gifts From The Hills – A Phone And A Desktop Background

    Wasim_Muklashy_Photography_Summer_Solstice_Sunset_062114_Agoura-Hills_CA_Samsung_NX30_-SAM_4936_2400

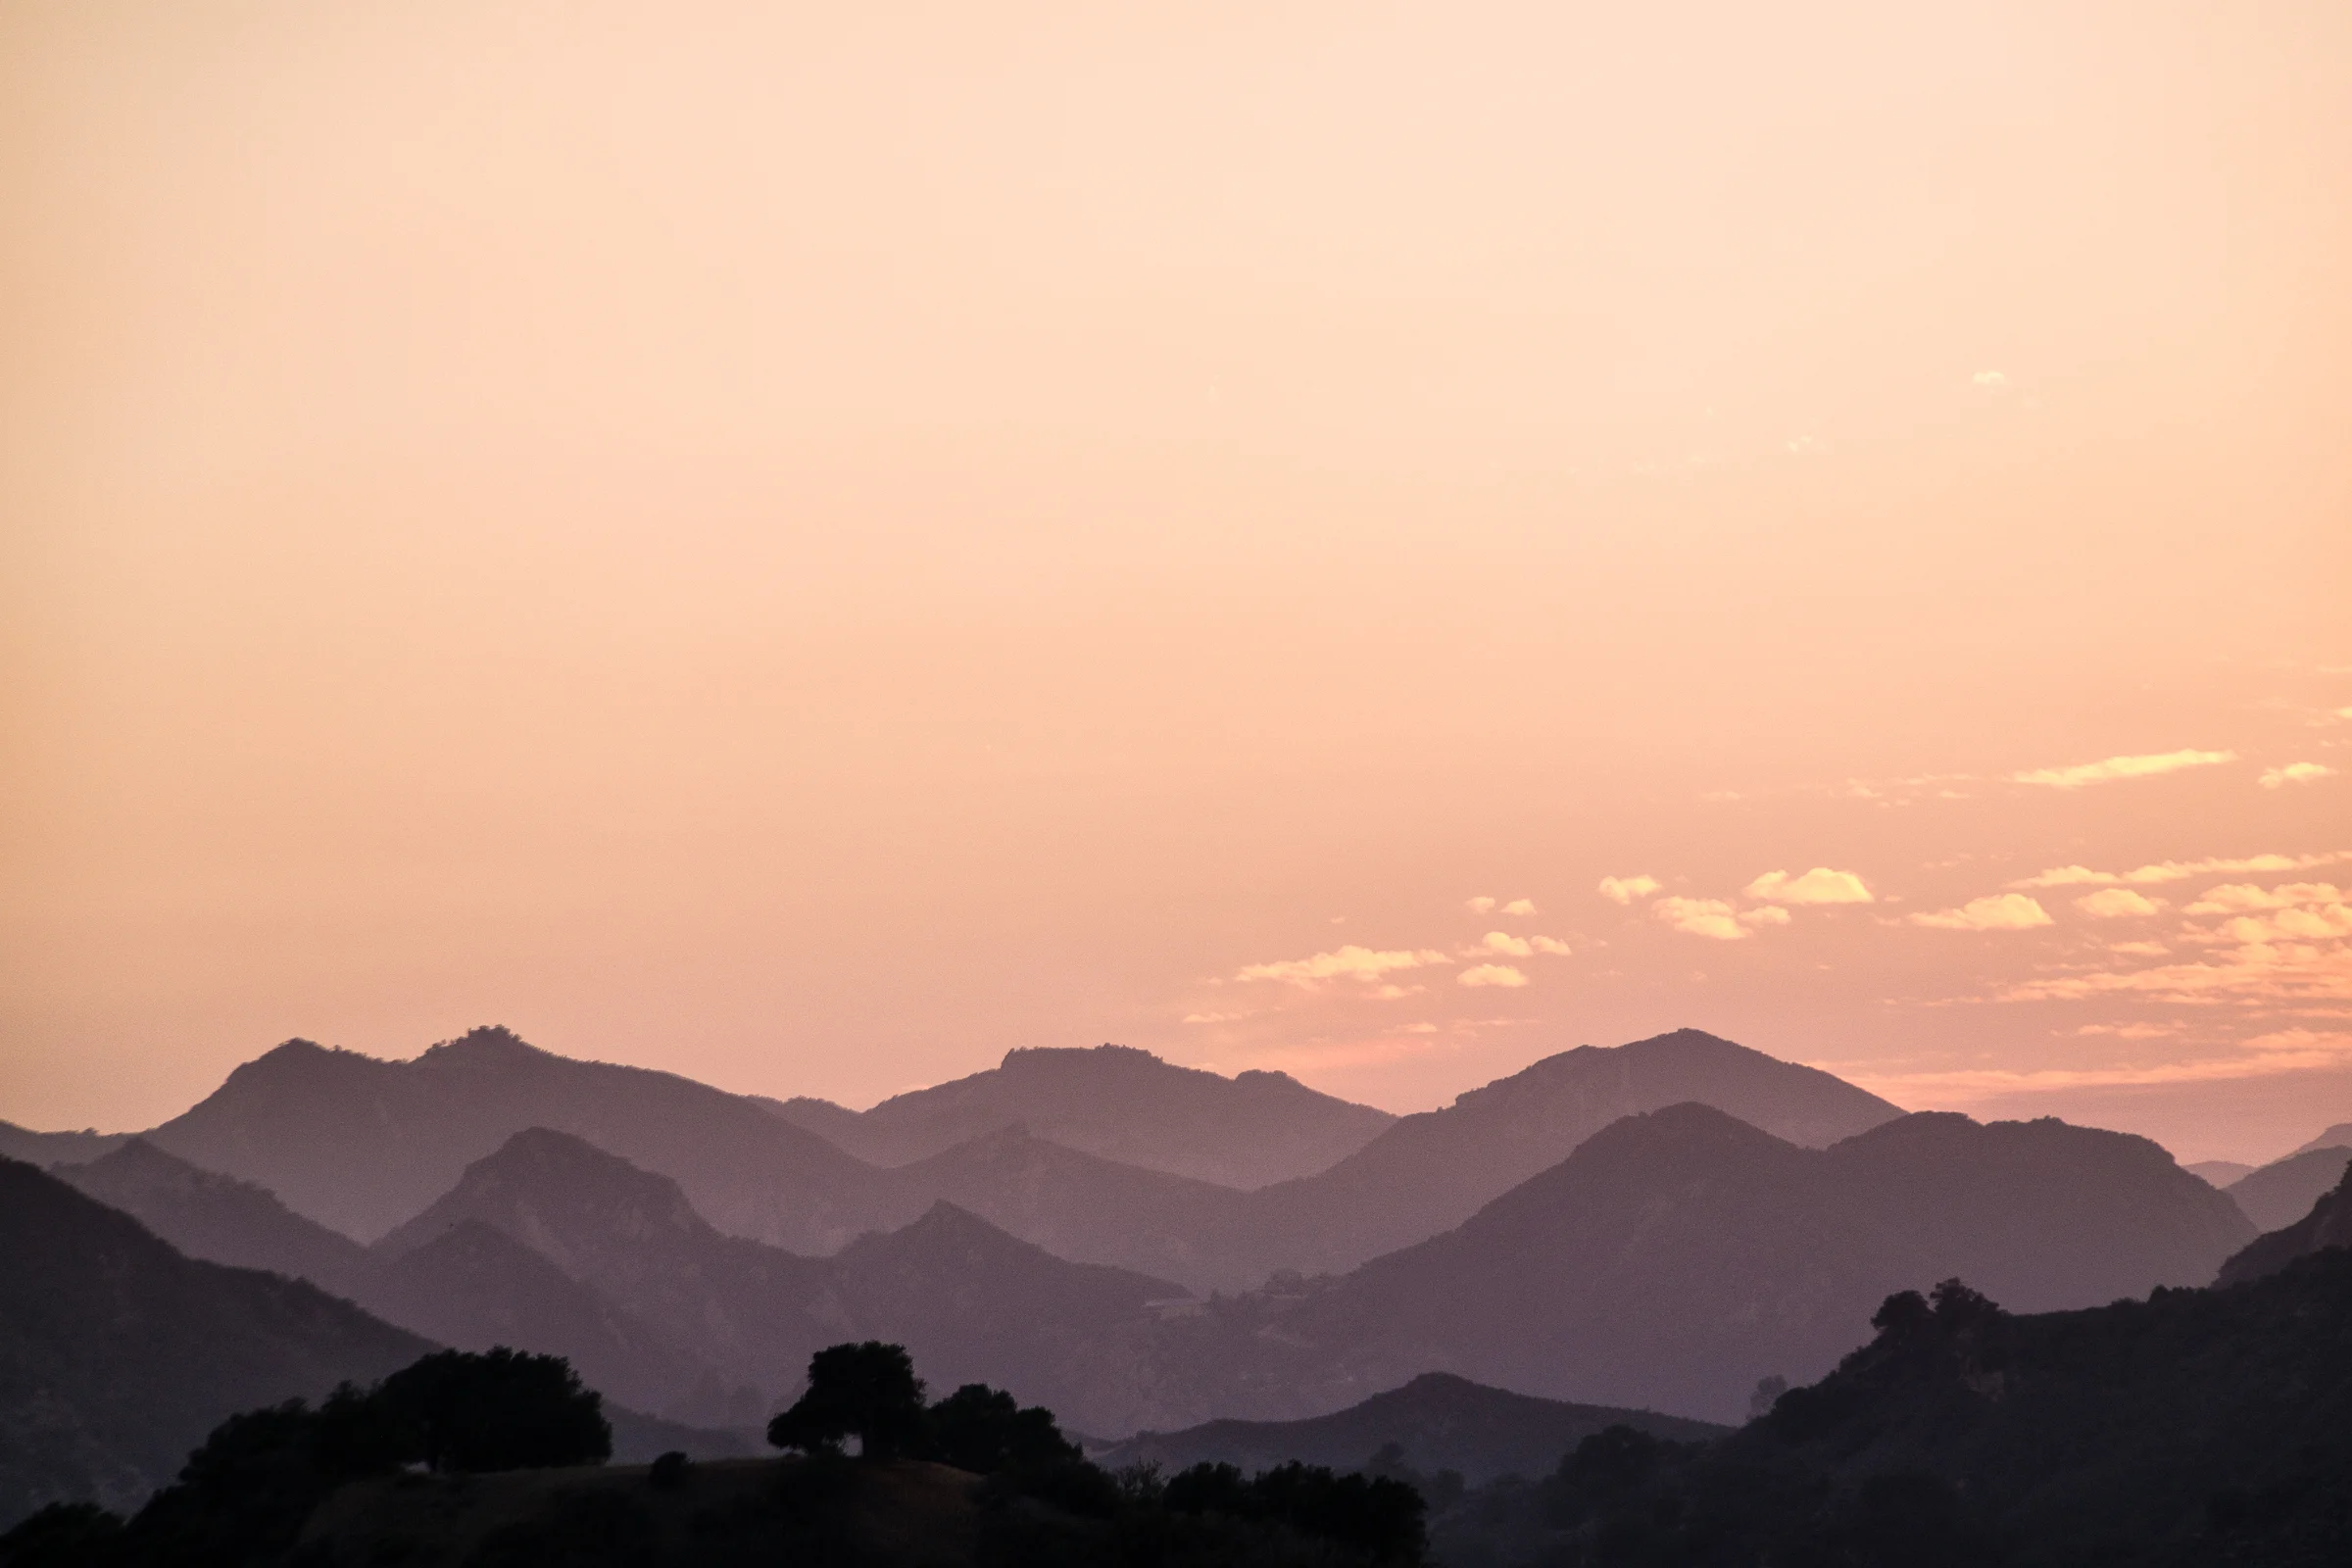
    Here are a couple more images from the Summer Solstice sunset in the Santa Monica Mountains last weekend. Perfect for your mobile phone, tablets, and desktop computer wallpaper. Figured I’d throw ’em your way!
    Just right-click on the image, and choose ‘Save Link As’ for the 2400px version.

    Happy Summer 2014 everyone!

    Click past the break for the desktop image.

    And to learn how to get images like this, visit How To Photograph Sunsets, Silhouettes And Starbursts For Your Summer Snaps!

    For more of my madness:
    Instagram: @wasimofnazareth
    Twitter: @wasimofnazareth
    Google+: www.Google.com/+WasimMuklashy
    Facebook: www.Facebook.com/WasimOfNazareth
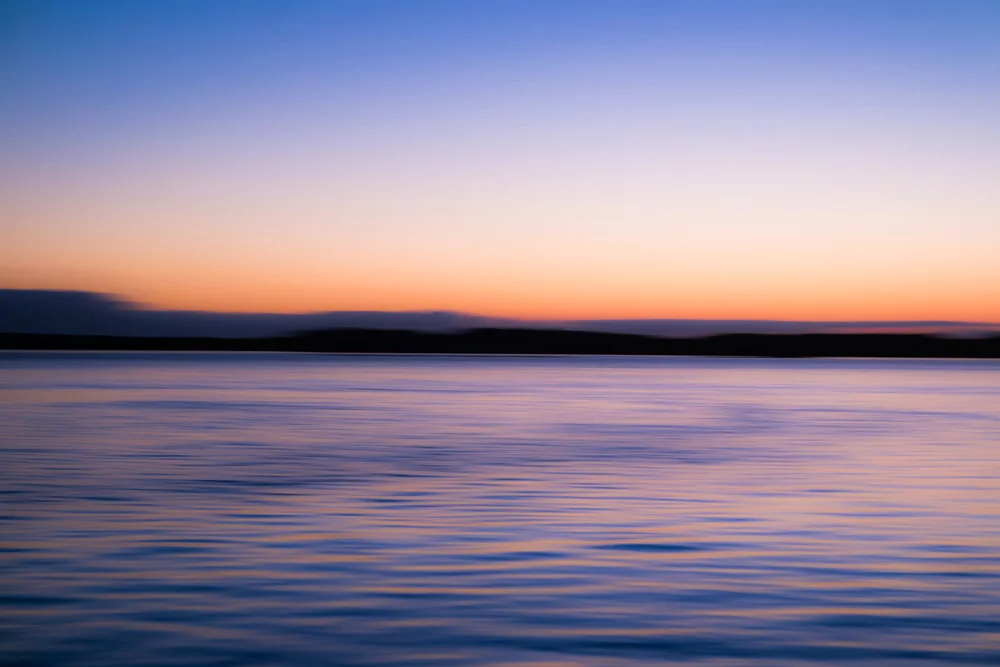
    Wasim_Muklashy_Photography_Summer_Solstice_Sunset_062114_Agoura-Hills_CA_Samsung_NX30_-SAM_4940_2400

  • A Santa Monica Mountains Summer Solstice Sun Sets

    A Santa Monica Mountains Summer Solstice Sun Sets

    Wasim Muklashy Photography_Summer Solstice_Sunset_062114_Agoura Hills_California_Samsung NX30

    Just wanted to share a couple of images of this year’s Summer Solstice sunset from the Santa Monica Mountains and wish everyone (in the Northern Hemisphere…) a happy wonderful Summer 2014. Thank you all so much for joining me on this online photographic journey over the past 18 months. I am forever grateful. To learn how to get shots like these, check out my post How To Photograph Sunsets, Silhouettes And Starbursts For Your Summer Snaps!

    For more of my madness: Instagram: @wasimofnazareth Twitter: @wasimofnazareth Google+: www.Google.com/+WasimMuklashy Facebook: www.Facebook.com/WasimOfNazareth
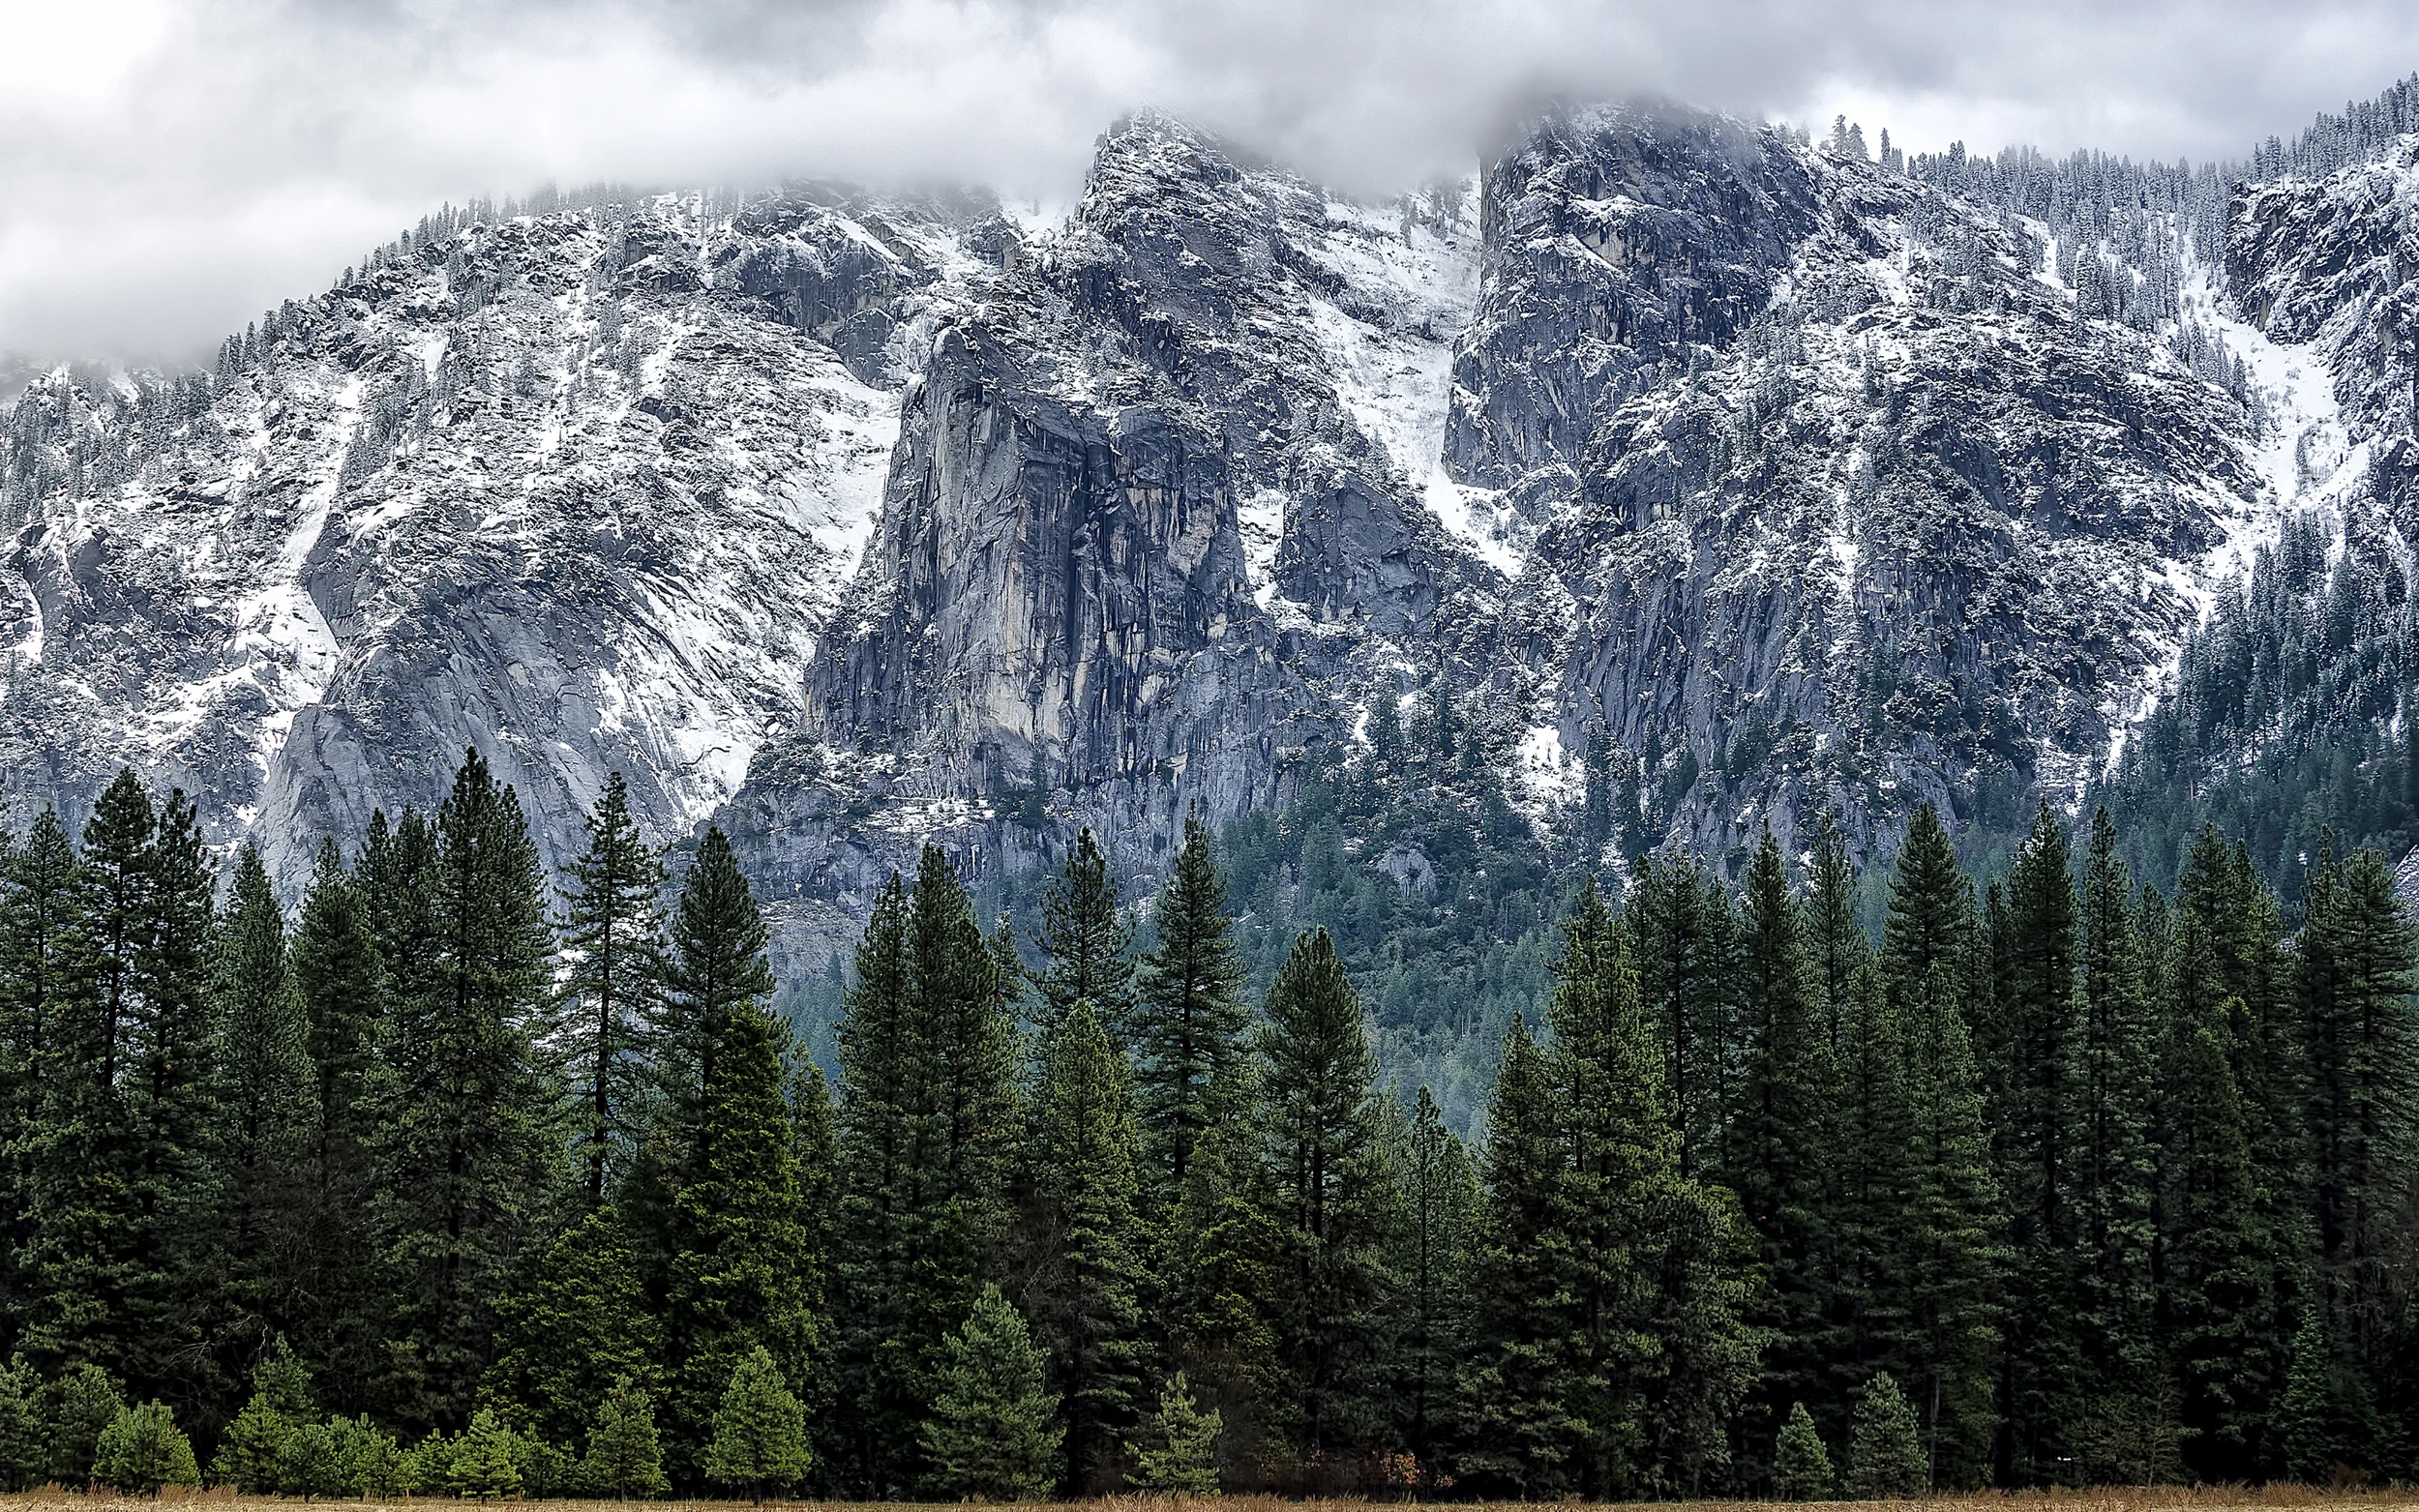
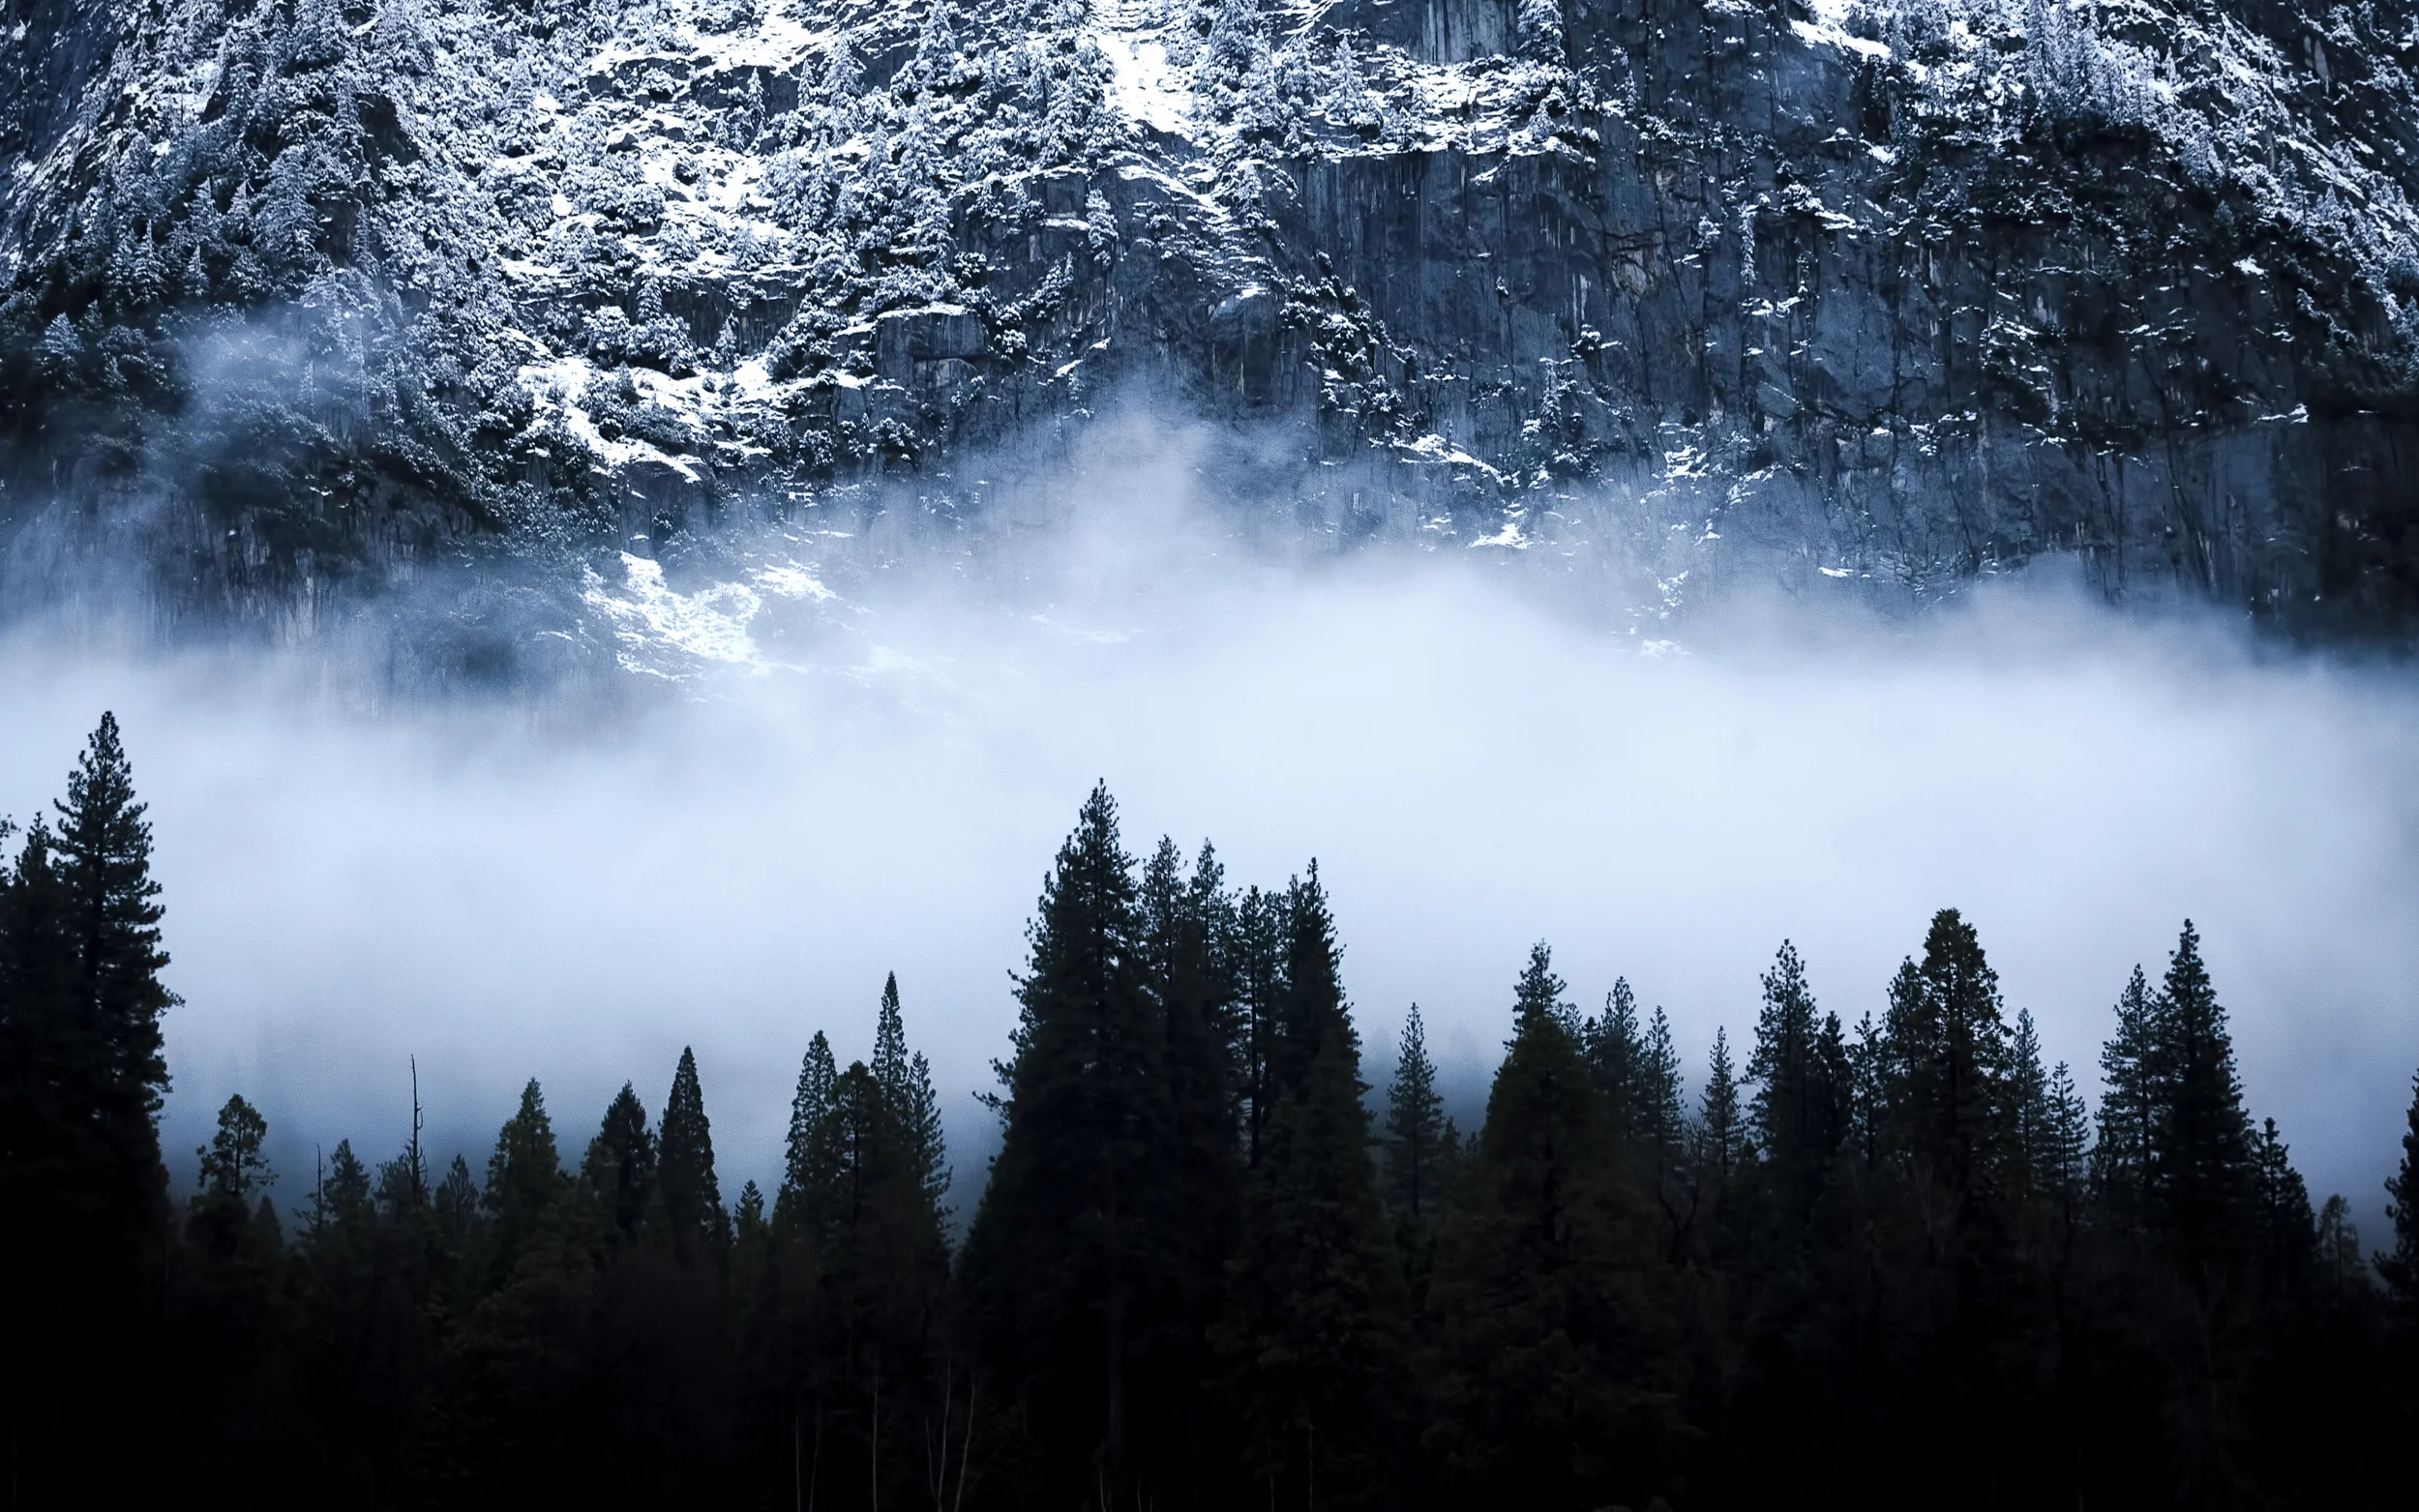
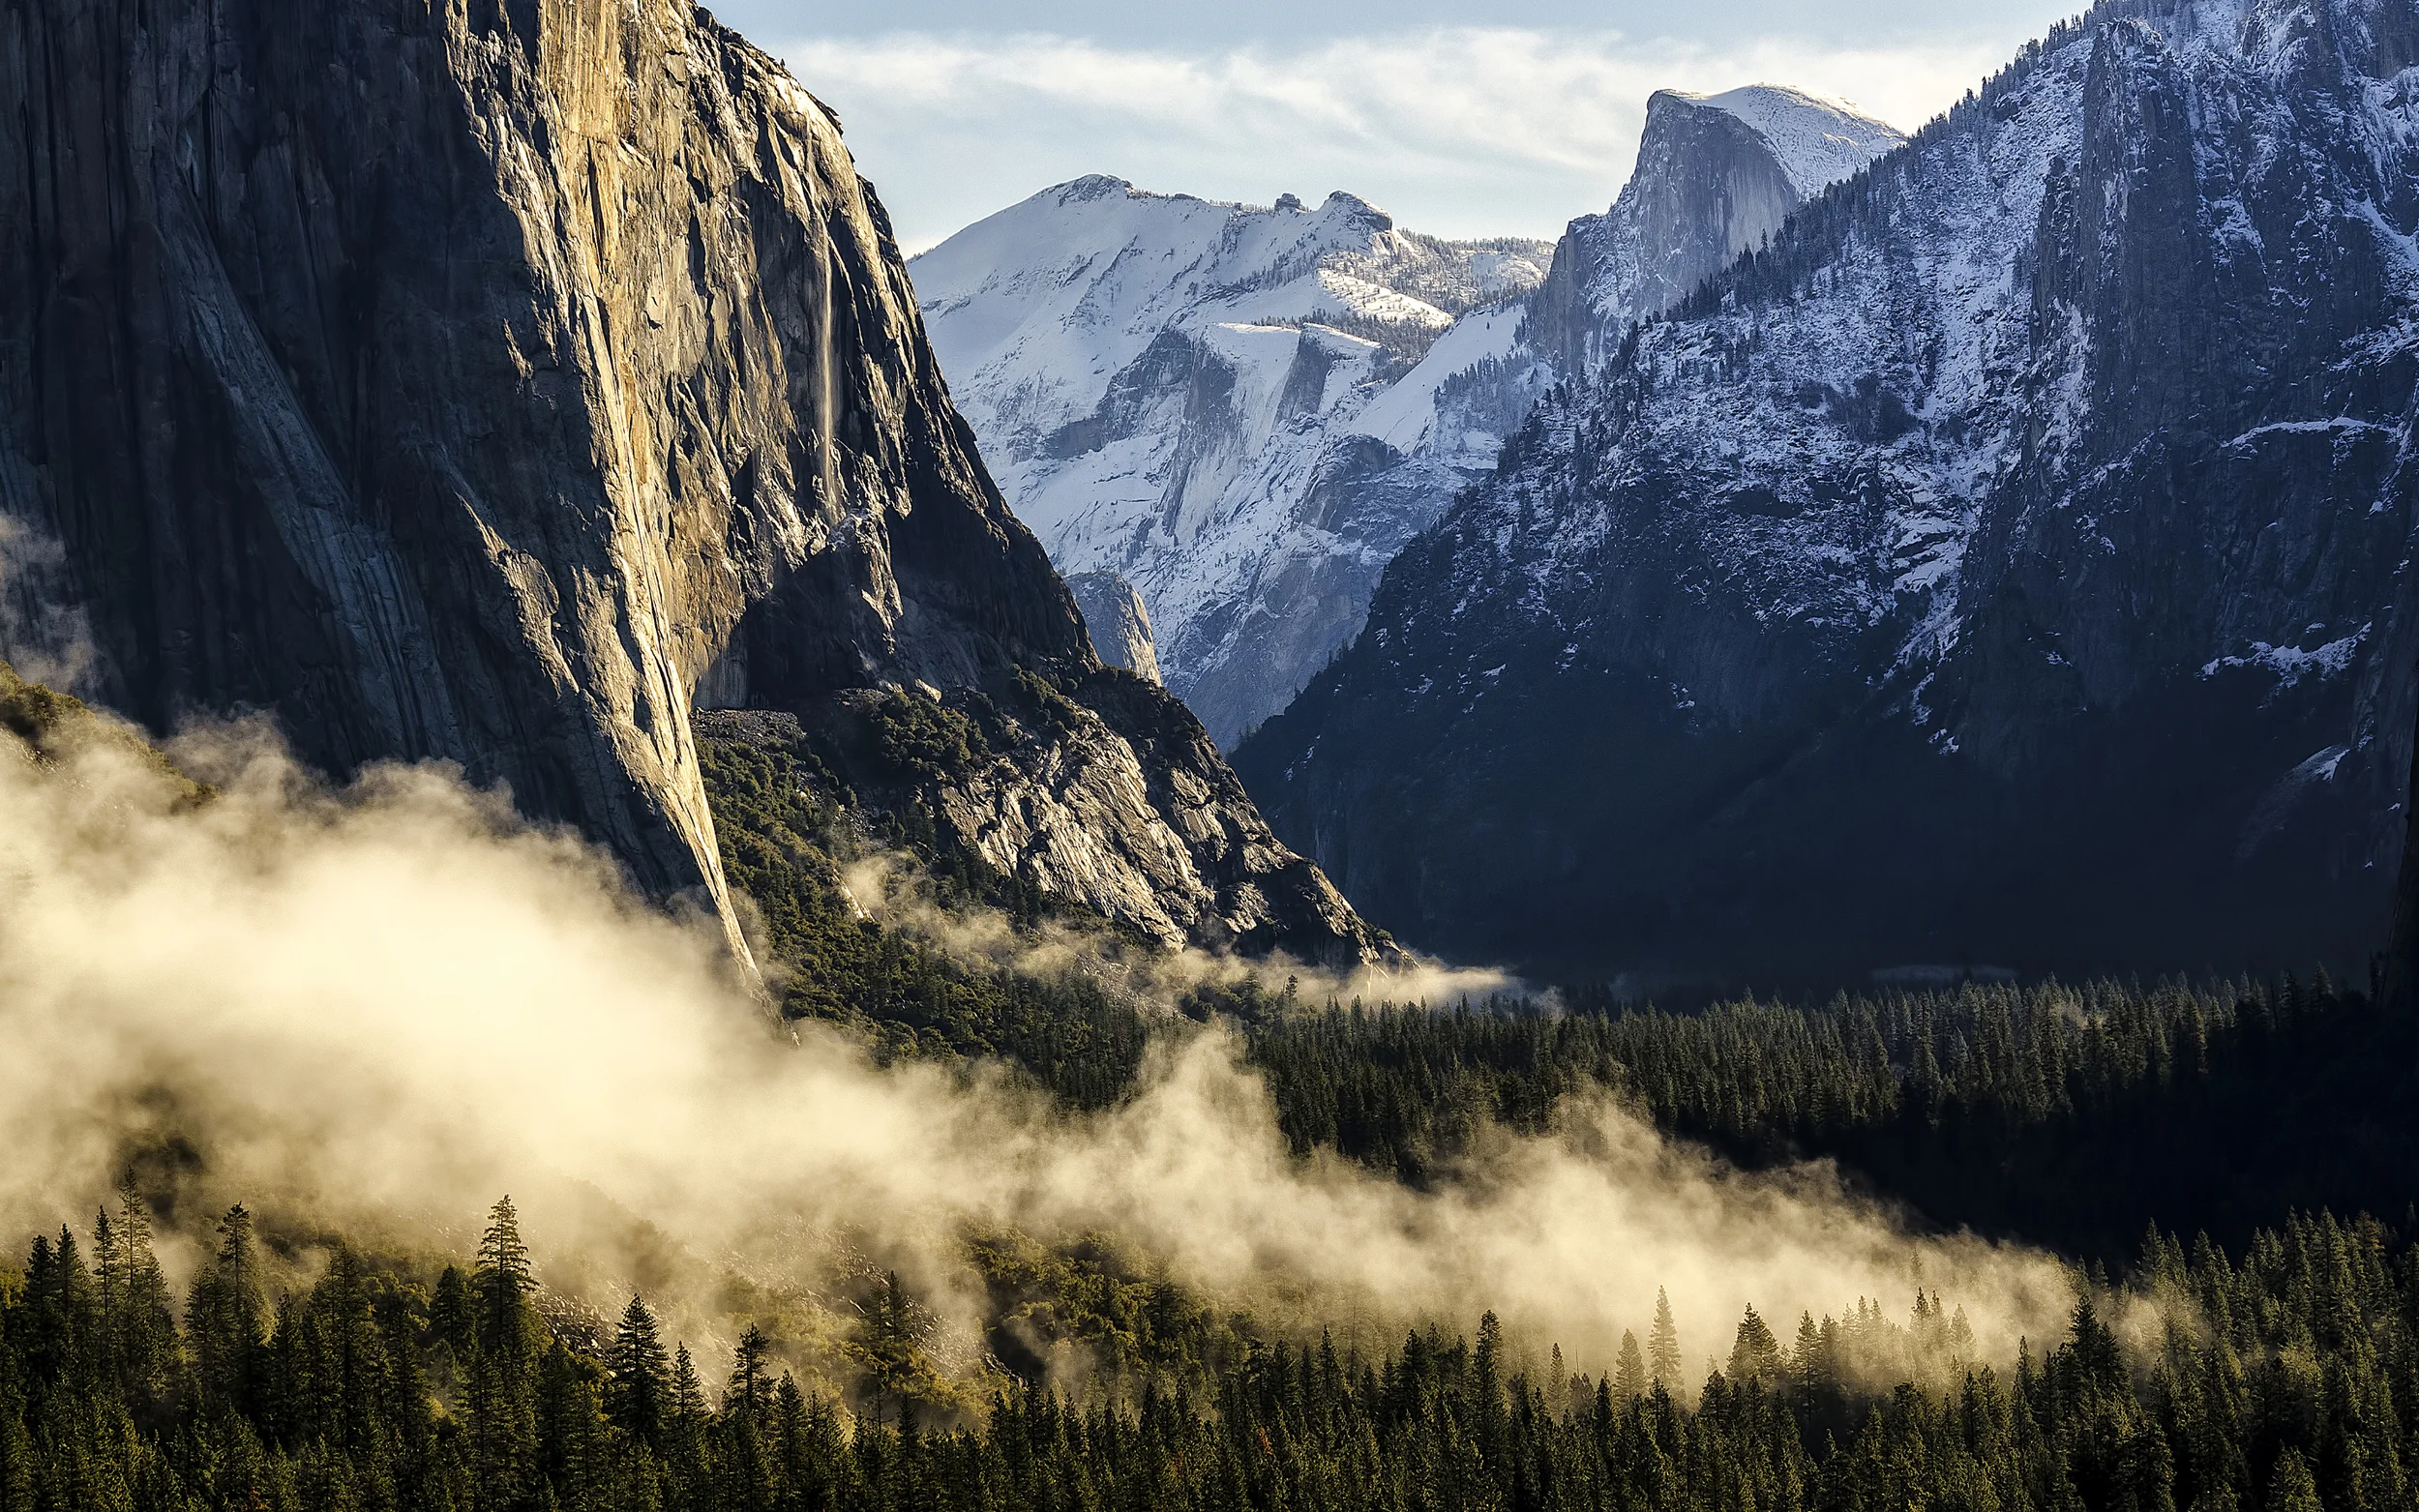
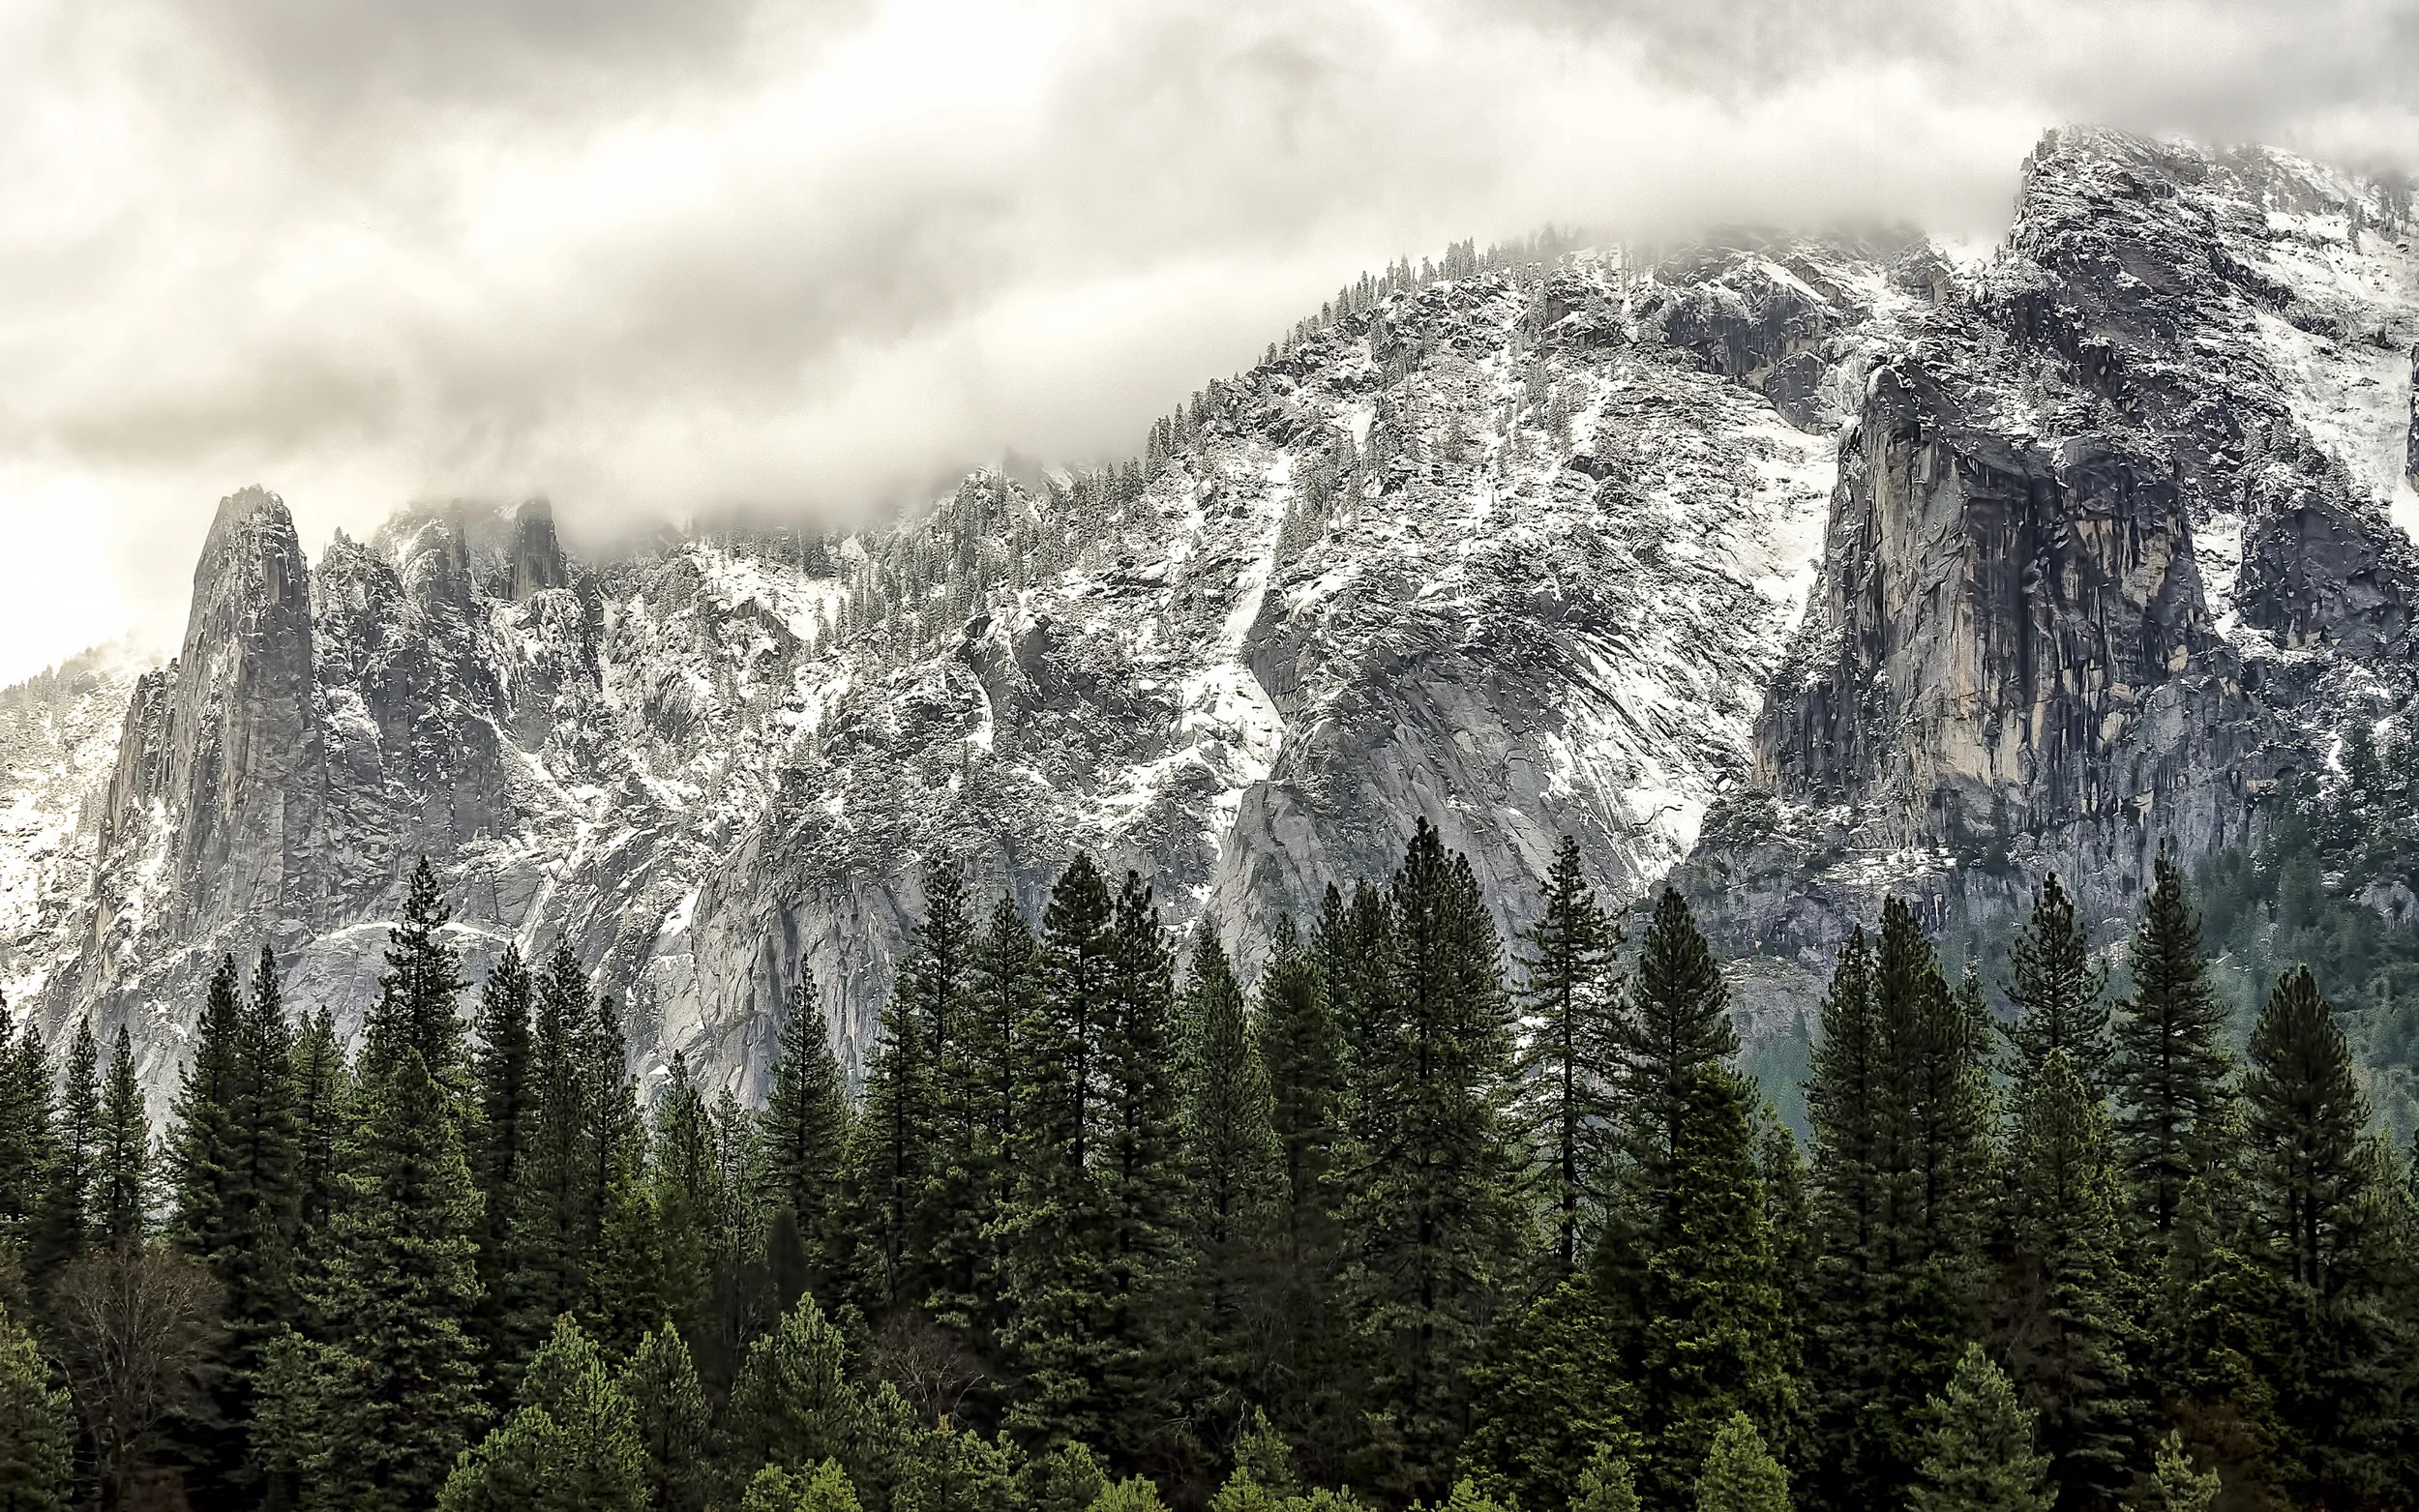
  • Thank Apple’s OS X Yosemite Announcement For This Collection Of Desktop & iPhone WallPapers

    Thank Apple’s OS X Yosemite Announcement For This Collection Of Desktop & iPhone WallPapers

    Wasim_Muklashy_Photography_Apple OS X Yosemite_Coming Round The Mountain

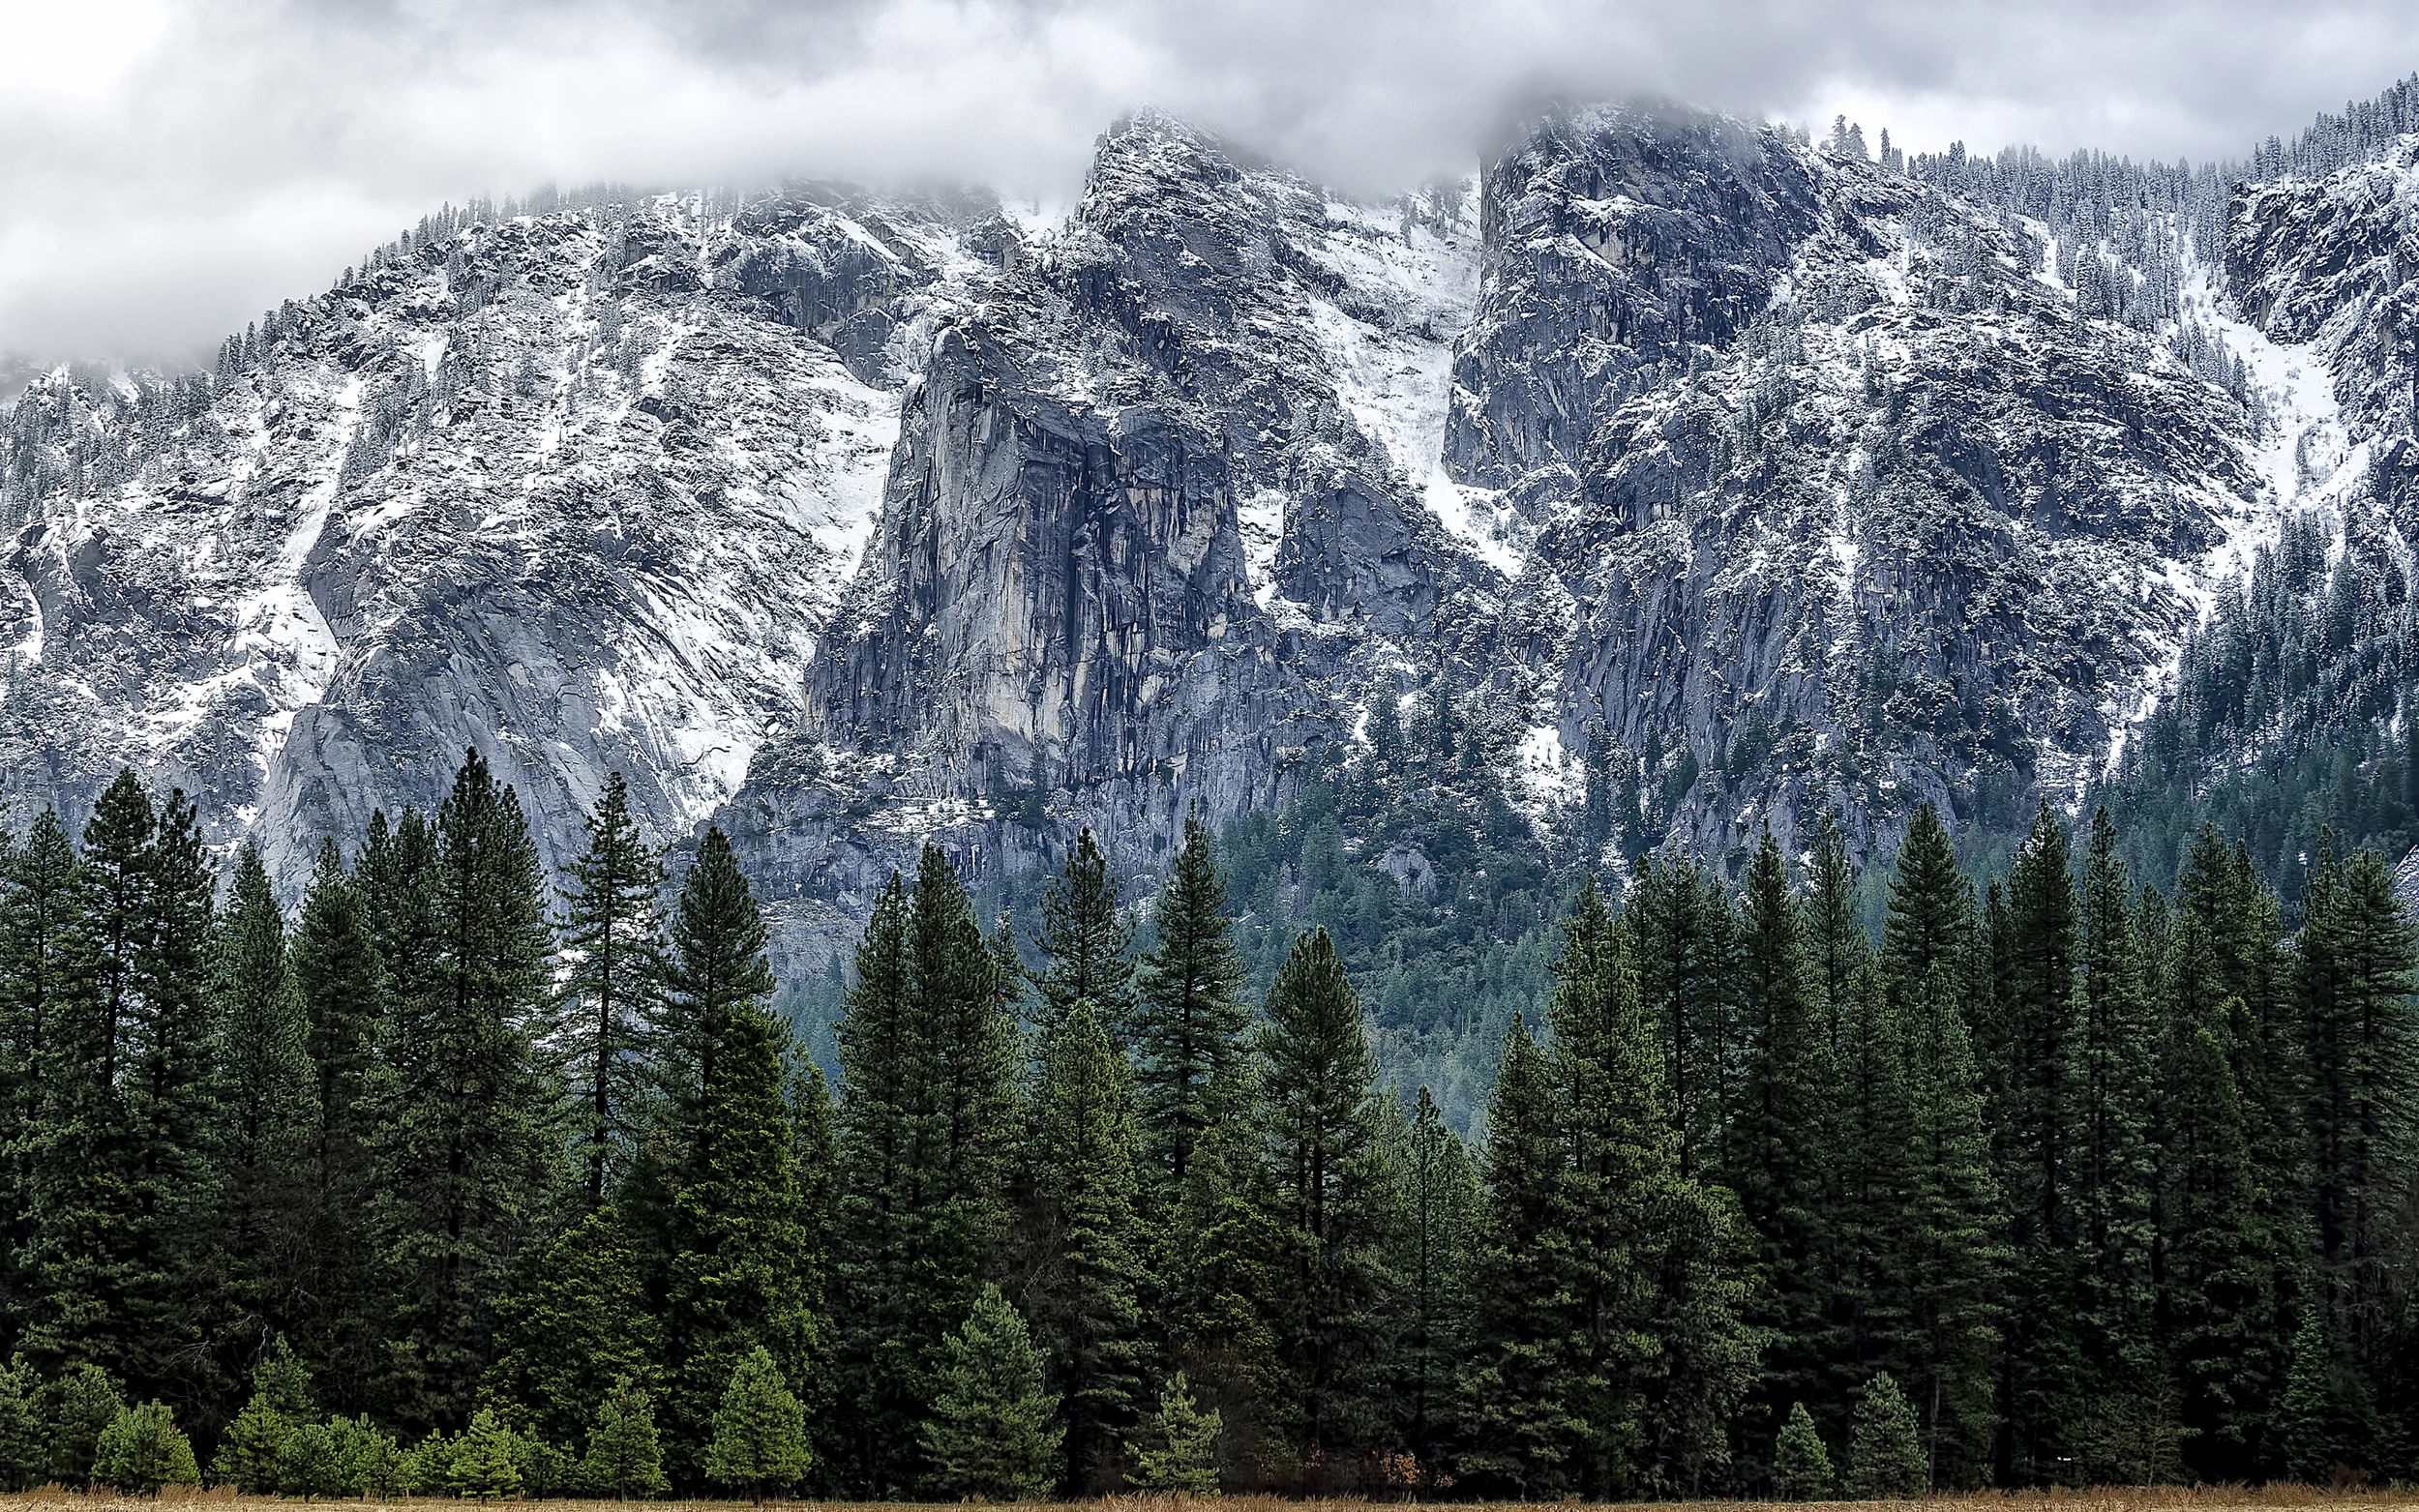
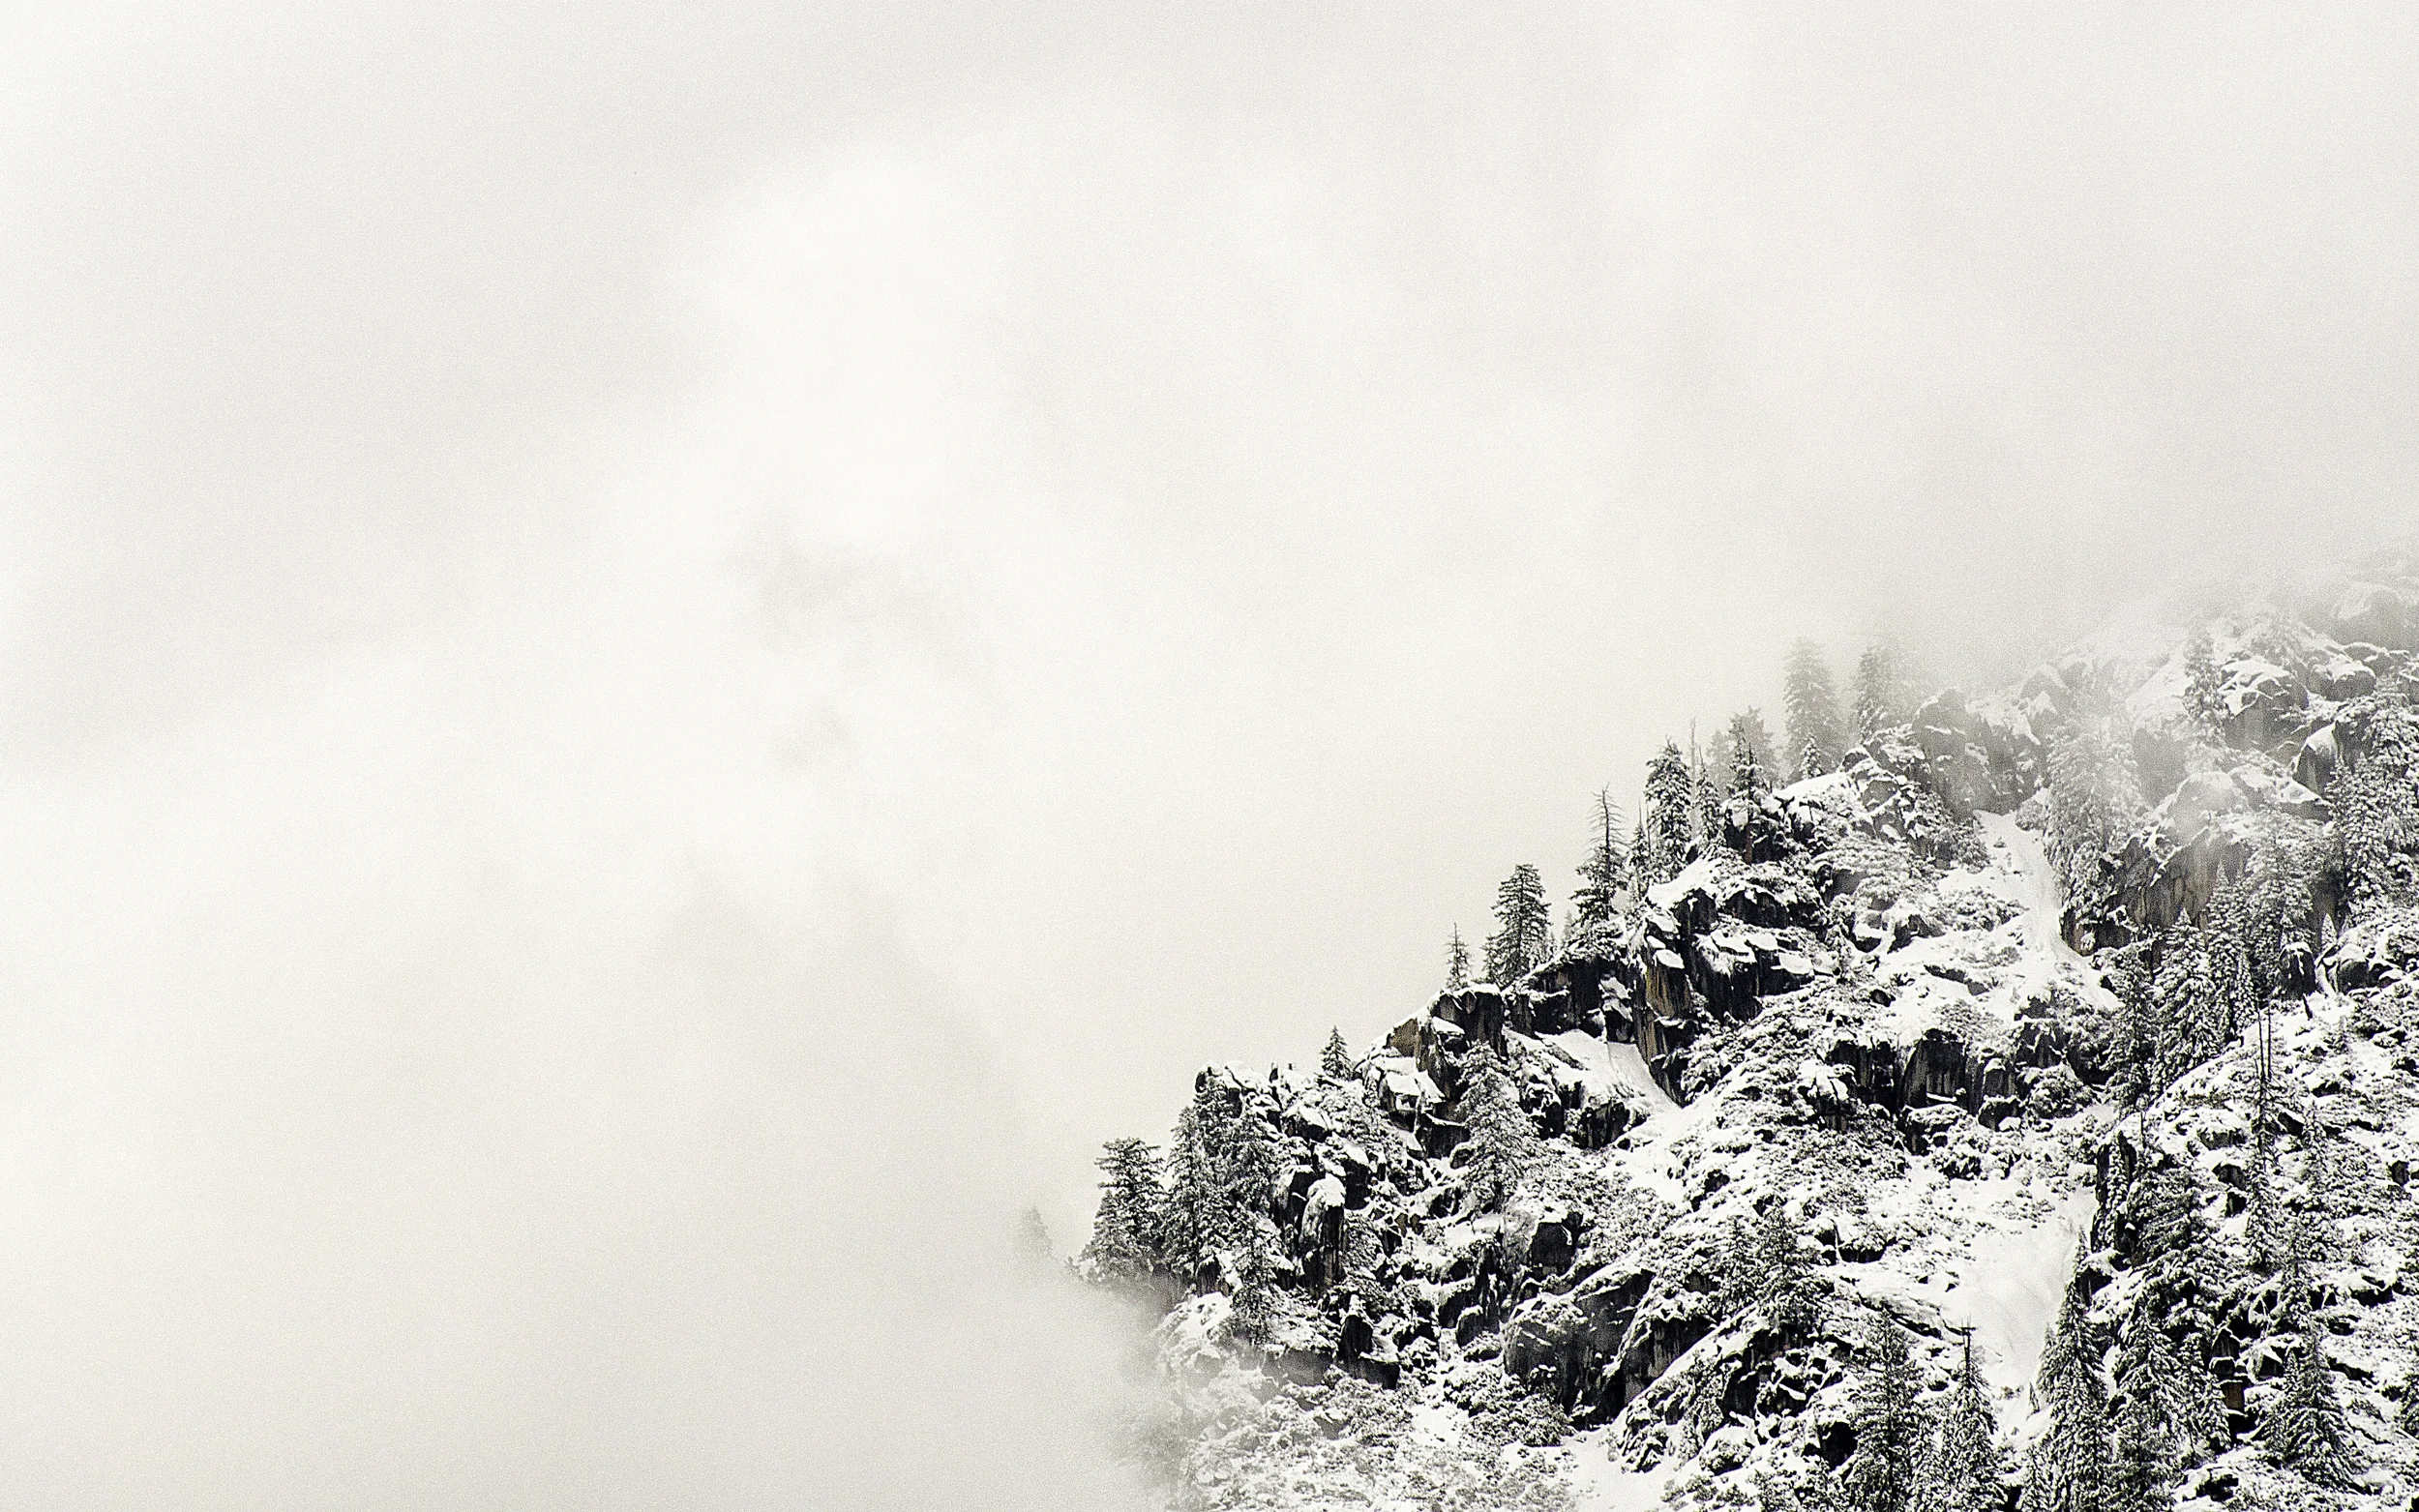
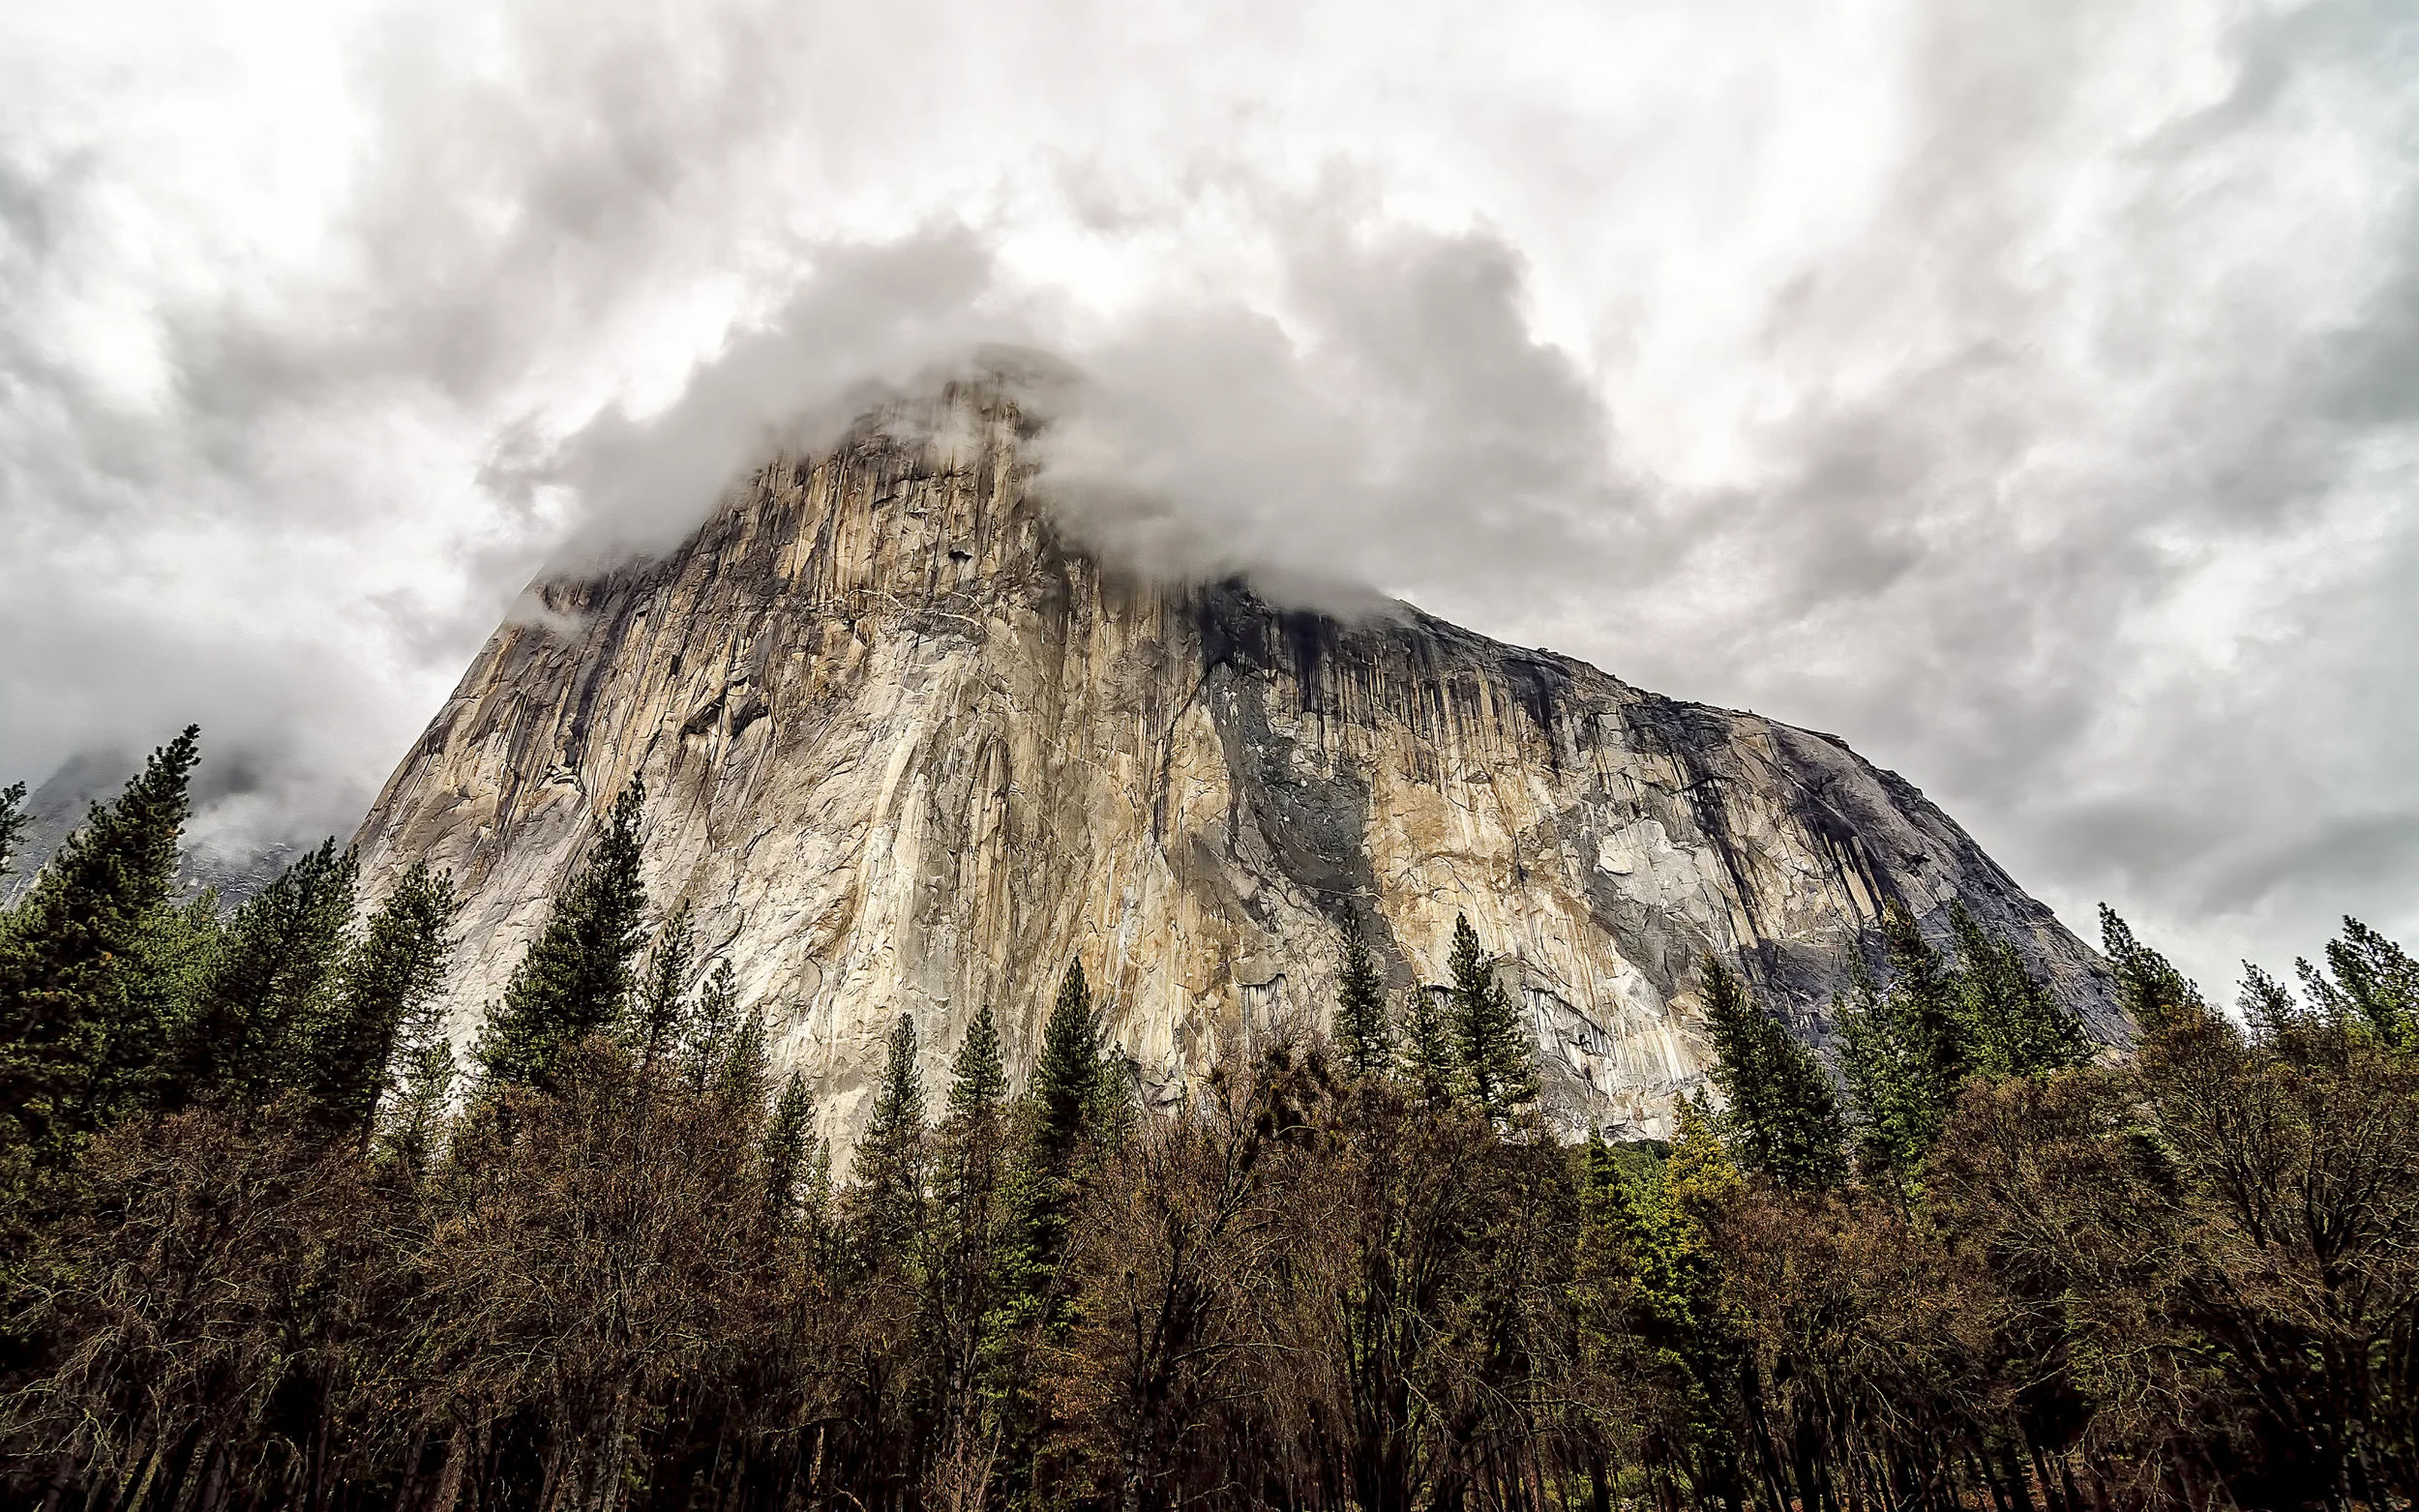
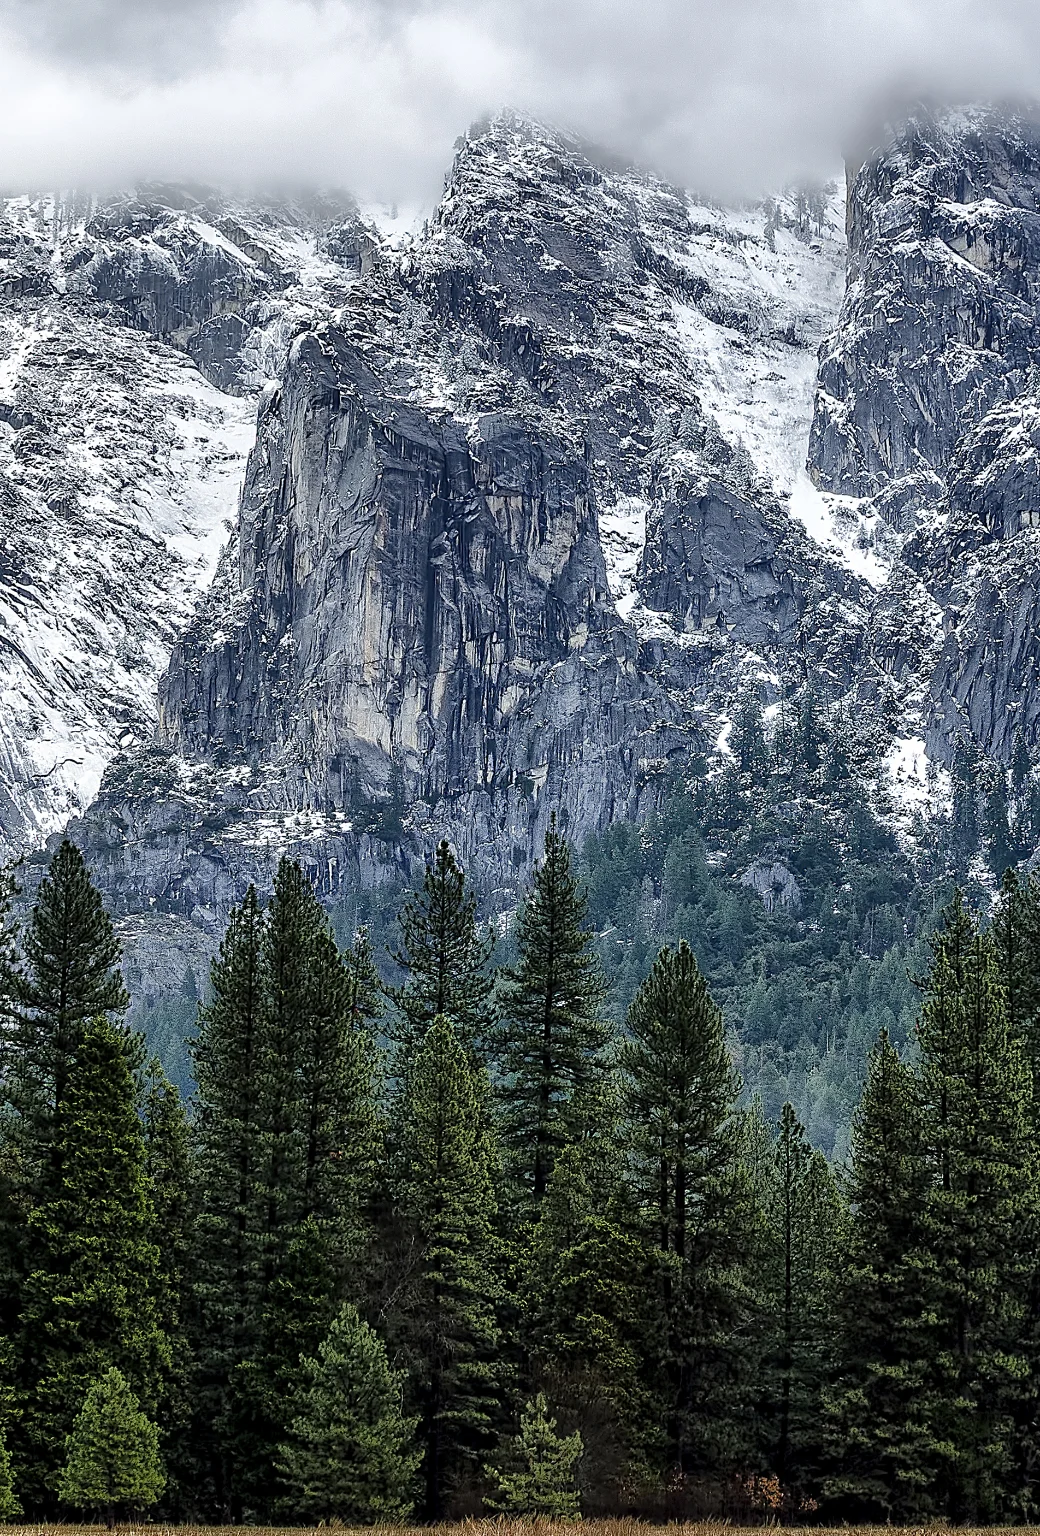
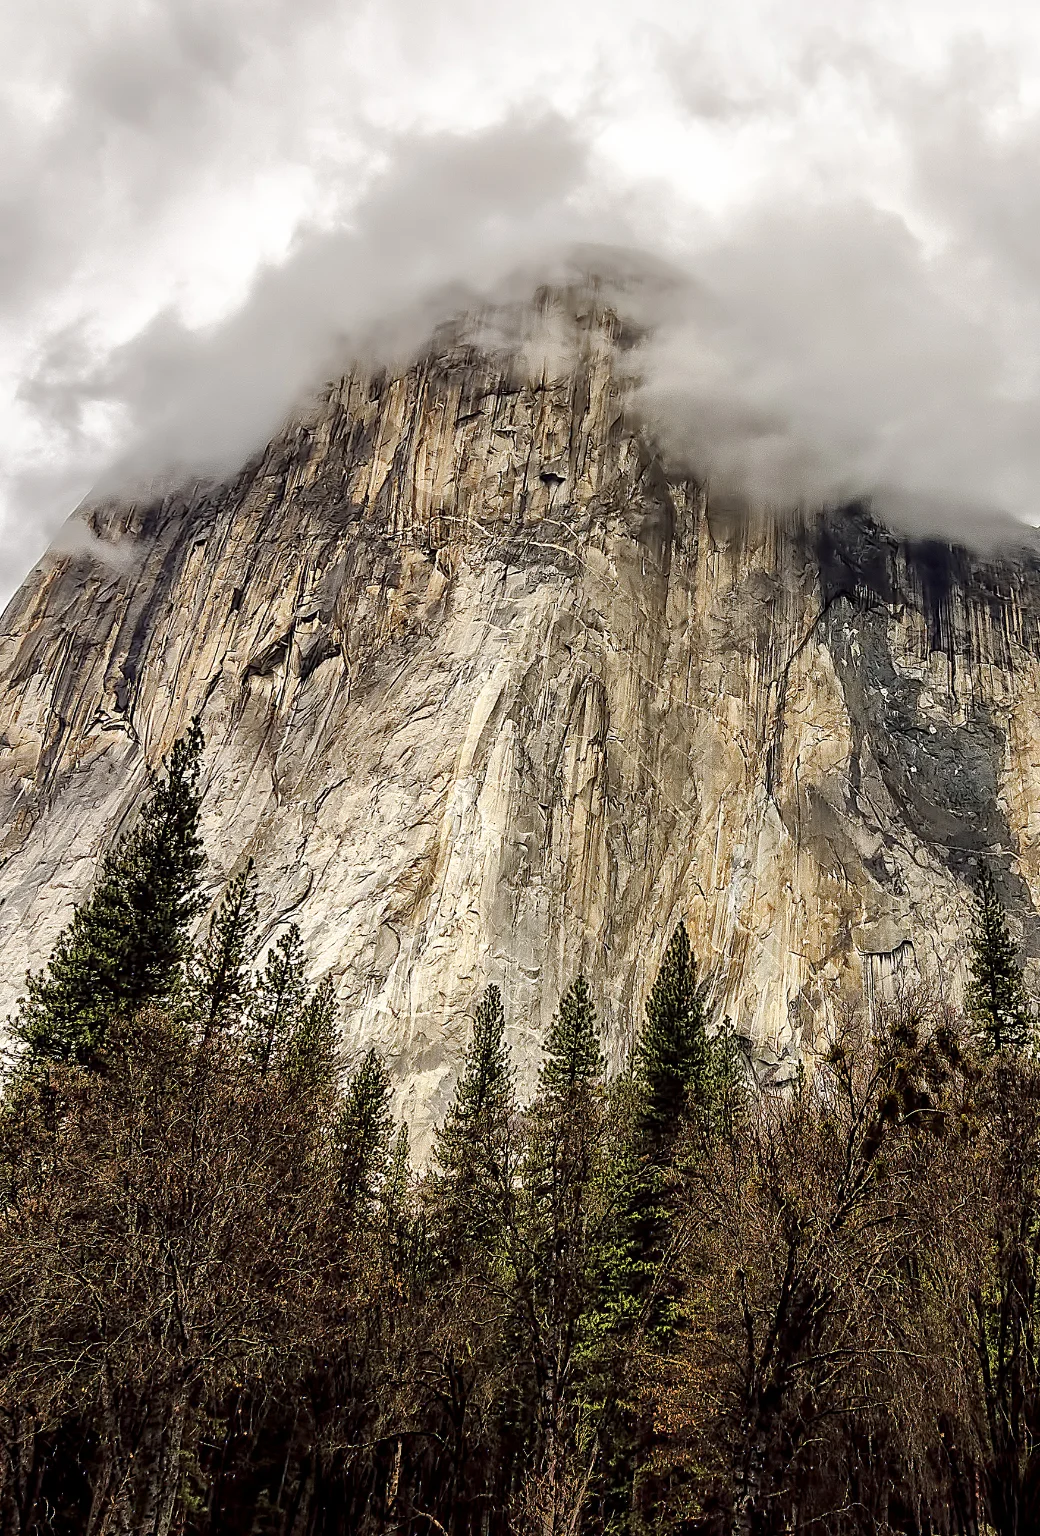
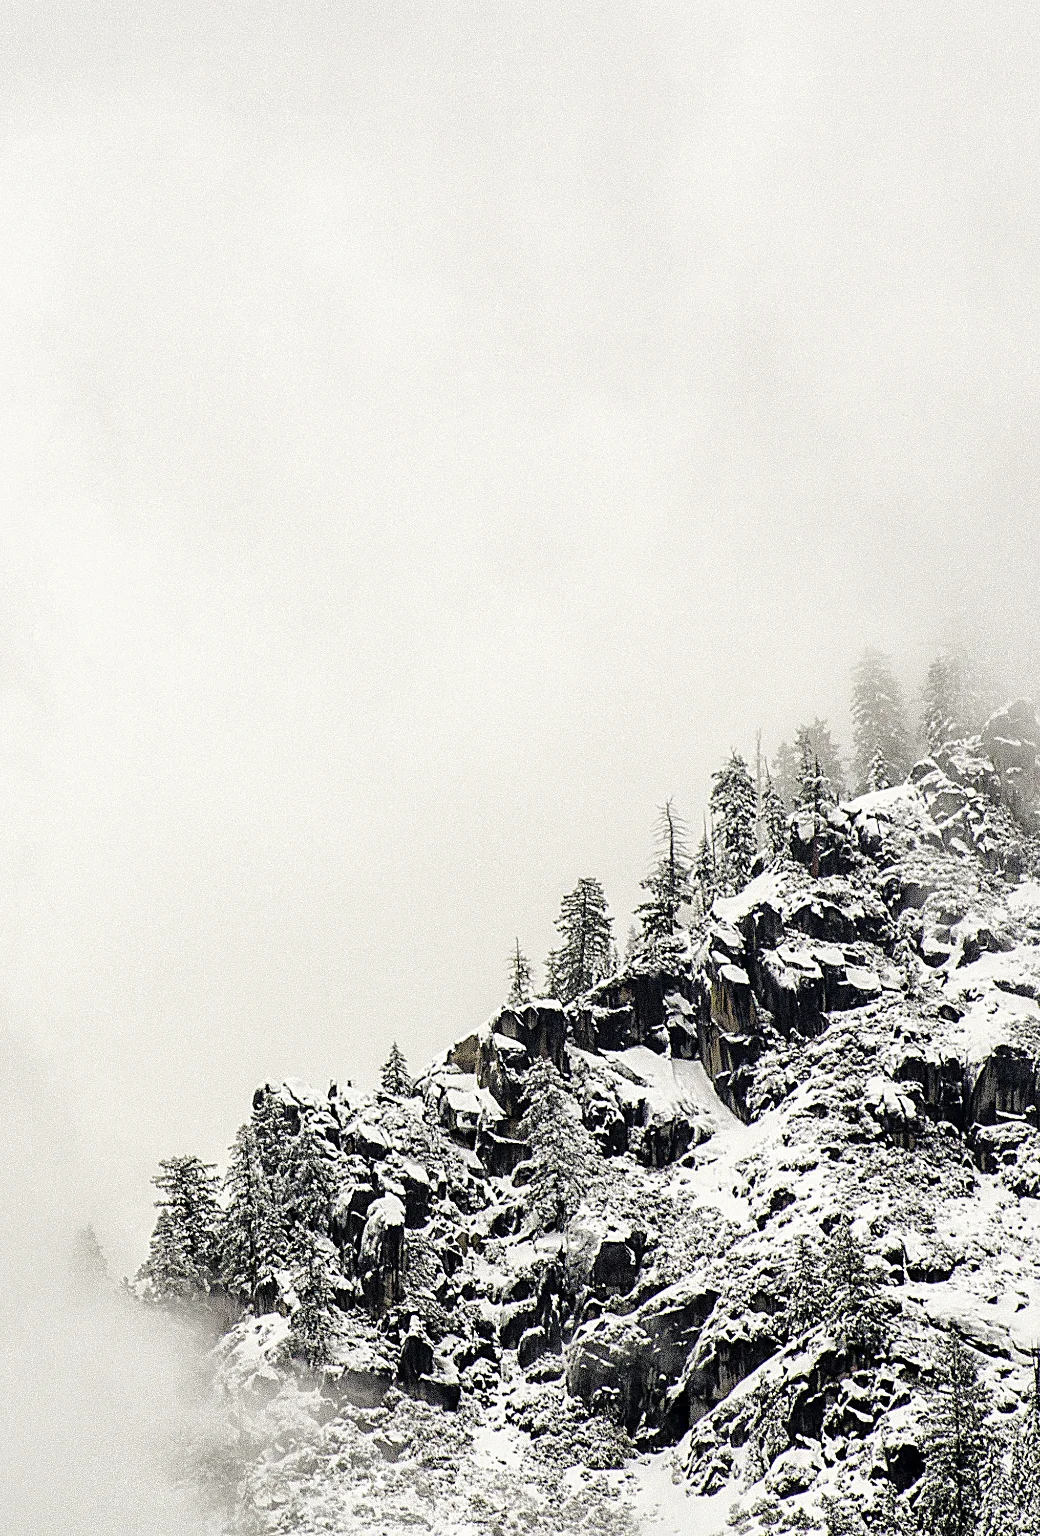
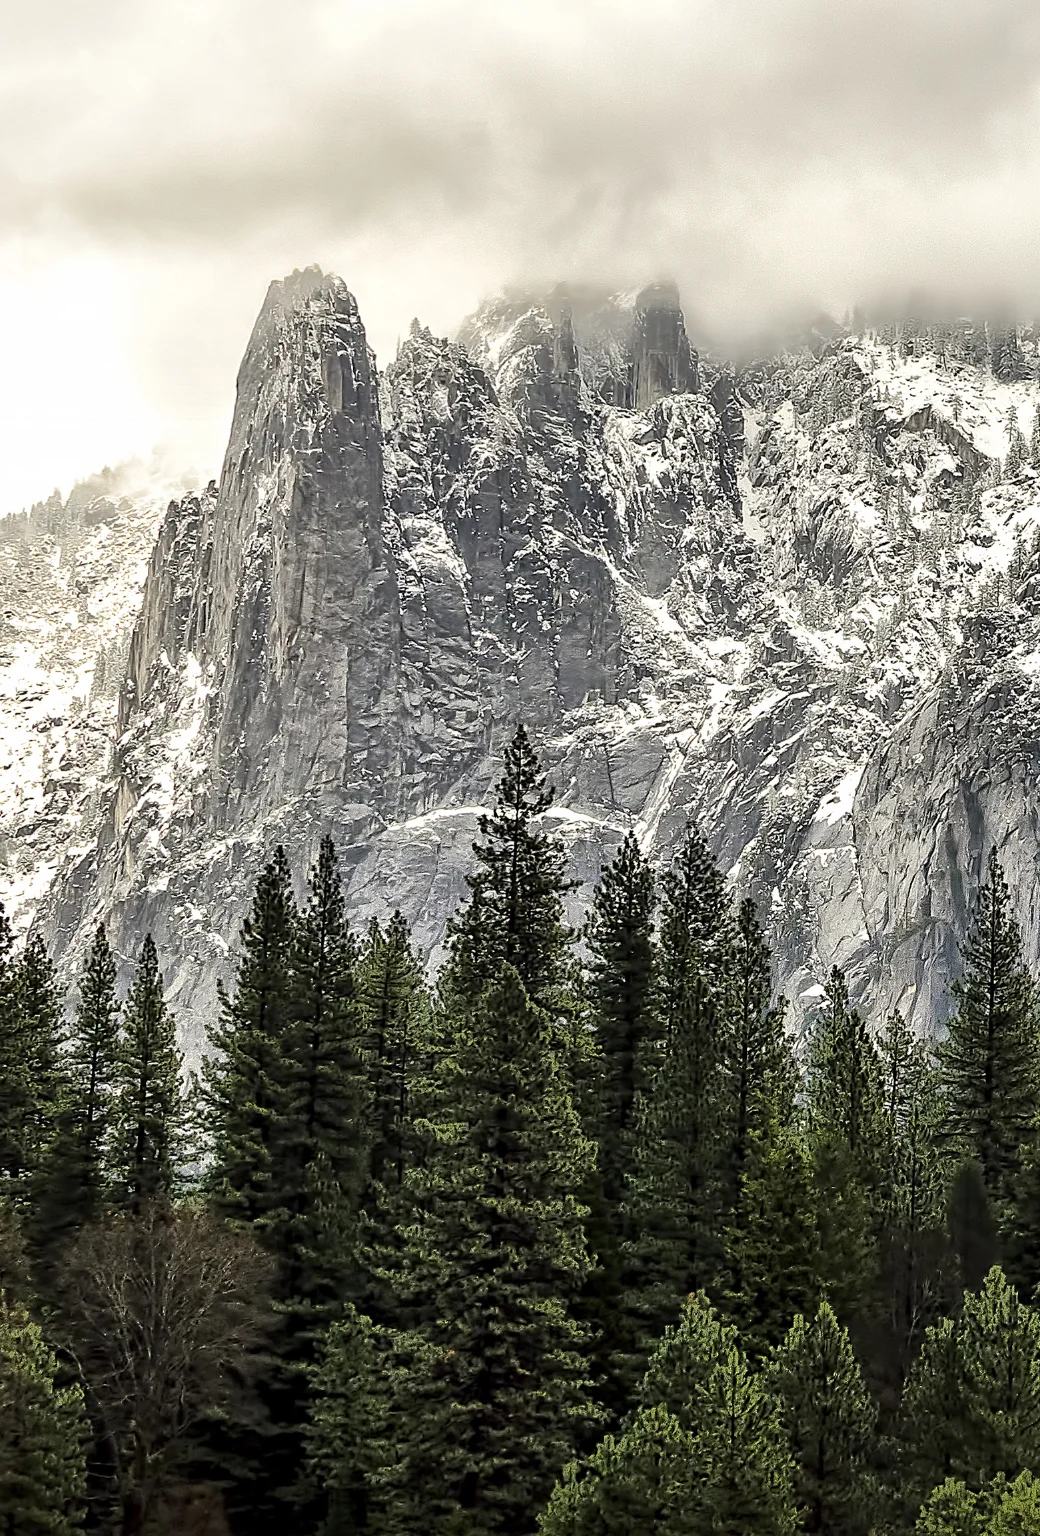
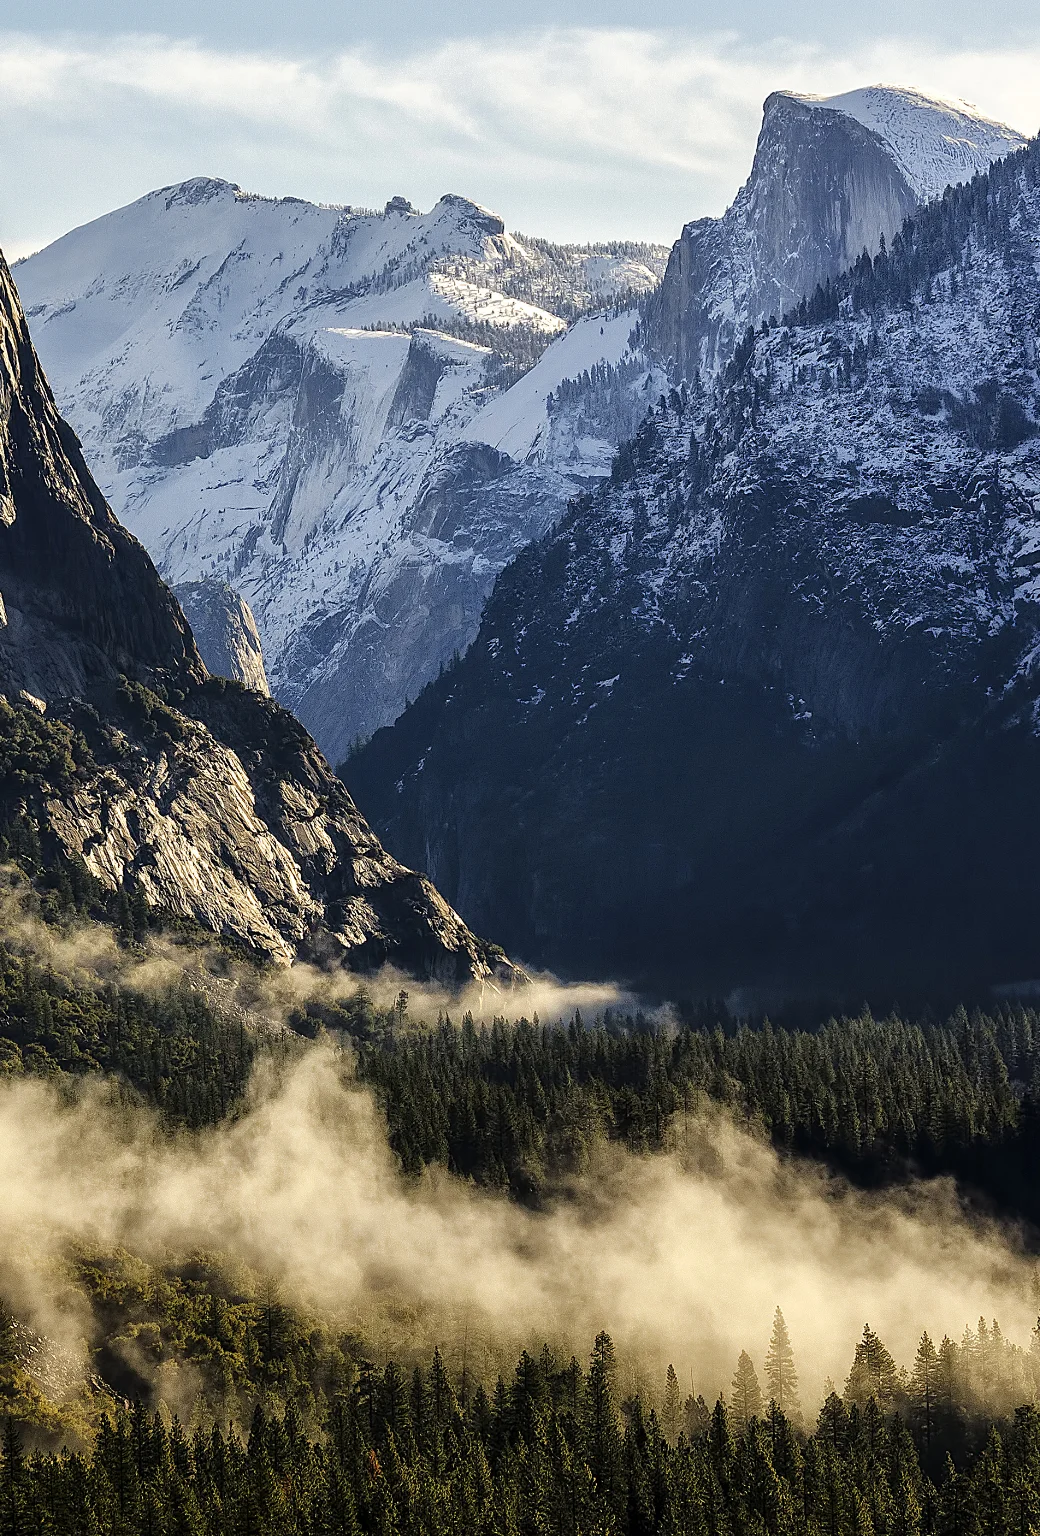
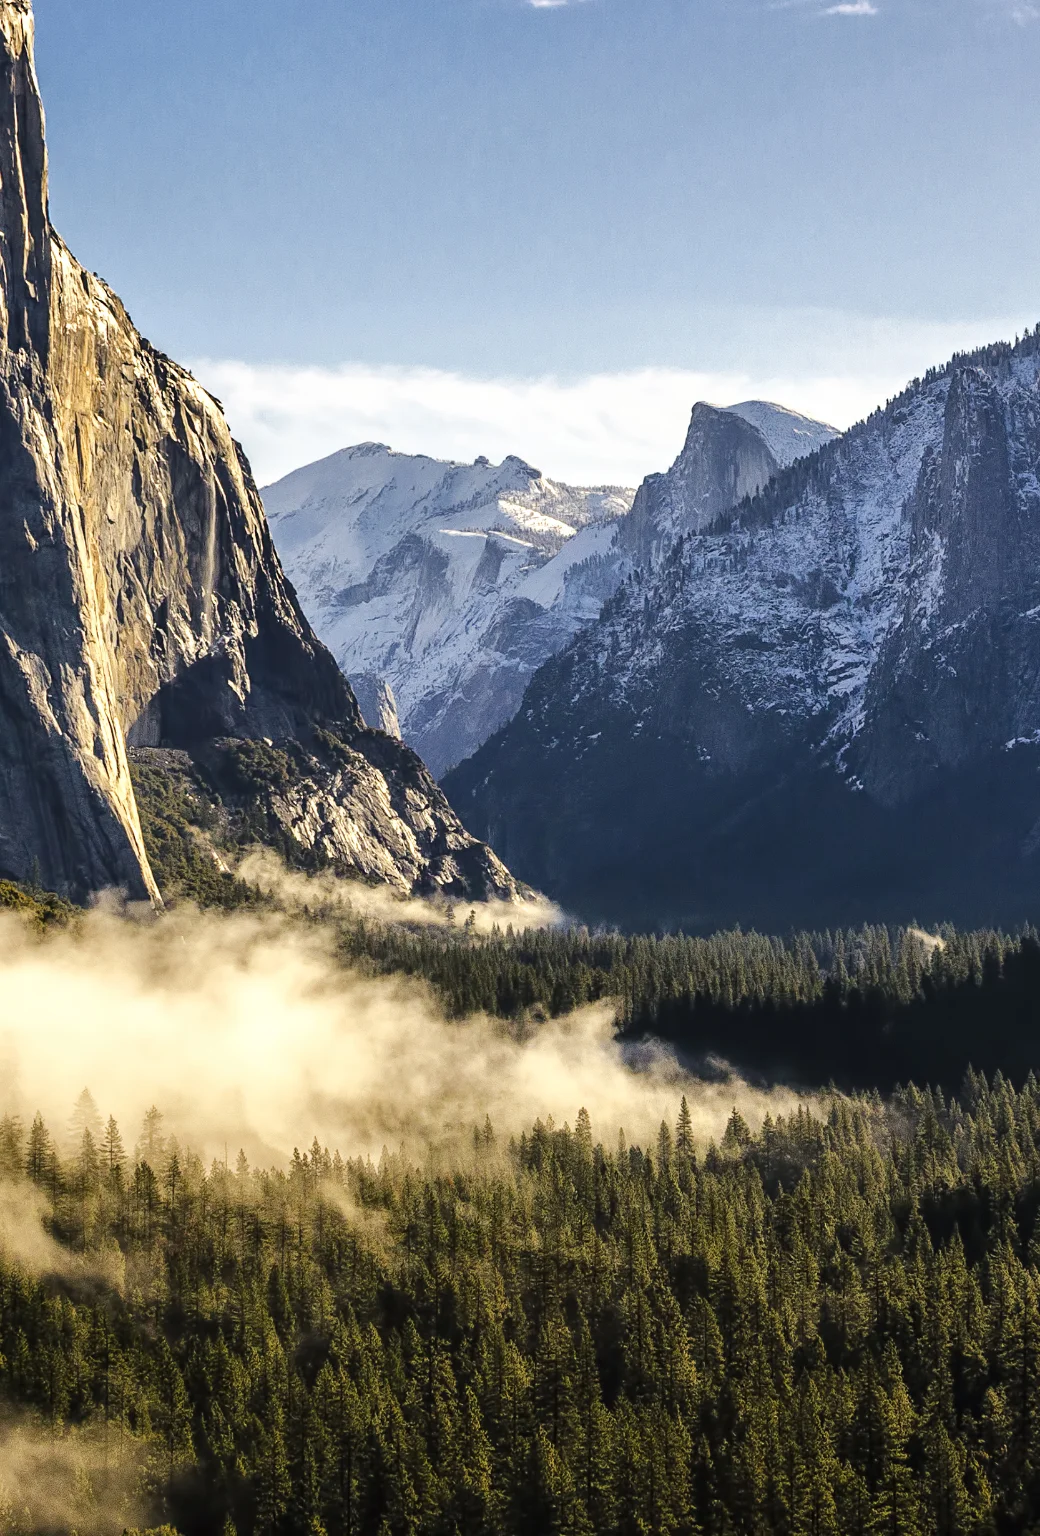
    In honor of Apple’s latest operating system announcement, OS X Yosemite (which, if you know me, that word alone gets me excited) I figured I’d rehash some of my images from my Yosemite adventures last year. In case you don’t want to (or can’t) wait until the fall for the official release, after the ‘read more’ break below, you’ll find a few of my favorites optimized for your desktop backgrounds, and below those are the iPhone-optimized versions. To save them, just right click and choose ‘Save Link As…’ And as always, if you’re on Android or another platform, I don’t want you to feel left out. Just contact me and let me know what your device is and I’ll format it for you.

    Also, for a brand new mobile phone background from a recent trip to Yosemite, click here. And for the rest of the images from my more recent Spring 2015 trip back to Yosemite Valley, click here.

    And for more of my madness:
    Instagram: @wasimofnazareth
    Ello: @wasimofnazarethGoogle+: www.Google.com/+WasimMuklashy
    Facebook: www.Facebook.com/WasimOfNazareth
    Enjoy…

    Wasim_Muklashy_Photography_OS X Yosemite_A Slice Of Yosemite Layer Cake

    Wasim_Muklashy_Photography_OS X Yosemite_Rolling Through
    Wasim Muklashy Photography_OS X Yosemite_Tunnel View

    Wasim Muklashy Photography_Apple OS X Yosemite_spirits in yosemite wide.

    Wasim_Muklashy_Photography_Yosemite_Lady_In_White_Apple OS X Yosemite

    Wasim Muklashy Photography_Apple OS X Yosemite_half dome after the storm.

    Wasim Muklashy Photography_Apple OS X Yosemite_el capitan dares you.

    Wasim Muklashy Photography_Apple OS X Yosemite_coming round the mountain.

    coming round the mountain.

    el capitan dares you.

    half dome after the storm.

    Wasim_Muklashy_Photography_Yosemite_Lady_In_White_iPhone5

    spirits in yosemite wide.

    rolling in.

    rolling through.

    a slice of yosemite layer cake

    Please keep in mind, I still hold the copyright to these images. They are provided for you to download for personal use only. If you would like to license one of these images, please contact me.