
Tag: DSLR

  • My First Month With My New Number 1 – The Samsung NX1!

    My First Month With My New Number 1 – The Samsung NX1!

    Wasim Muklashy Photography_Samsung NX1_60mm Macro_121414_ SAM_1016_1800

    This is it. This is the one. I’ve found the one! Actually, the one found me! The Samsung NX1. If you’ve been holding out on investing in the mirrorless market because of your trepidations as far as performance as compared to traditional DSLRs, now’s the time to let go. It’s been exactly a year since Samsung invited me into their Imagelogger program, and in that short year, everything changed. I mean everything. I will admit, at first, it was an excuse to get out and create with new tools and have fun doing it. It started a little over a year ago with the NX300, and every few months, we graduate to a new camera and new lenses. We went to the NXMini, then the NX30, then the NX3000, and with each subsequent step, I find myself using my trusty Nikon gear less and less and less and less. Little did I expect that in a year’s time, they would be taking over my entire photographic arsenal, causing me to all but abandon my Nikon equipment (and once I get a wireless strobe system worked out for this thing for the my architectural work, my bread and butter, that’ll make the transition complete). But here’s a quick account of my first month with this 28 megapixel beast, the Samsung NX1.
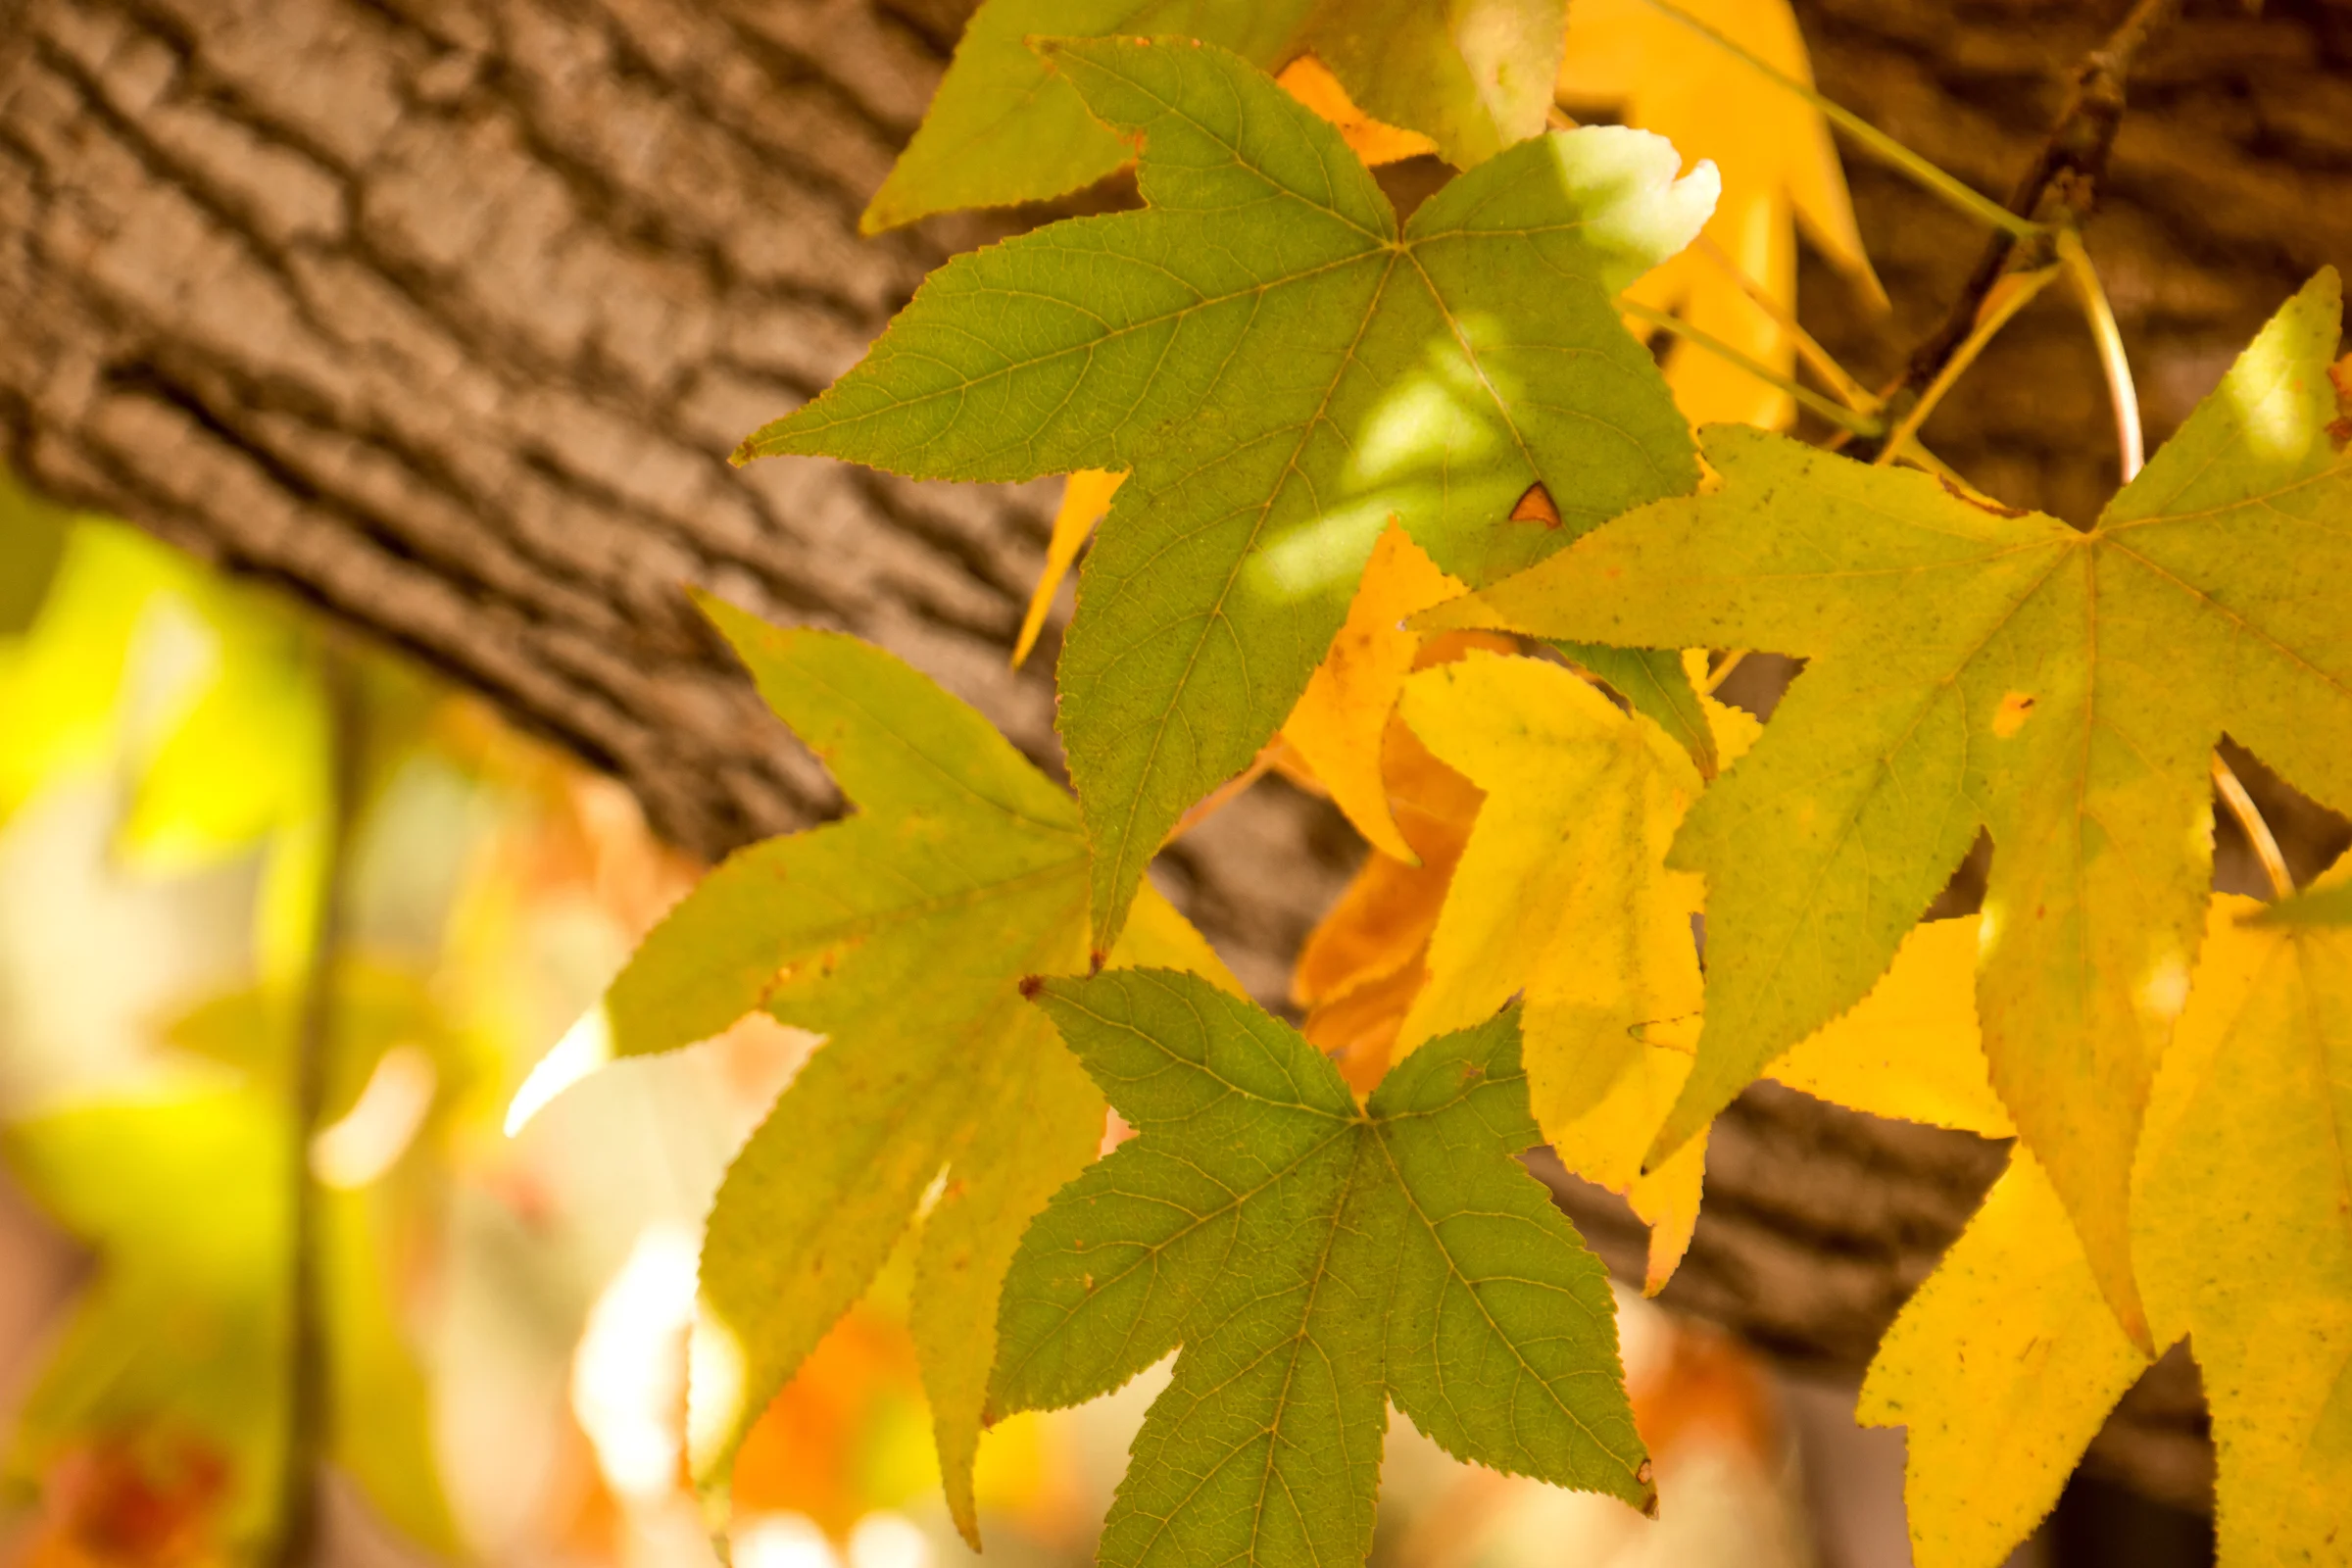
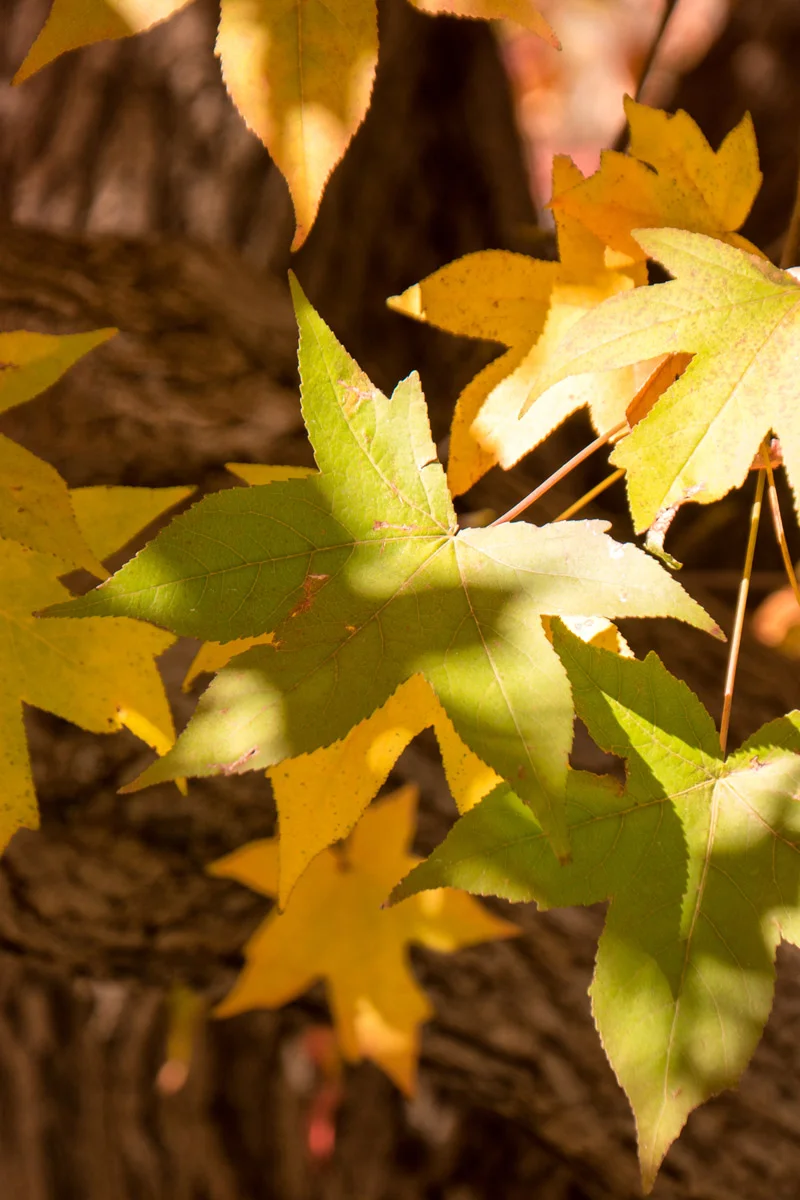
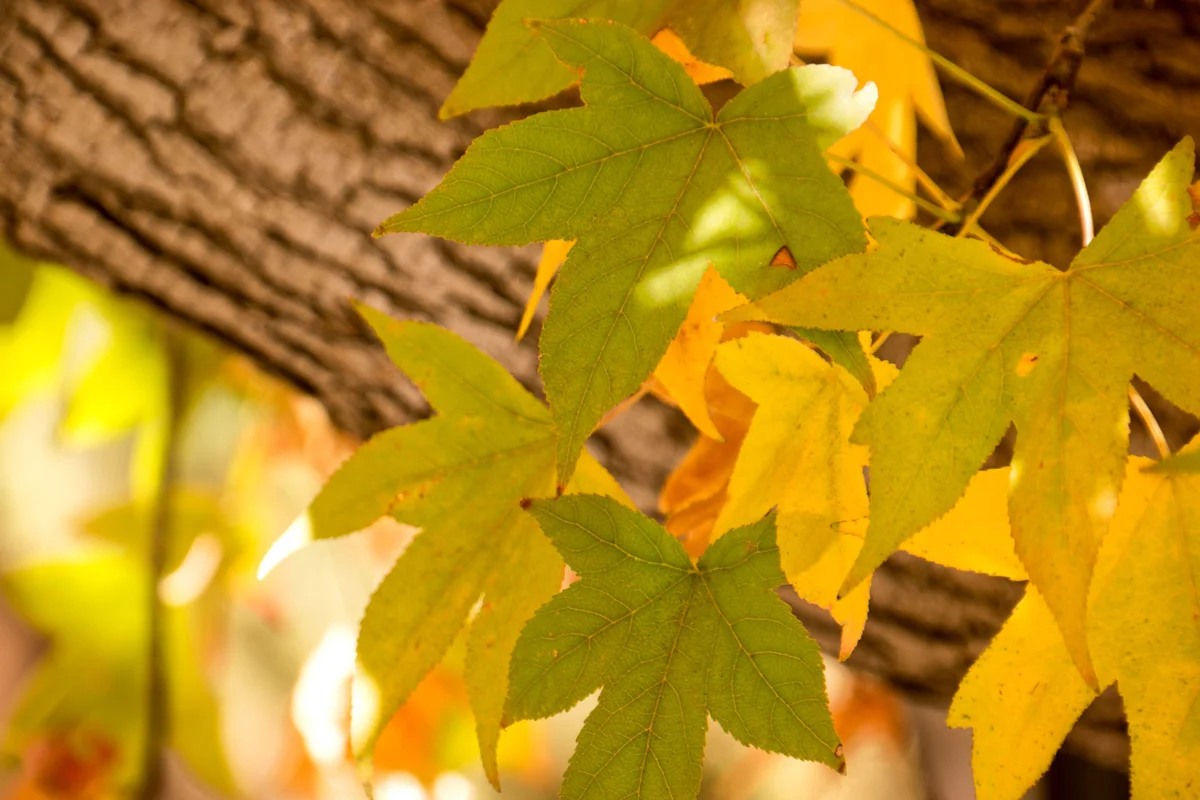
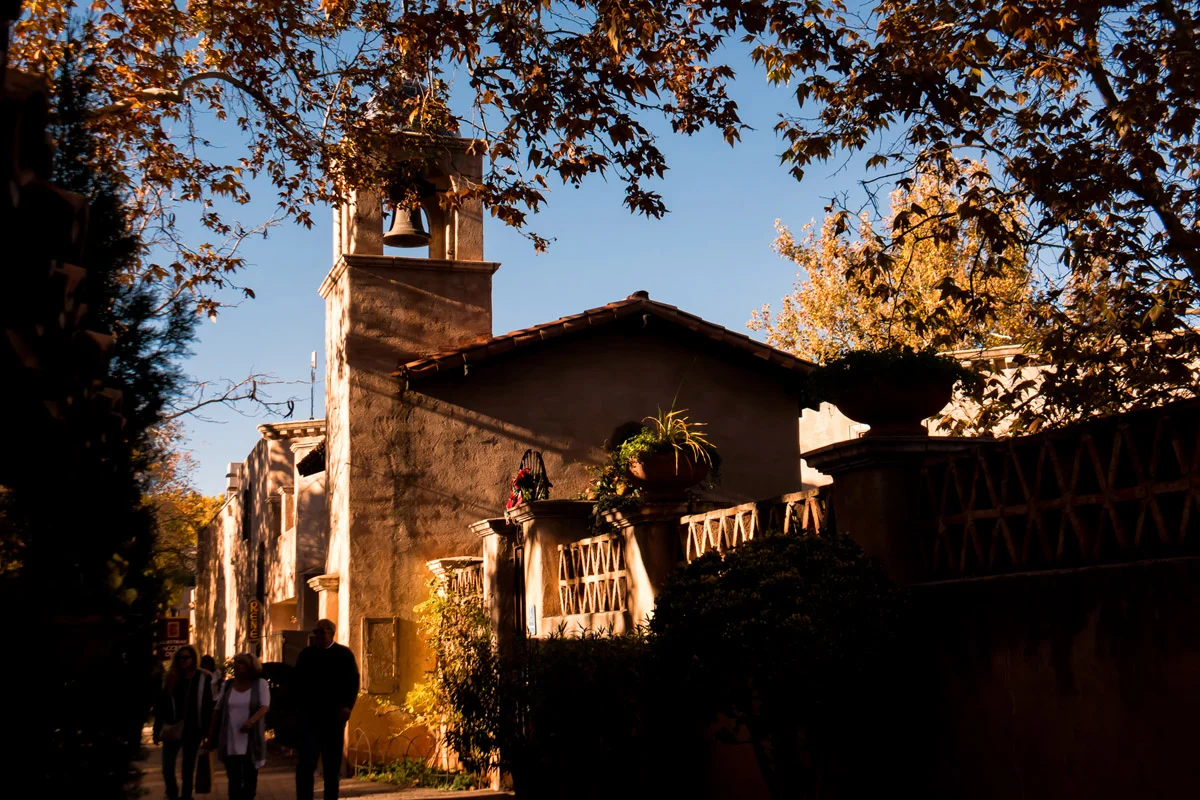
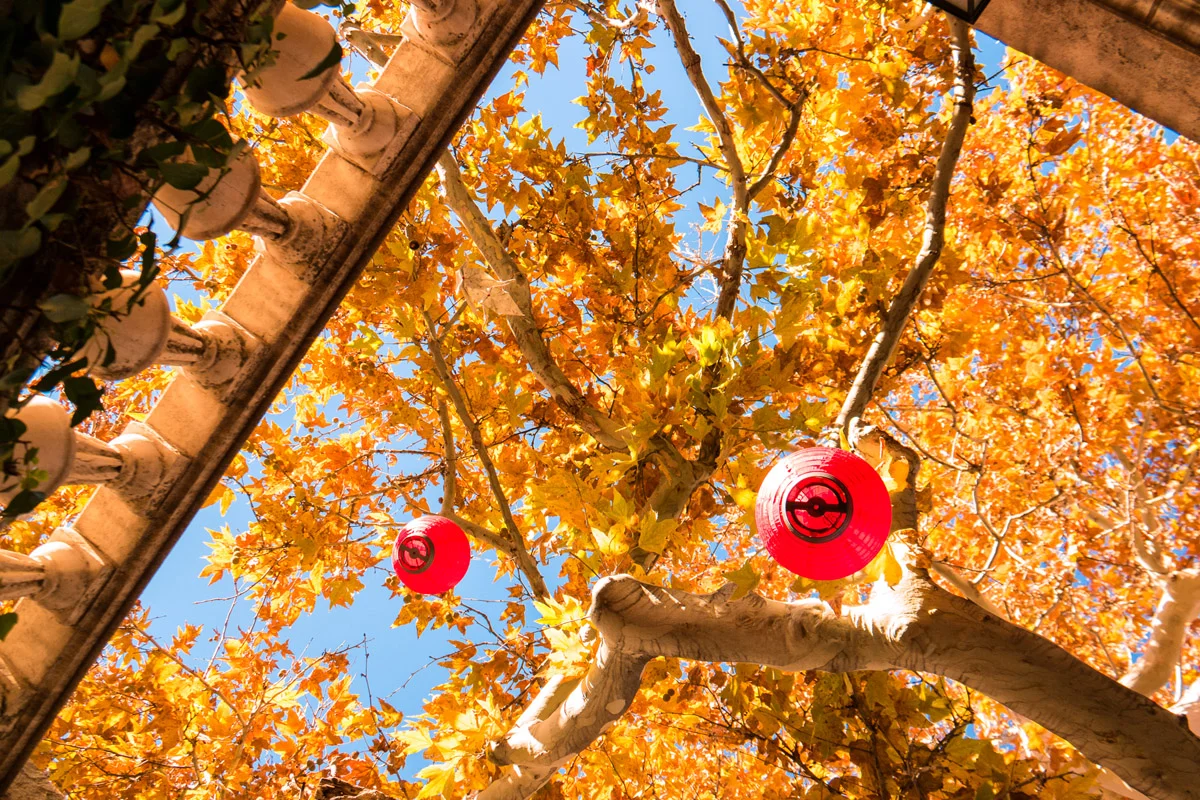
    Wasim Muklashy Photography_Sedona_Arizona_Autumn Leaves

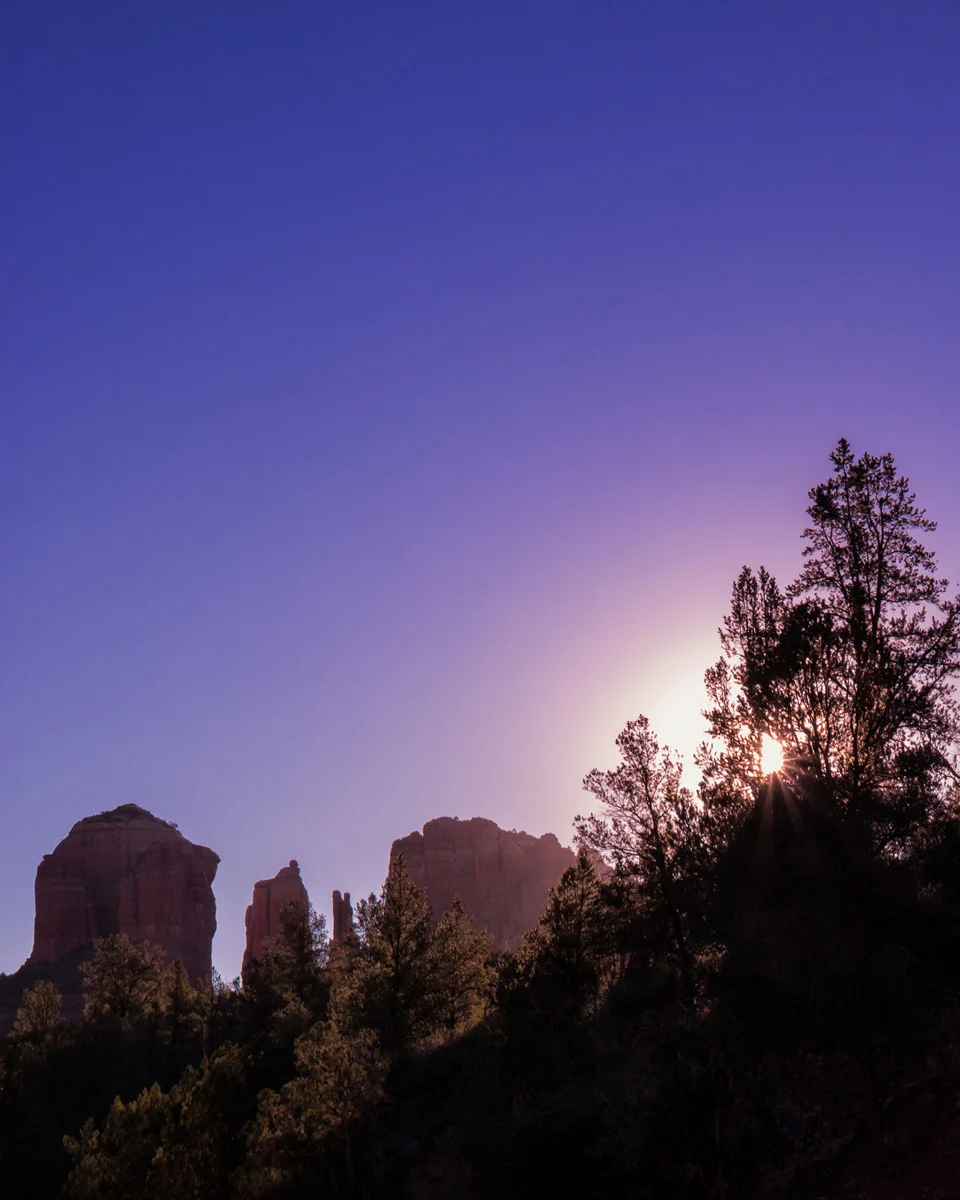
    The NX1 showed up at my door just in time for Thanksgiving weekend, which was perfect as my family and I decided to do something a bit different this year, and took a road trip to spend the holiday out in Sedona, Arizona. Not a bad place to properly break in what Outdoor Photographer calls “our choice for the top APS-C mirrorless camera for nature photography” in its December issue, and what Digital Trends is claiming “Our favorite camera of 2014 isn’t a Canon, Nikon or Sony, it’s Samsung’s NX1.”

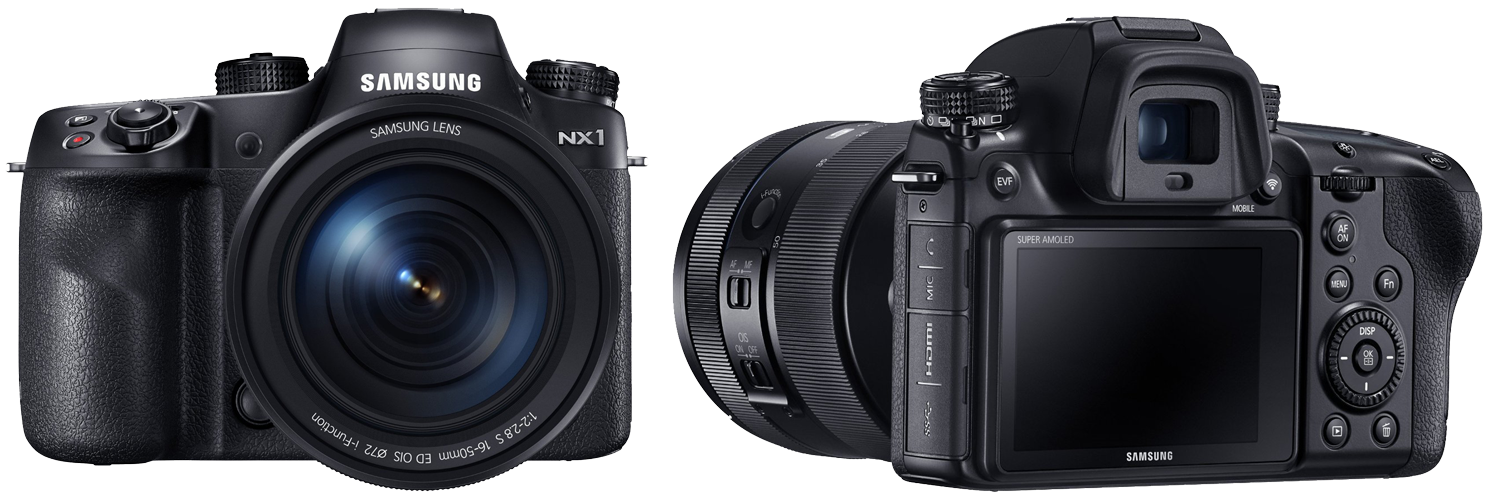
    The first thing I noticed when I took it out of the box was the build. It felt like a solid piece of machinery, carefully sculpted from a chunk of magnesium alloy. And it was beautiful. As soon as I put my hands on the NX1, I had no problem getting acquainted with the layout and the controls. They’ve definitely done their homework and made this thing as intuitive as humanly possible. The insanely user friendly menu system doesn’t hurt either!! And the fact that this is my first dust and splash proof camera made me very happy as I spend a lot of my time in the outdoors. This thing simply just feels good to hold.
    Wasim-Muklashy-Photography_Samsung-NX1_Body-Views_1

    The second thing I noticed upon my first few shots was the auto-focus. Yes, that comes as no surprise seeing as how it has an ungodly insane amount of autofocus points. I’m not going to use this post to go through all the technical brouhaha, that’s everywhere and anywhere else, but I will say, with a sensor that’s practically covered edge to edge with autofocus points, the results are immediately noticeable. For comparison’s sakes, while the Canon 7D Mark III has 65, the NX1 has over 200. Yup. That’s no typo. 205 to be exact. So yeah…this thing is quick! I will say that when I first used a few of the NX lenses, it did hunt for a few seconds, but timely firmware updates quickly fixed any of those issues. The auto-focus on all the lenses are now smooth like butter and faster than any camera I’ve had to date.
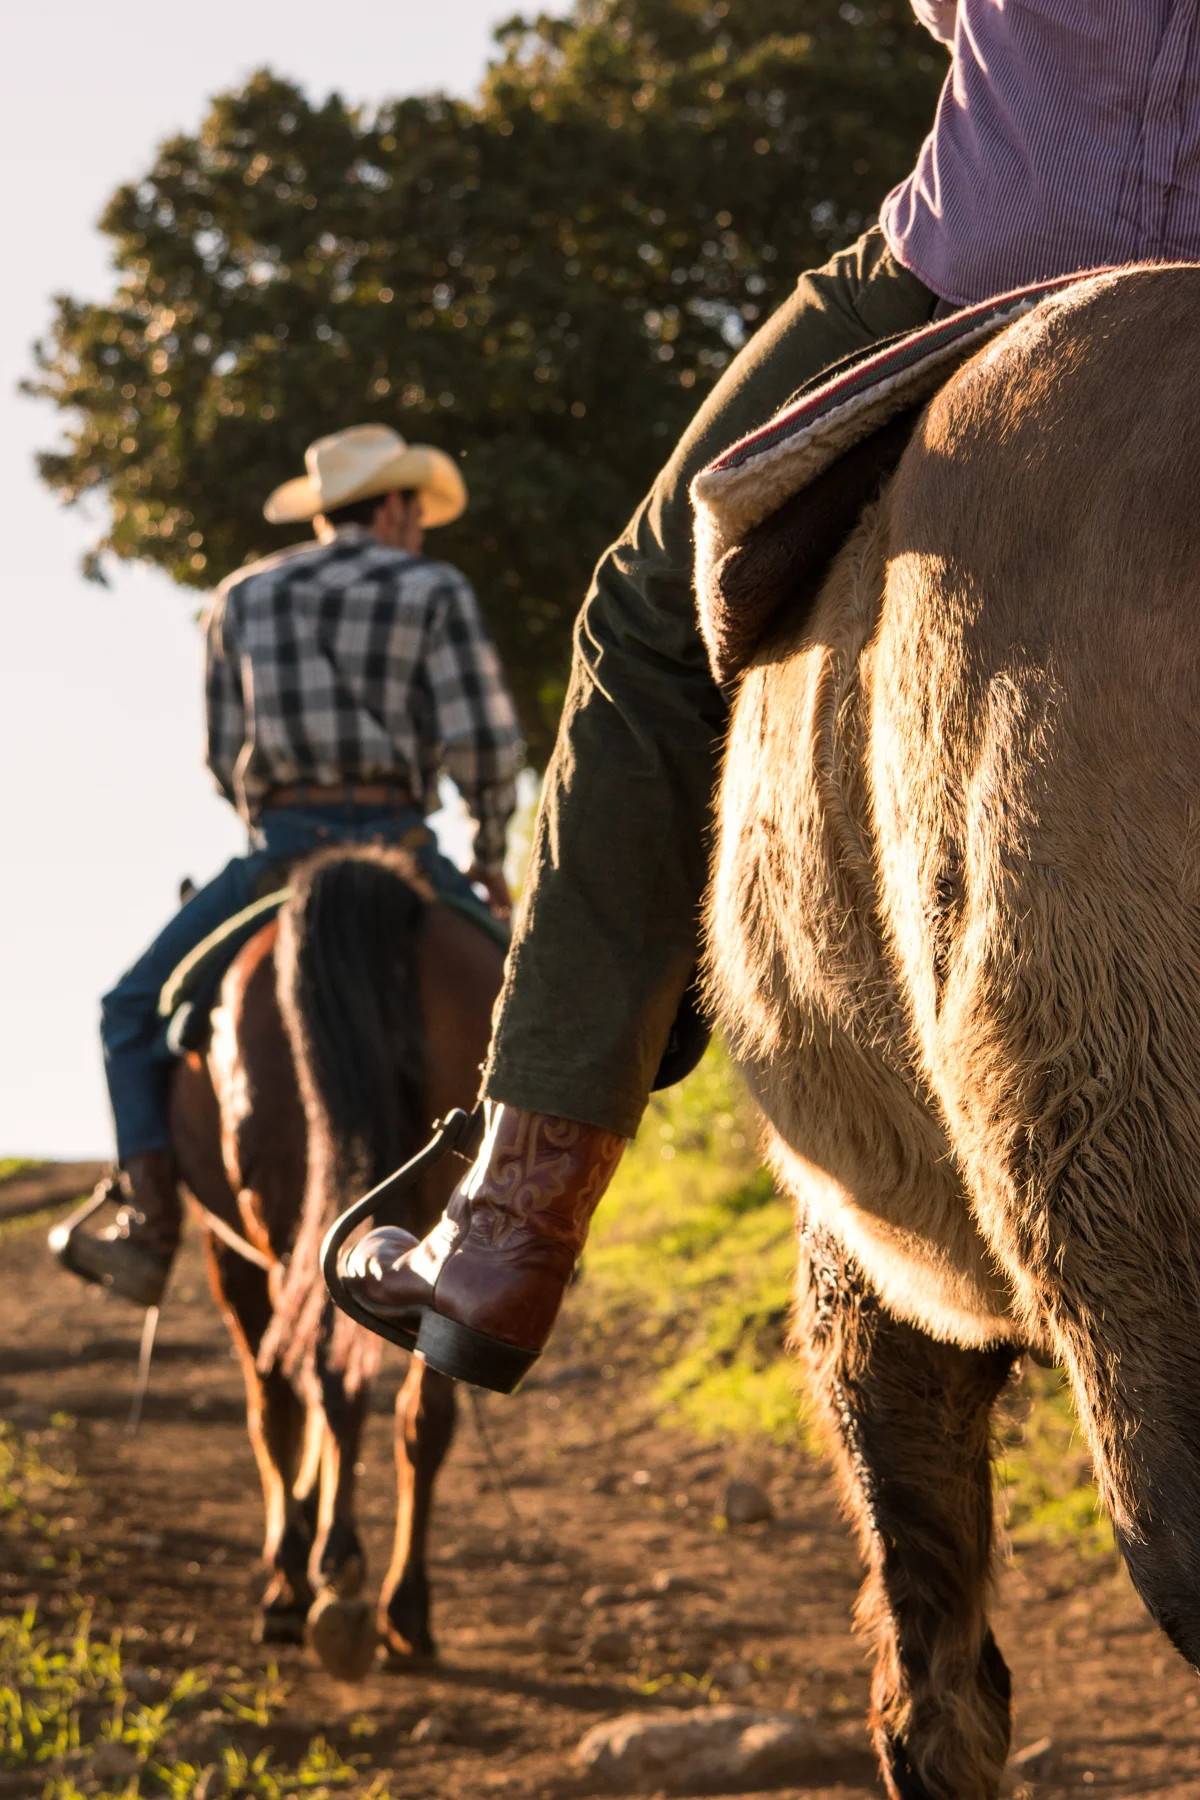
    Wasim Muklashy Photography_Samsung NX1_50-200mm_122914_Topanga Canyon_California_ SAM_1507_1800px

    The third thing I noticed was the color rendering. Spot on! The vibrancy and the warmth and accuracy of what I was capturing as compared to what I was seeing was wonderful. It made using this camera such a joy, giving me the confidence in knowing that I wasn’t going to have to do much post processing to realize my vision. Everything looked the way I wanted it to look and, as any photographer will tell you, there’s no better feeling.

    The fourth thing I noticed was another bit made possible by more of that technical stuffs…the BSI, or back-side illuminated sensor. Basically, because the entire front side of the sensor is free of any obstructions, for the first time in an APS-C sensor camera, the entire face of the sensor is available to collect light. What the heck does this mean? Low noise, and great detail in shadows in your images is what that means. Not to mention being able to shoot in very little light at high ISOs. I mean, I’d cringe whenever I had to push the iso past 1600 or so on my Nikon D7000, hoping in the back of my mind that I renewed my noise-reduction software license, but with this thing, I’m jumping up to iso2500, or even 3000 without even flinching! Not only that, I was truly blown away by its ability to focus in insanely low light situations. The mix of the sensor and a crazy looking auto-focus assist light that is based on patterns that almost look like a bar-code, allowing the camera to better detect contrast, are almost infallible.

    Wasim Muklashy Photography_Samsung NX1_50-200mm_122114_Santa Monica_California_ SAM_1297_1800

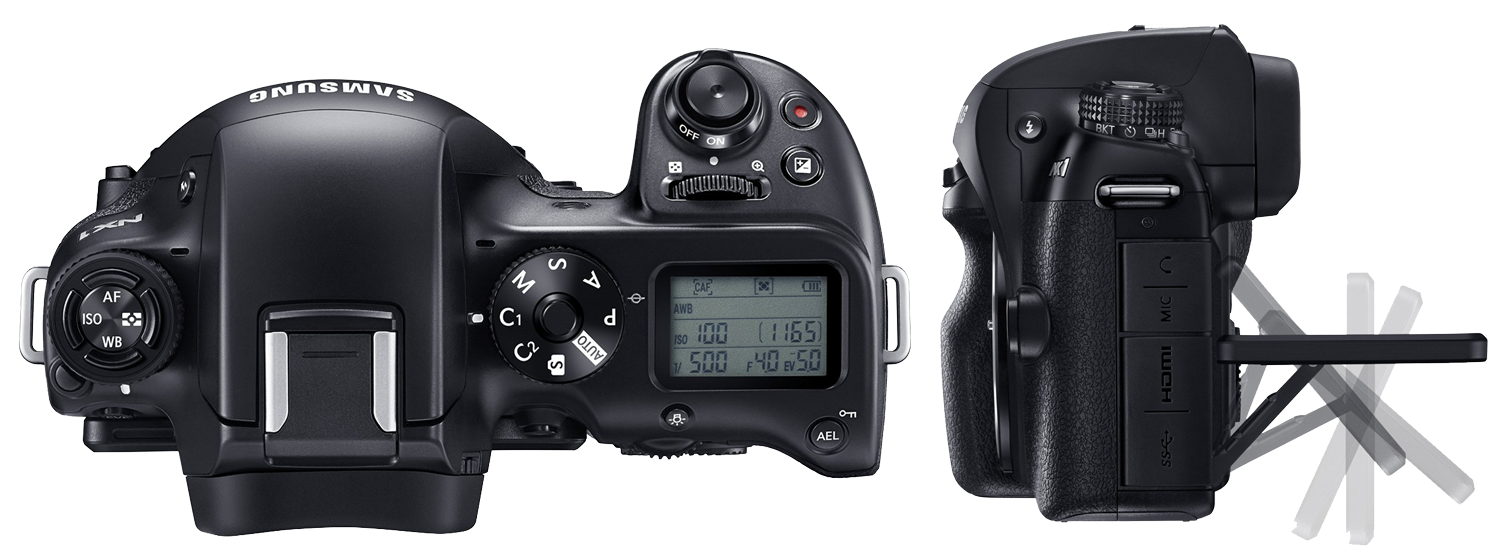
    The part of this camera that I haven’t yet fully tested is the highly touted 4k video capabilities. I’ll make another post about that soon as I’m currently working on some videos with it so will have a better grasp on it all. I will say that the few moving images I’ve pulled from this thing, coupled with the focusing system, have me confident enough to be using it as my main camera on an upcoming paid video gig. One thing that really impressed me was the inclusion of both a headphone jack as well as mic jack, something not quite found in most other video-capable DSLR style cameras. And that swivel screen is going to come in handy for those low menacing angles without ending up with a kink in my neck!
    Wasim-Muklashy-Photography_Samsung-NX1_Body-Views_2

    Also worth mentioning is something that Samsung has taken and run with…the wireless connectivity. Their SMART features are incredible. I was able to transfer an image to my phone, edit it, and post it on Facebook, Google+, and Instagram, as well as email the image to my family in the field in Sedona, all within less than 2 minutes. It was crazy. Try that with your DSLR.

    Wasim Muklashy Photography_NX1_50-200mm_Temecula_California_122614_ SAM_1417_1800b

    So I can’t say that when I was invited into the Samsung Imagelogger program, I had any idea this was coming. I thought it’d be a few good cameras and some fun and some new friends and some fresh inspiration. Little did I know I’d be part of a group and working with a company that is innovating beyond all other traditional camera manufacturers. Not only that, but they’re actually listening to us to make their products even better, and, to my complete joy, it was apparent in a recent firmware update that helped back-button focusing photographers transition to the camera seamlessly. We gave our feedback and within less than two weeks, an update was ready. That’s unheard of! Needless to say, Samsung has gone and done it…they’ve accomplished their mission, and got me to Ditch The DSLR. And once I get one of their new Premium S-Series lenses in my hands? Fuggggeeddabbbadittt!

    Ok, so now all the words and things out of the way, here are some of my favorite images from my first month with the

    Samsung NX1

    . And when you finally convince yourself to hit ‘buy’ at Amazon, try to remember to

    use this link

     or the Amazon search box on the right column. And that works for anytime you shop on Amazon, not just for the items described here. It’s no difference to you, but it helps me keep things running on this site to bring content like this to you.

    For some other widgetwadgetstuffs: Instagram: 

    @wasimofnazareth

    Ello: 

    @wasimofnazareth

    Google+: 
    www.Google.com/+WasimMuklashy

  • I’ve Finally Assembled My Perfect Hiking And Backpacking Camera Kit

    I’ve Finally Assembled My Perfect Hiking And Backpacking Camera Kit

    Wasim Muklashy Photography_Camera Kit_Backpacking_Hiking_-SAM_3011-Edit

    If you’ve ever gone on an extended hike or backpacking trip, you know that every single ounce of weight counts. An extra strip of beef jerky may not seem like a lot sitting in your pocket at home, but you WILL notice and feel every single gram of it as the sun-scorched miles move beneath your boots. So when you’re packing for such a trip, weight and consideration and bare essentials are a constantly compromised necessity, and, obviously, for photographers, food and clean socks come in a distant second to camera gear. Lucky for us photographers, the new breed of mirrorless systems has changed EVERYTHING. Gone are the days of having to trudge 10-15 pounds of DSLR gear and lenses to get solid professional high-quality images. Now you can make top-shelf images AND pack an entire bag of beef jerky.
    As I prepared to pack for a 5-day, 45-mile backpacking excursion into the Sierras, I was absolutely thrilled at how much lighter my pack already was since last year’s adventures through 3 National Parks, and especially the year before that, when I lugged around that same full Nikon D7000 kit through 22, 104-degree Grand Canyon miles on the way into Havasupai, Arizona. Ouch. Ouch. OUCH! While, unfortunately, this month’s Sierra backpacking trip got cancelled due to unforeseen circumstances in the group, I still thought it’d be valuable to share what I had already packed and was prepared to take.

    Wasim Muklashy Photography_Hiking_Backpacking Camera Kit_Nikon D7000

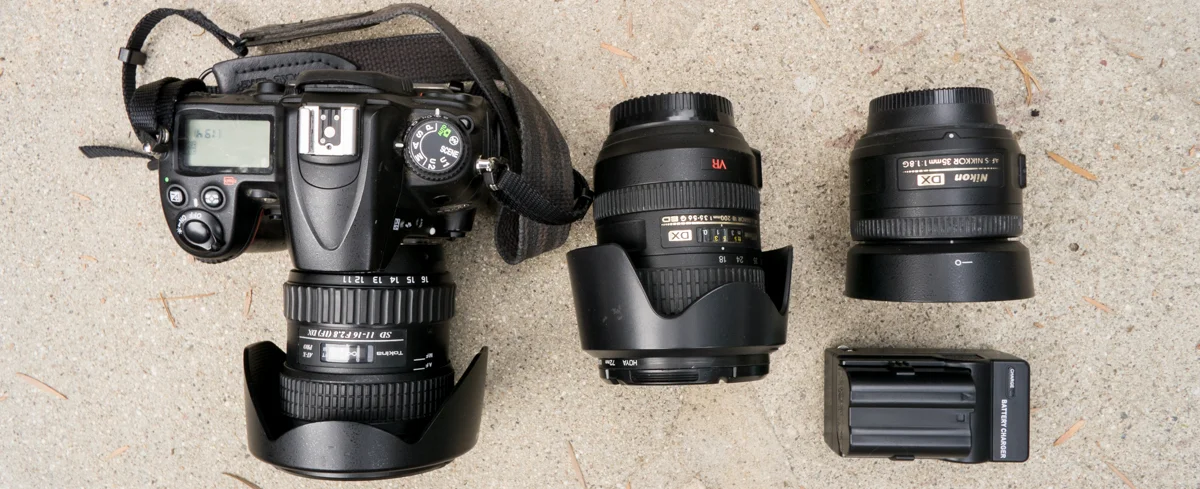
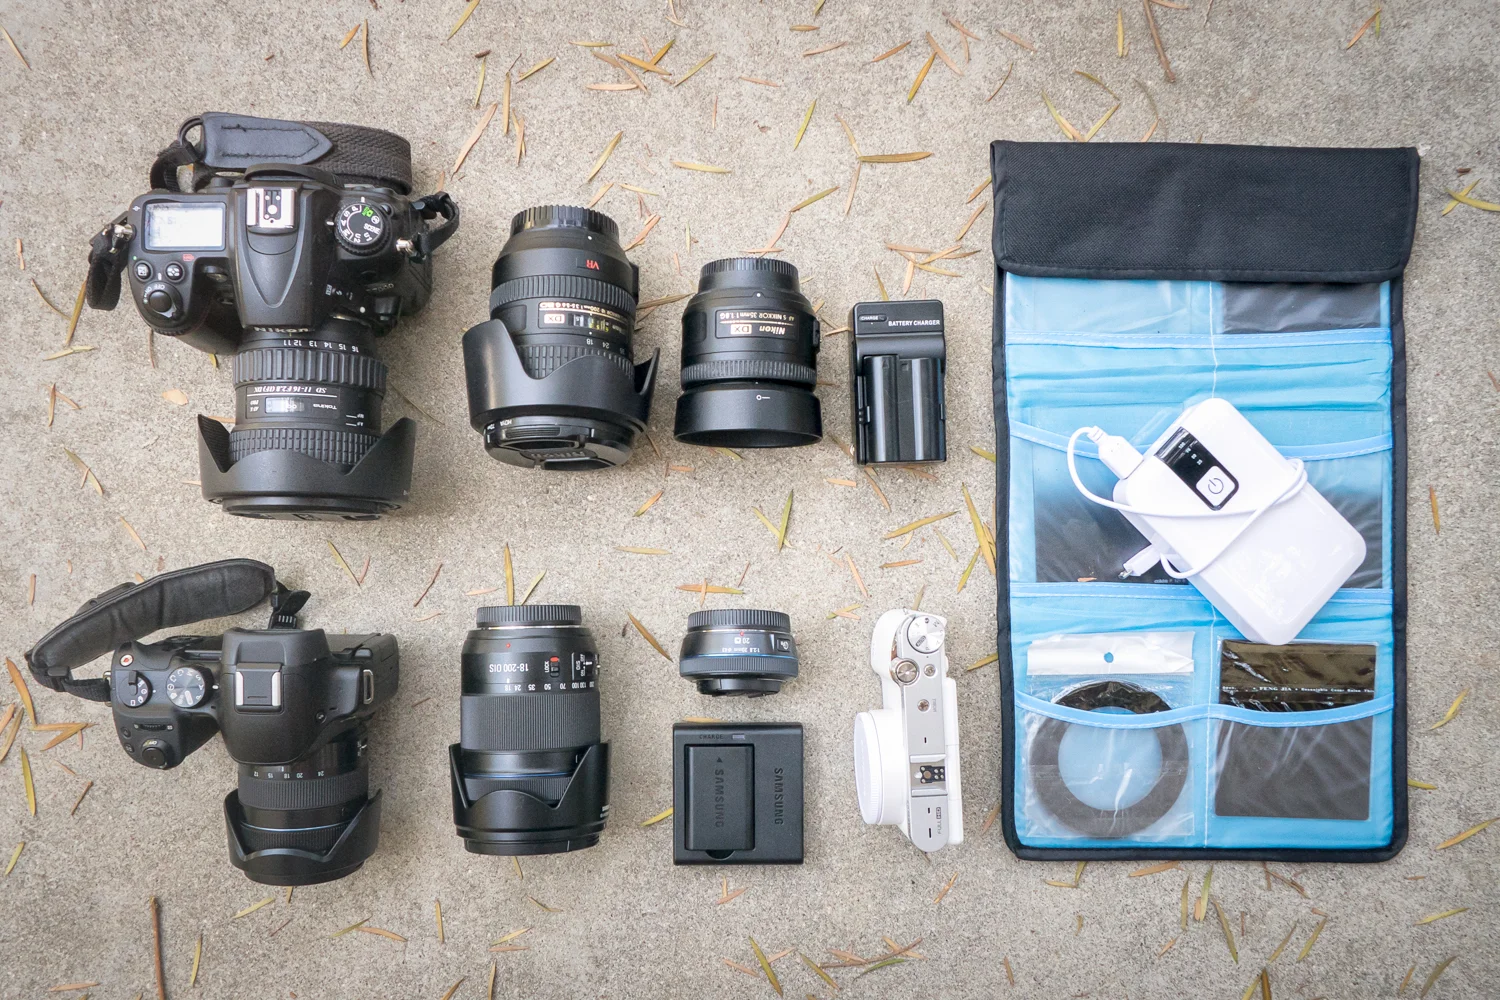
    First, here’s the bulk of the Nikon D7000 kit that I had with me both for the Havasupai trip and for the National Park trip. Basically, the kit I’ve been used to traveling with:

    Nikon D7000 Body (APSC CMOS Sensor): 1 lb, 8 oz.

    Nikkor 18-200 Lens: 1 lb, 4 oz.

    Nikkor 35mm Lens: 7 oz.

    Tokina 11-16mm Lens: 1.2 lbs

    Manfrotto 190xb Tripod with Manfrotto 486RC2 Ballhead: 5 pounds

    Filters, Filter Holders, Extra batteries, USB charging brick: 1 pound

    TOTAL: 10.5 LBS.

    Wasim Muklashy Photography_Hiking_Backpacking Camera Kit_Samsung NX30

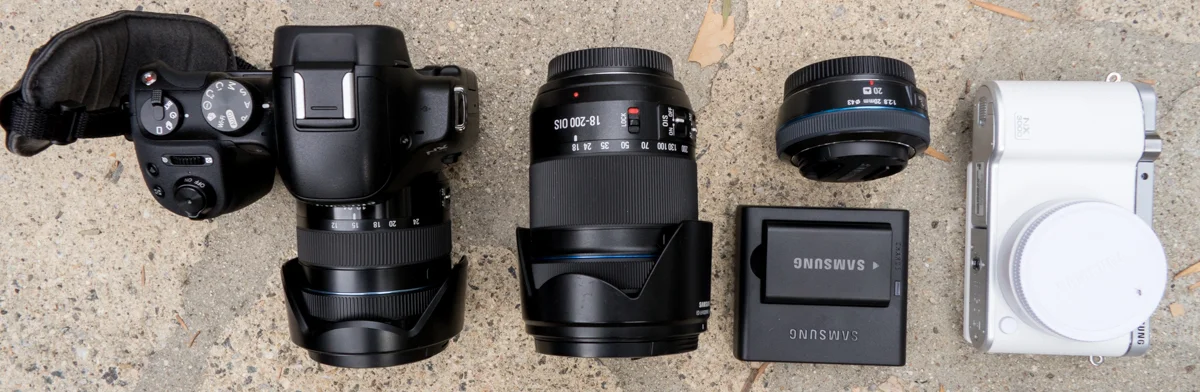
    Now, for comparison’s sakes, here’s what I had packed this time:

    Samsung NX30 Body (APSC CMOS Sensor): .8 pound

    Samsung NX3000 Body (APSC CMOS Sensor): .5 pound

    Samsung 18-200mm lens: 1.27 pounds

    Samsung 12-24mm lens: 7.3 oz

    Dolica TX570B150SL Travel Tripod: 2.5 pounds

    Filters, filter holders, extra batteries, USB charging brick: 10 oz.

    TOTAL: 6.1 LBS.

    And here they are side by side, with the respective lenses mirroring each other. Look at the size differences alone in the Samsung kit on the bottom row versus the Nikon kit on the top row, especially in the lenses and the bodies:

    Wasim Muklashy Photography_Camera Kit_Backpacking_Hiking_-SAM_1161-Edit

    So as you can see, that is not only literally a savings of almost half the weight, but it also includes AN EXTRA CAMERA BODY. Heck, both camera bodies together weighed less than the single DSLR. Granted, the tripod alone also saved me 2.5 pounds on it’s own. So yeah, needless to say, between this revelation, and my recent mirrorless-only trip to the Pacific Northwest, my DSLR traveling days are well behind me. Add the benefit of bright OLED displays and Wifi capabilities on the Samsung NX30 and Samsung NX300, allowing me to use my phone as a trigger or high res monitor as well, and there’s really no reason left to go back.

    Adapt or die…or, at the very best, adapt or suffer through a bad back…orrrrr better yet…suffer through that bad back by packing an extra 4 pounds of jerky!

    Mmmm…jerky

    For more of my madness:
    Instagram: @wasimofnazareth
    Twitter: @wasimofnazareth
    Google+: www.Google.com/+WasimMuklashy

    Facebook: www.Facebook.com/WasimOfNazareth

    Wasim Muklashy Photography_Camera Kit_Backpacking_Hiking_-_1WM1511-Edit_2400sfwJT

  • Why I Switched To Back Button Focus And Haven’t Looked Back

    Why I Switched To Back Button Focus And Haven’t Looked Back

    SAMSUNG CSC

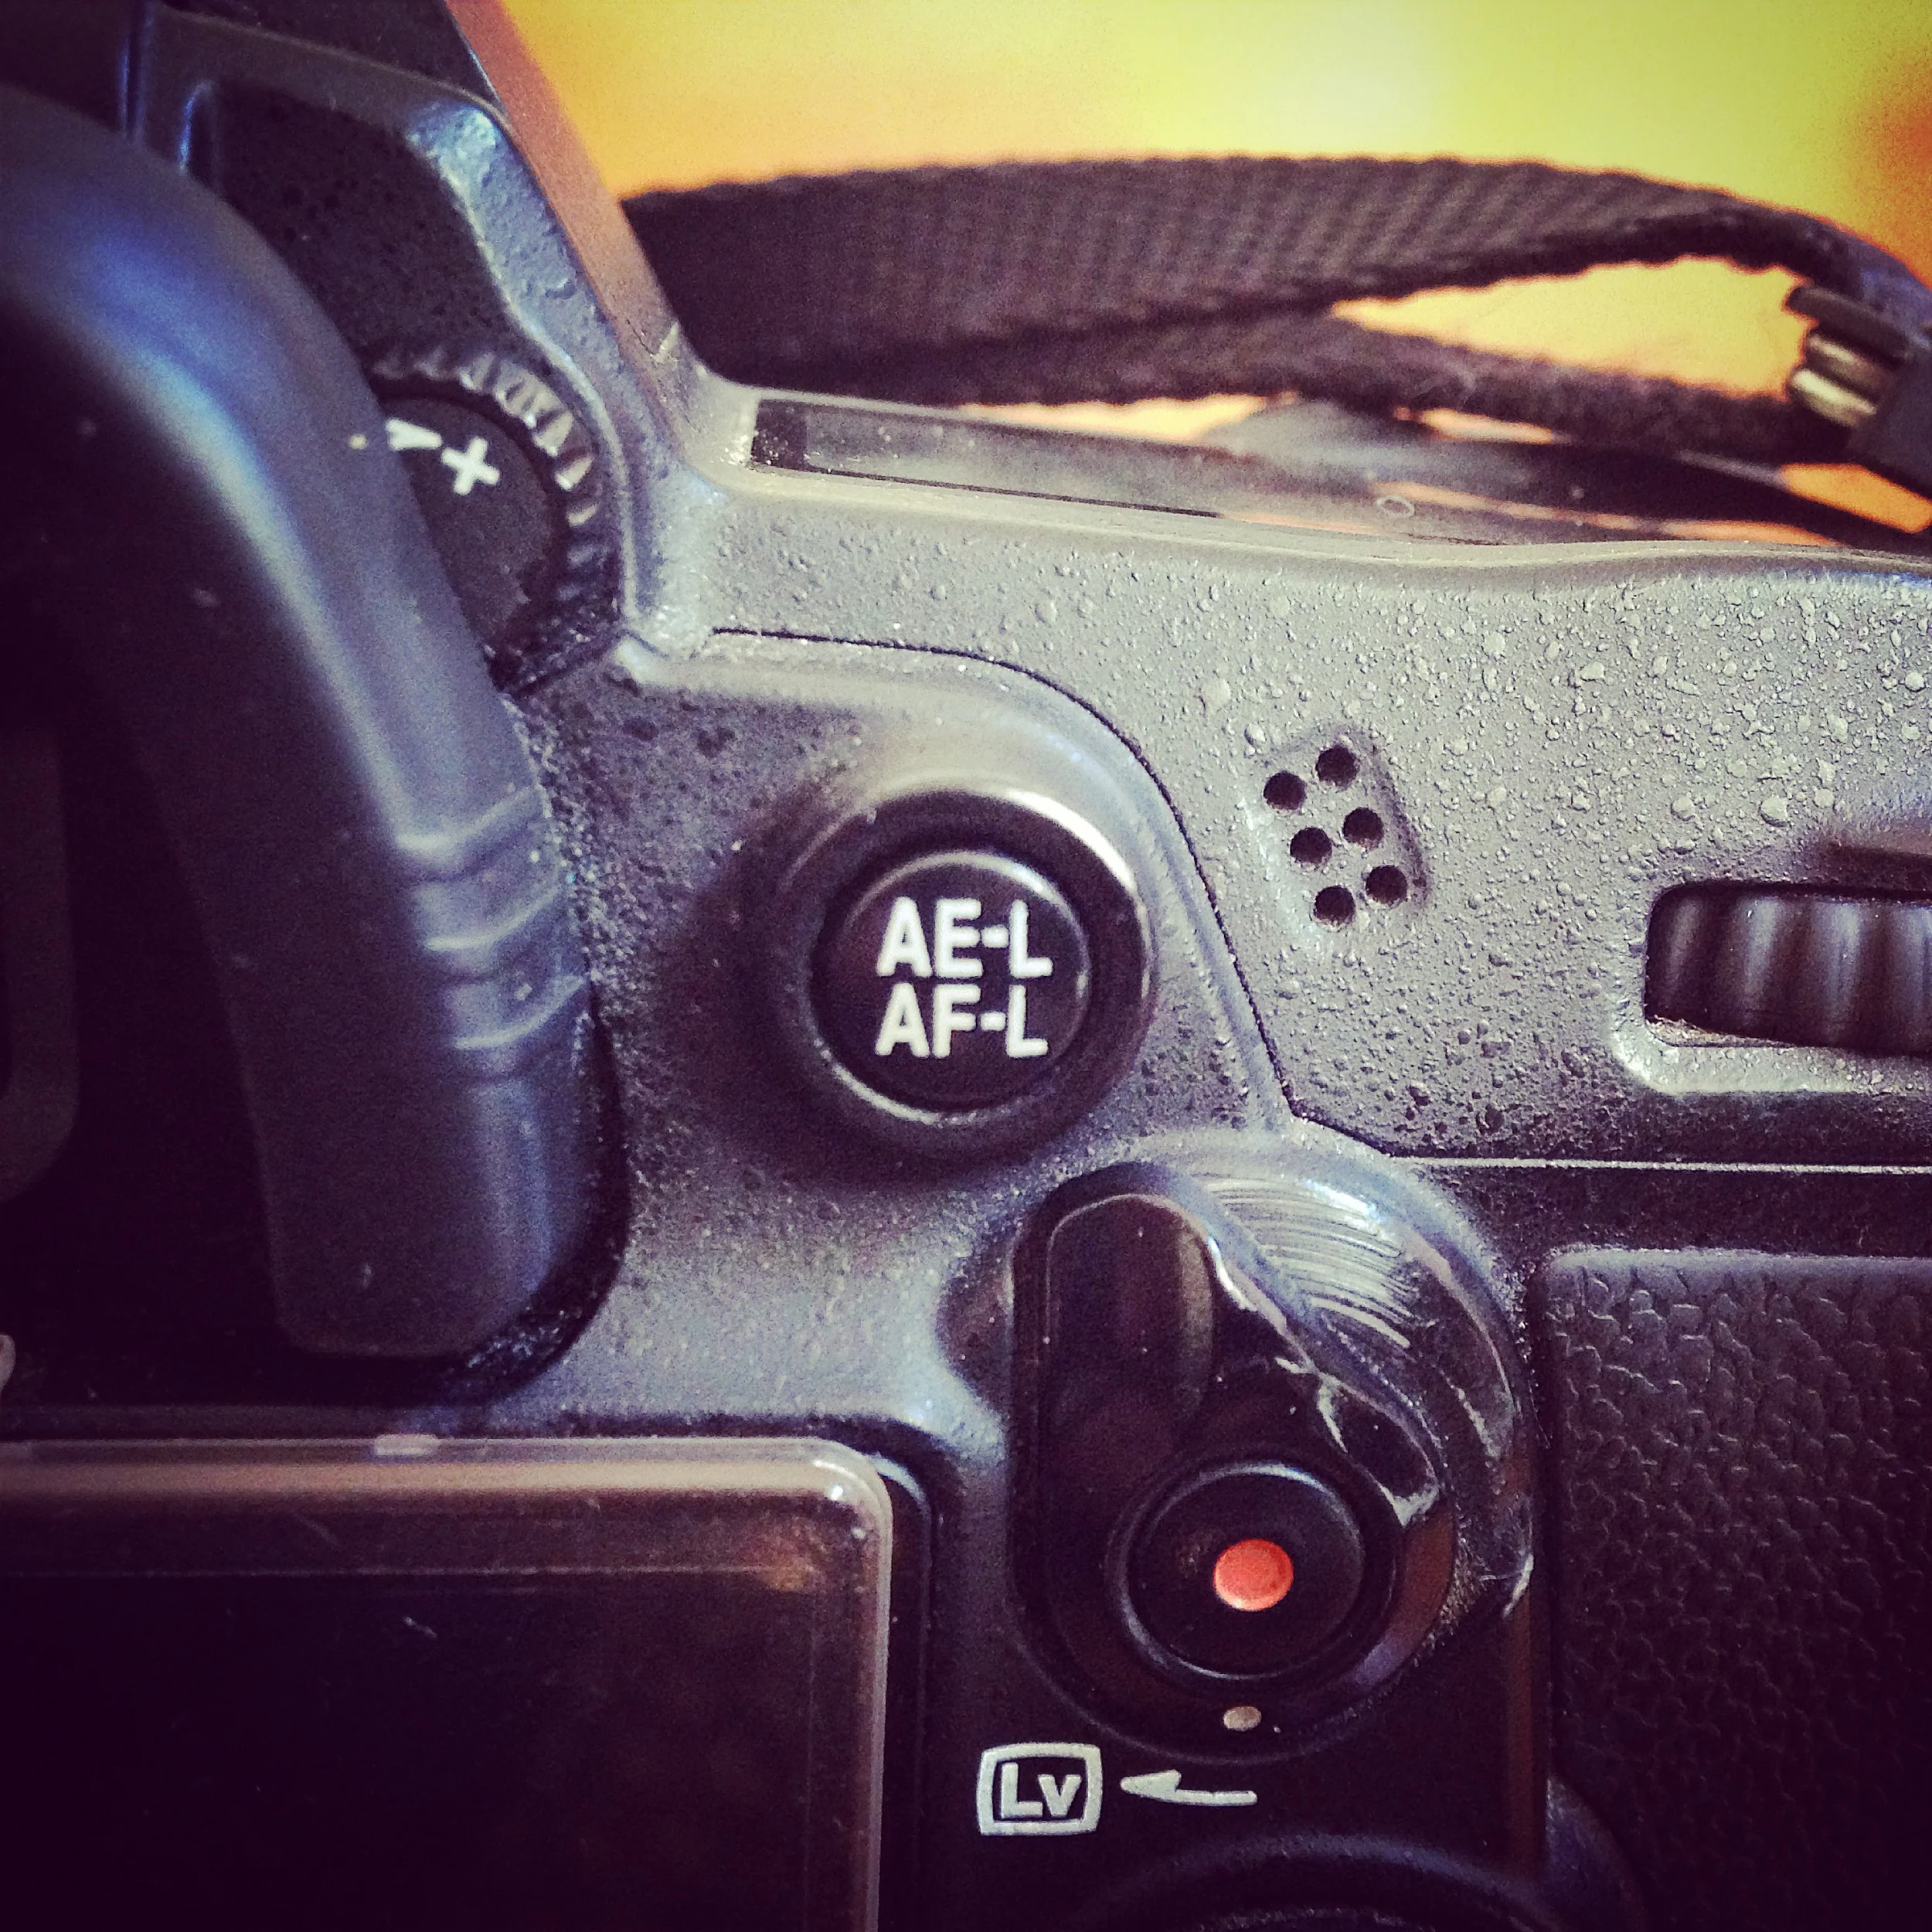
    It didn’t make sense at first. Use the AE button on the back of the camera for focusing? How is that supposed to be easier and/or better than the traditional method of pressing the shutter halfway down? I mean, that’s what I know, that’s what I’ve grown to know, that’s what’s normal! Is this an elitist purist thing? Or is this real?
    About a year ago, I decided to truly dig deeper into the idea behind back button focus and, well, like a classic case of neuro-plasticity, over the next 90 days, I had inadvertently rewired my brain to wonder the exact opposite of what I was wondering when I started this little experiment…how did I go this long without it?

    The idea is this: Back button focusing basically frees up the shutter button to be, well, a shutter button. Once you wrap your head around that novel idea, the fun part begins. This is the stage when your brain begins the process of peeling the two functions apart from synonymity, realizing that once you have separate control of focusing and firing the shutter, everything becomes clearer (pun intended…sort of).

    BackButton_AEL_Nikon D7000

    When you’re using the shutter halfway down method of focusing, each time you move the camera, you have to refocus on your focal point. Unless you’re able to be steady enough to keep that shutter halfway down without clicking the shutter, sometimes for several minutes at a time, this can become a bit tedious as your brain keeps focusing and firing the shutter as a single married entity. But, once you realize they’re a horrible couple and you break them up and see how silly it was that they ever got together to begin with, your brain begins to understand that it should be able to focus on the task of focusing, and then, turn all its energy to the composition of the shot itself.

    In other words, once you focus, as long as you stay in that position, you won’t have to focus again. You can expend all your energies on the composition of the shot with the peace of mind that your shots will be sharp from simply setting that focus once, rather than having to refocus with each shot, each press of the shutter.

    Essentially, the photographic process goes from:

    compose, focus, shoot, re-compose, re-focus, shoot, re-compose again, re-focus again, shoot.

    to, simply:

    focus, compose, shoot, compose, shoot, compose, shoot.

    My brain already hurts less just thinking about it.

    Just imagine the decrease in brain strain when shooting at events and weddings and wildlife knowing that your shots are in focus by just having to focus once instead of with each shot! All because once you release the back button, so long as you remain the same distance away from your subject(s), you can re-compose to your heart’s content confident that focus will remain on that plane of field. The amount of ‘keepers’ is bound to drastically increase!

    Additionally, this works really well on moving objects such as sports or wildlife. For example, let’s say a car was coming towards you, you can focus on the part of the car you want, hold down the back button for focusing, keep it held down and aimed at your chosen focal point, and that point will continually stay in focus. You can then independently fire the shutter while your finger is still holding down the focus button so all of your attention is aimed at the focal point and nothing else, ensuring with better accuracy that you’ll get the sharp focal point you want. Conversely, with traditional shutter-halfway-down focusing, once you press down on that shutter, any movement in those milliseconds between auto-focus disengaging and the shutter firing, especially when working with fast moving subjects, and you’ll have less of a chance of getting a sharp shot. Once you use it and get used to it, there is no turning back.

    Anyhow, most DSLRs and newer mirrorless cameras offer the option – it would be in your settings menus. In most Canon DSLRs, look for the “Metering Start / Meter + AF Start” option in the “Shutter/AE Lock Button” menu. In most Nikon DSLRs, first navigate to the “Custom Settings Menu,” choose “Controls,” then “Assign AE-L/AF-L Button”, then “AF-On.” Now, in the “Custom Settings Menu,” choose “Autofocus,” then in both “AF-C priority Selection” and “AF-S Priority Selection,” choose “Release” so that the shutter will still fire even if if it thinks you didn’t focus because the shutter button wasn’t pressed halfway.

    If you have a different kind of camera, Just Google your camera make and model with ‘back button focus’ and you should be off and running.

    For more of my madness:
    Instagram: @wasimofnazareth
    Twitter: @wasimofnazareth
    Google+: www.Google.com/+WasimMuklashy

    Facebook: www.Facebook.com/WasimOfNazareth